Today I mainly worked on a CAD ring that will become part of an installation that I’m making (for the Handmade by Machines Exhibition at The Lighthouse at the end of June). Although, the ring itself may well make an early guest appearance at our end of year show first depending on its state of readiness.

(Am also hoping the piece may count towards my final unit: advanced jewellery manufacturing techniques too… as it definitely demonstrates several advanced techniques… as required… right?… Colin?? ;))

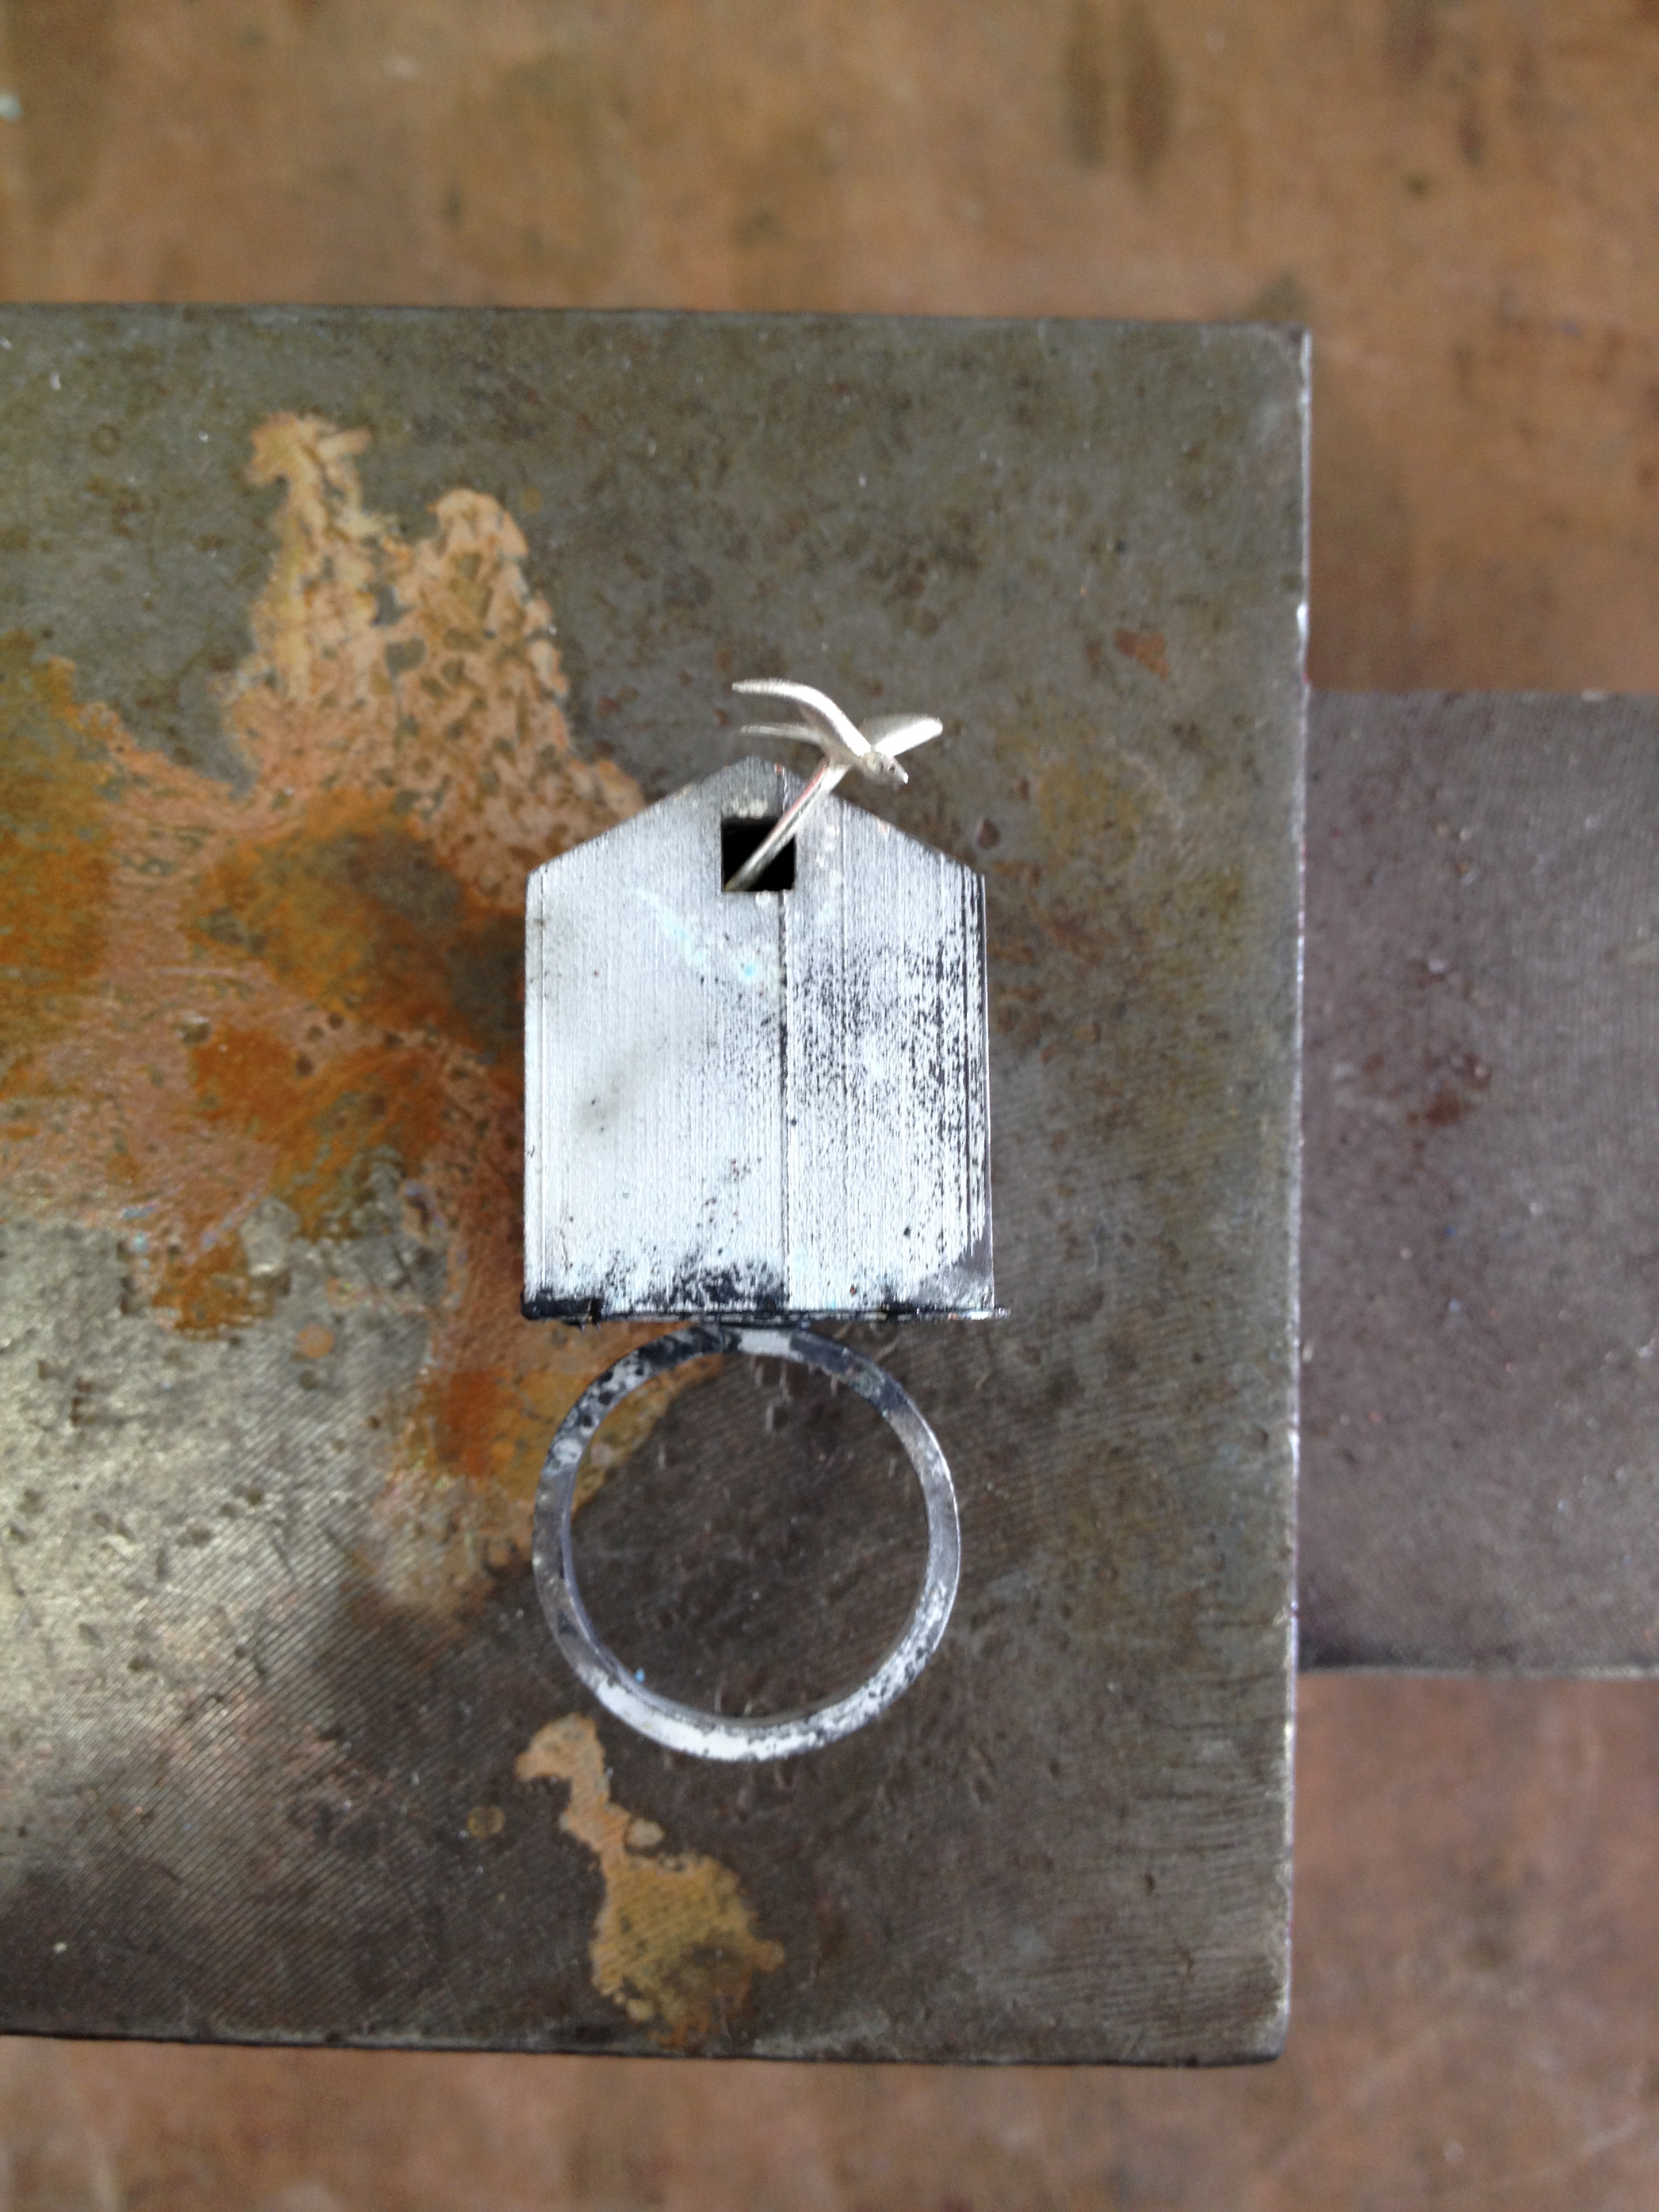
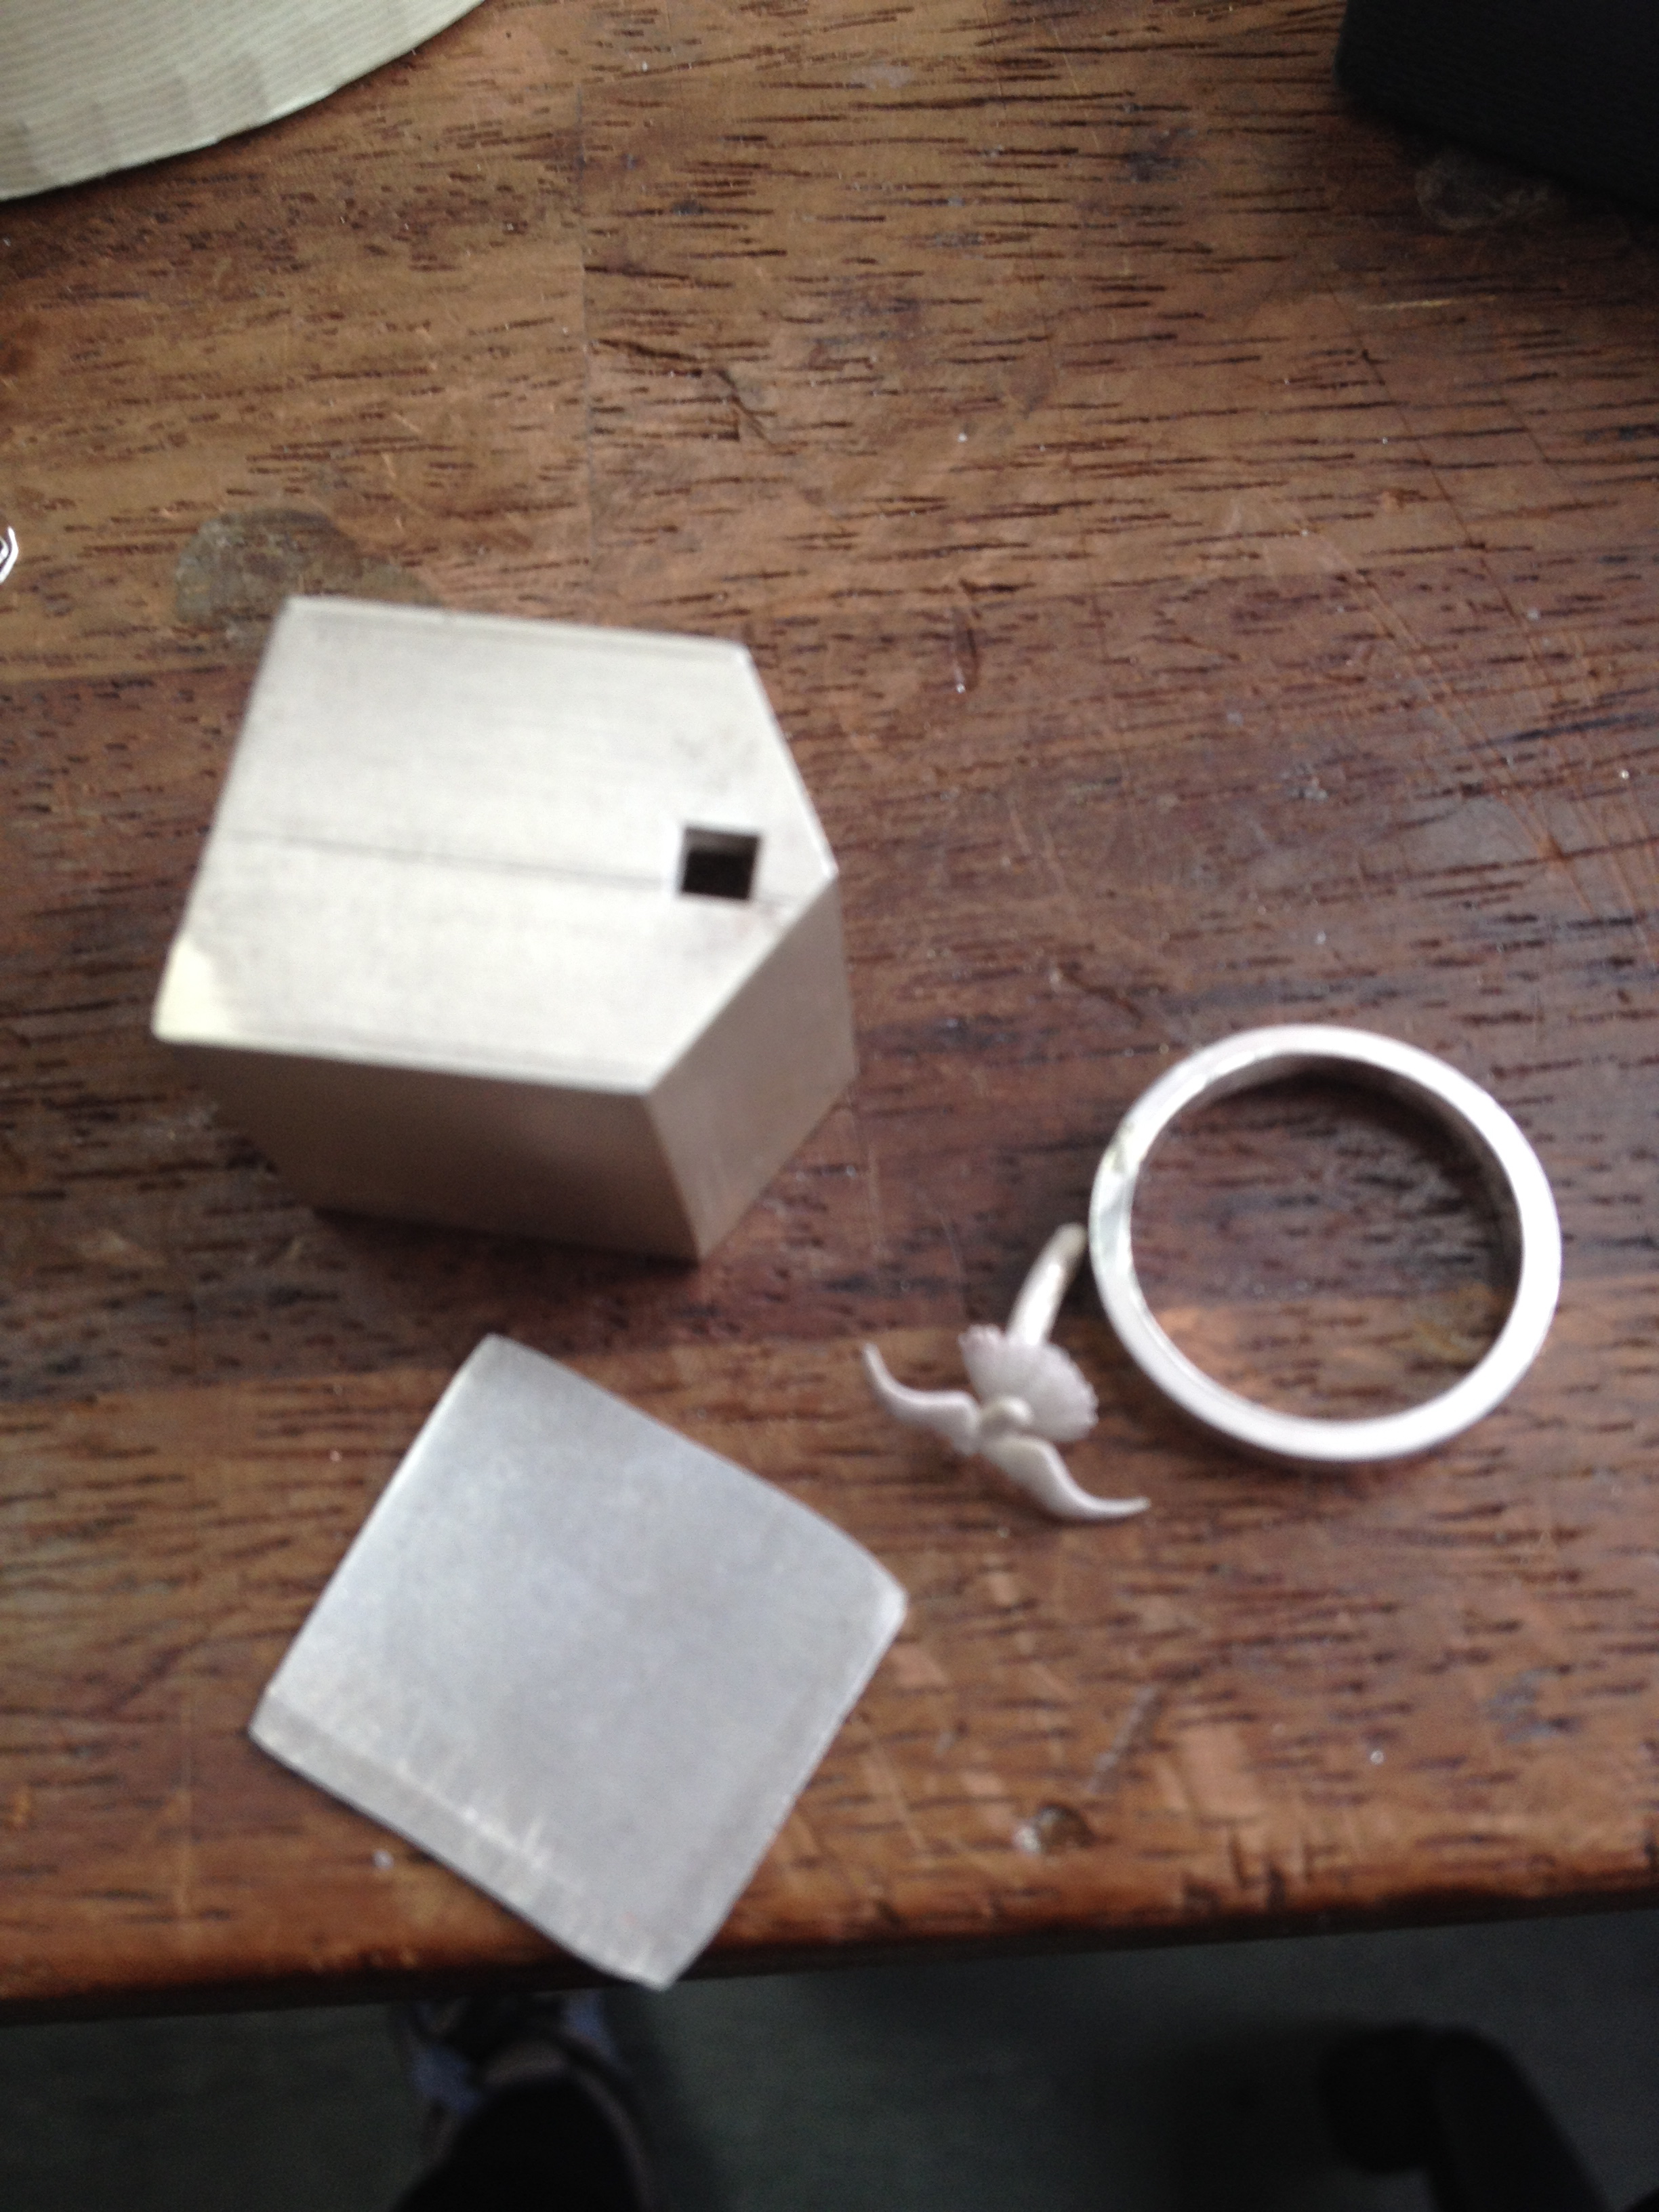
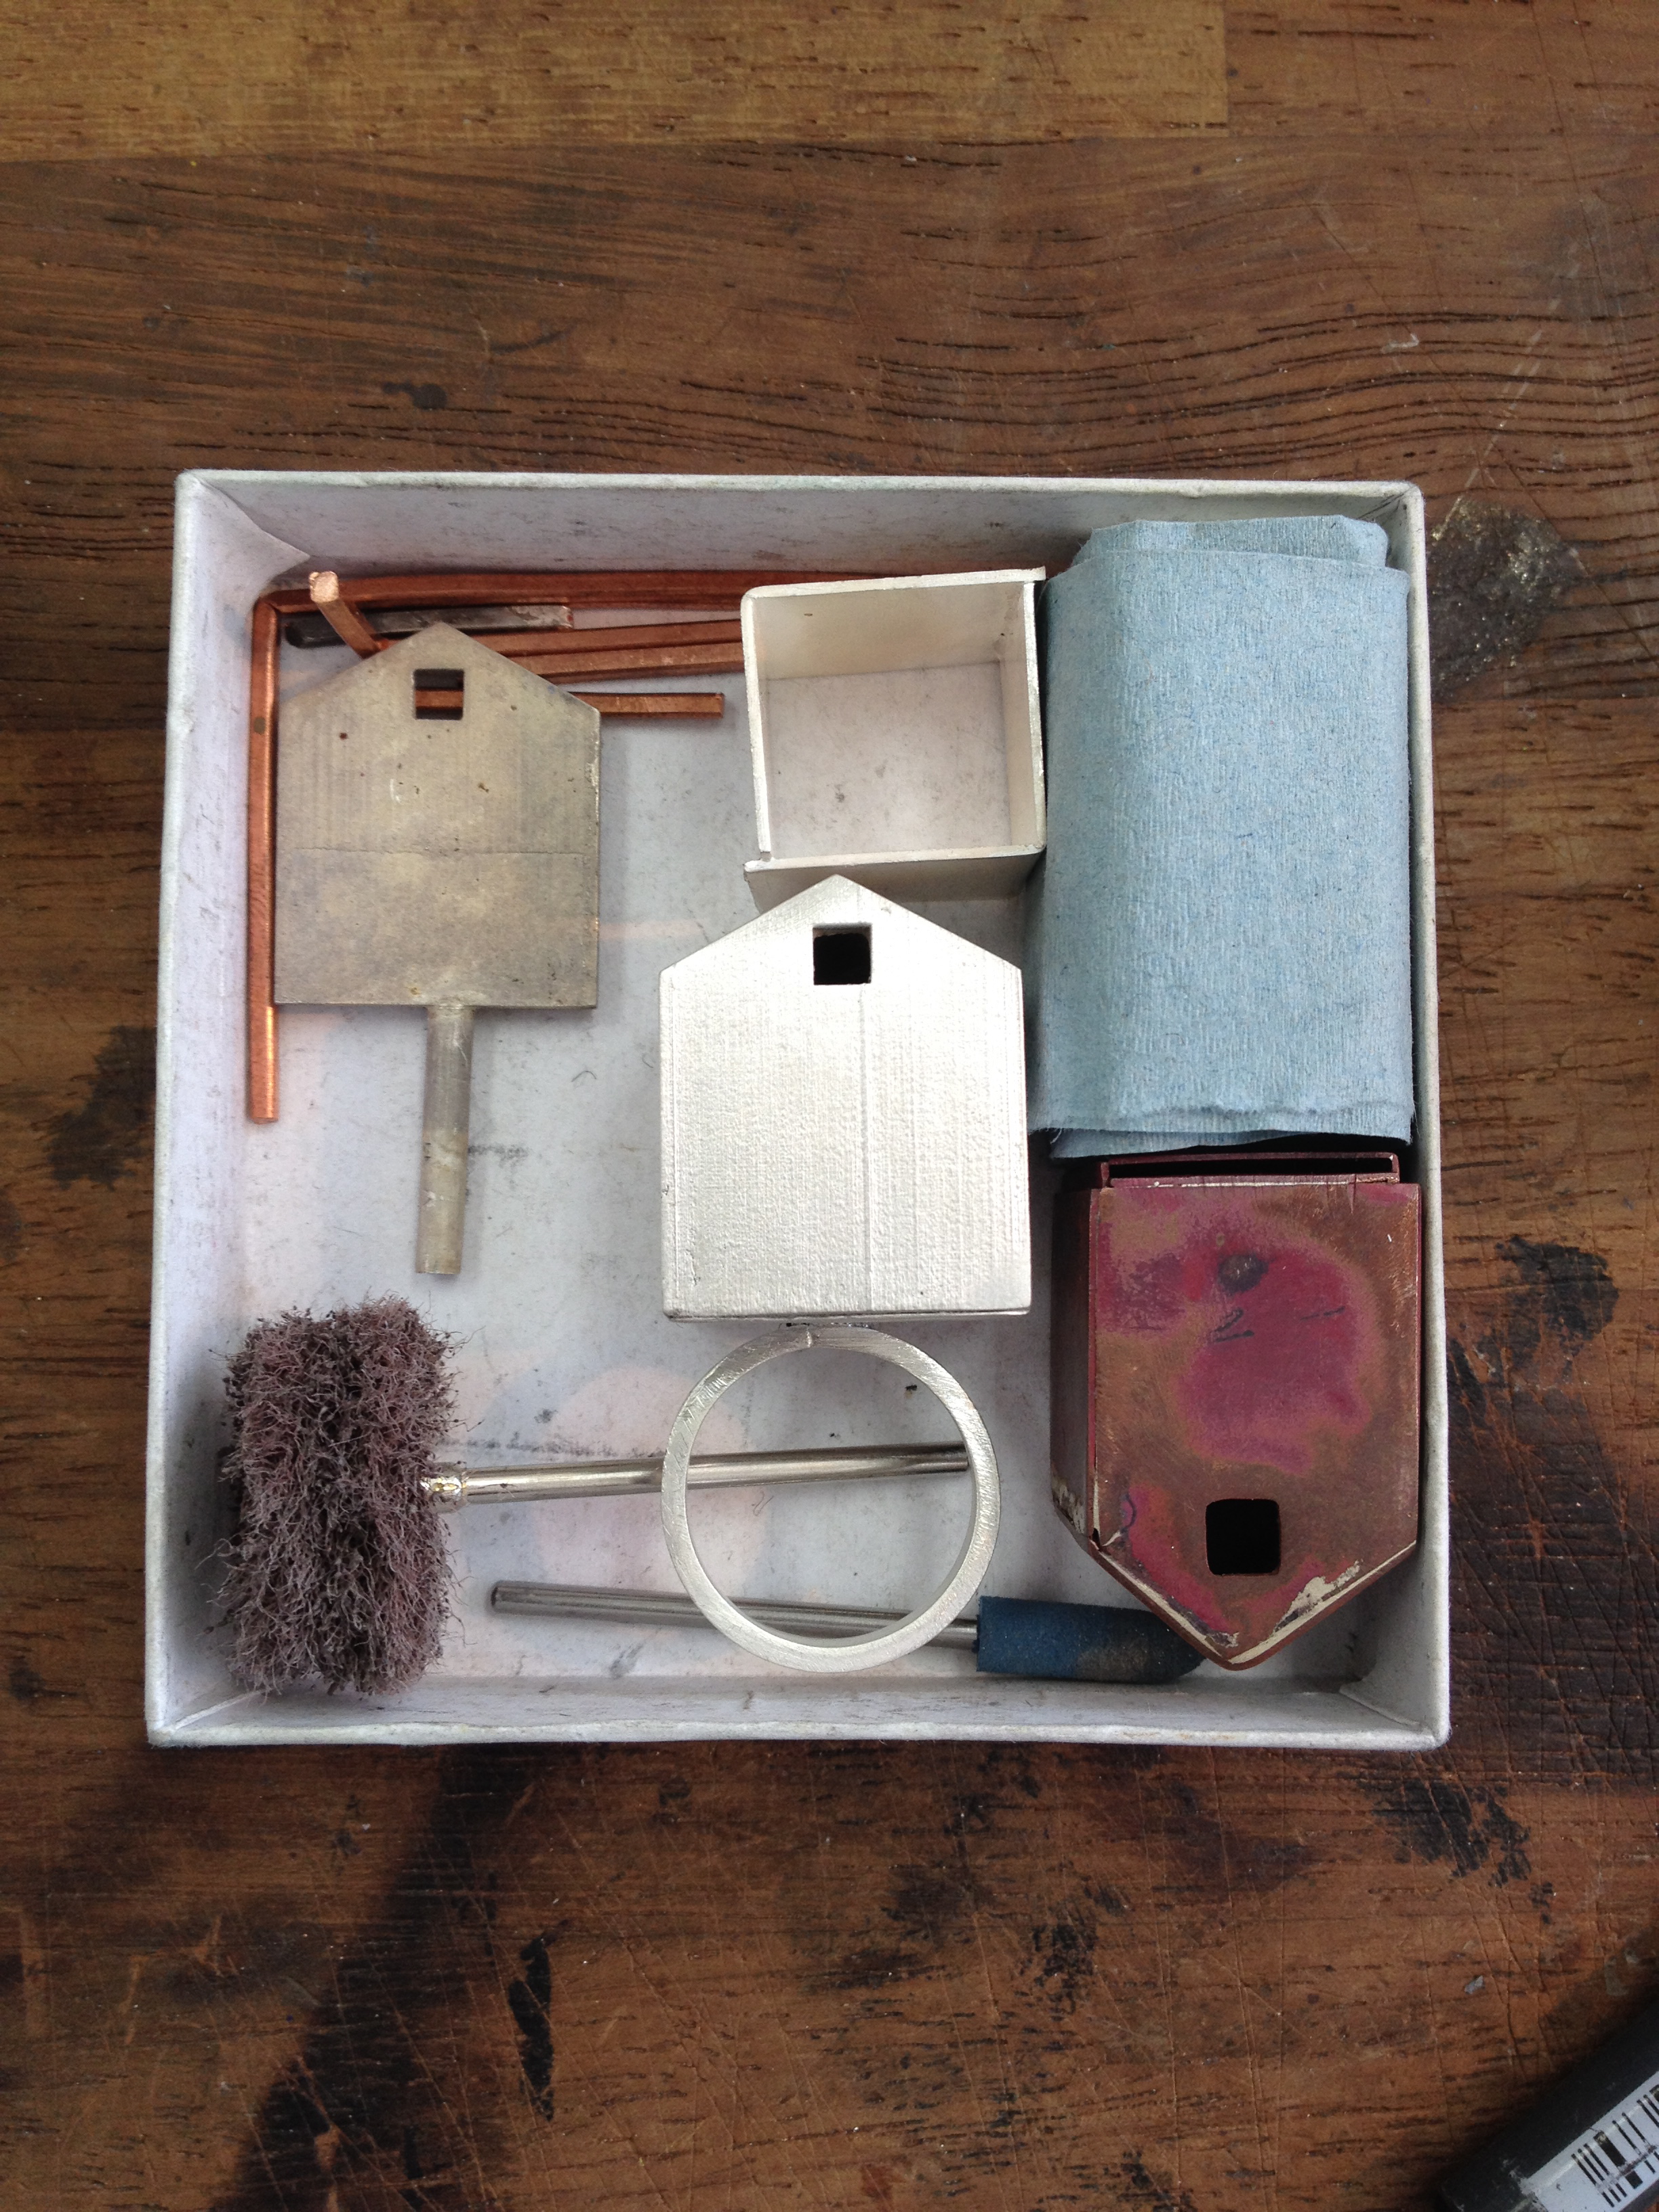
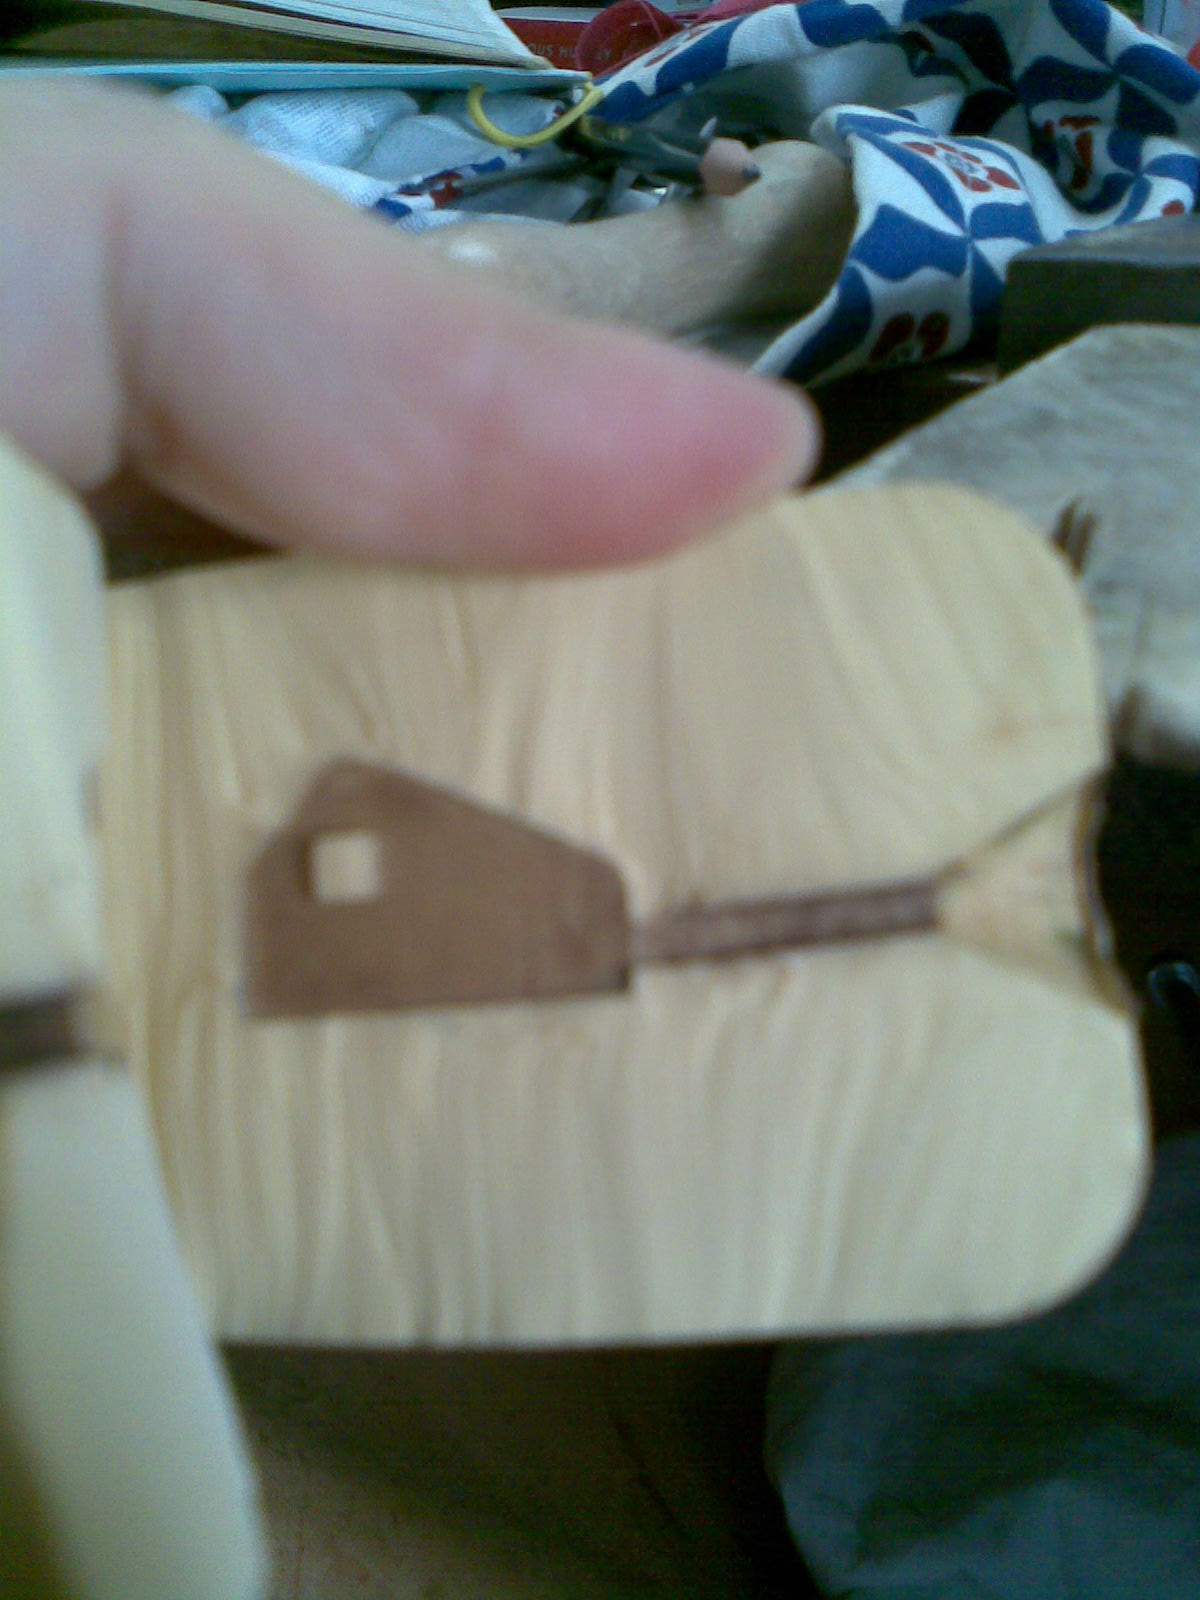
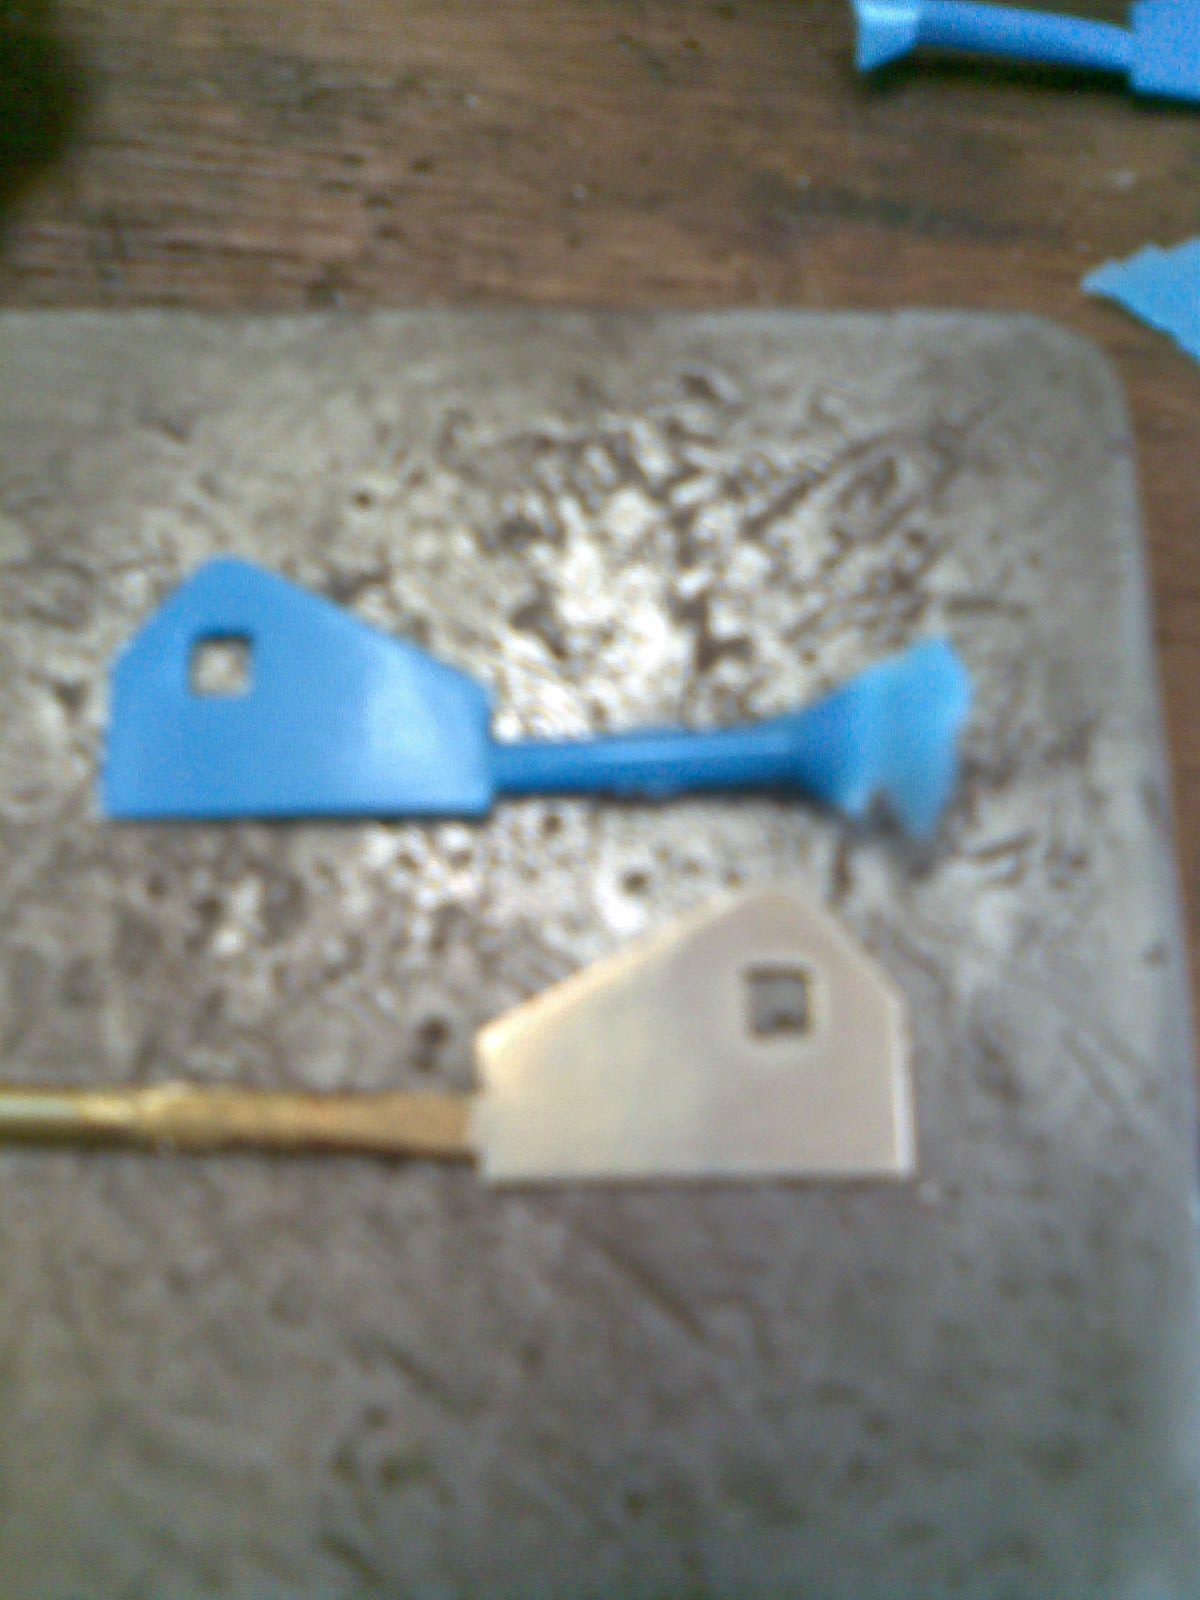
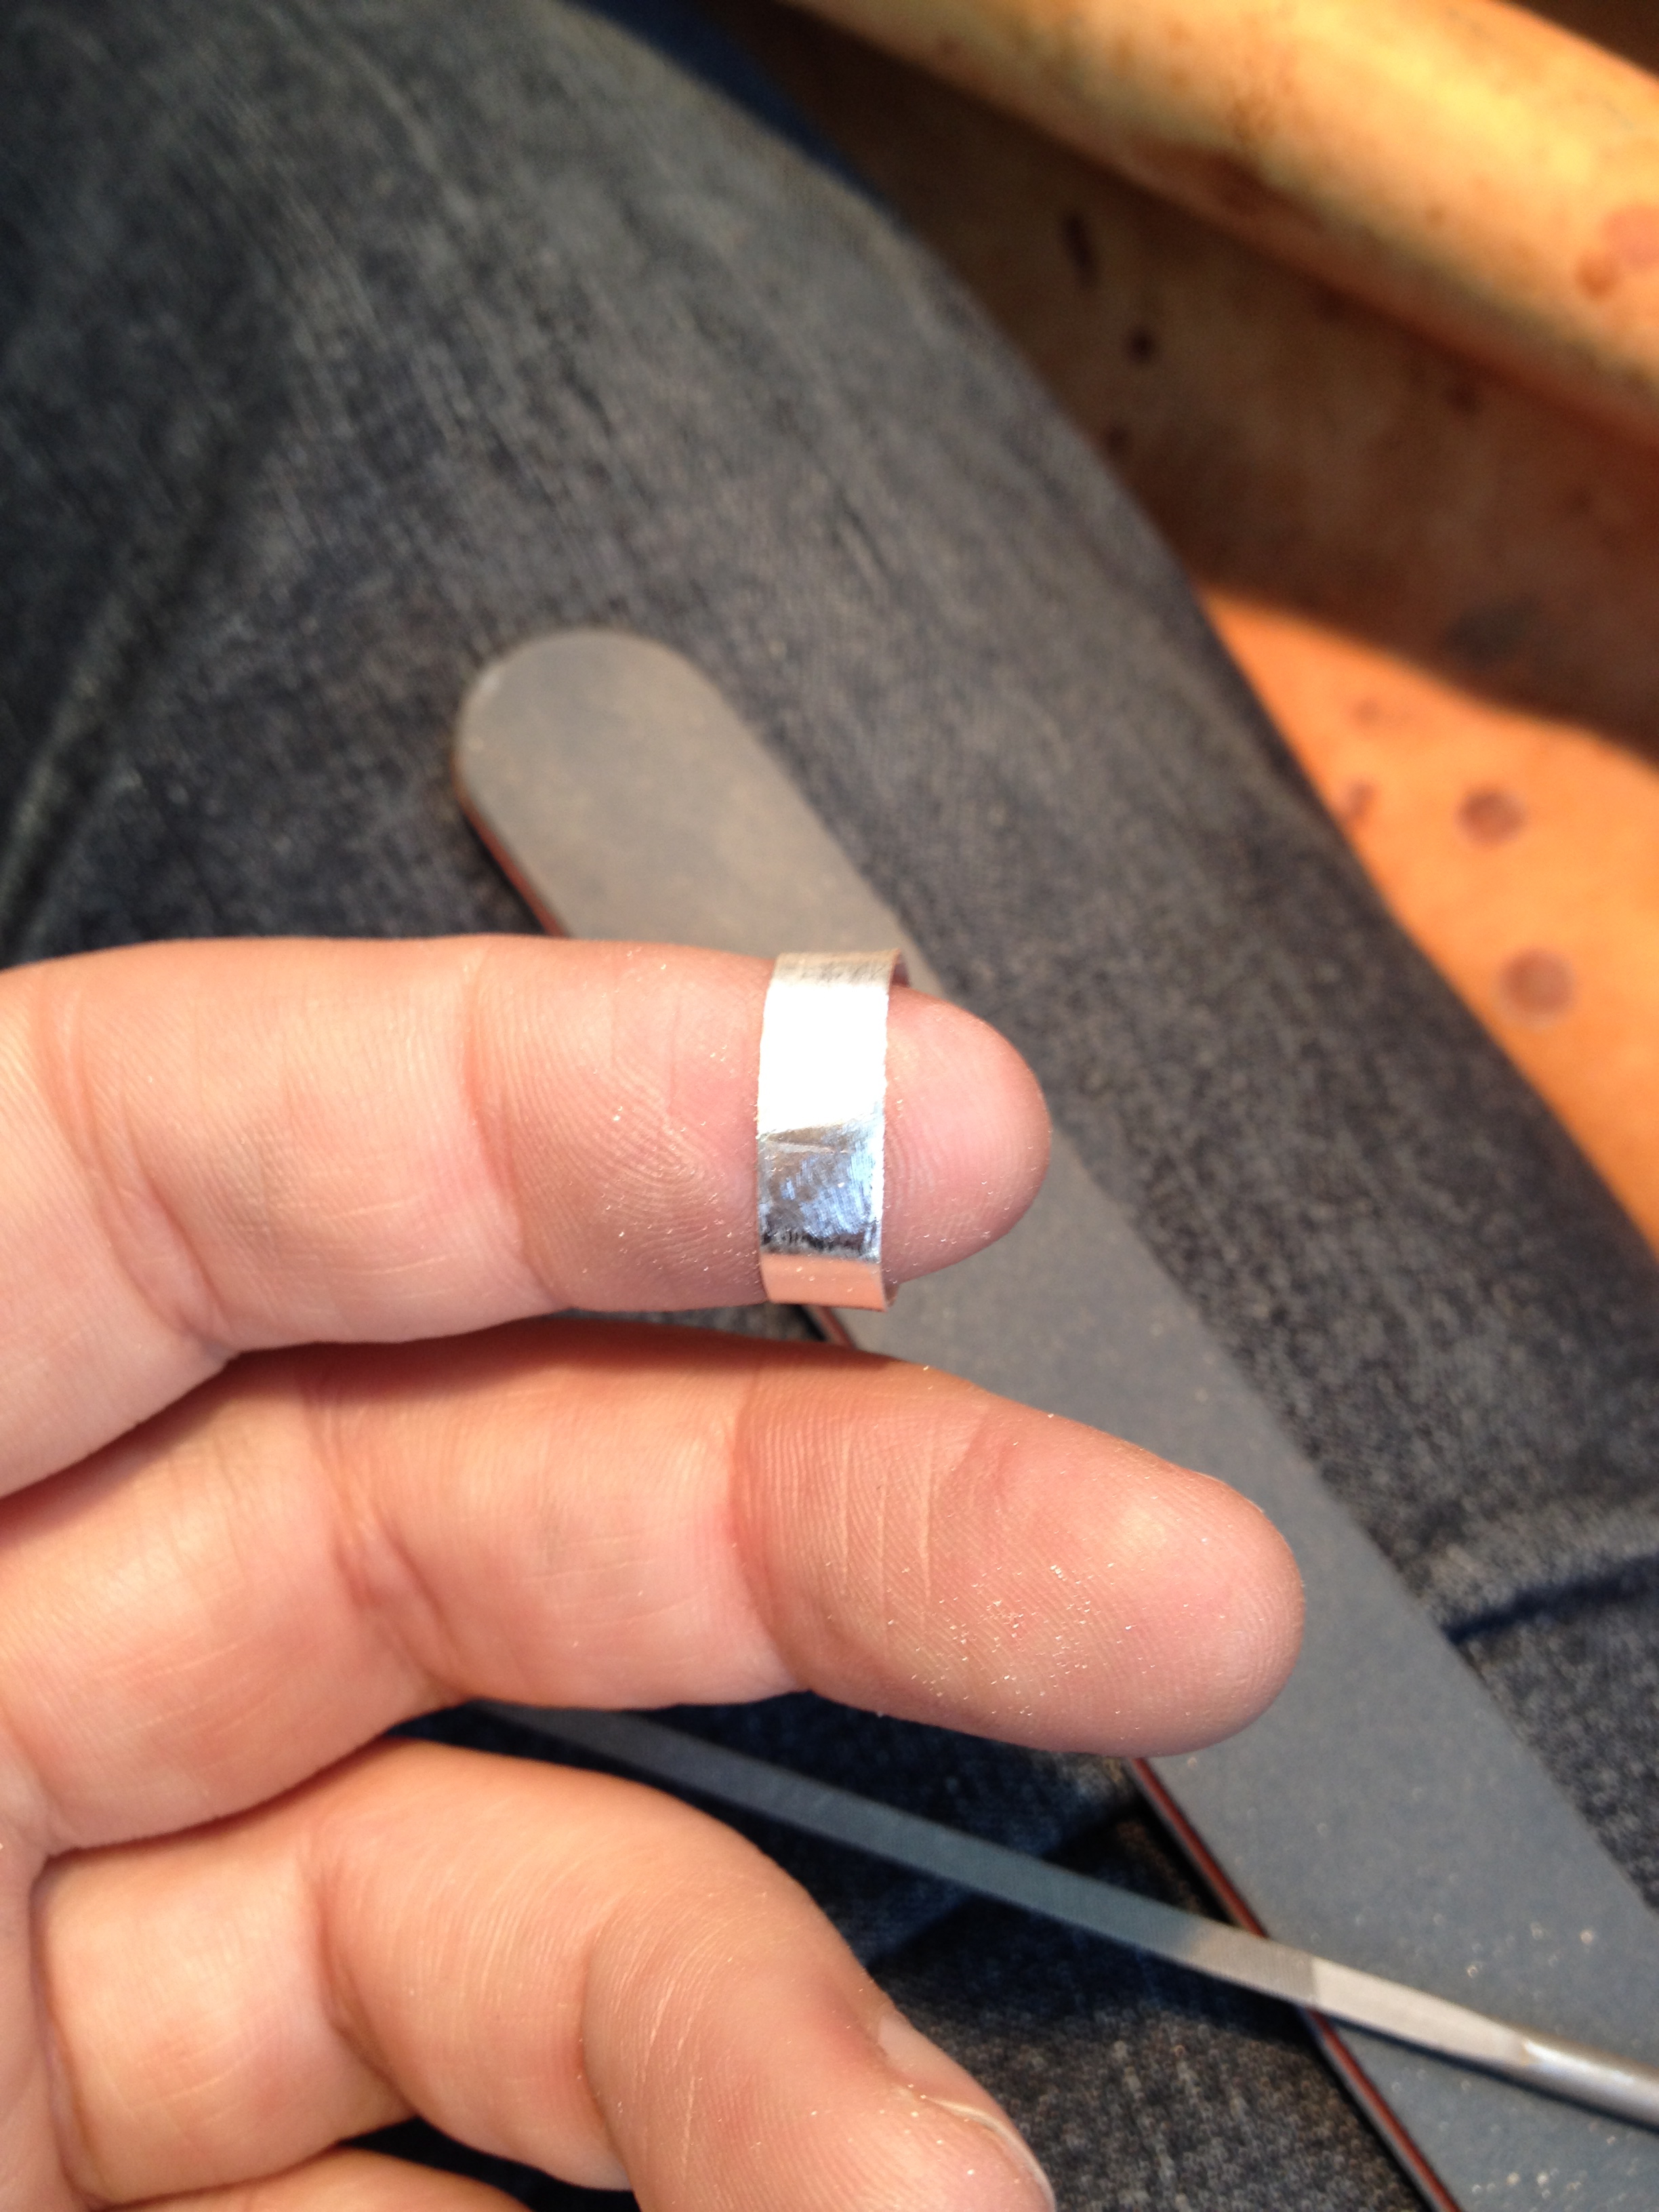
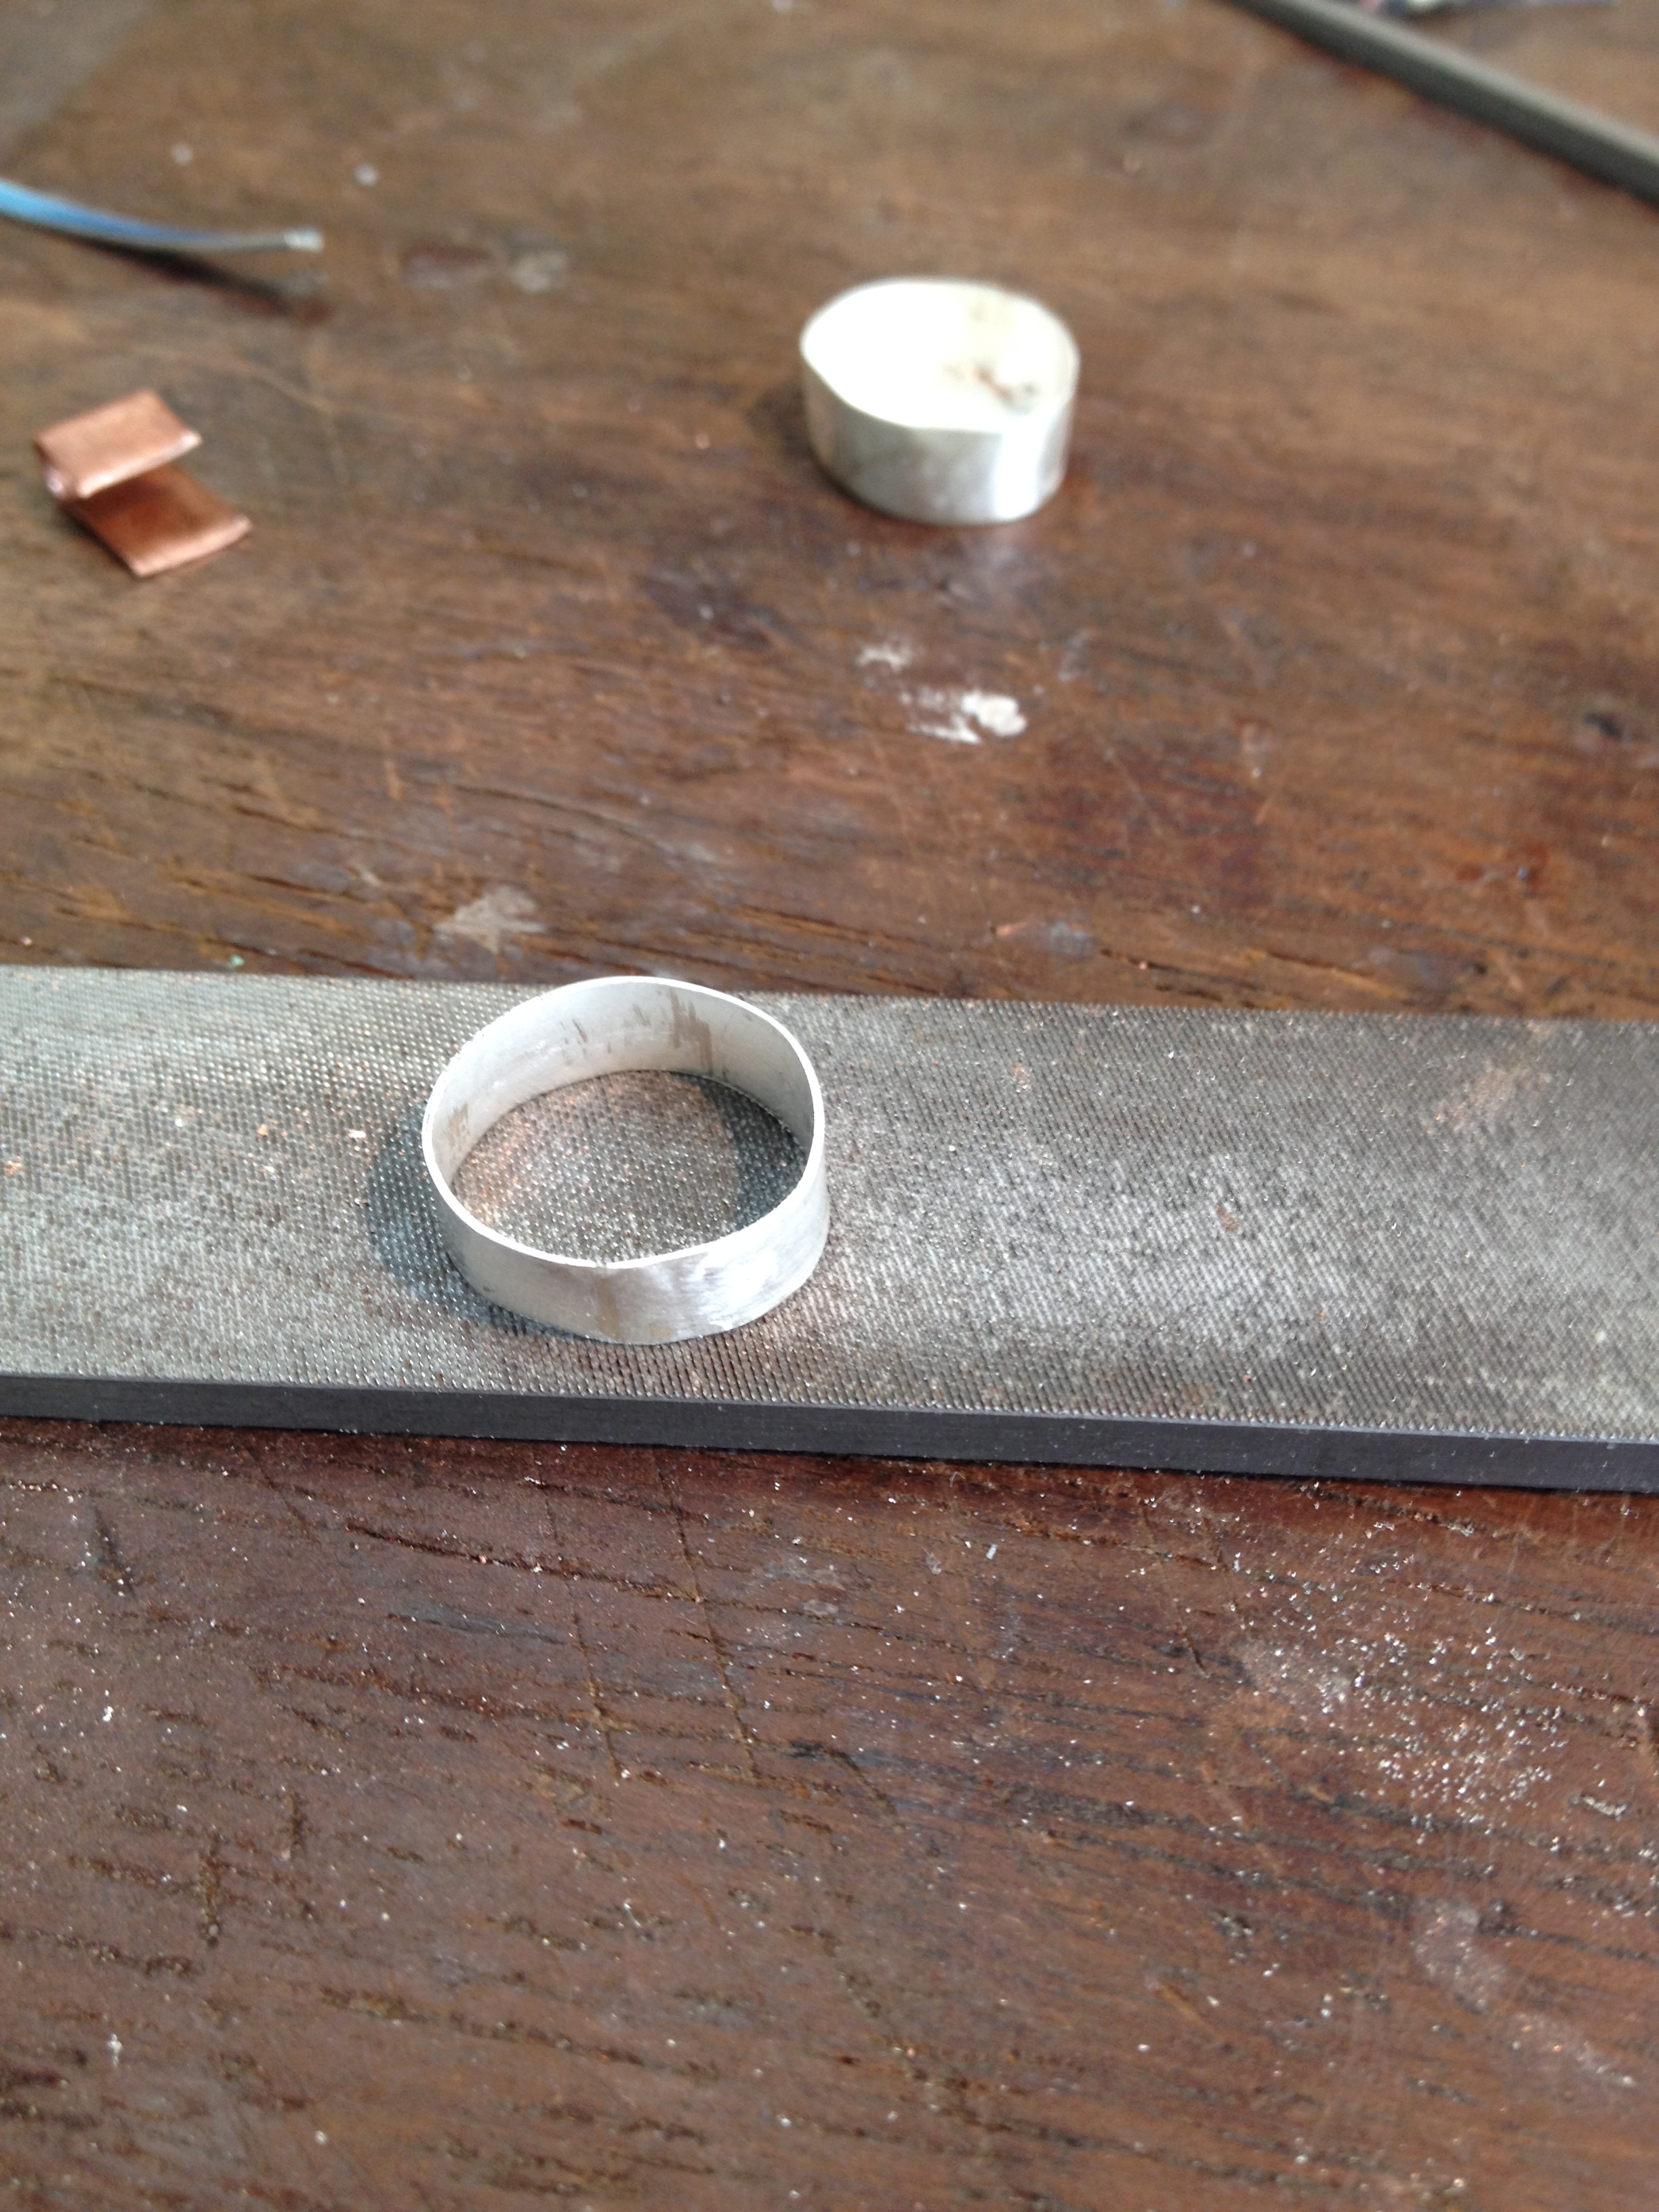
I started the day with a little silver house, which I designed several months ago, using CAD. The design is very much based on my handmade house rings – only much more symmetrical ;)) I also designed the wee bird on CAD at the same time as the house and handmade the round ring shank more recently.
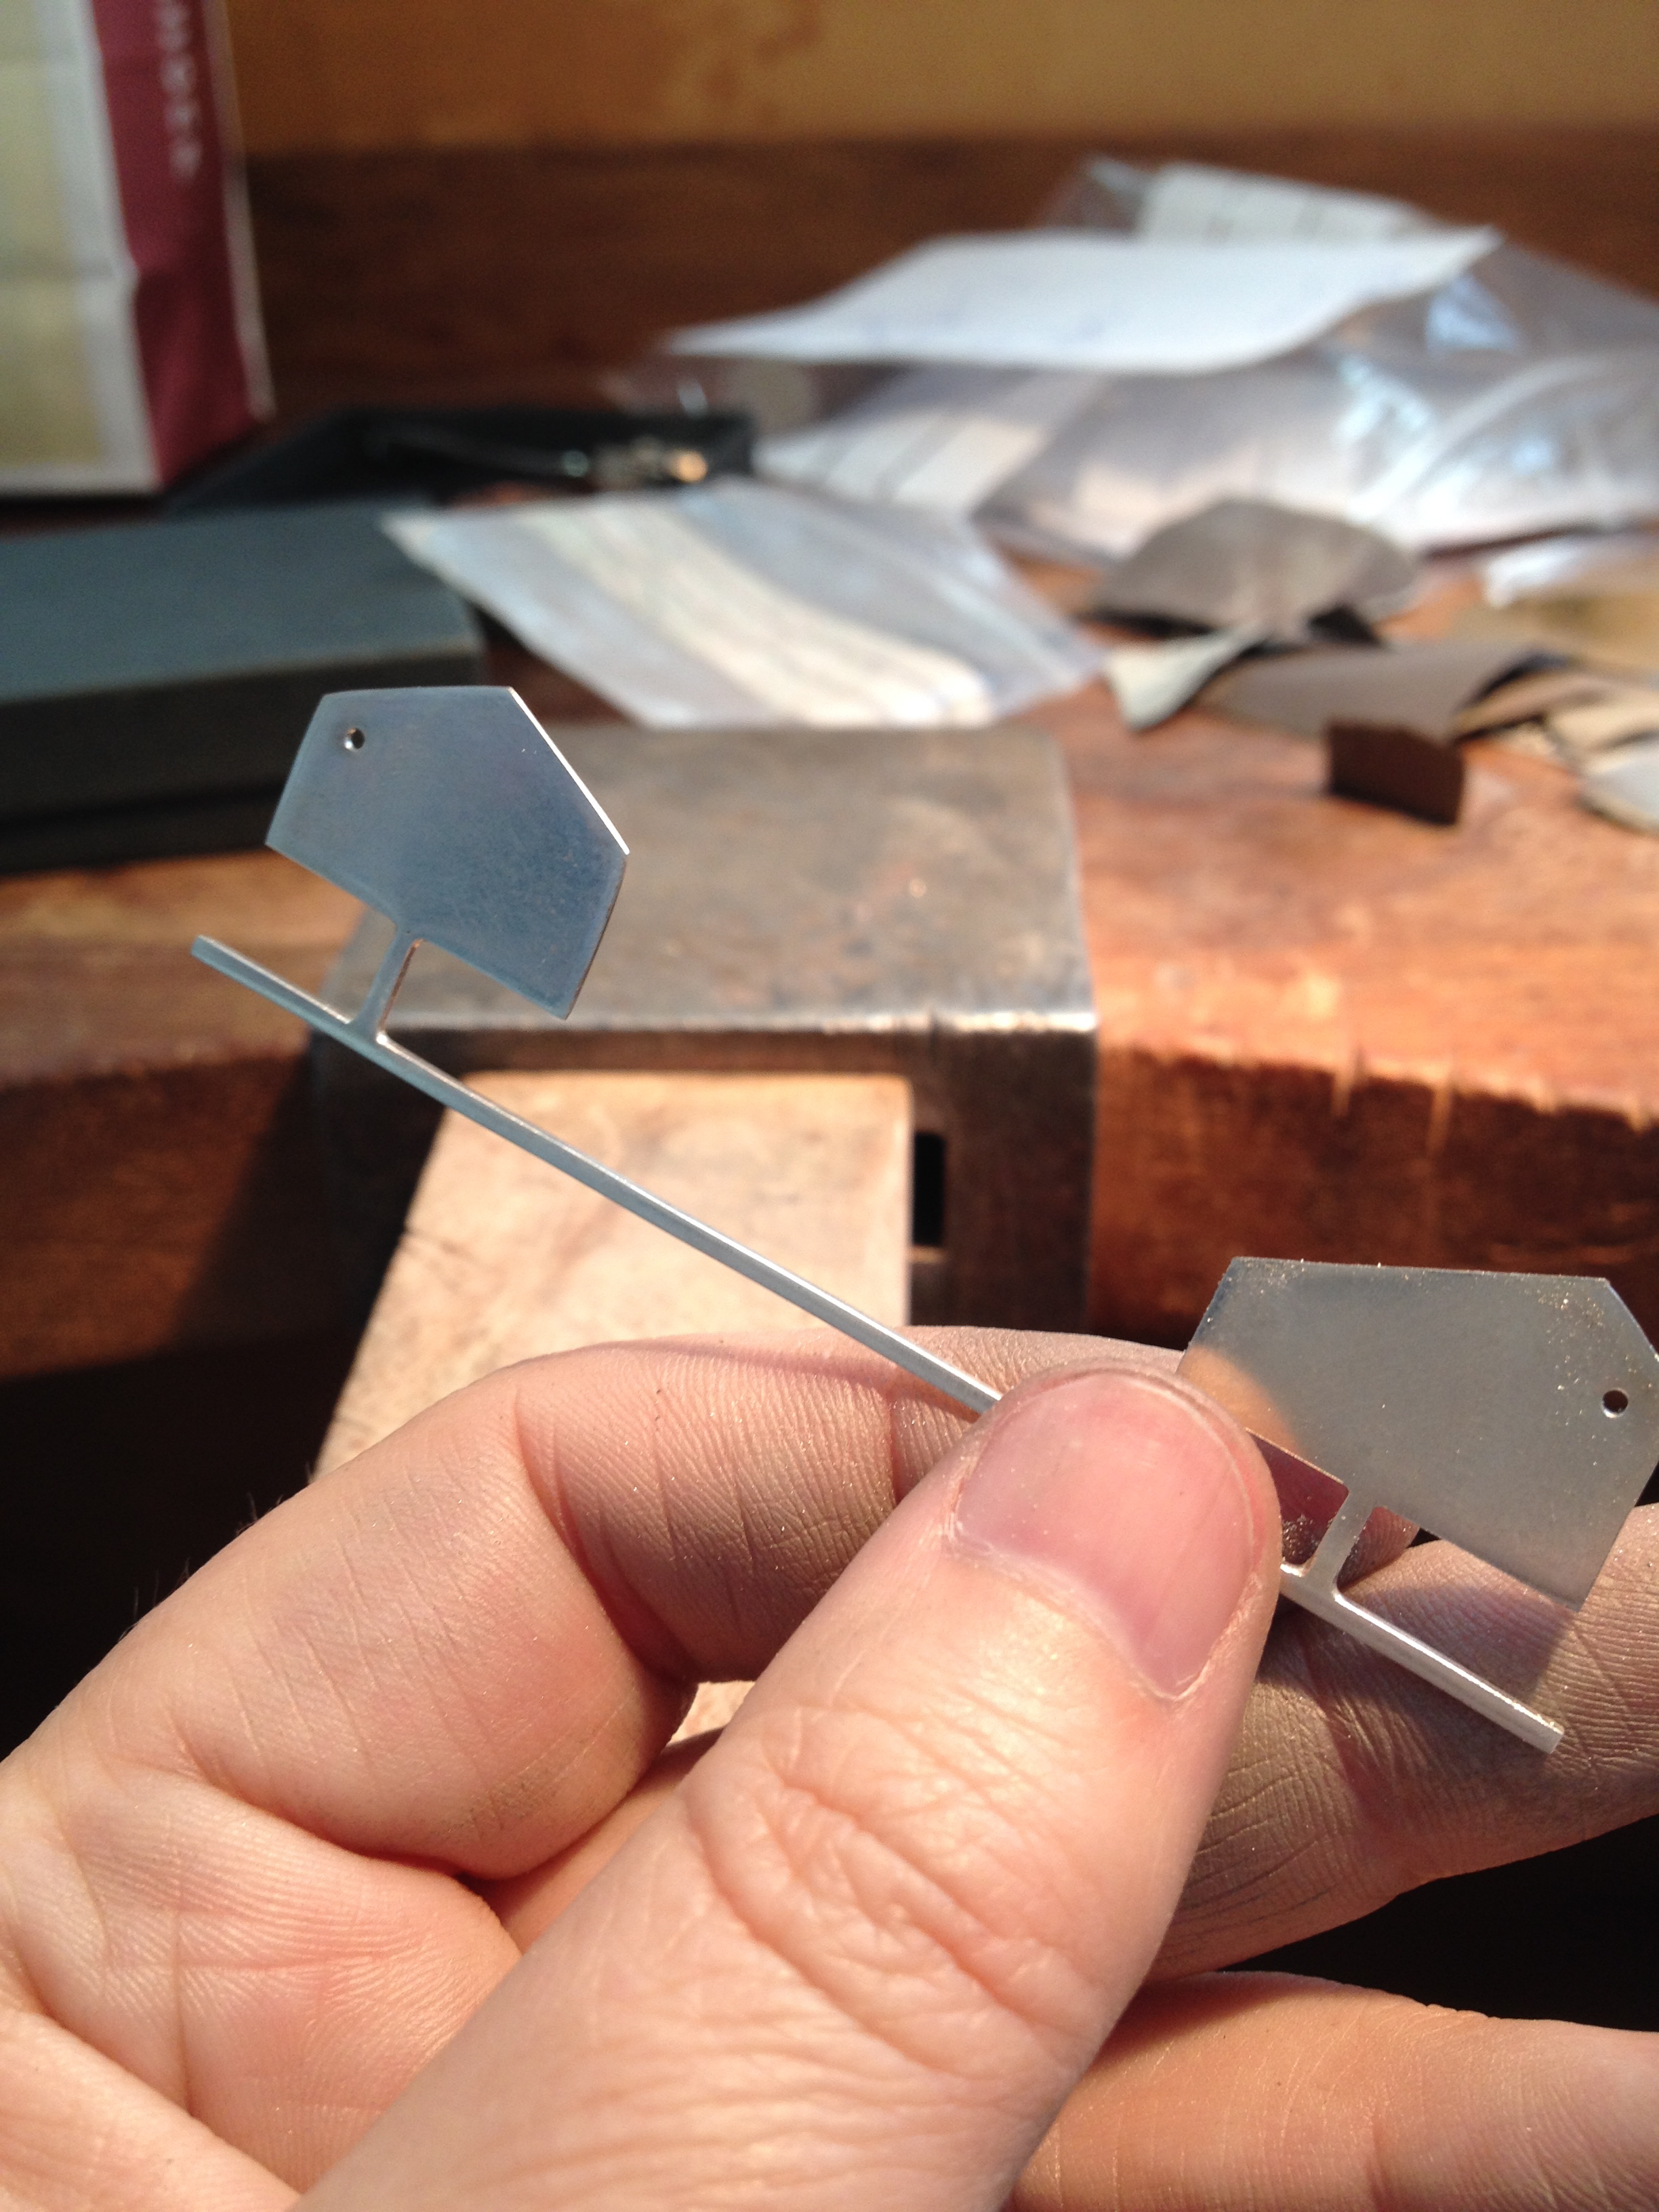
 The wee bird had a fat sprue, which had originally attached it onto the casting tree. I spent most of the morning filing this into a narrower, more elegant (I’d like to think) wire.
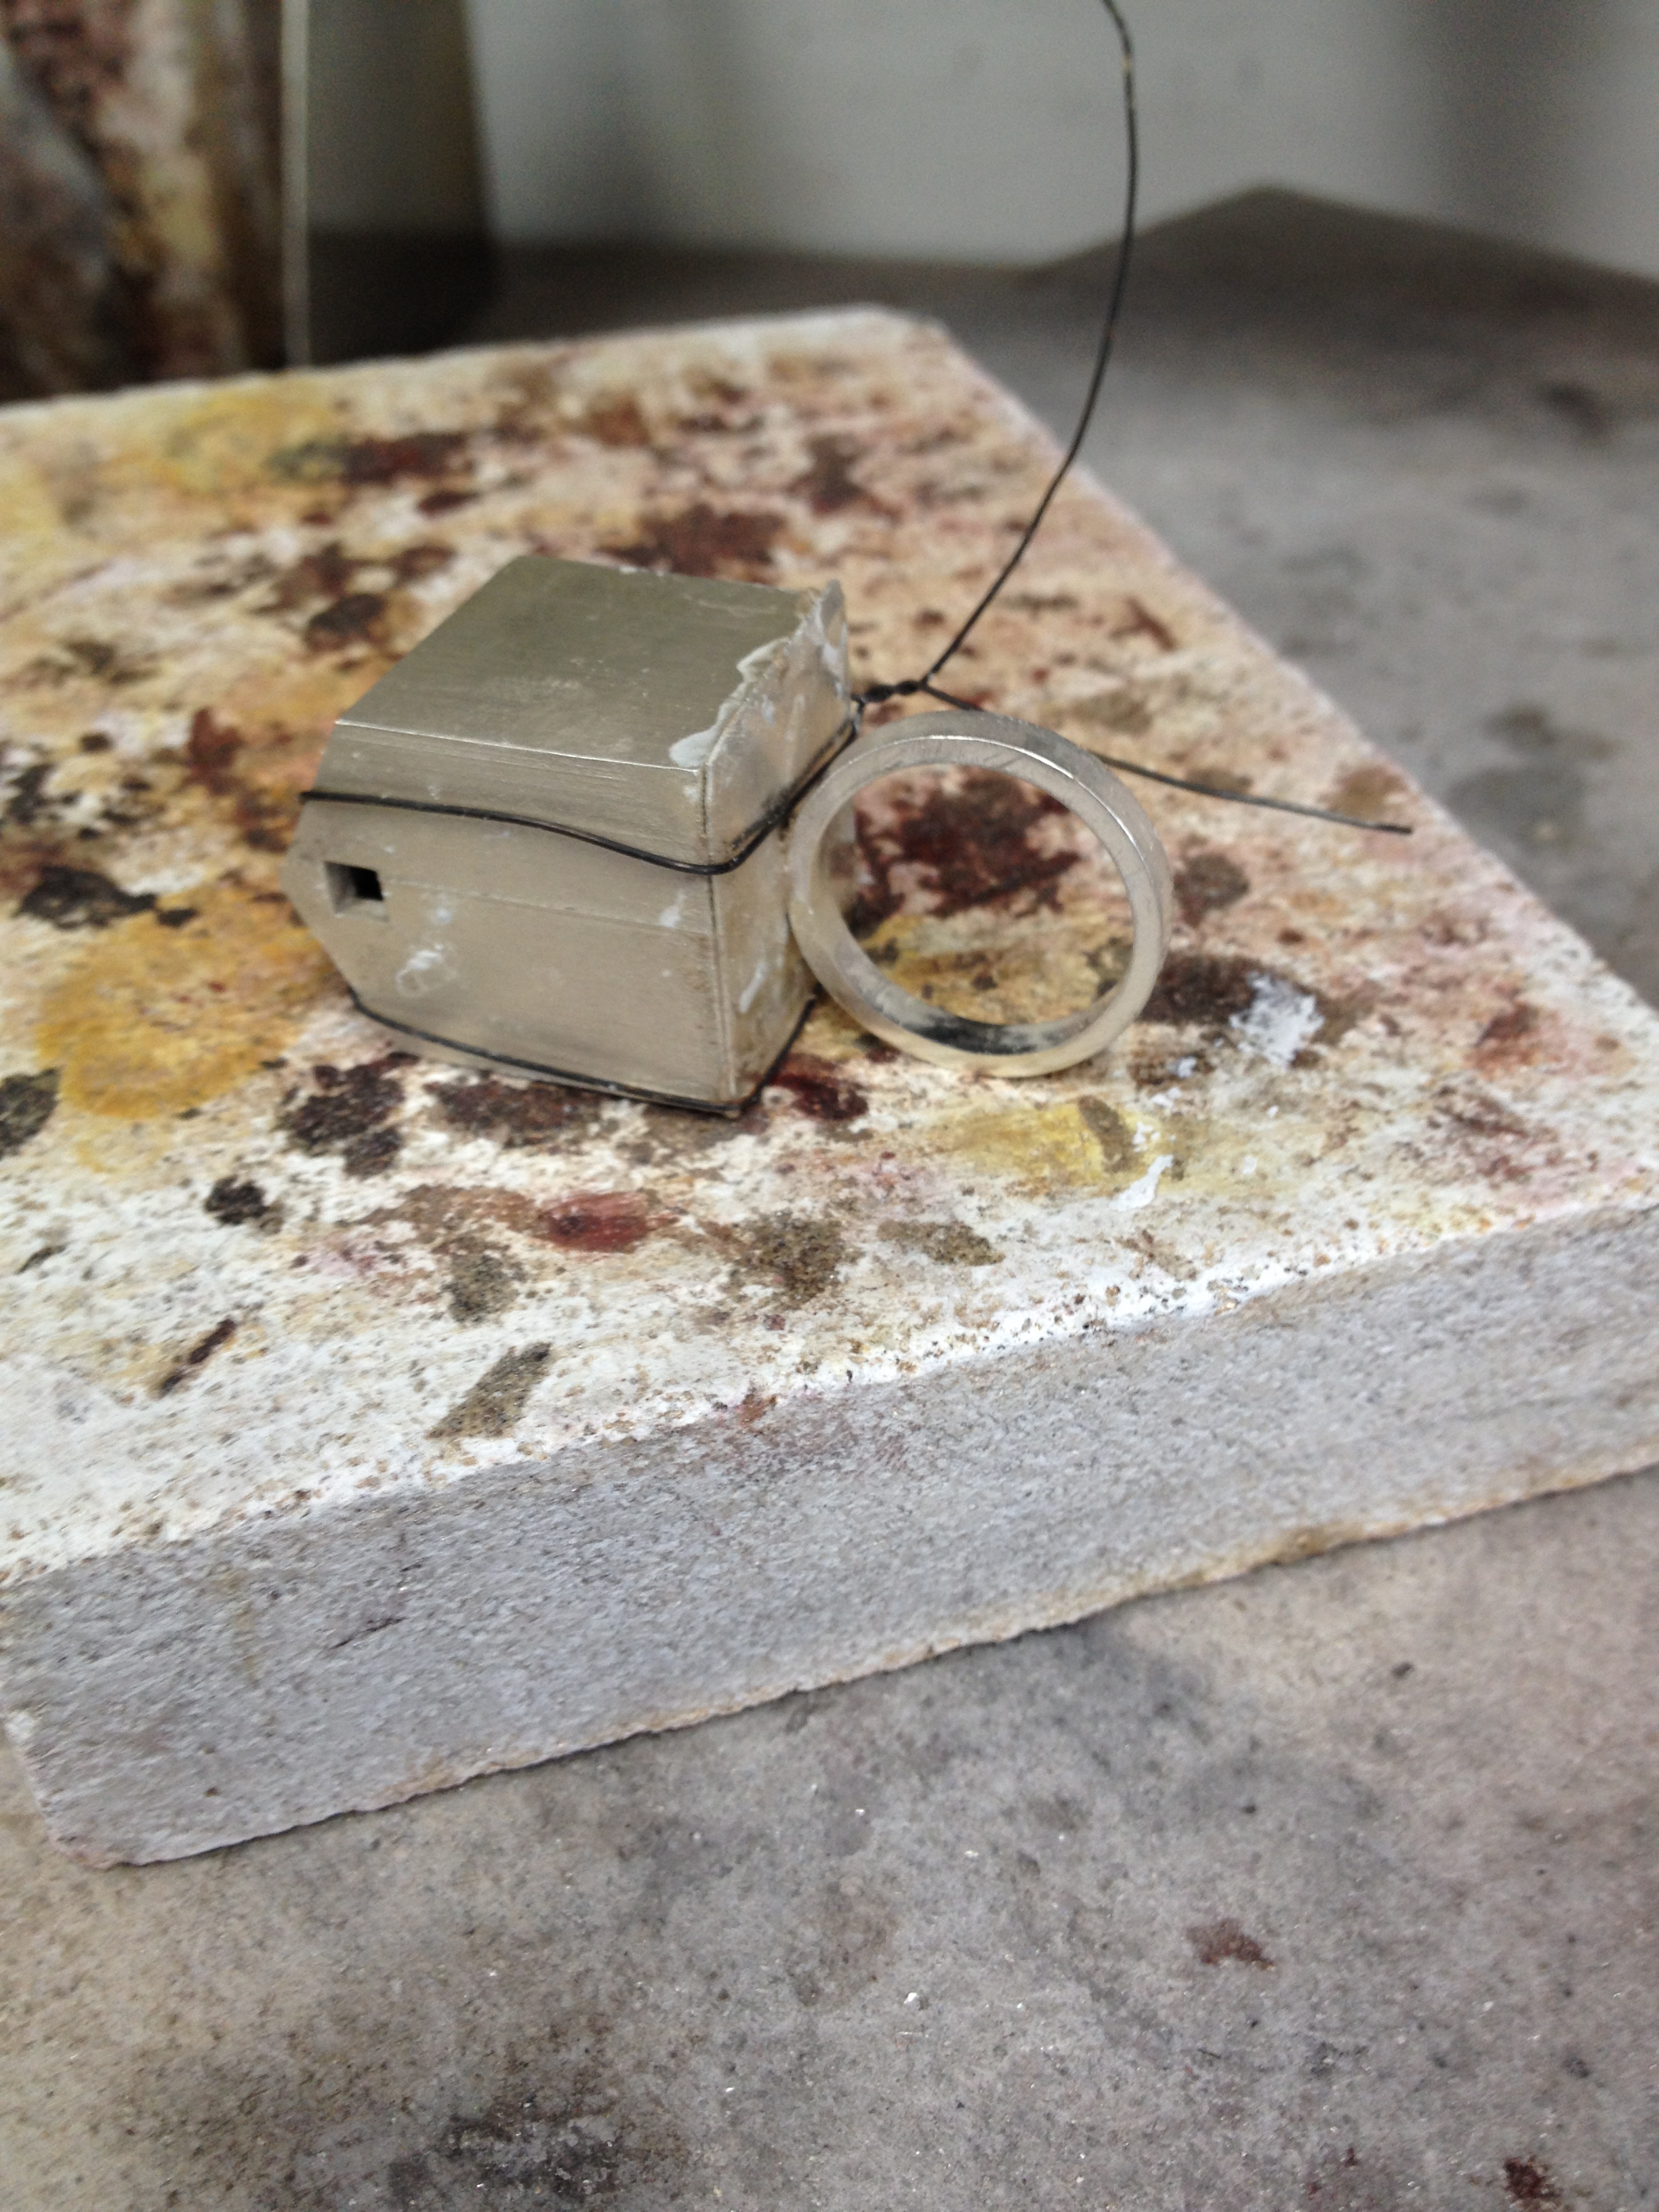
Next came the soldering…


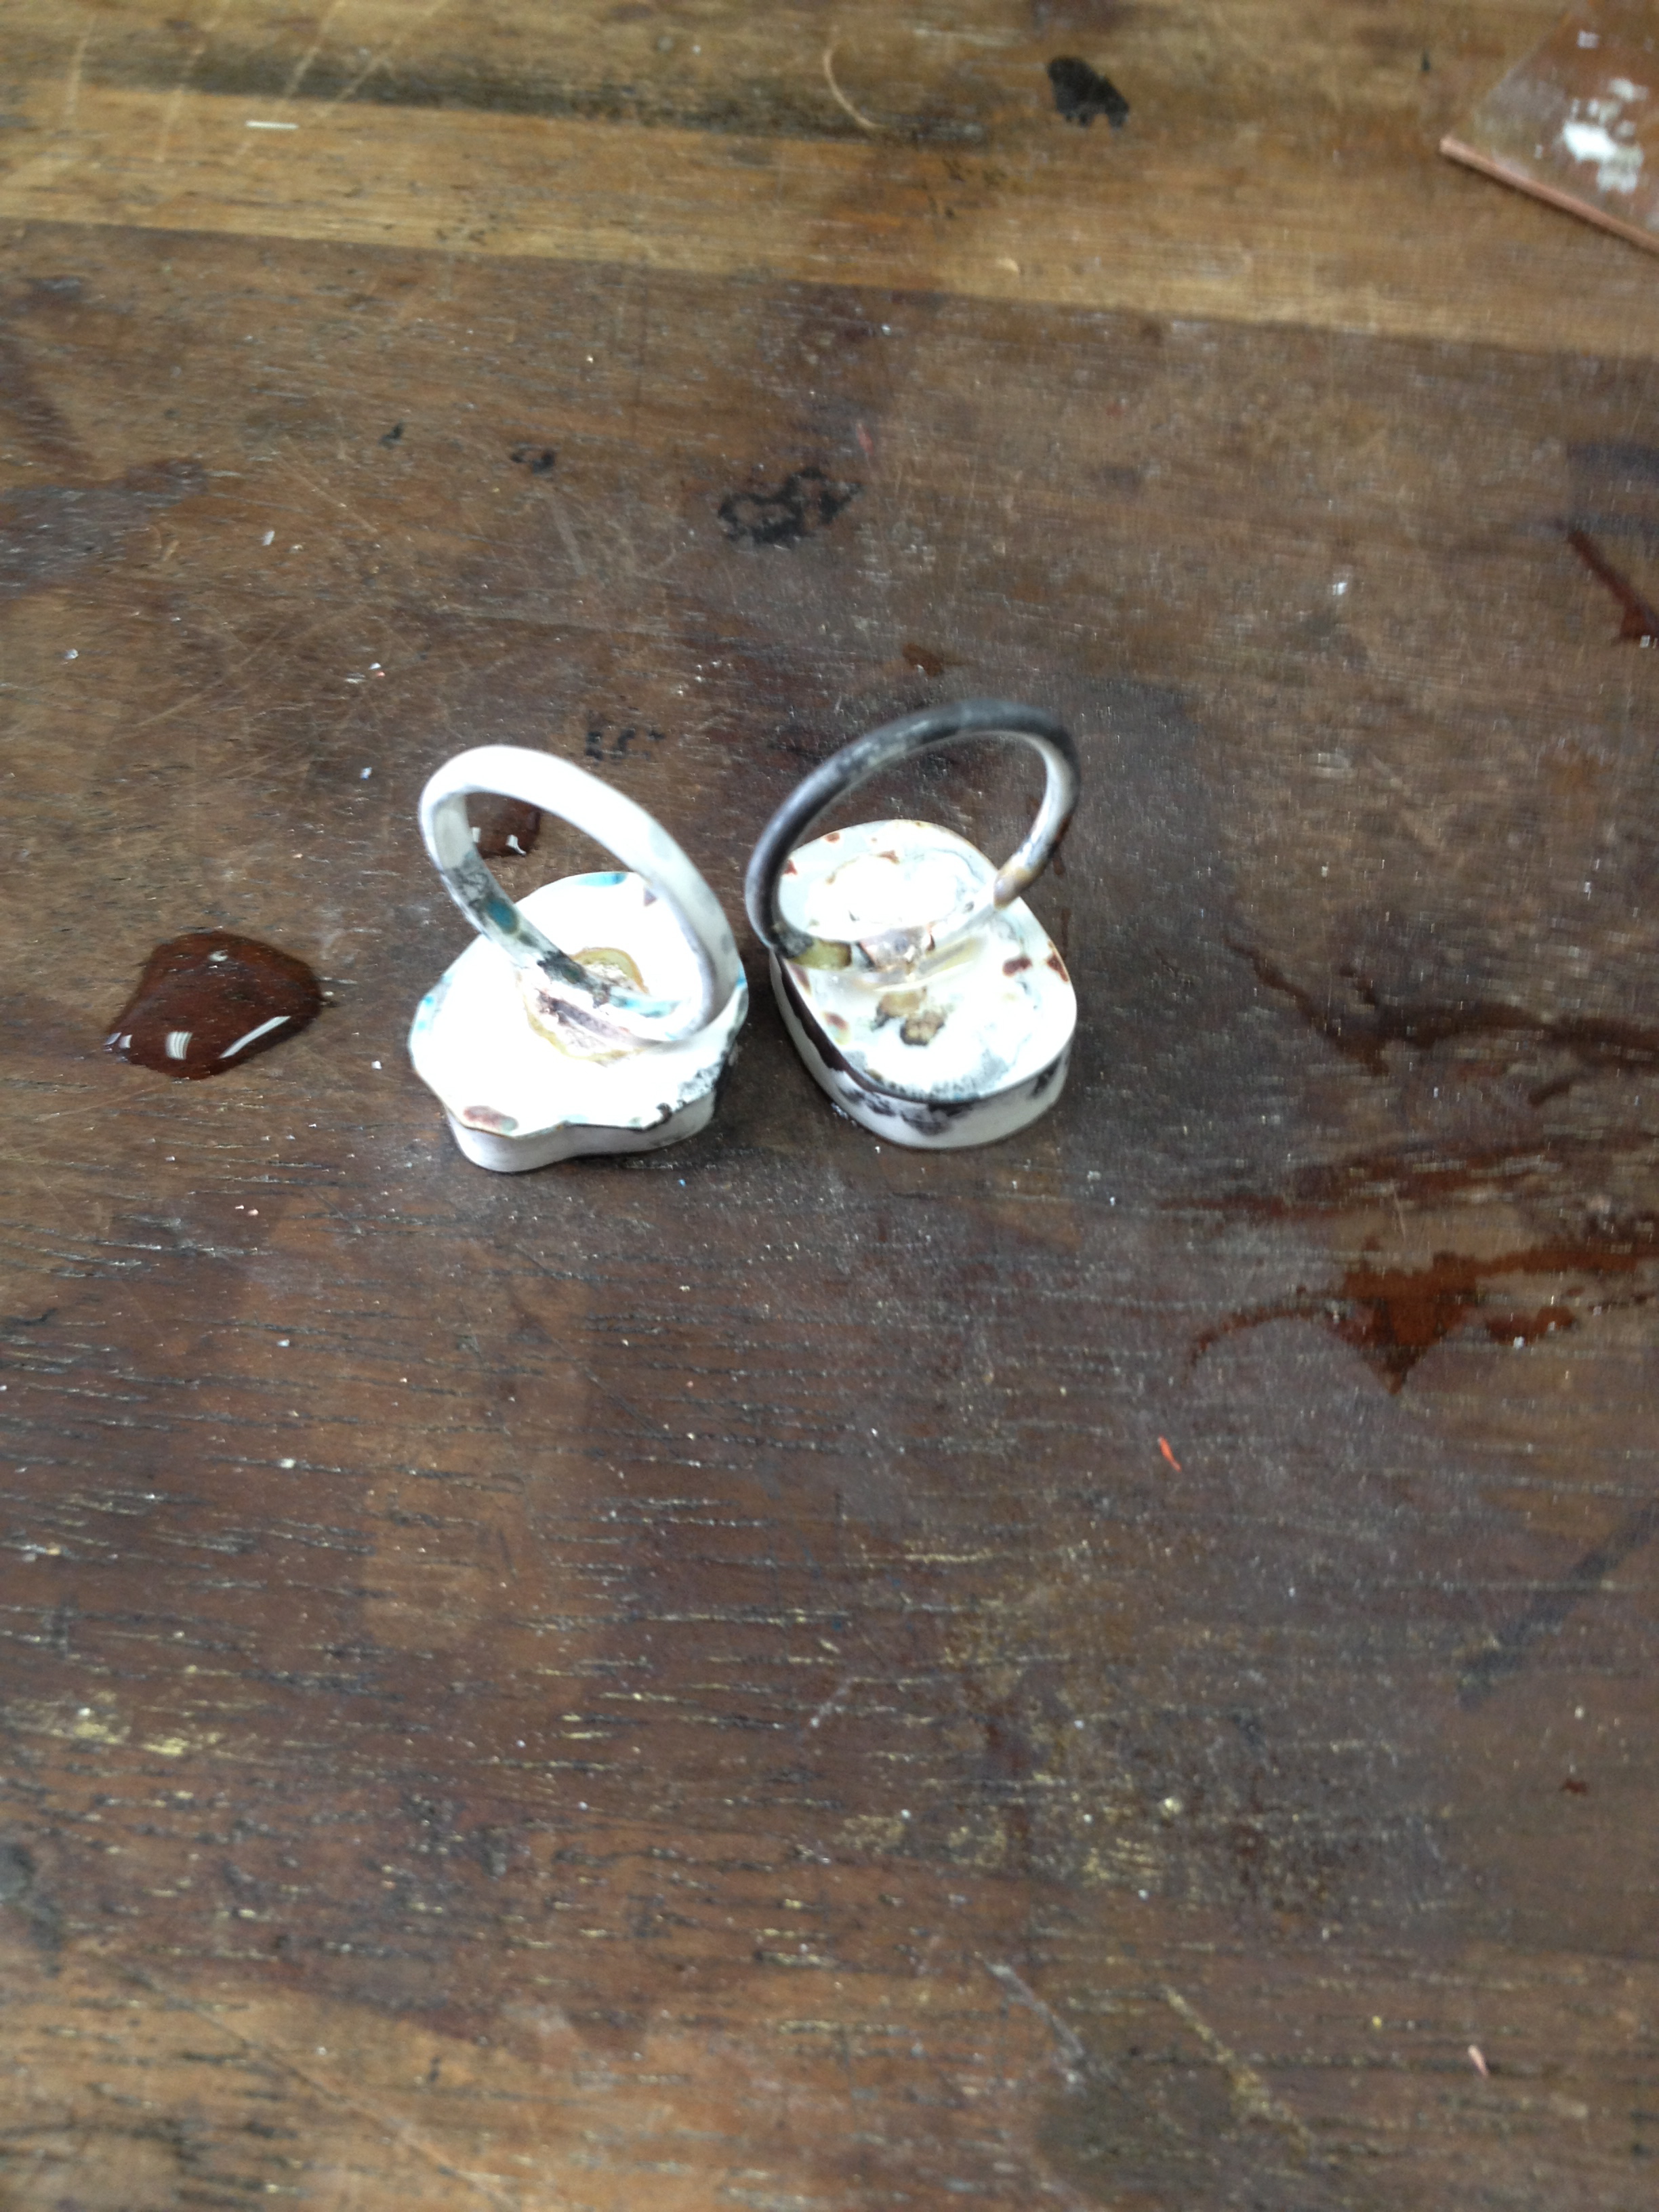
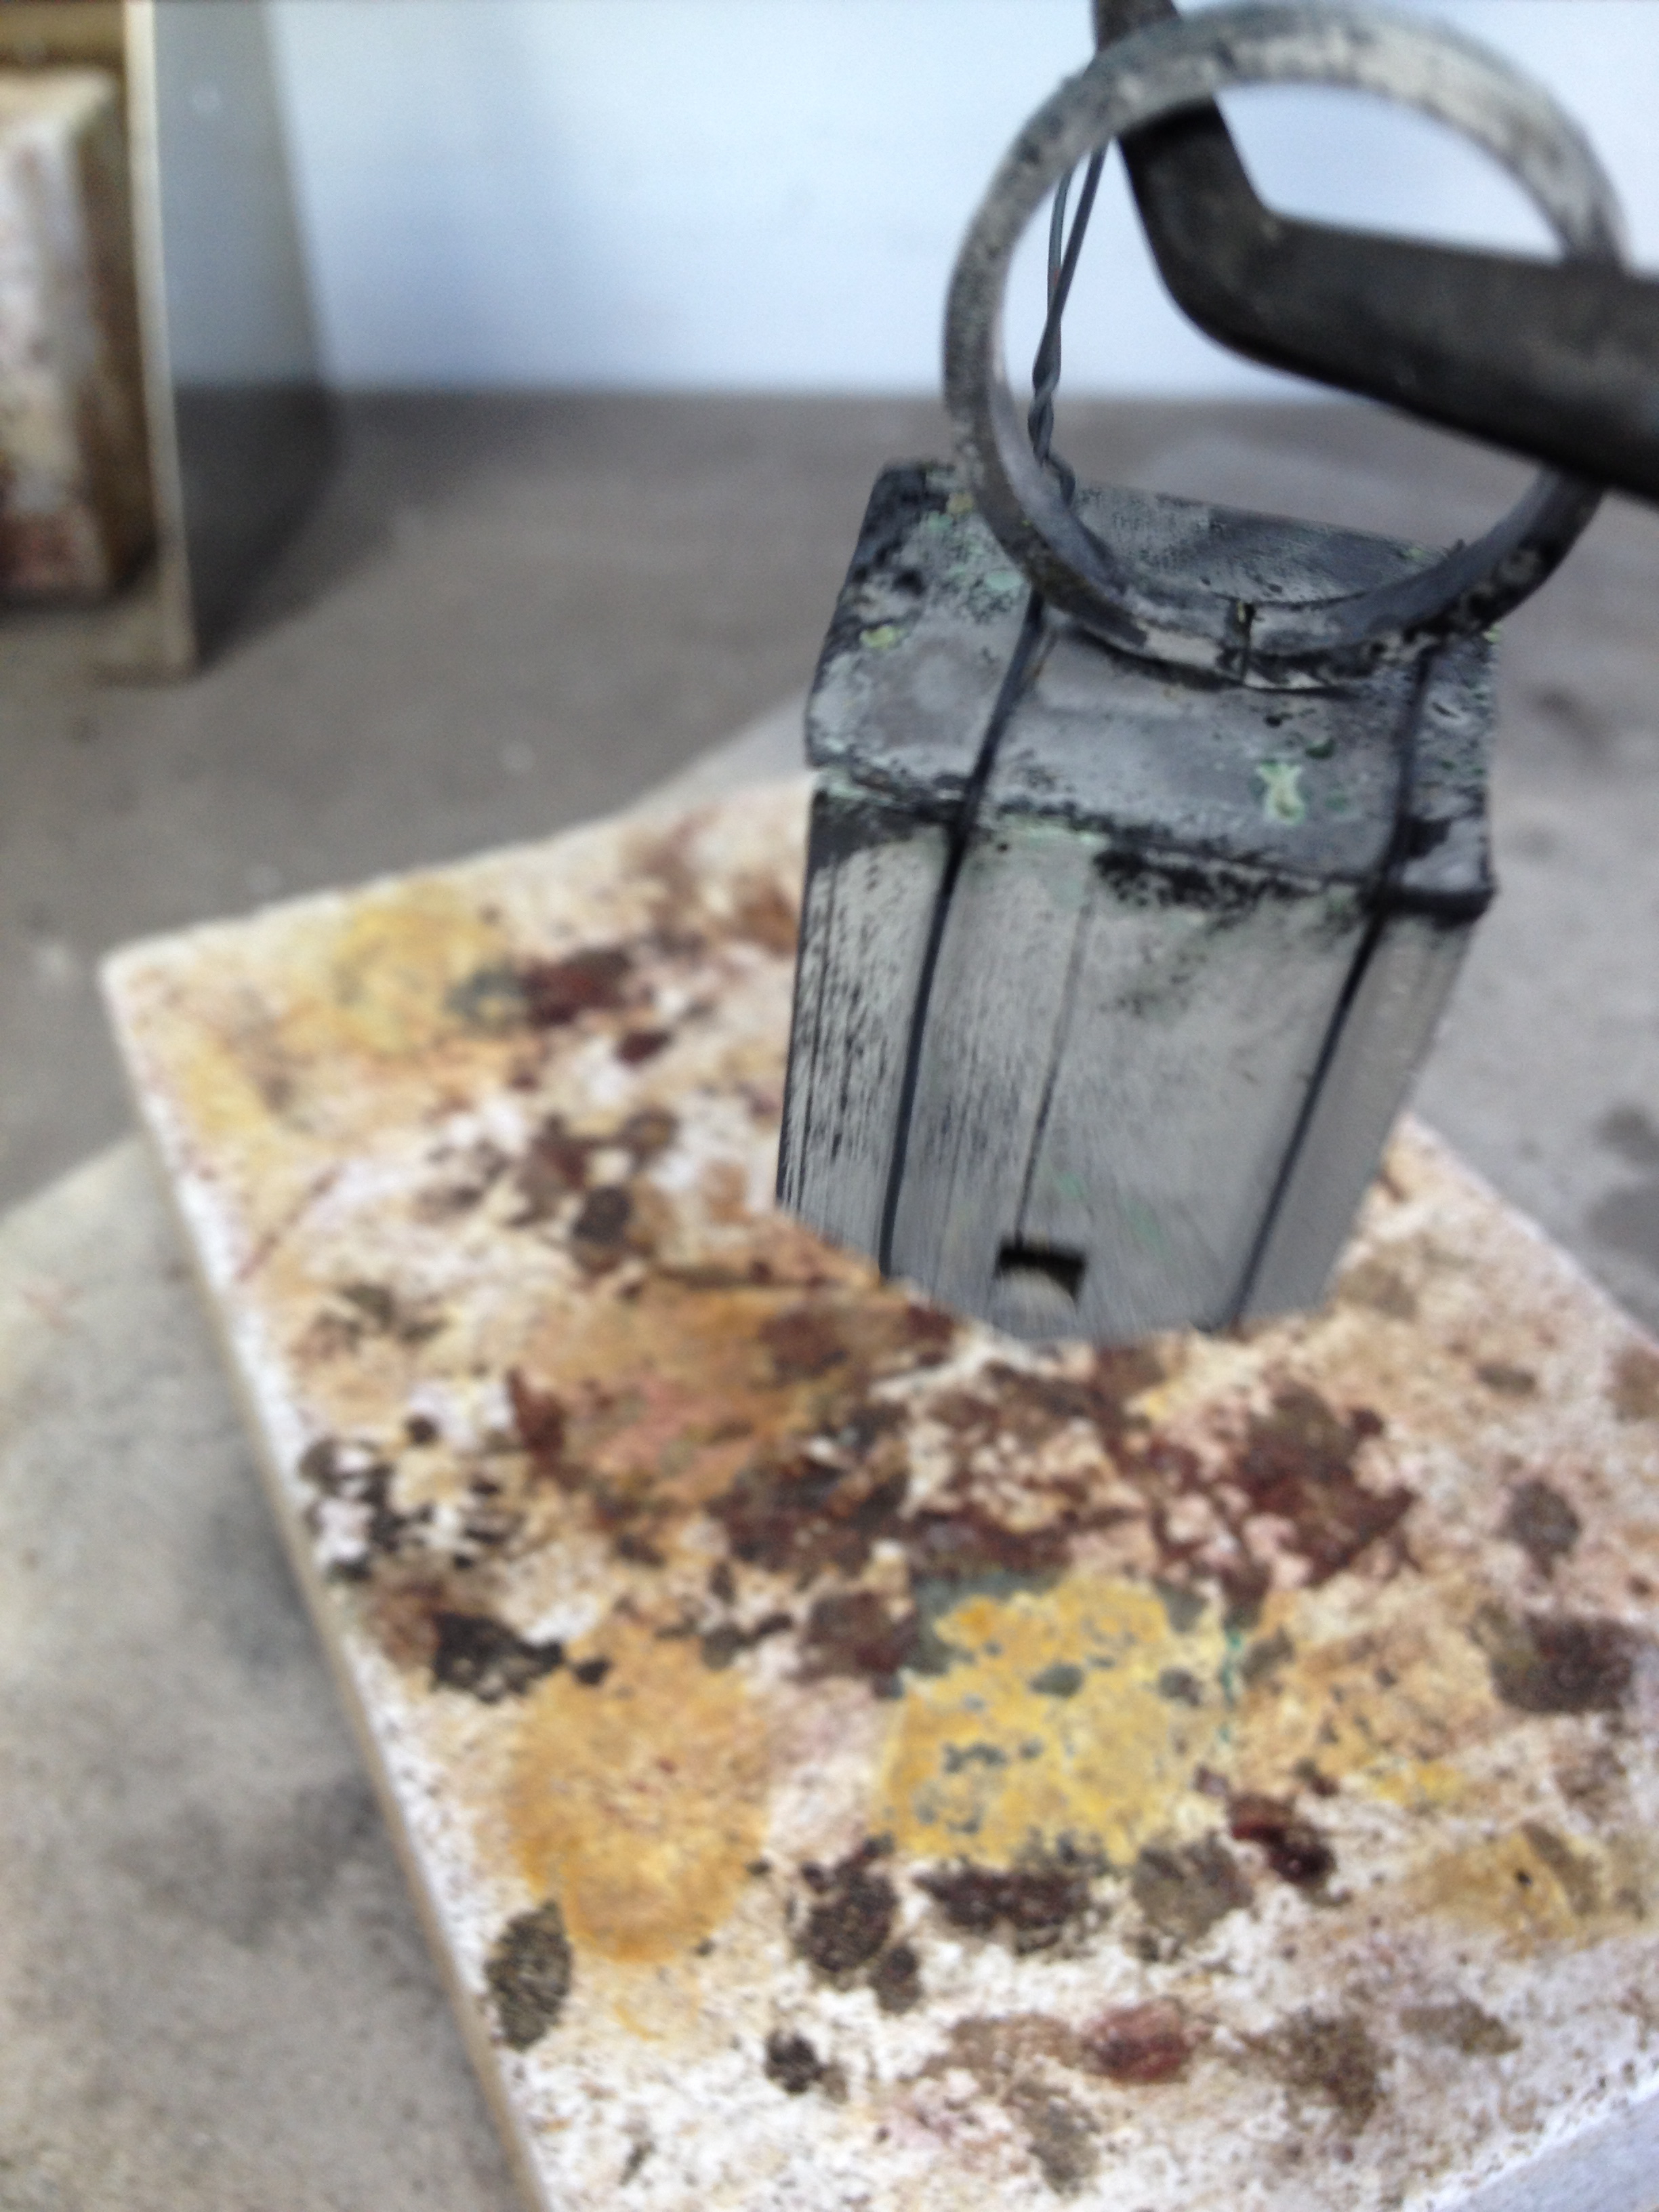
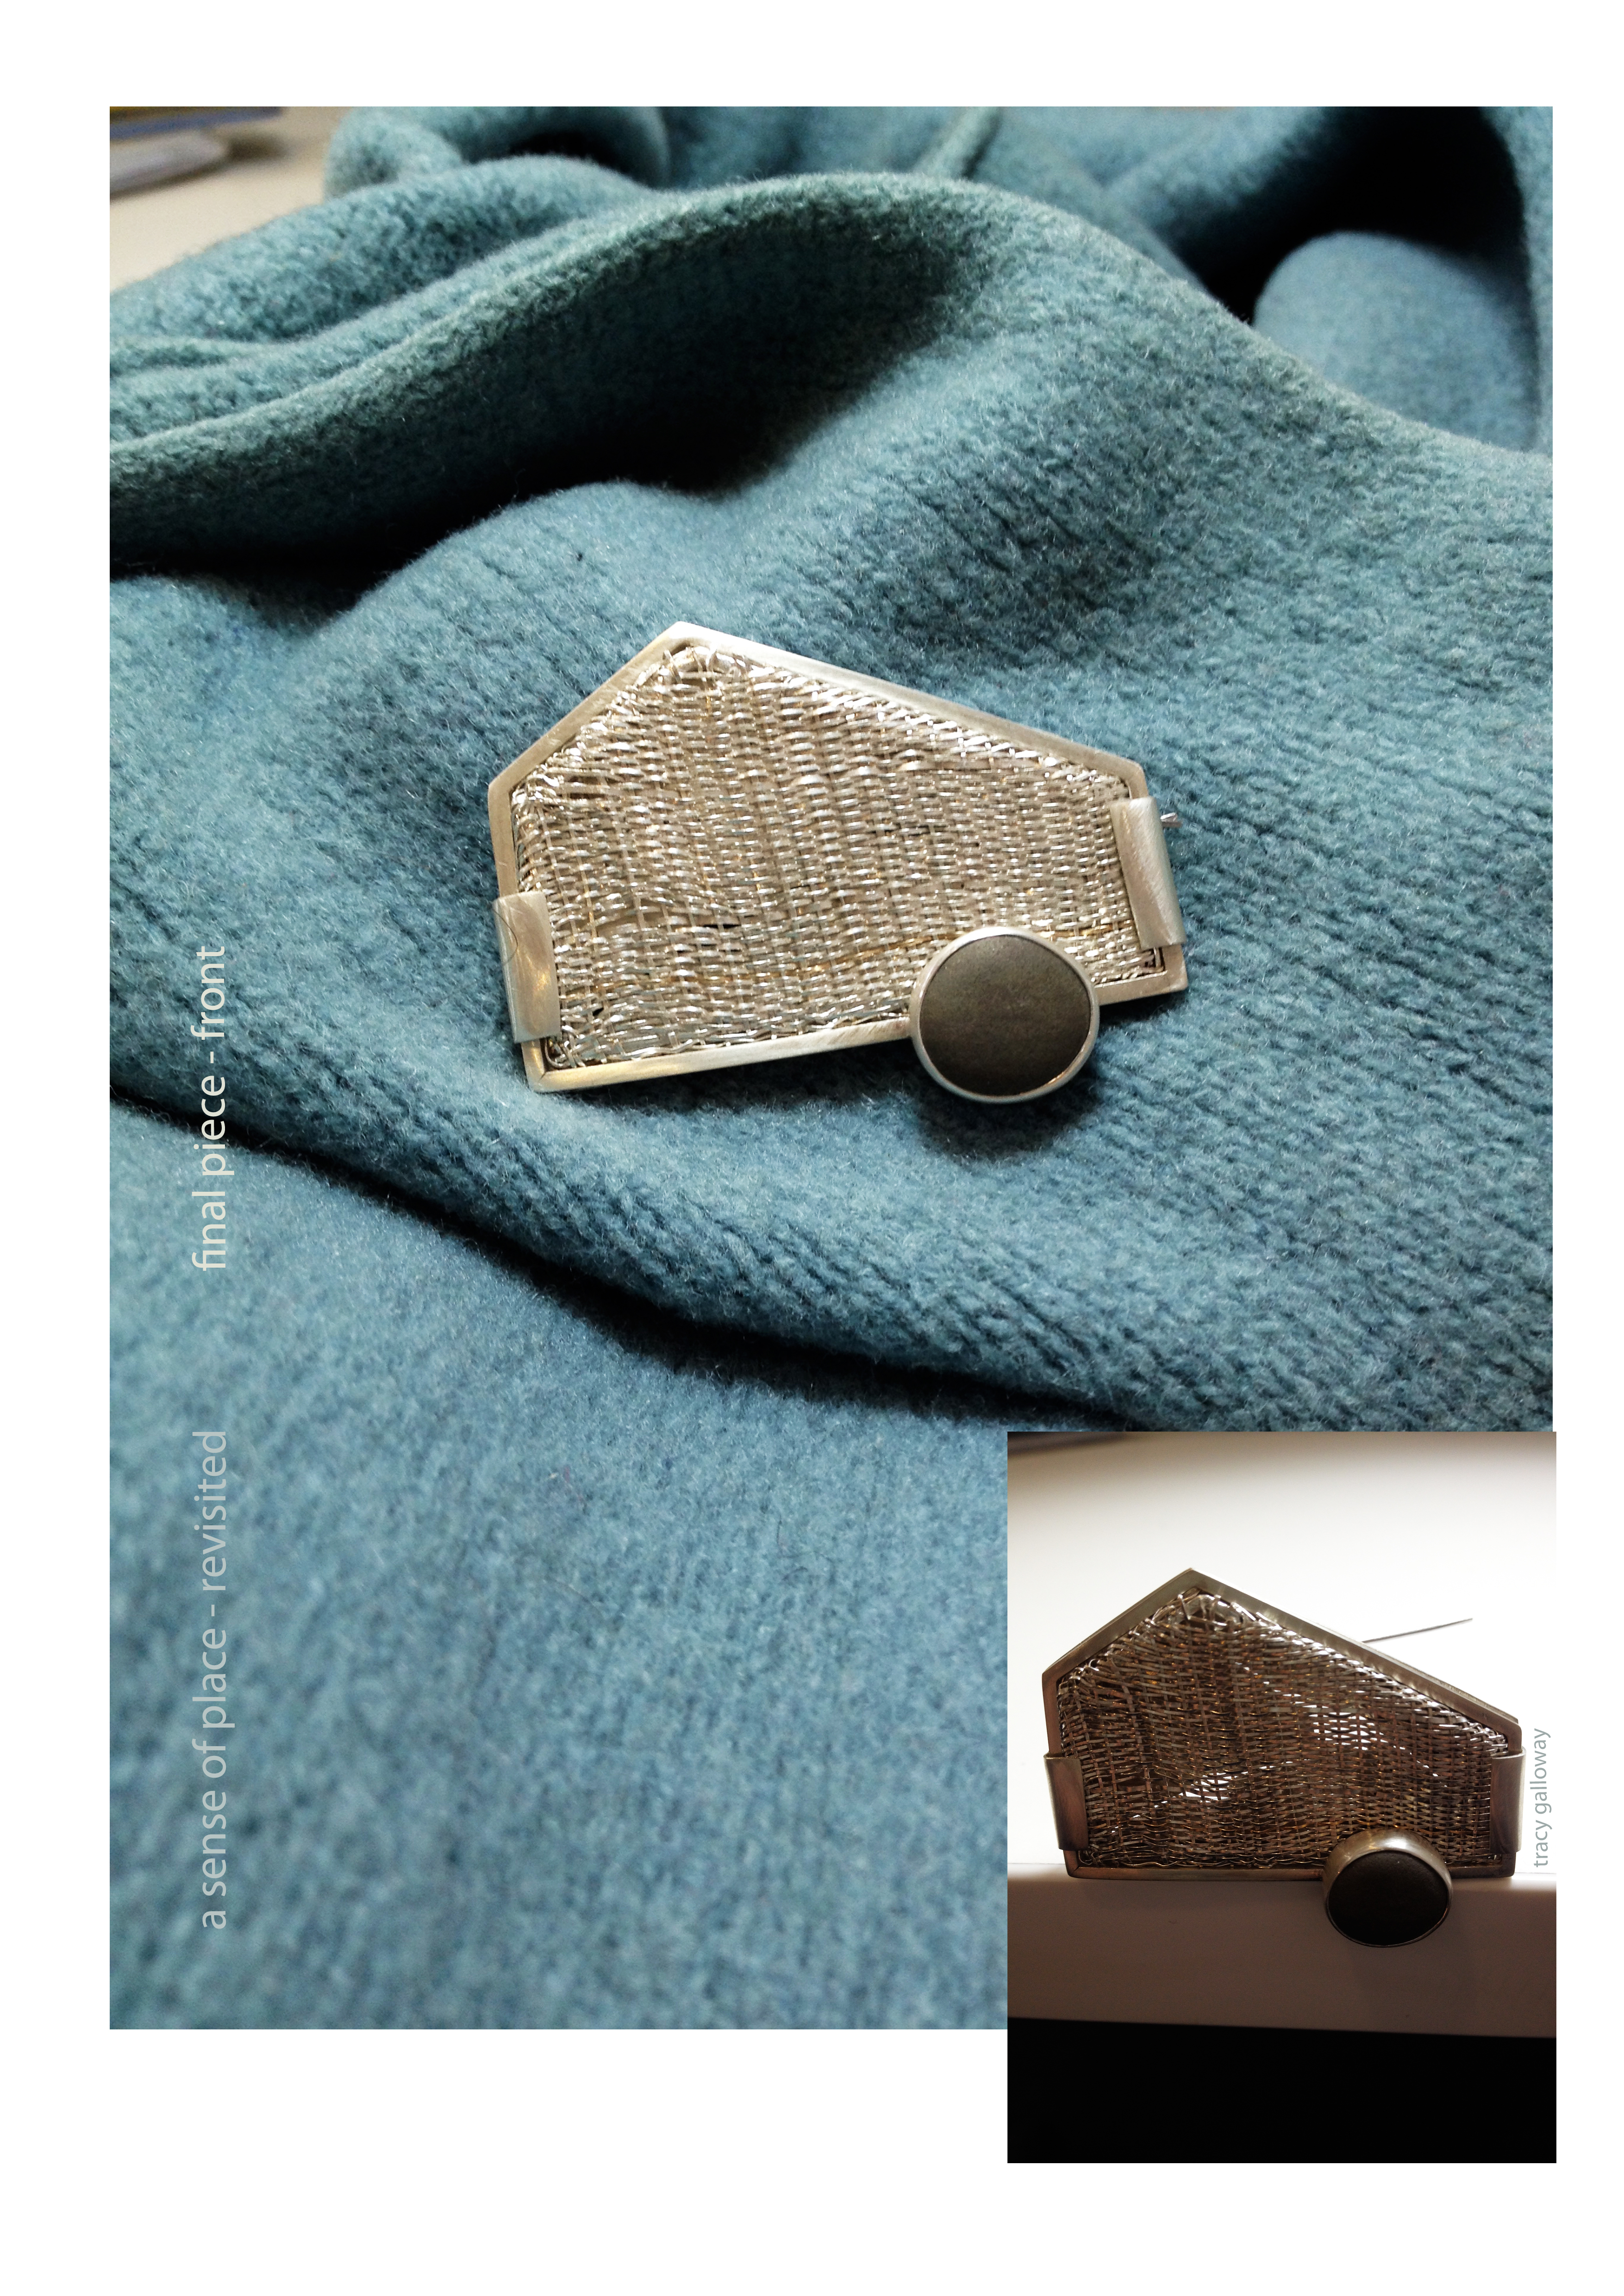
I often love the unfinished, soldered pieces almost as much as the cleaned, final versions… maybe even more in fact. I love the pale green colour that appeared on the back of this house after soldering. I can just imagine some of my other house rings spray painted or enamelled to give a lovely distressed finish at some point. That’s the plan anyway. Although, I shall probably allow this one to remain clean as I do love the finish that it left the casting machine with – reminds me of a wooden hut or a clapboard house.
I pickled the house (somewhat reluctantly ;)) to begin the cleaning process.
Then filed off the edges of the newly soldered base and packed it away for the night with some of its housemates (I know!) ready to work on again in the morning.
 …
… …
… …
…

 ;))
;))


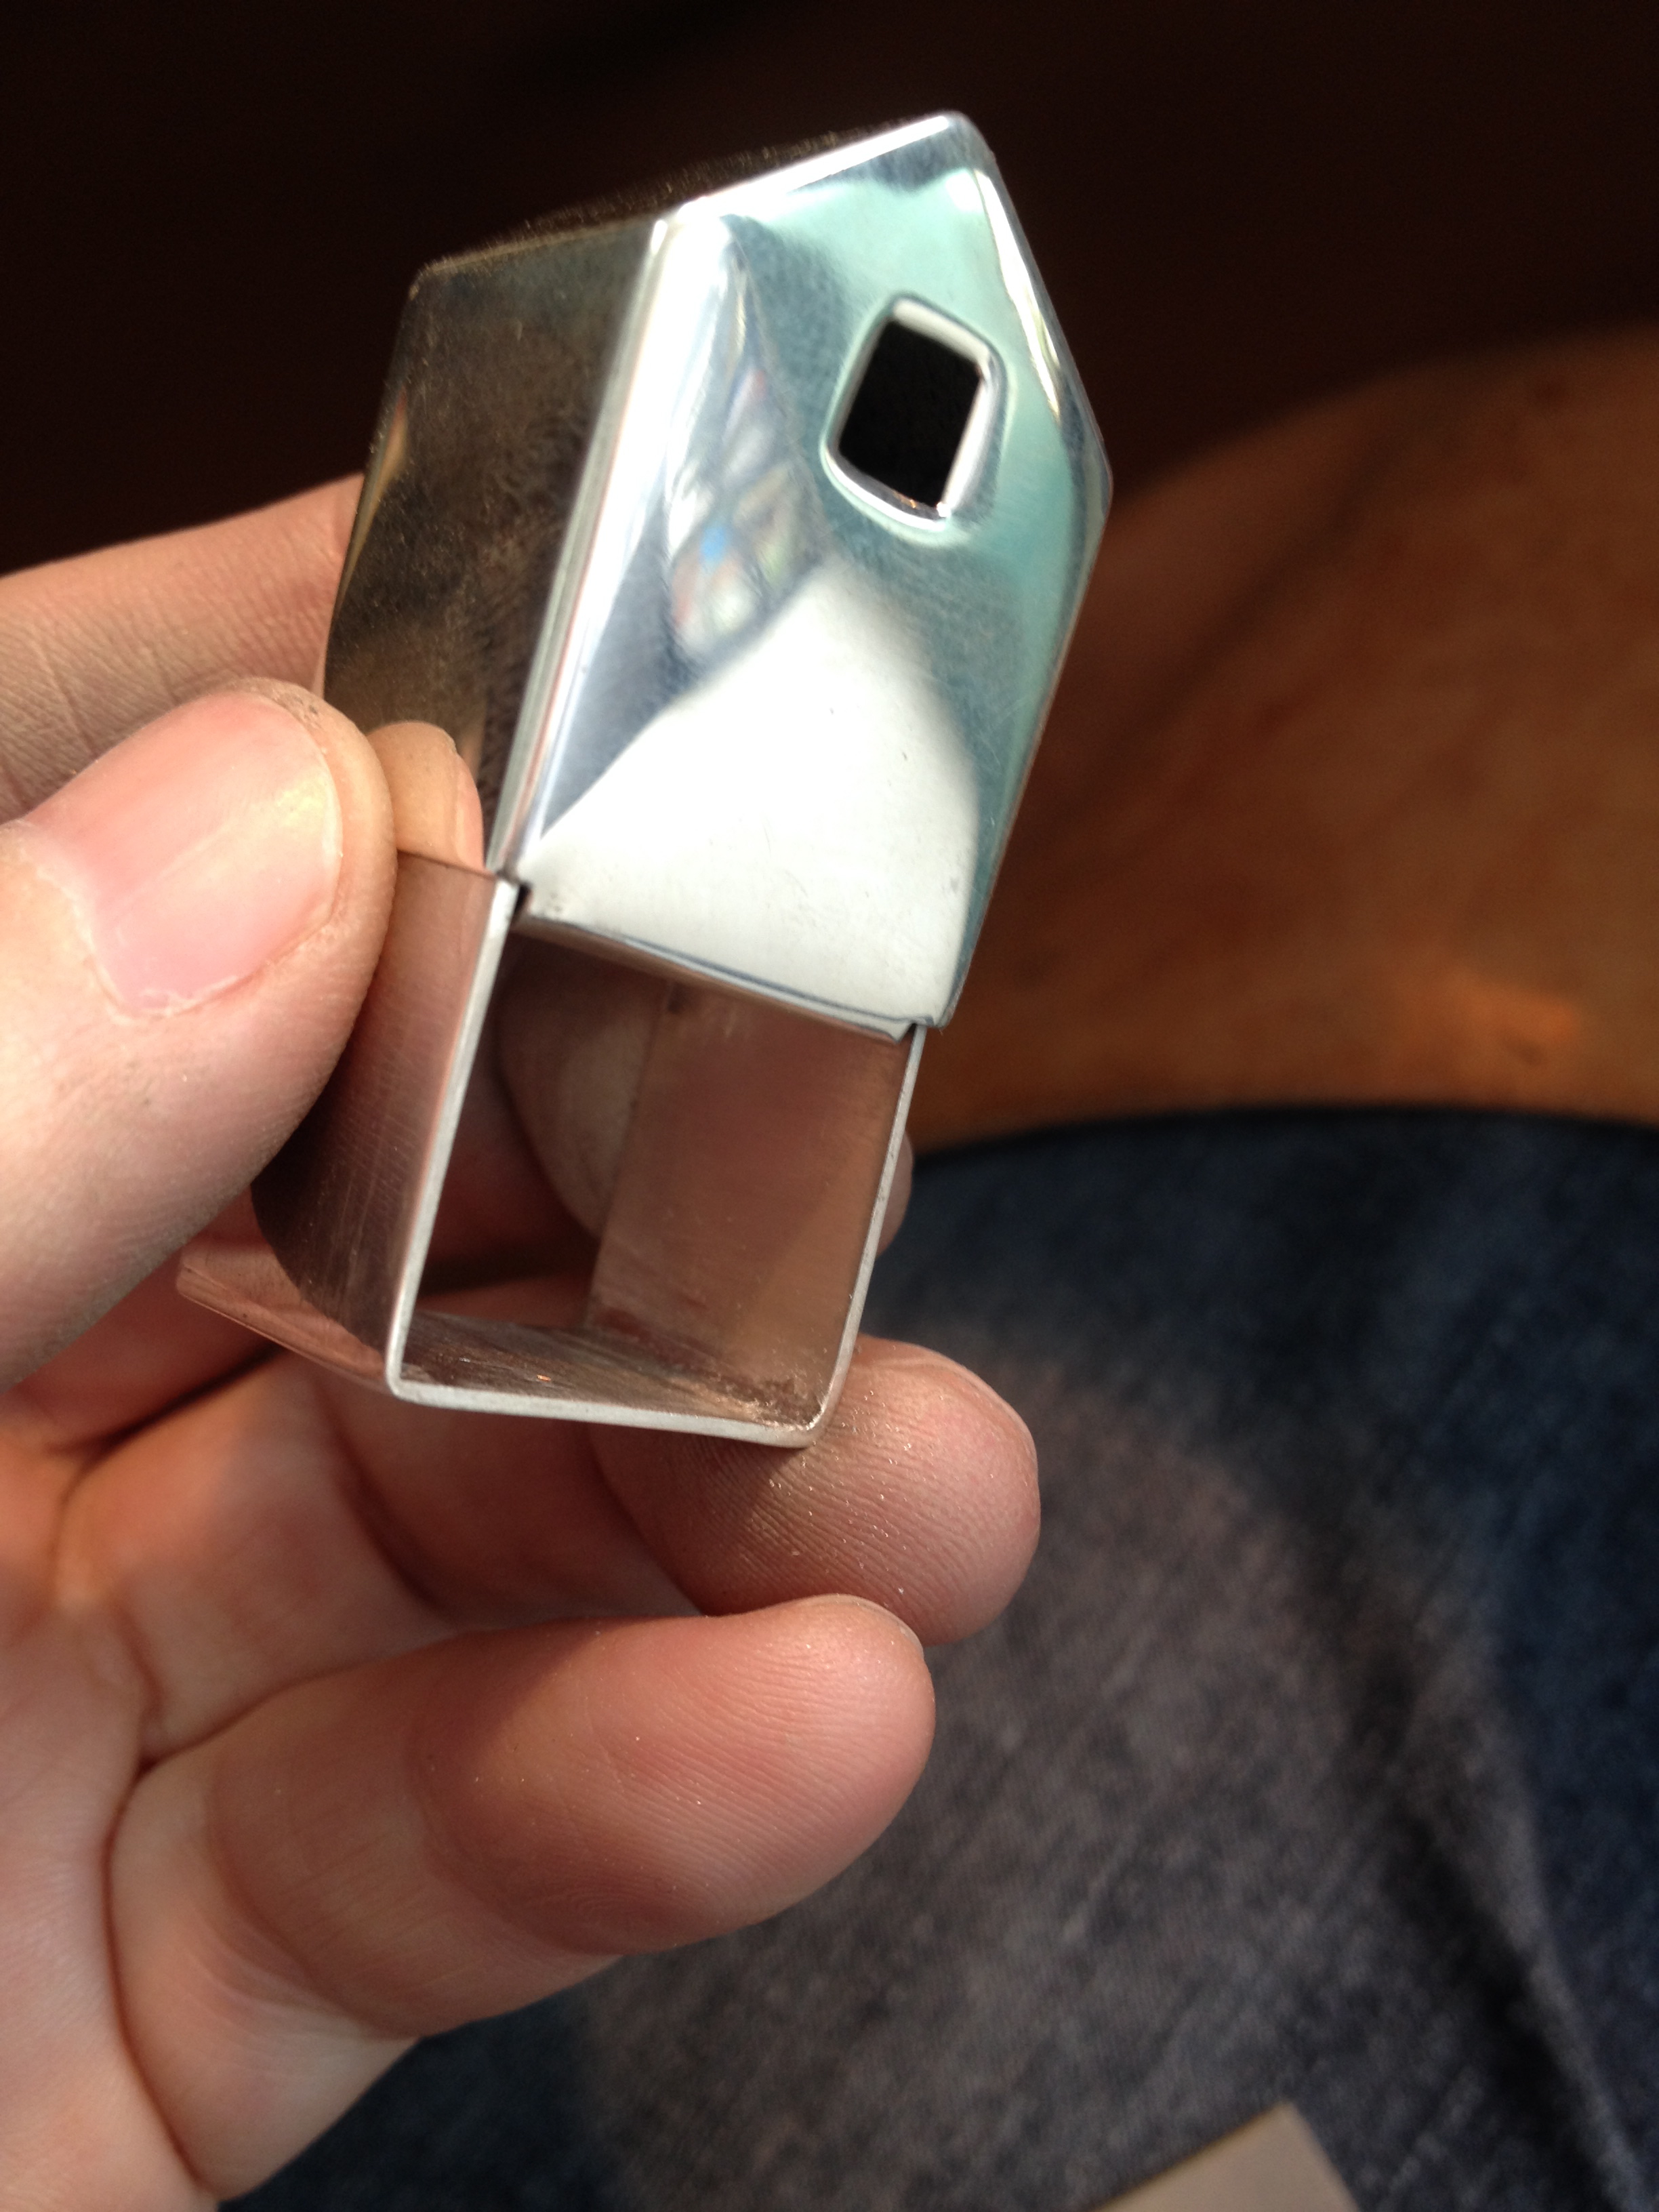
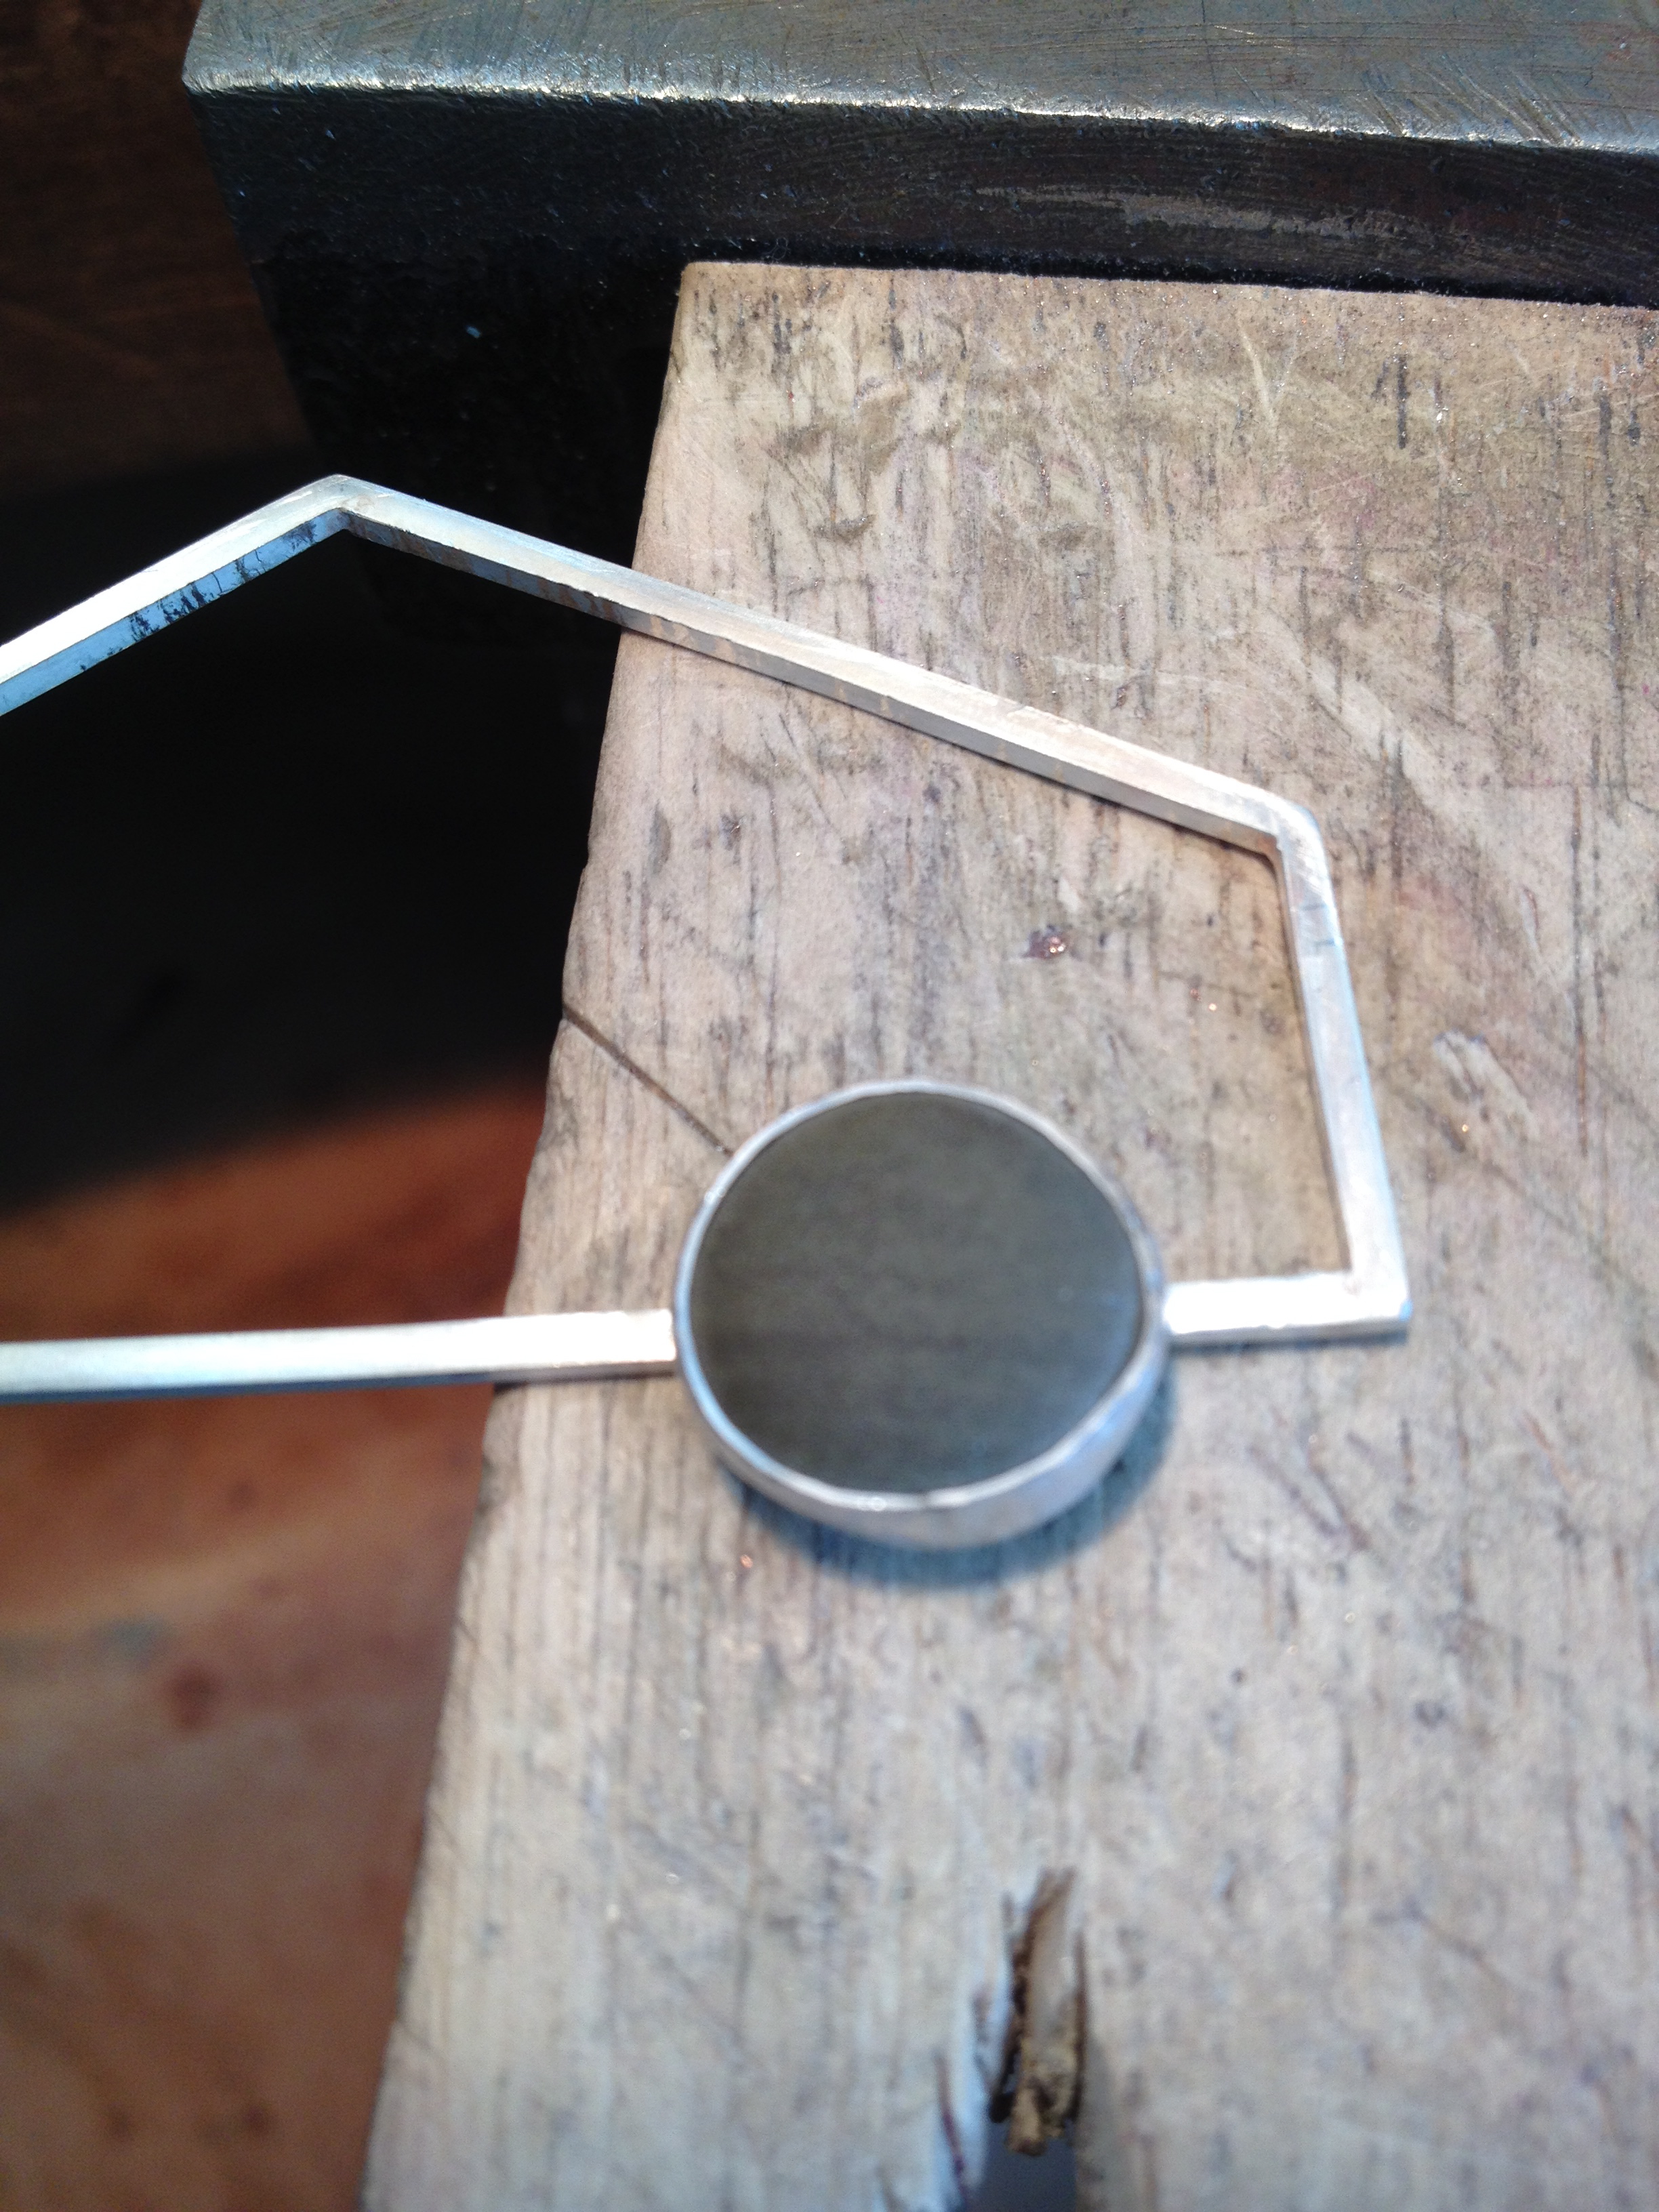
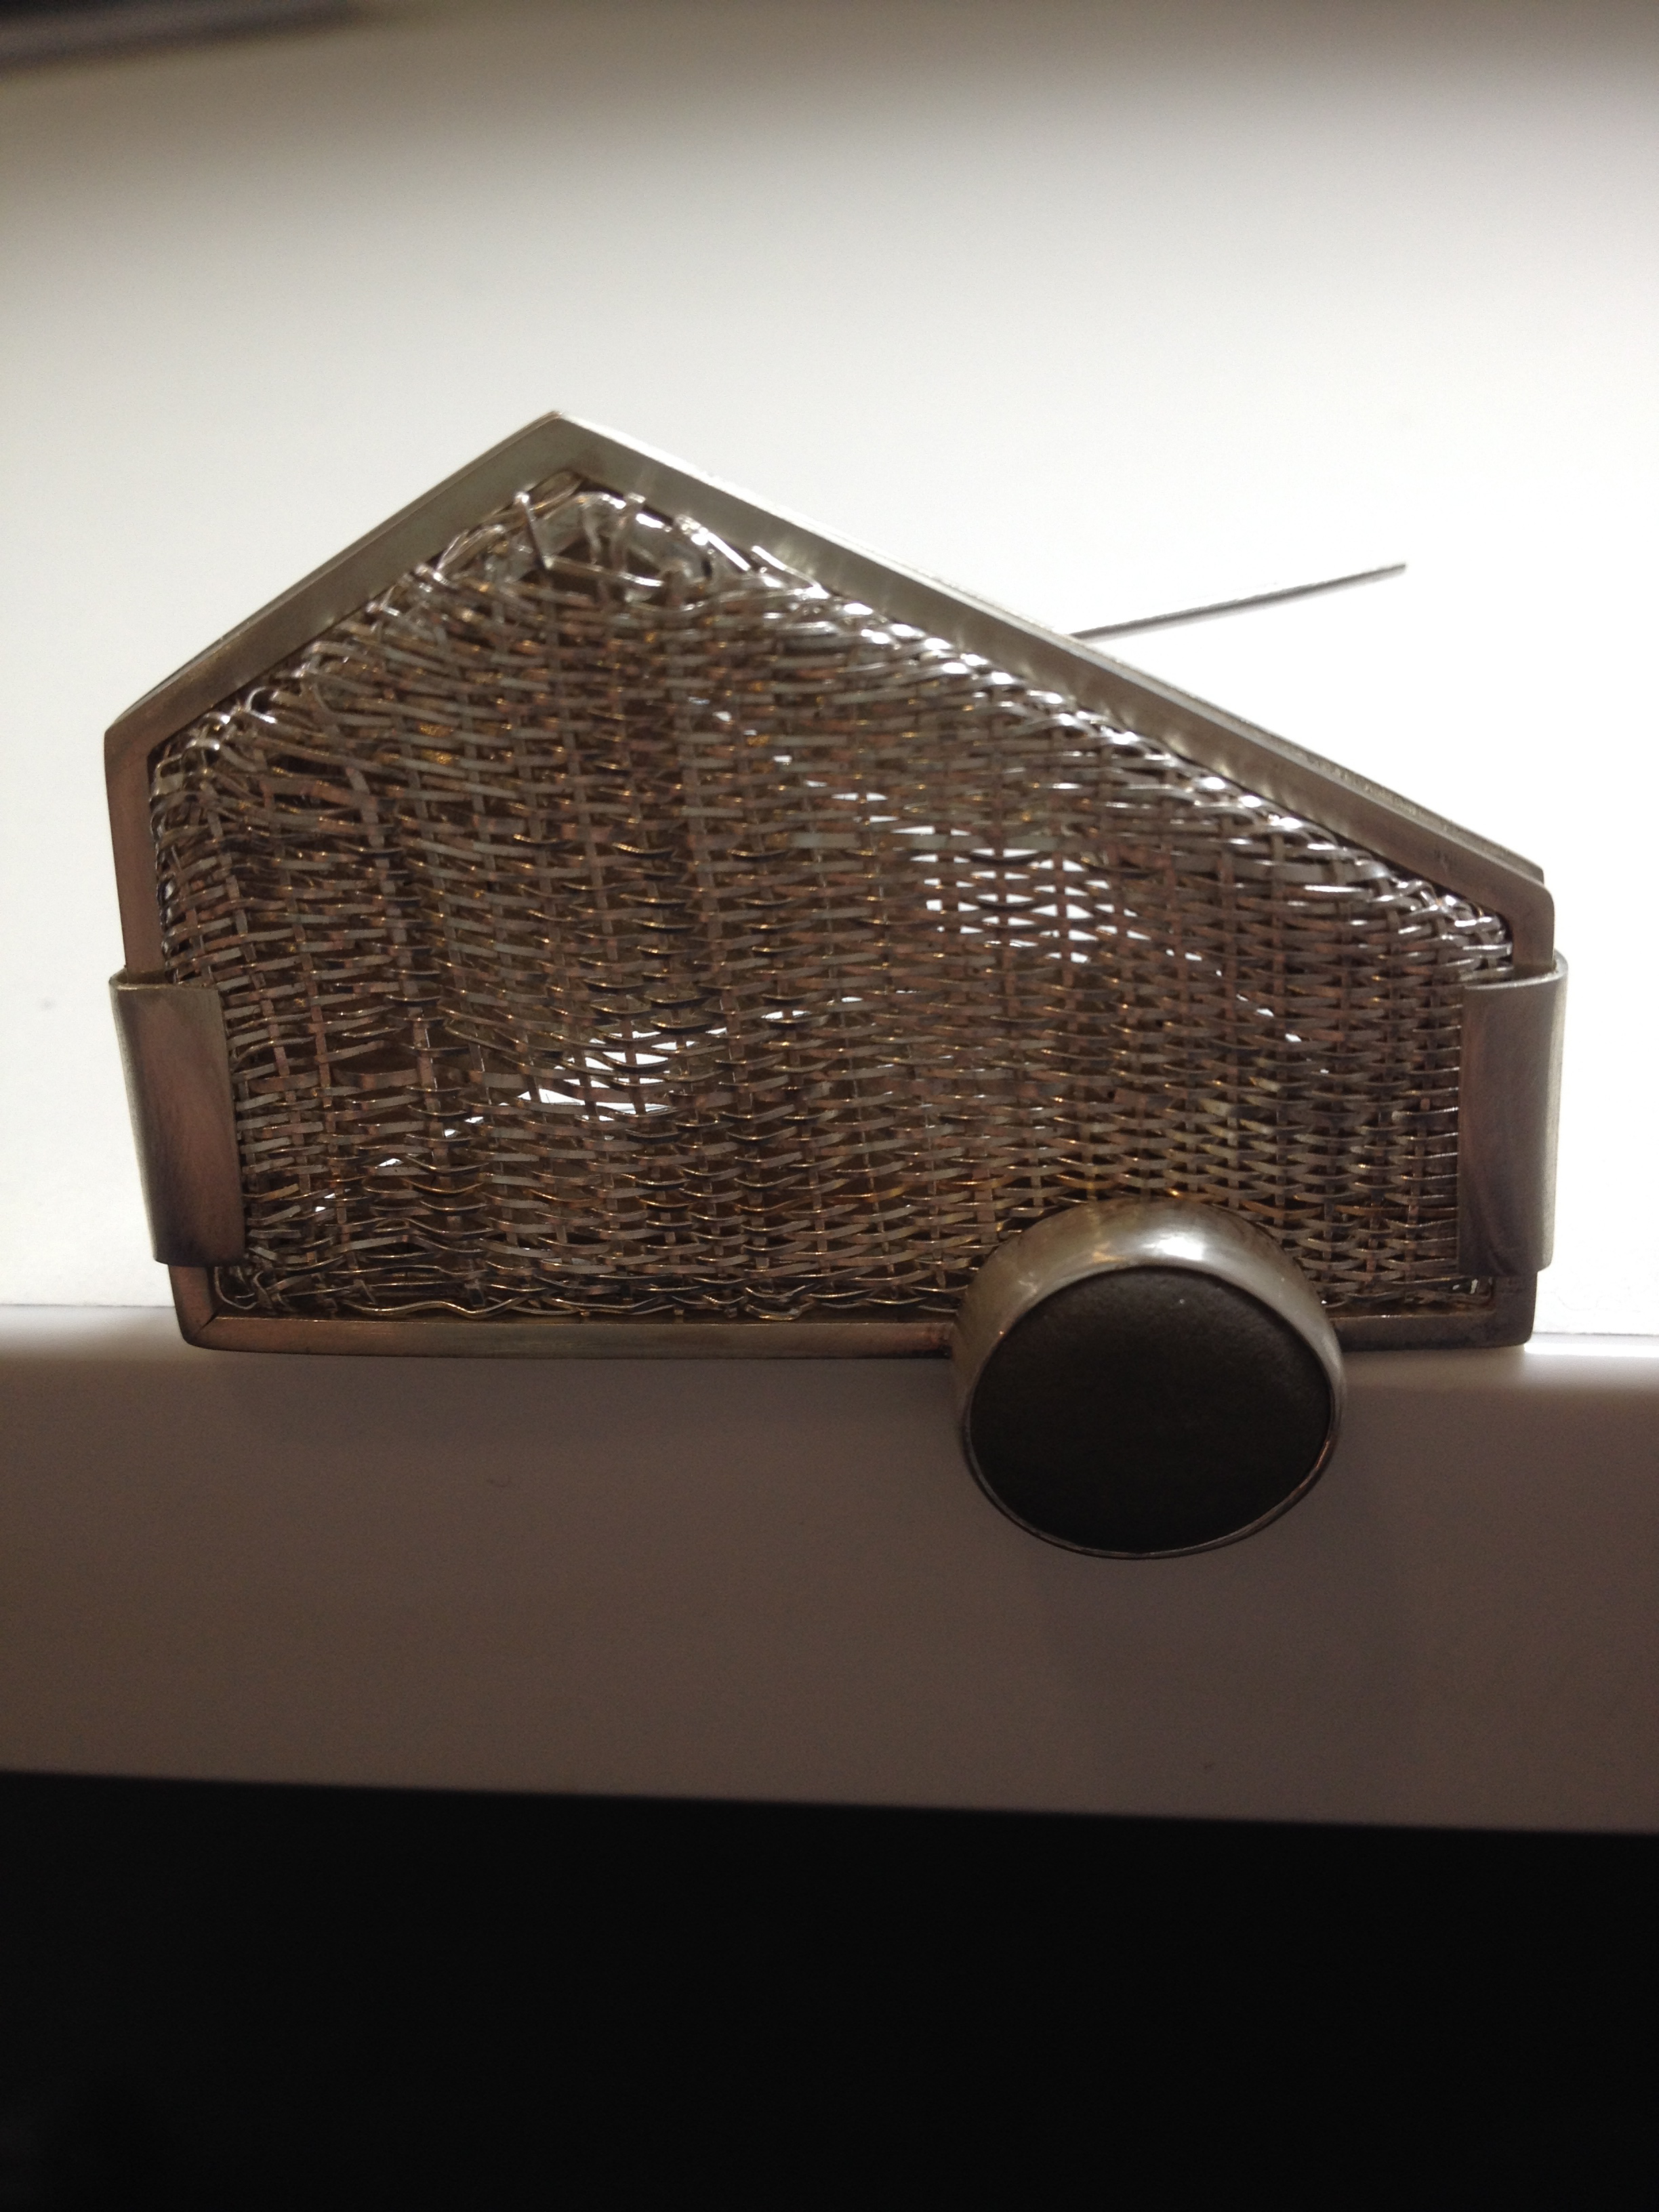
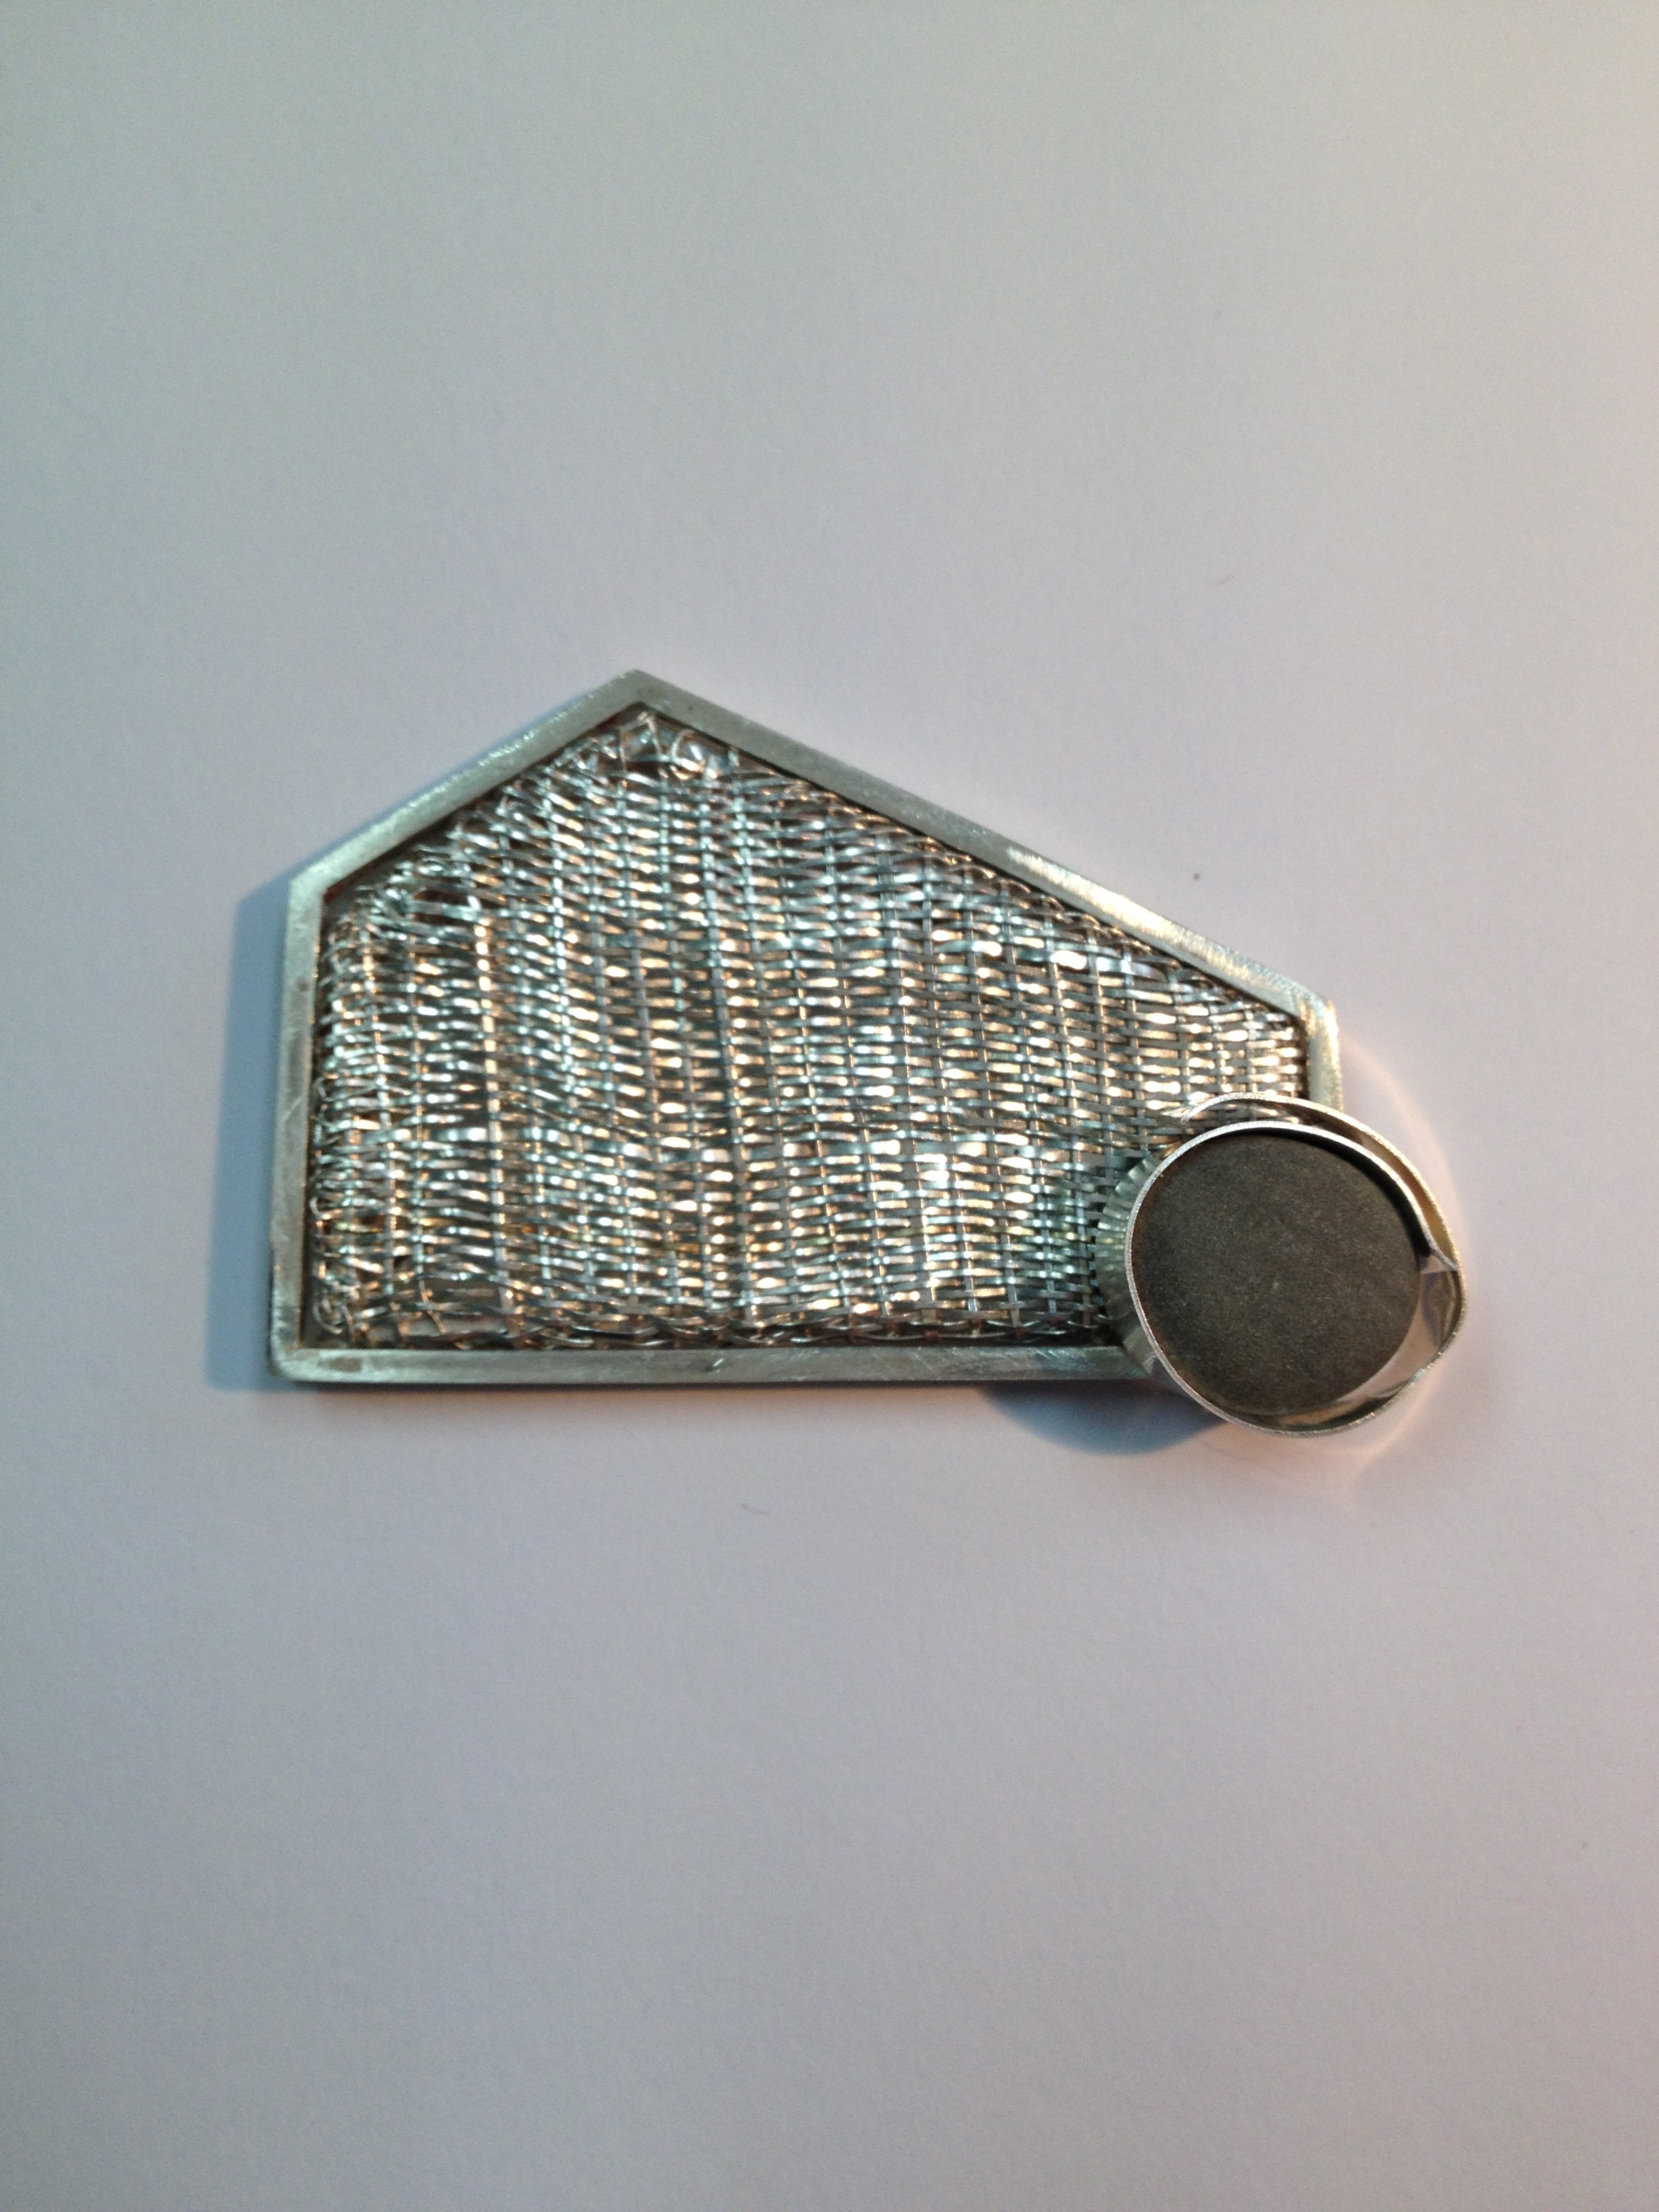
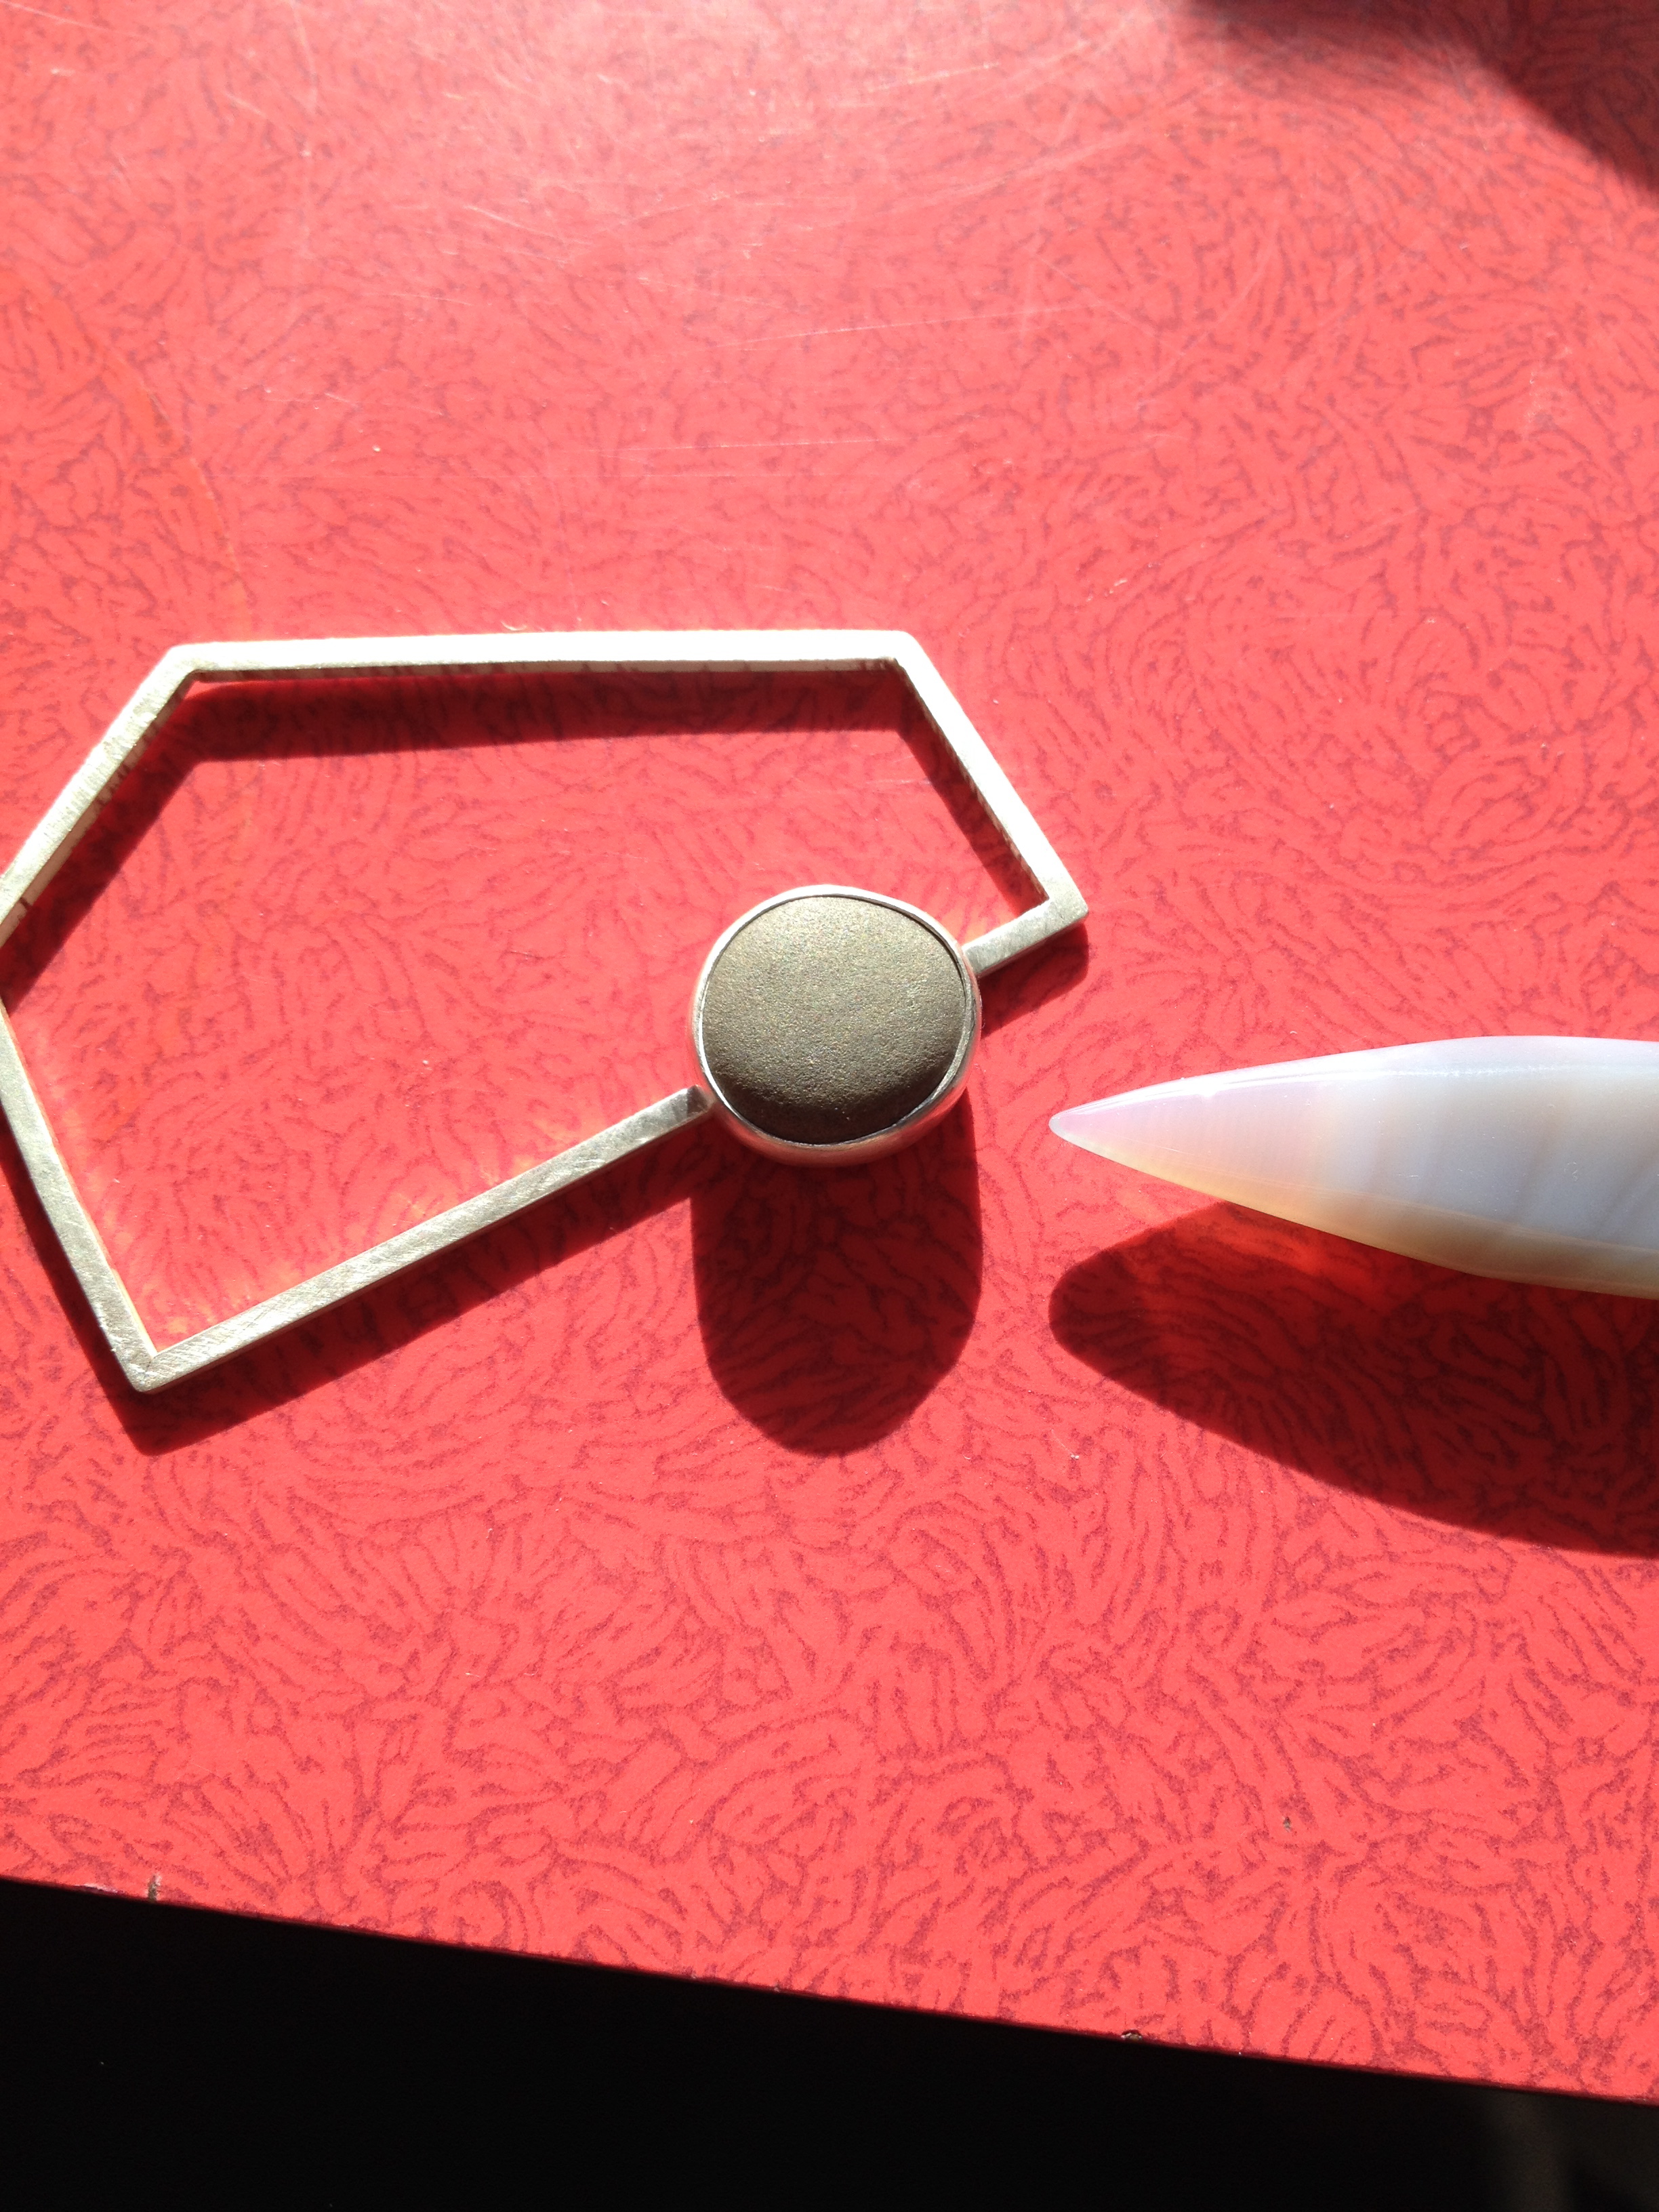
 First things first, solder the bezel to the frame *don’t melt, don’t melt, don’t melt*
 Then set the stone…
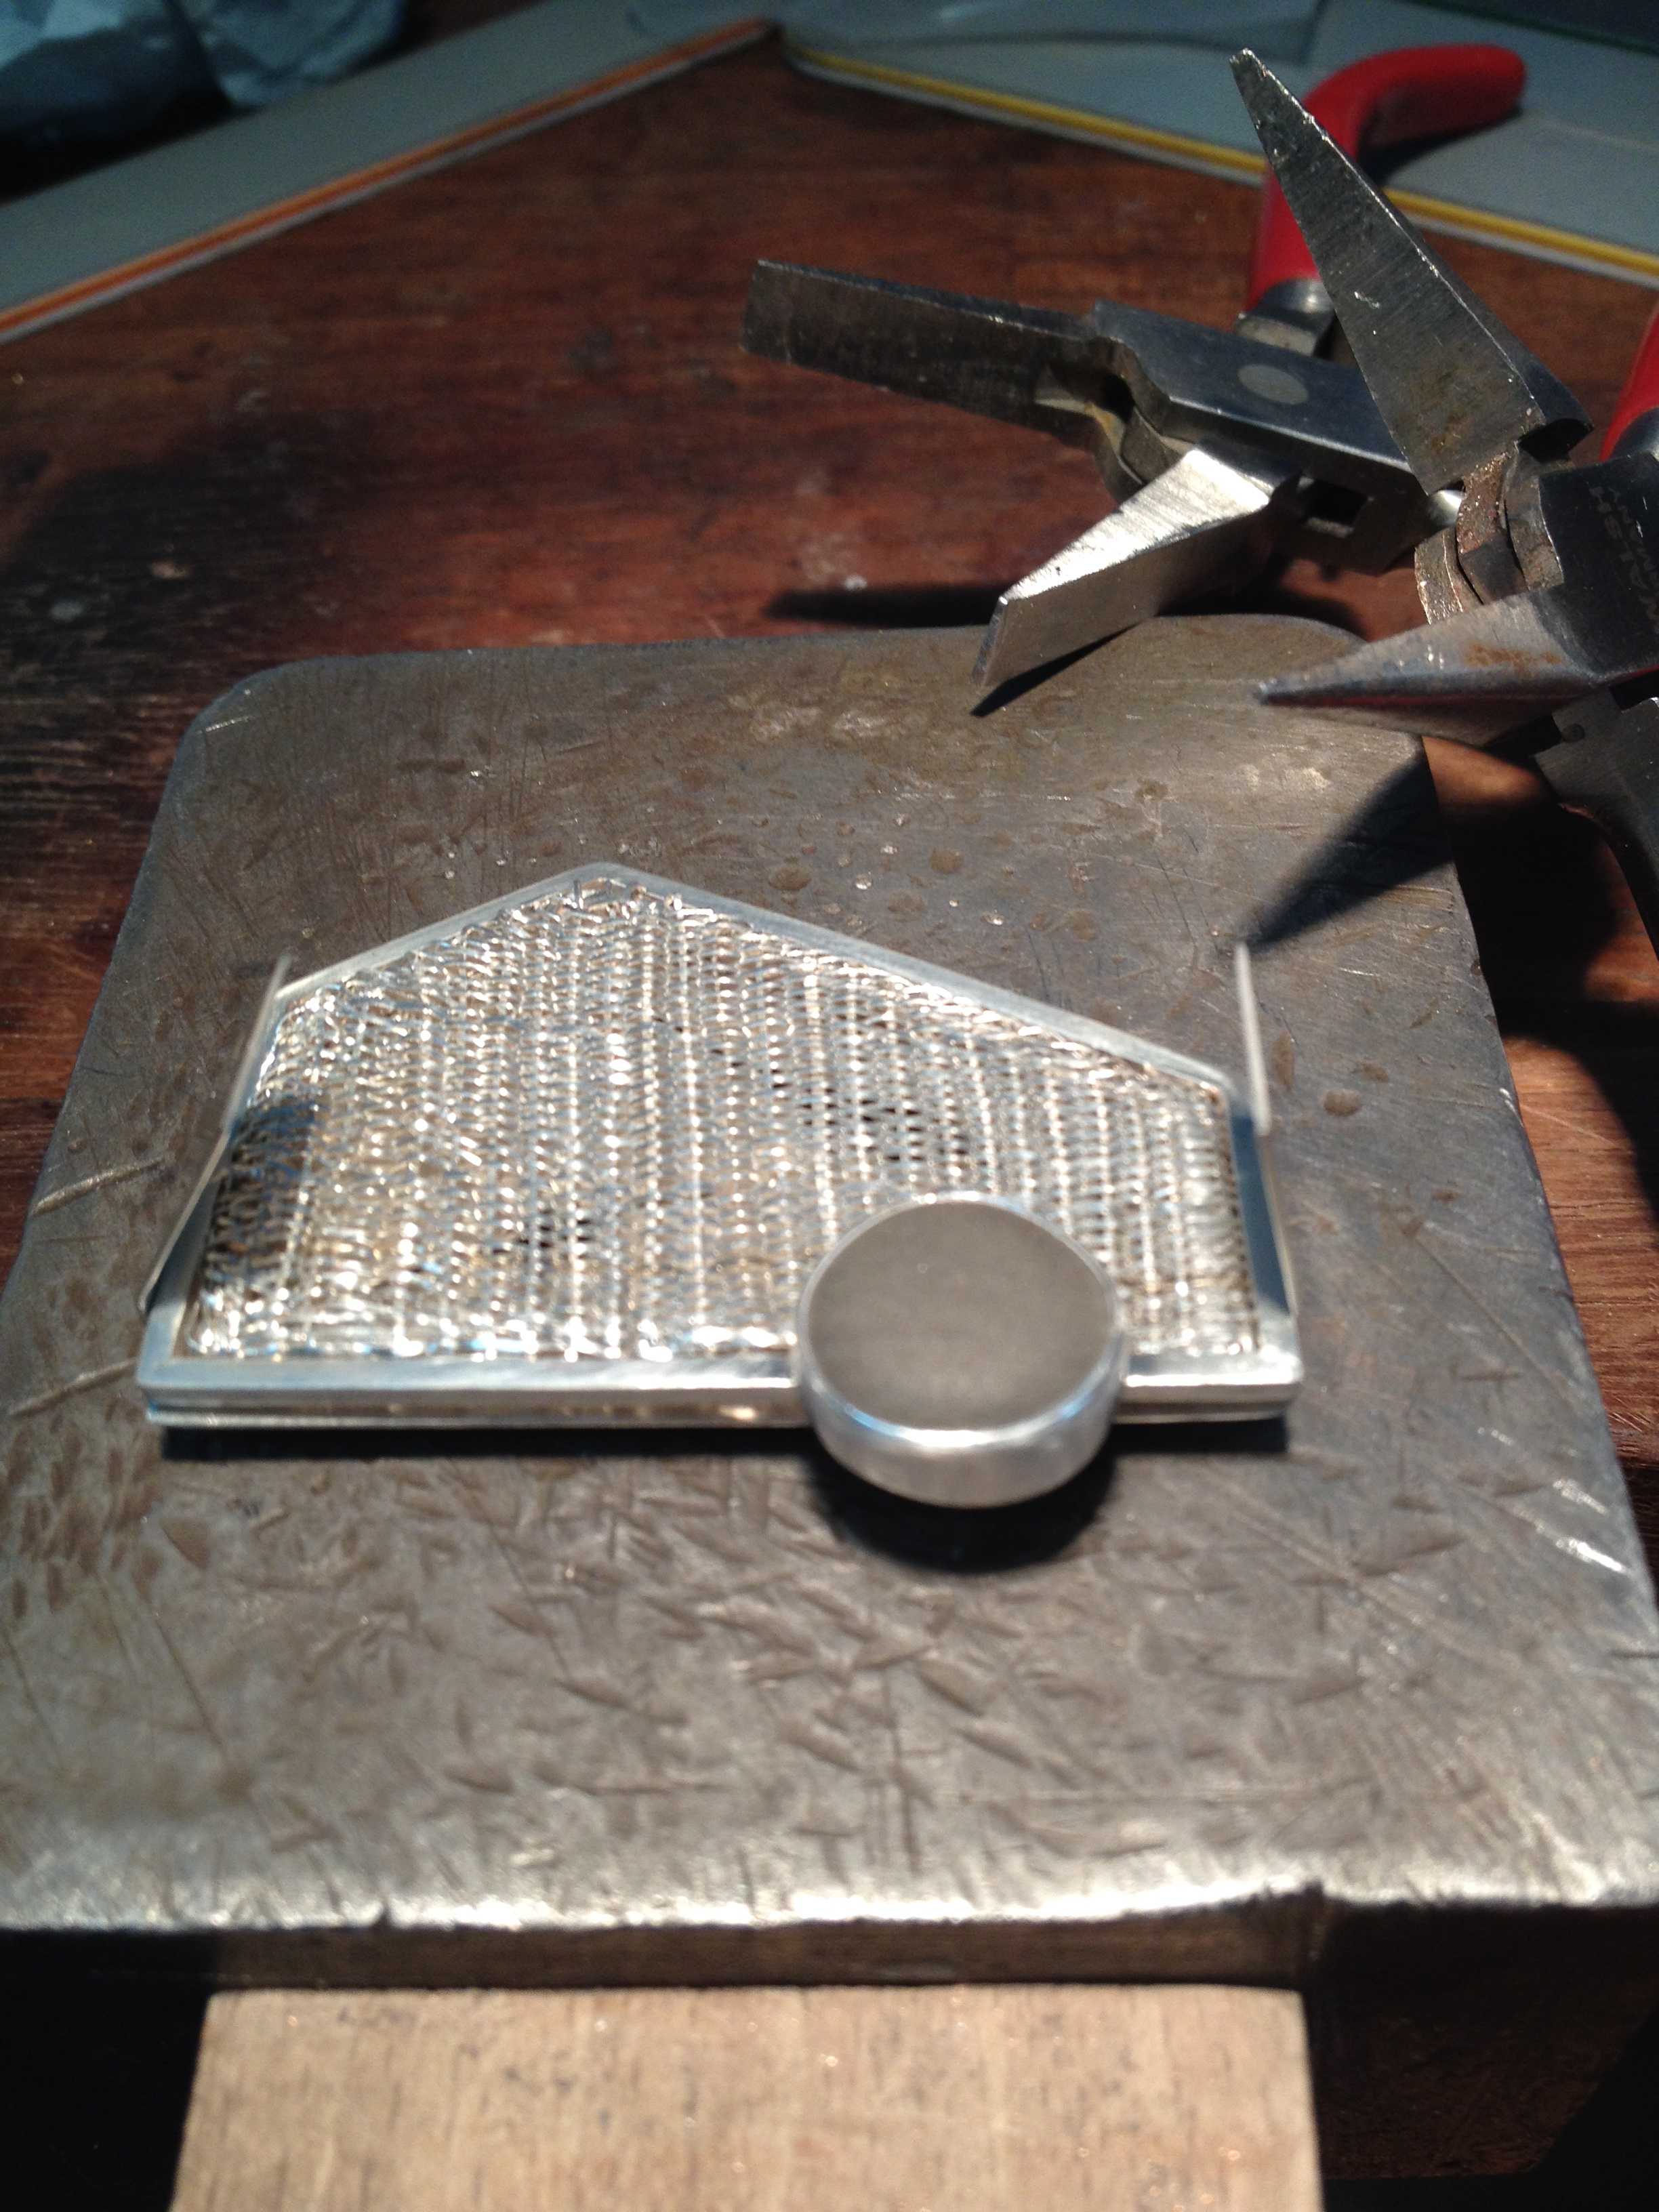
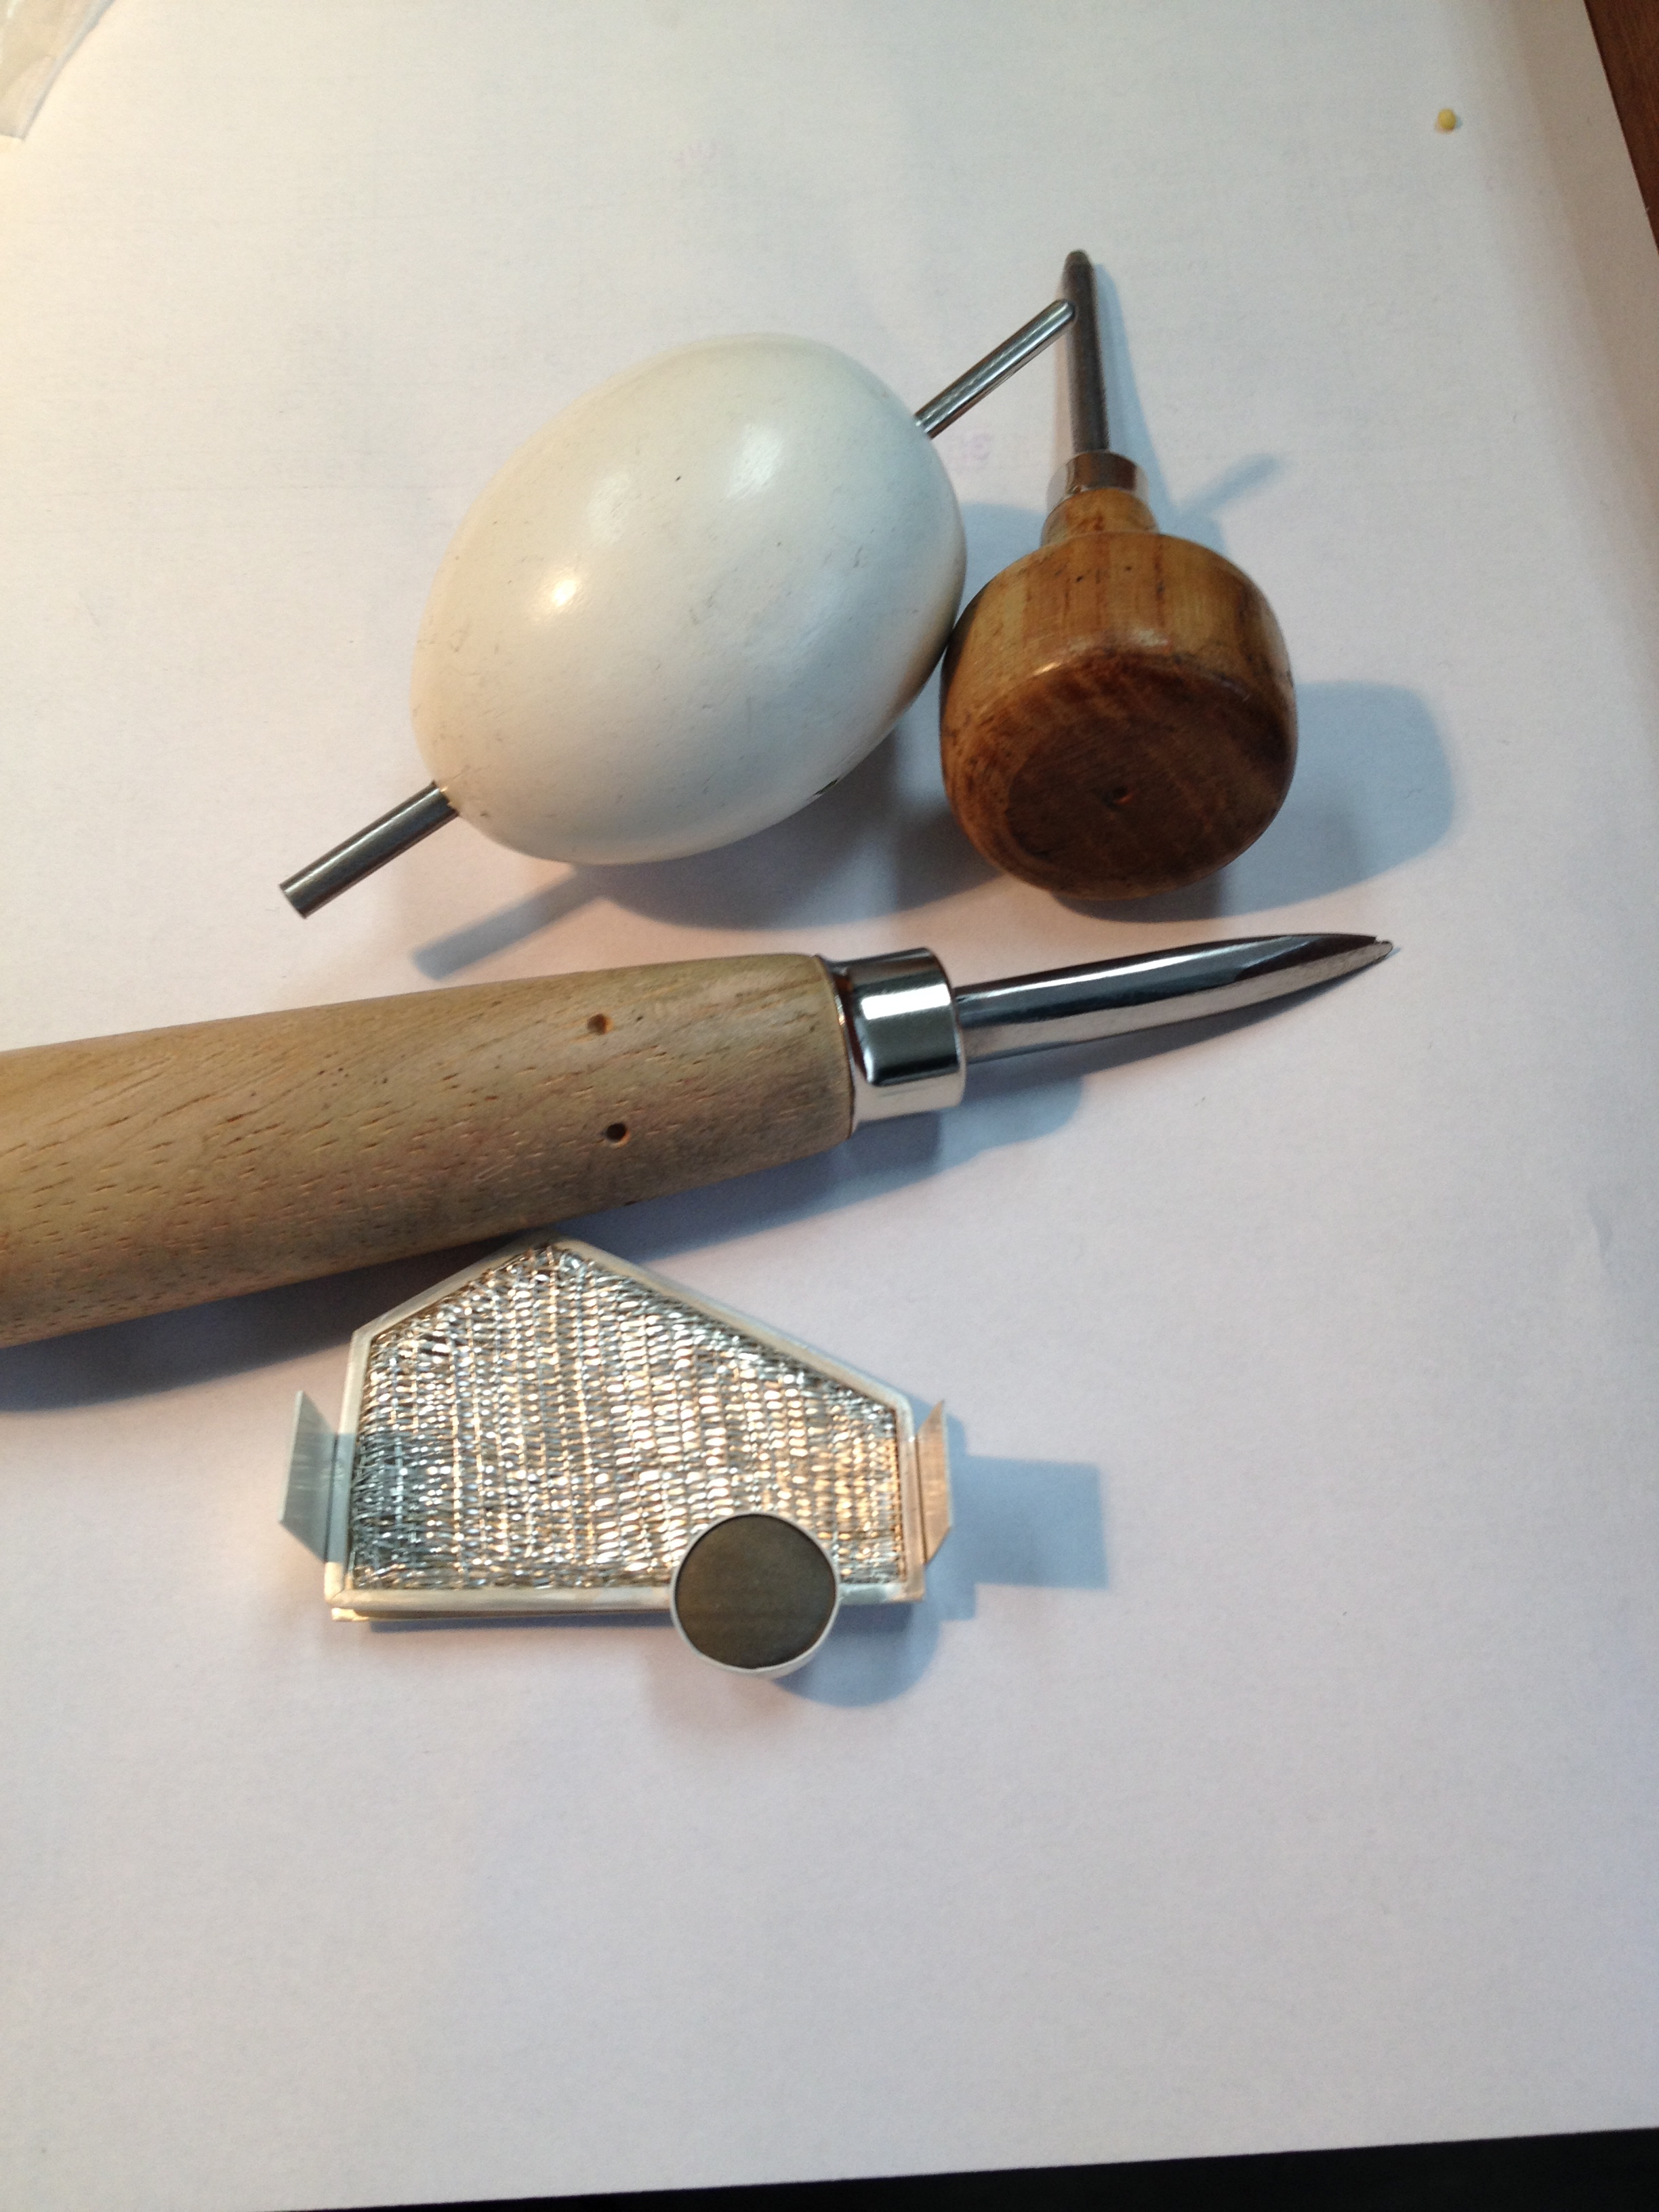 Pushing over the bezel…
 bit by bit…
 by bit…
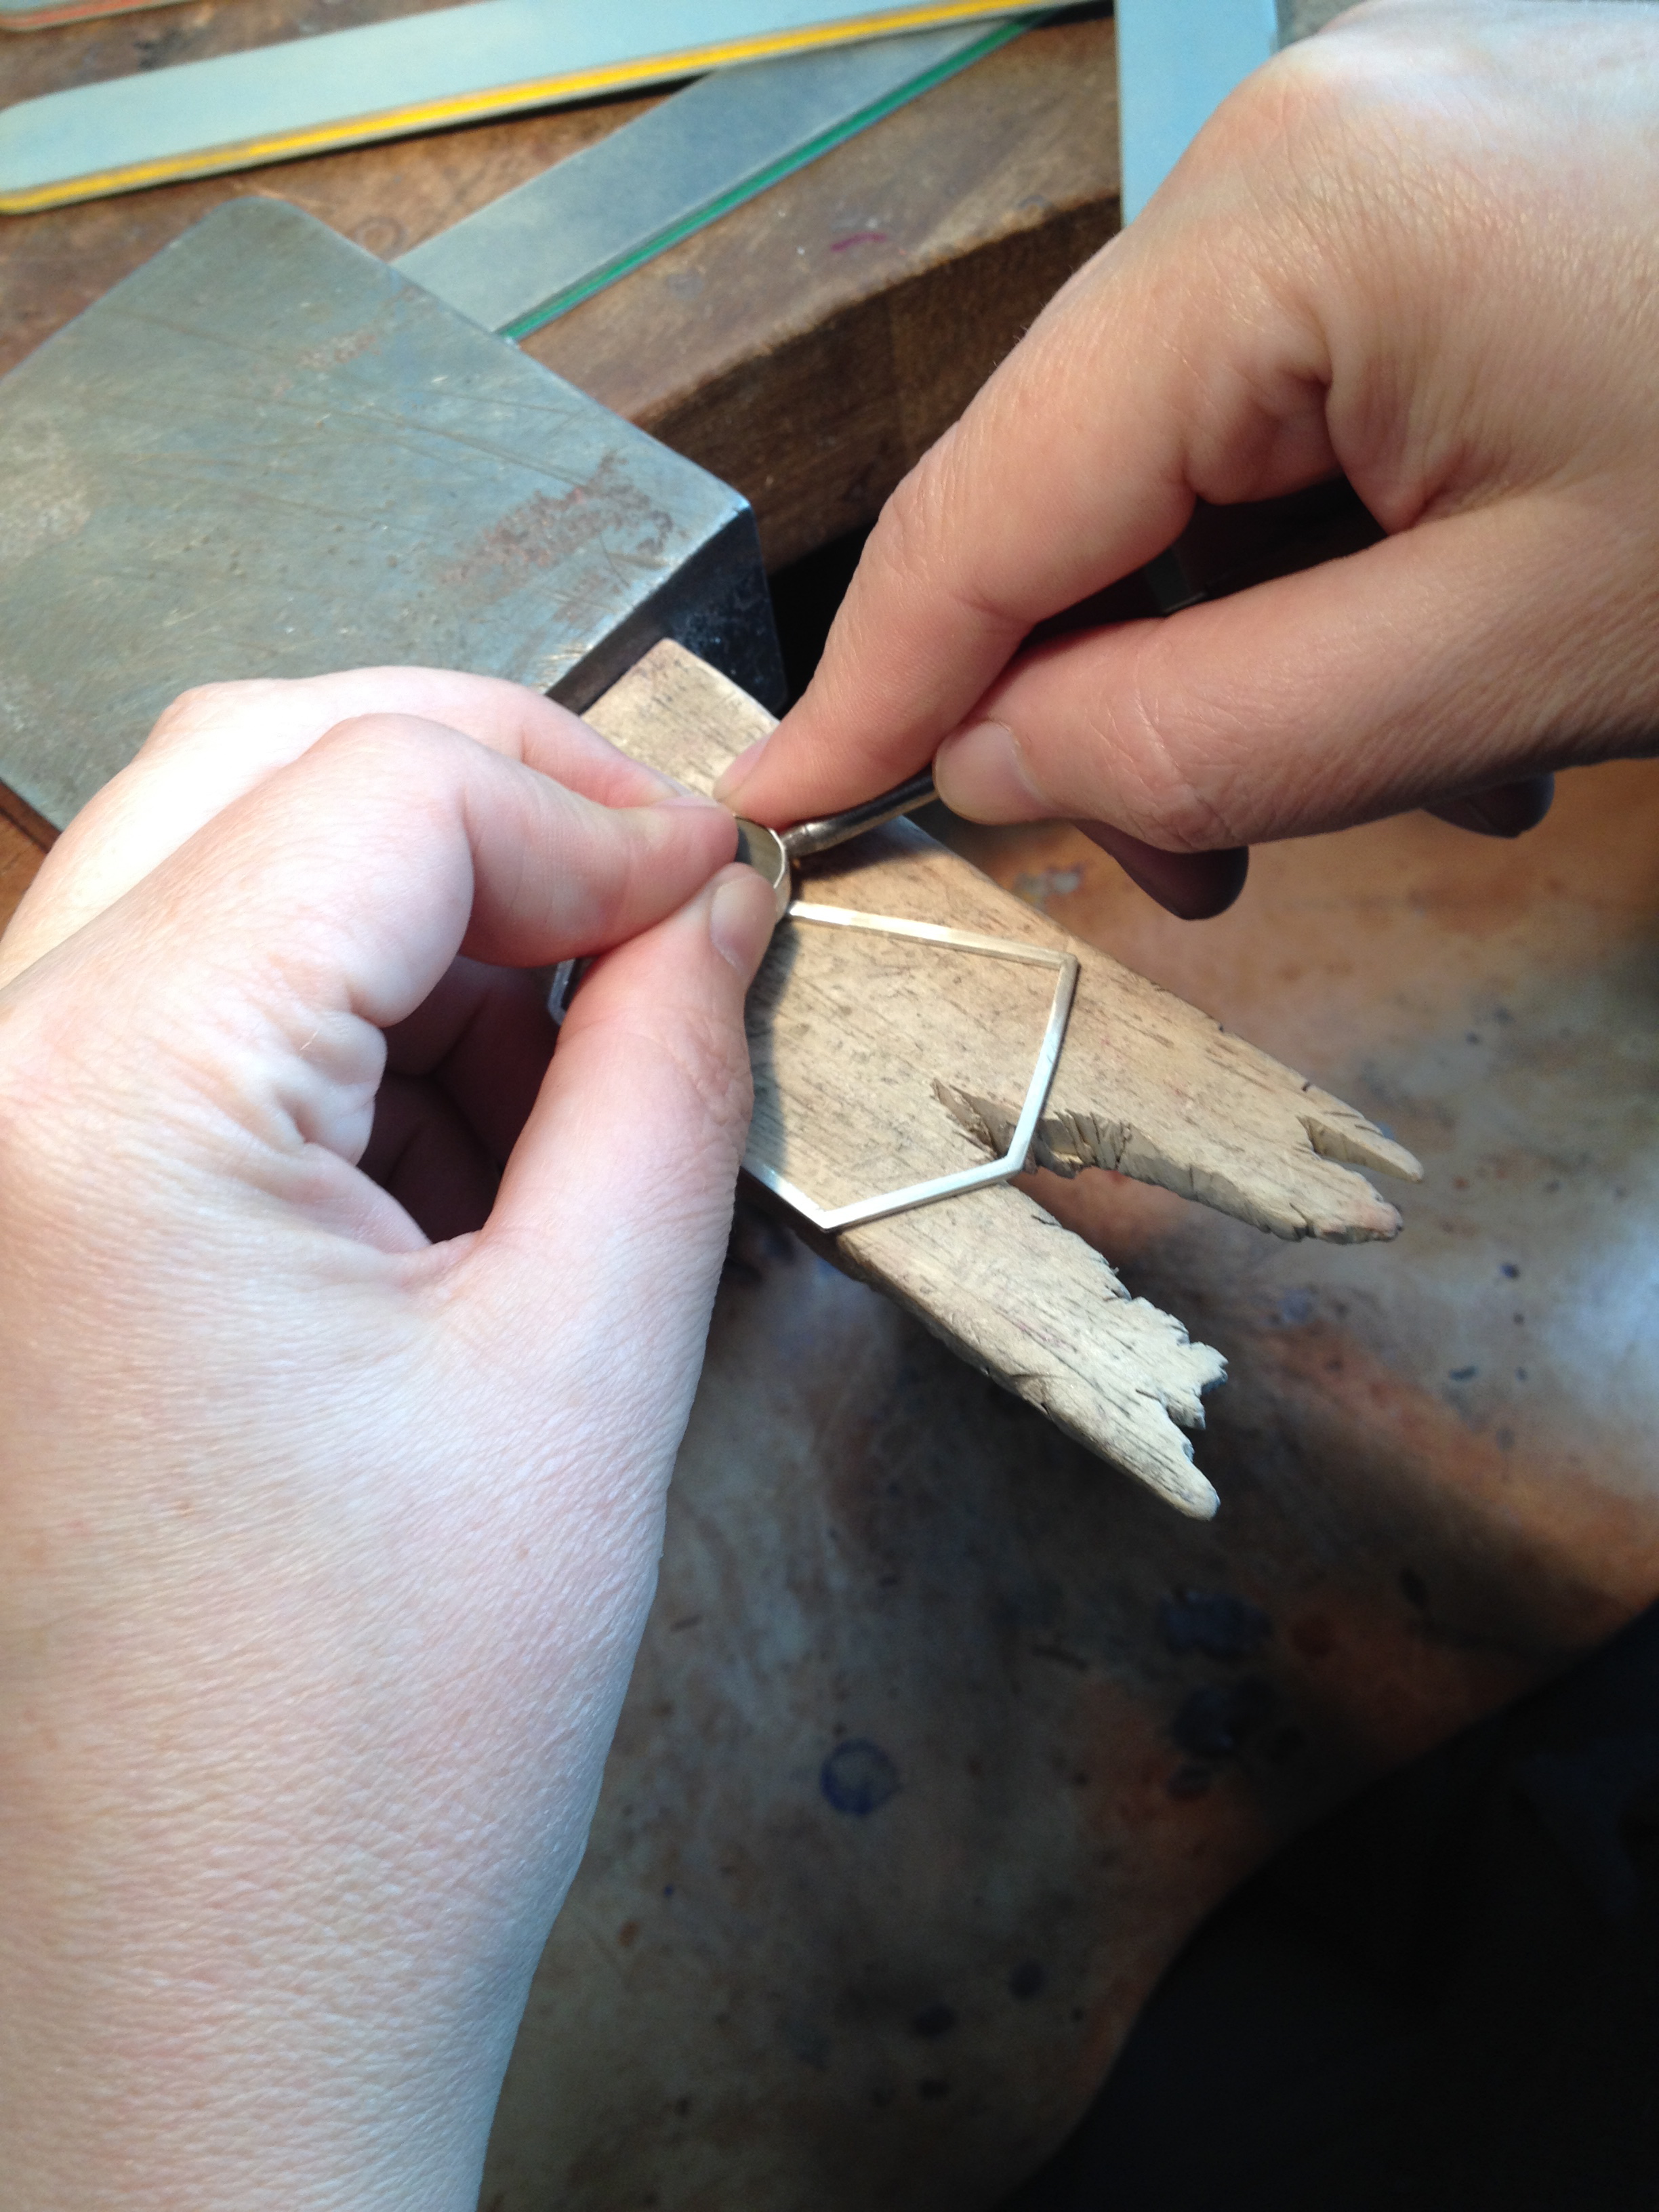
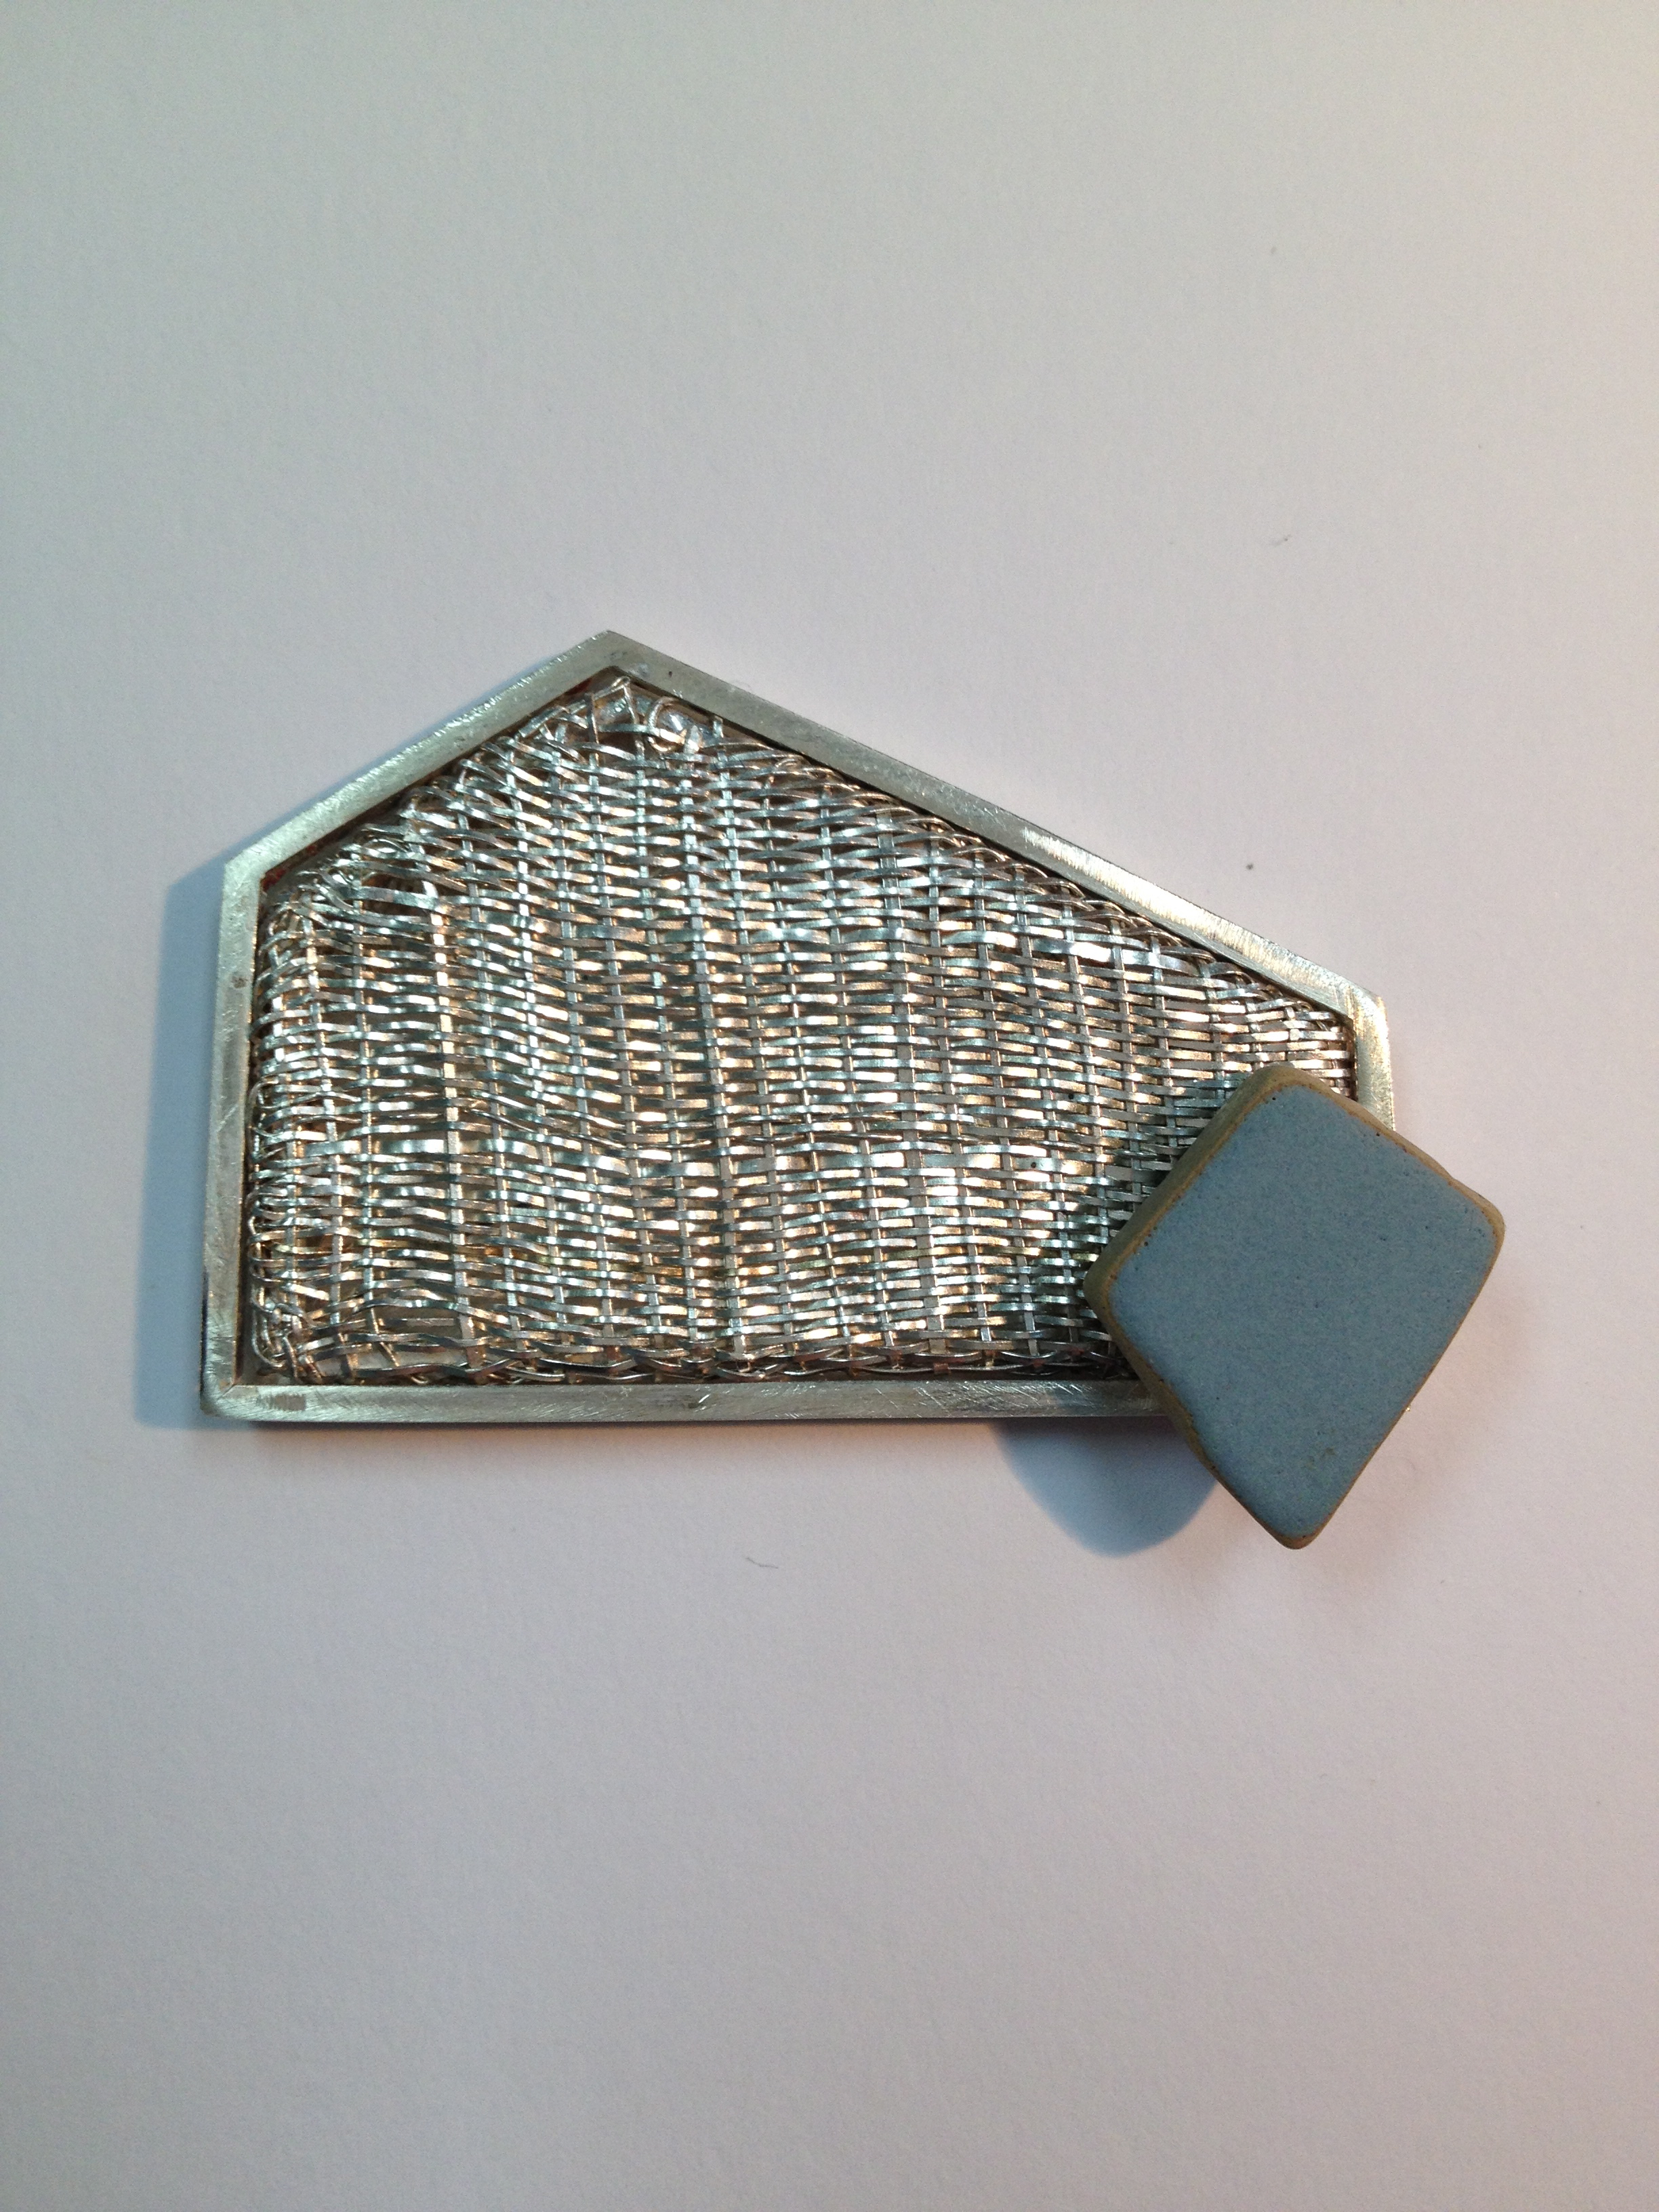
 Burnishing the bezel
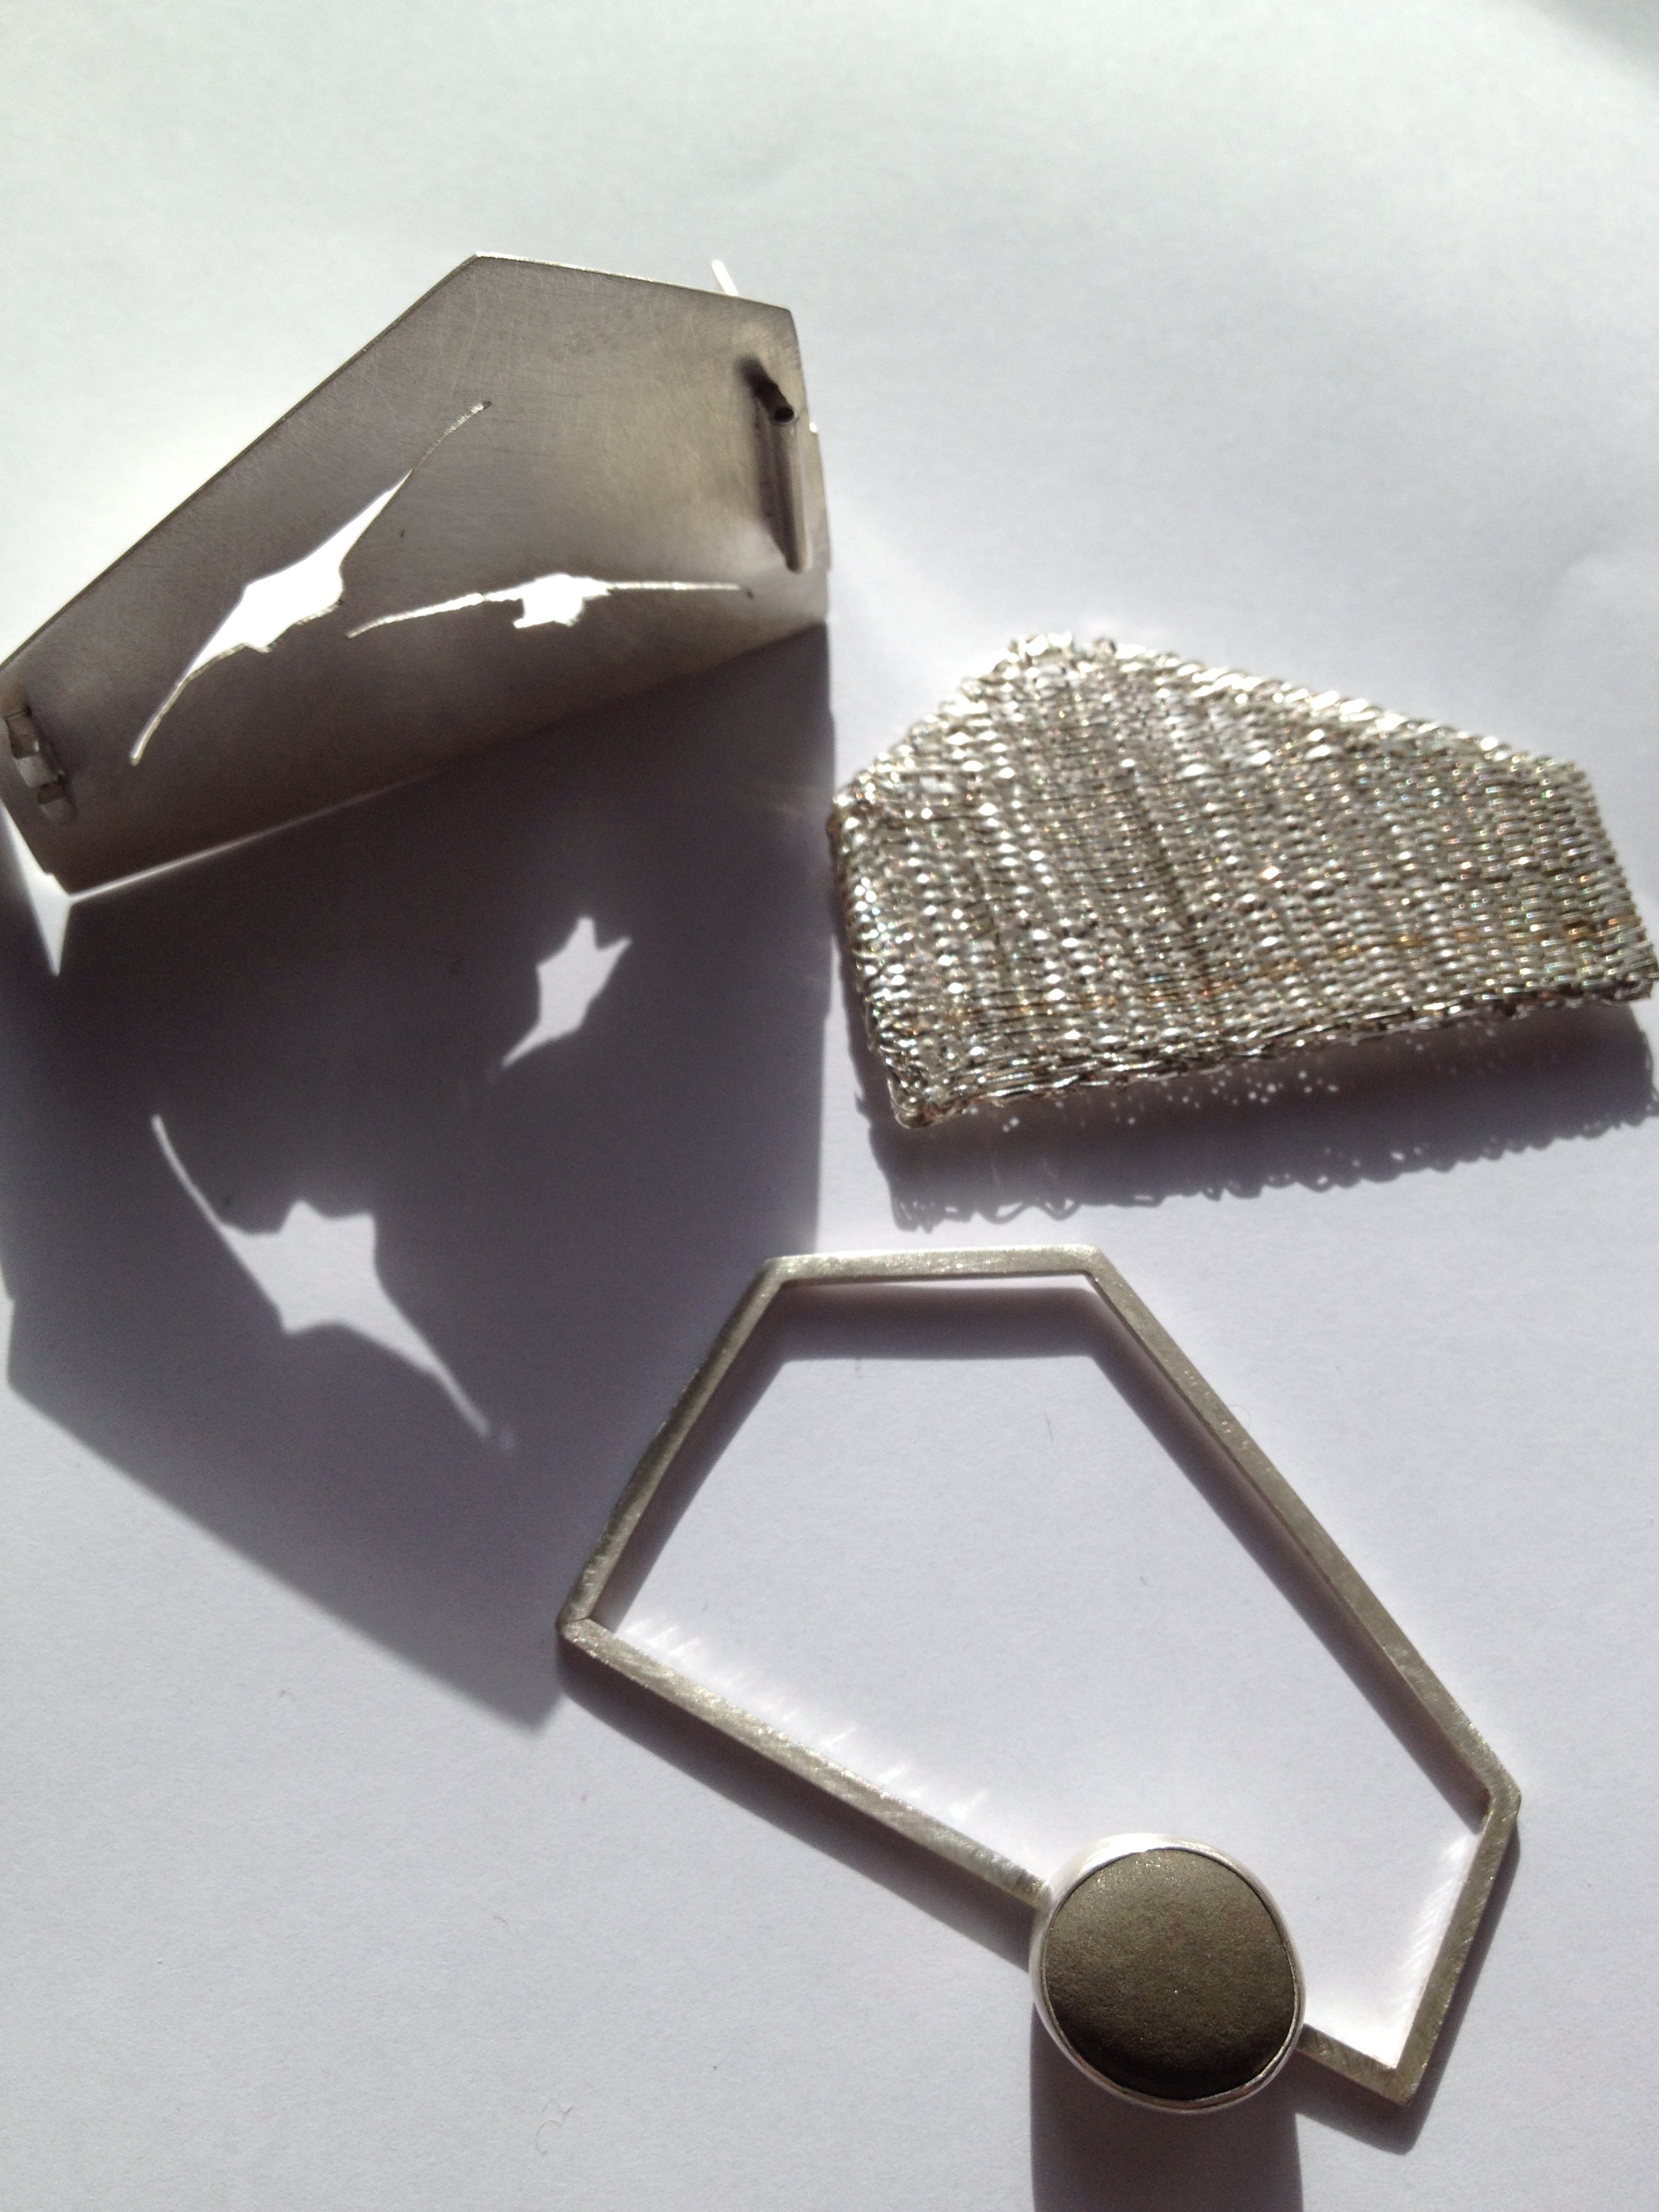


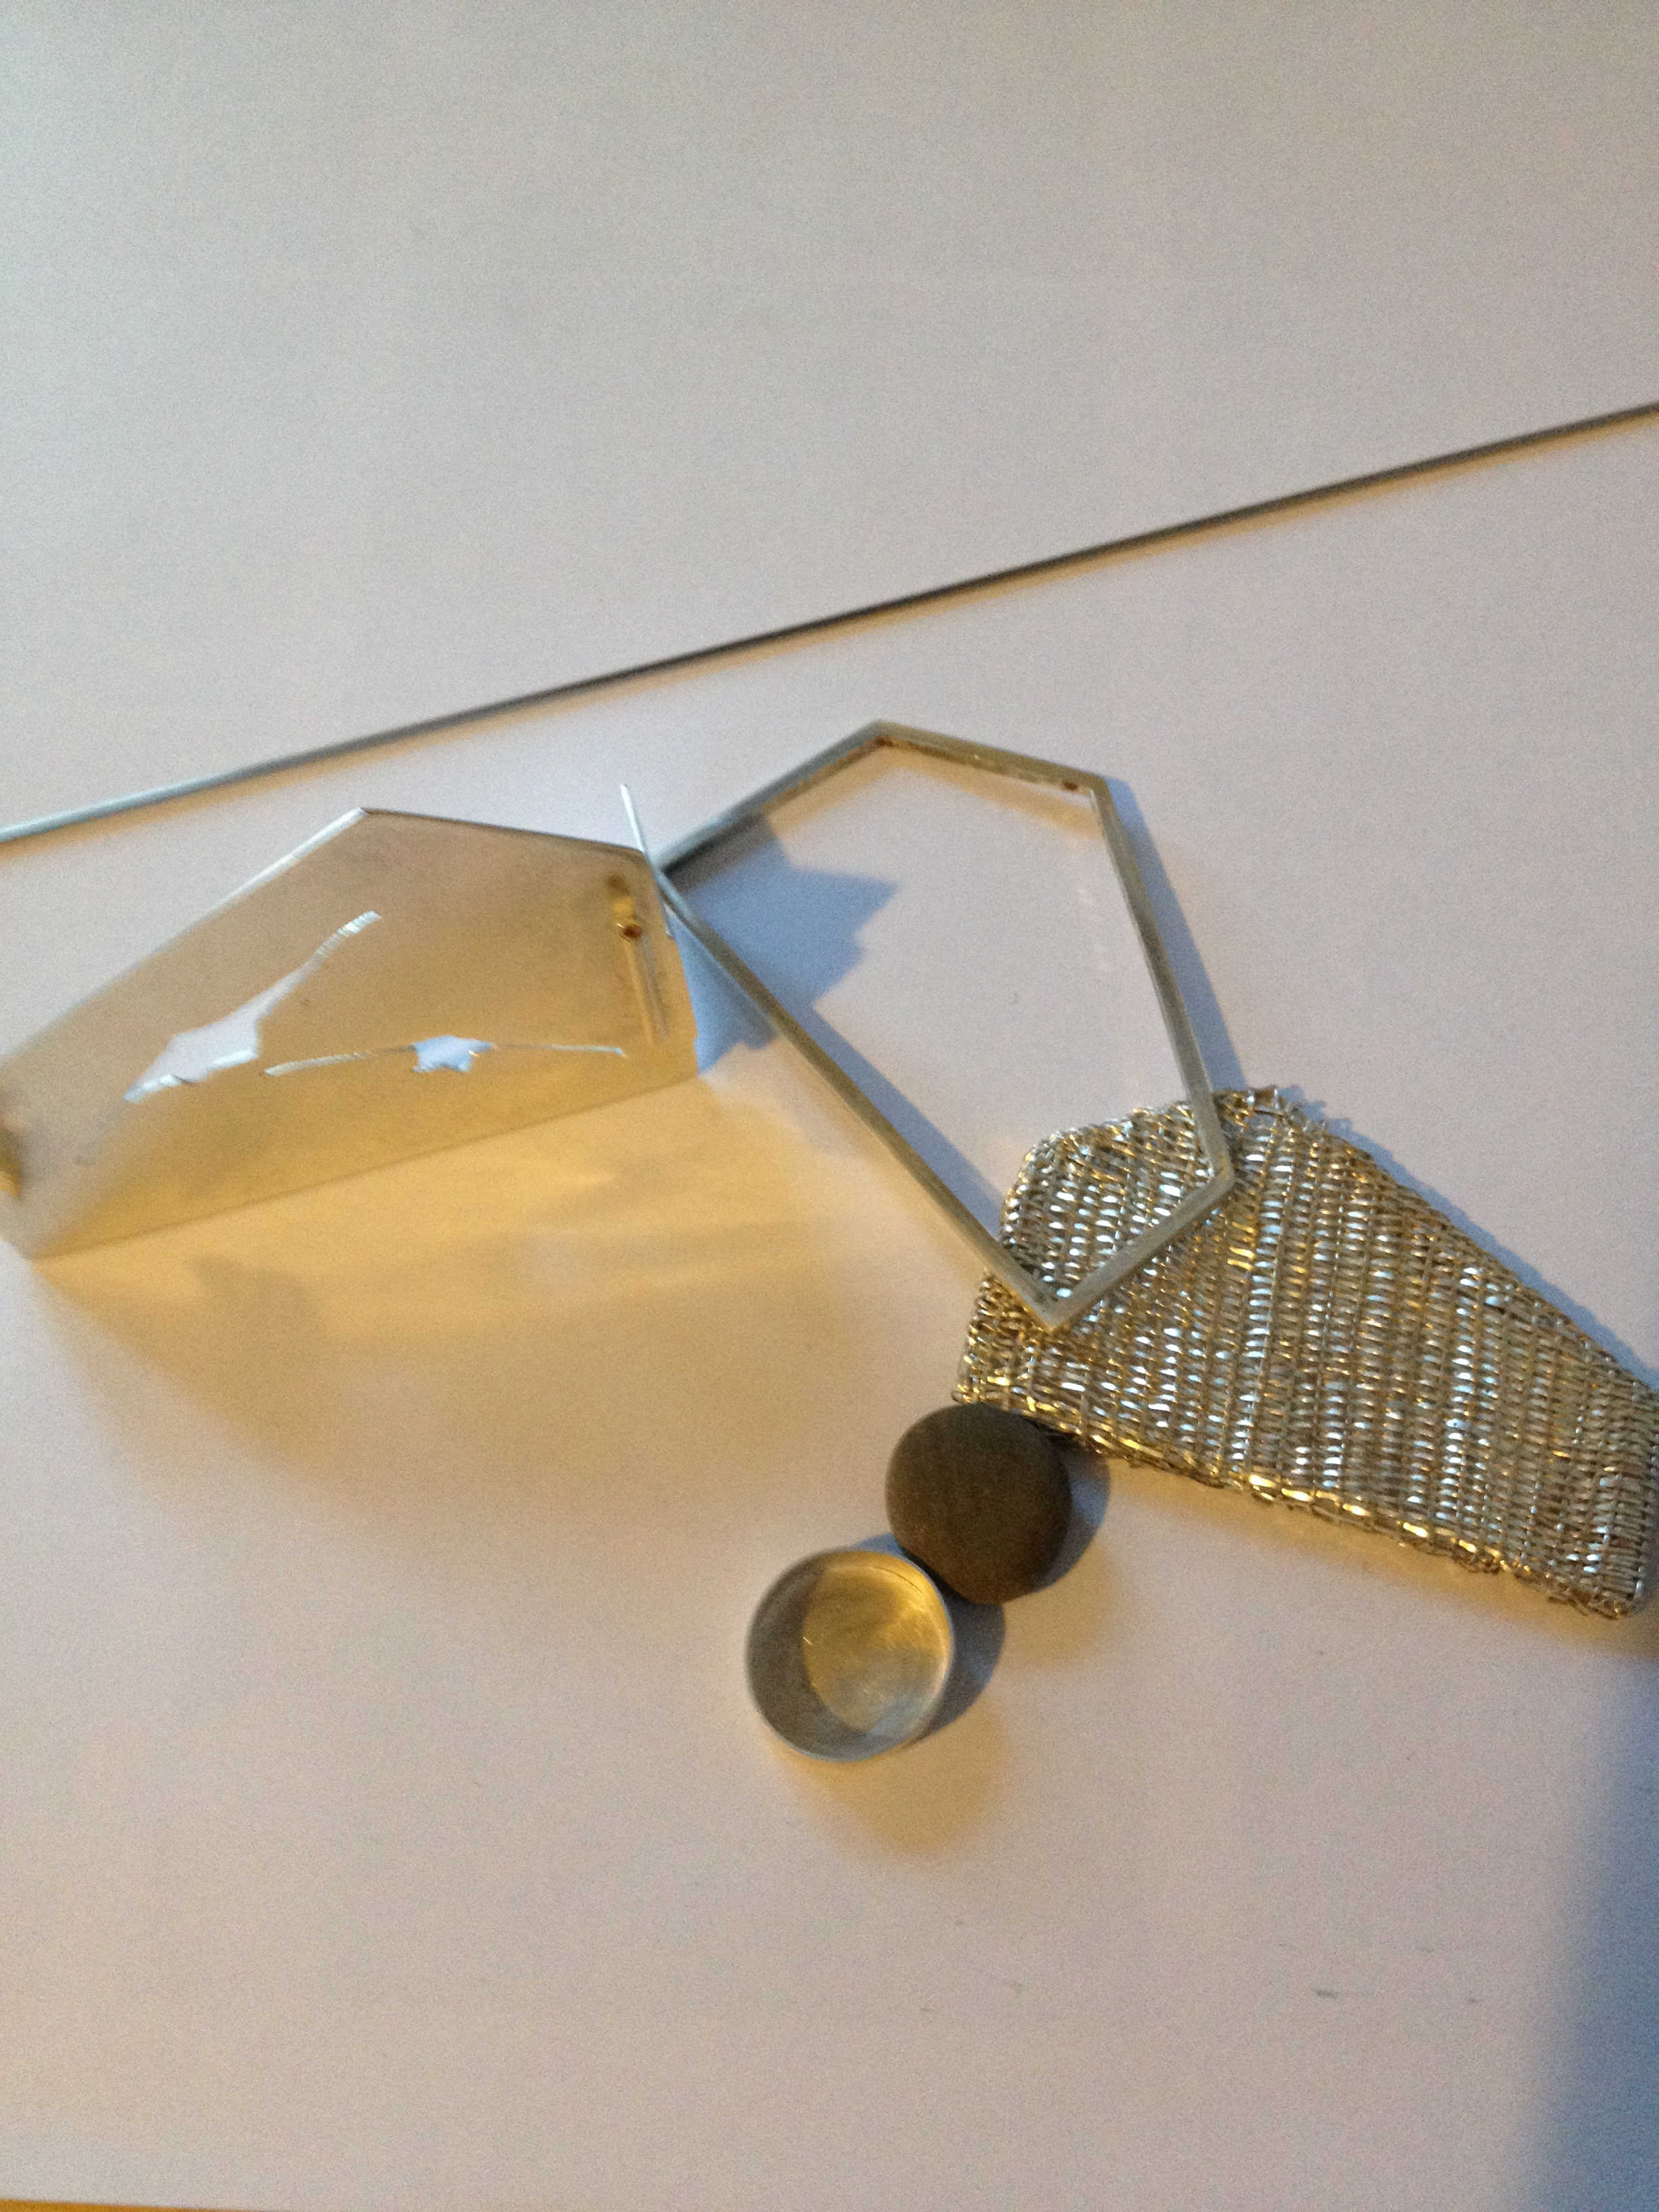
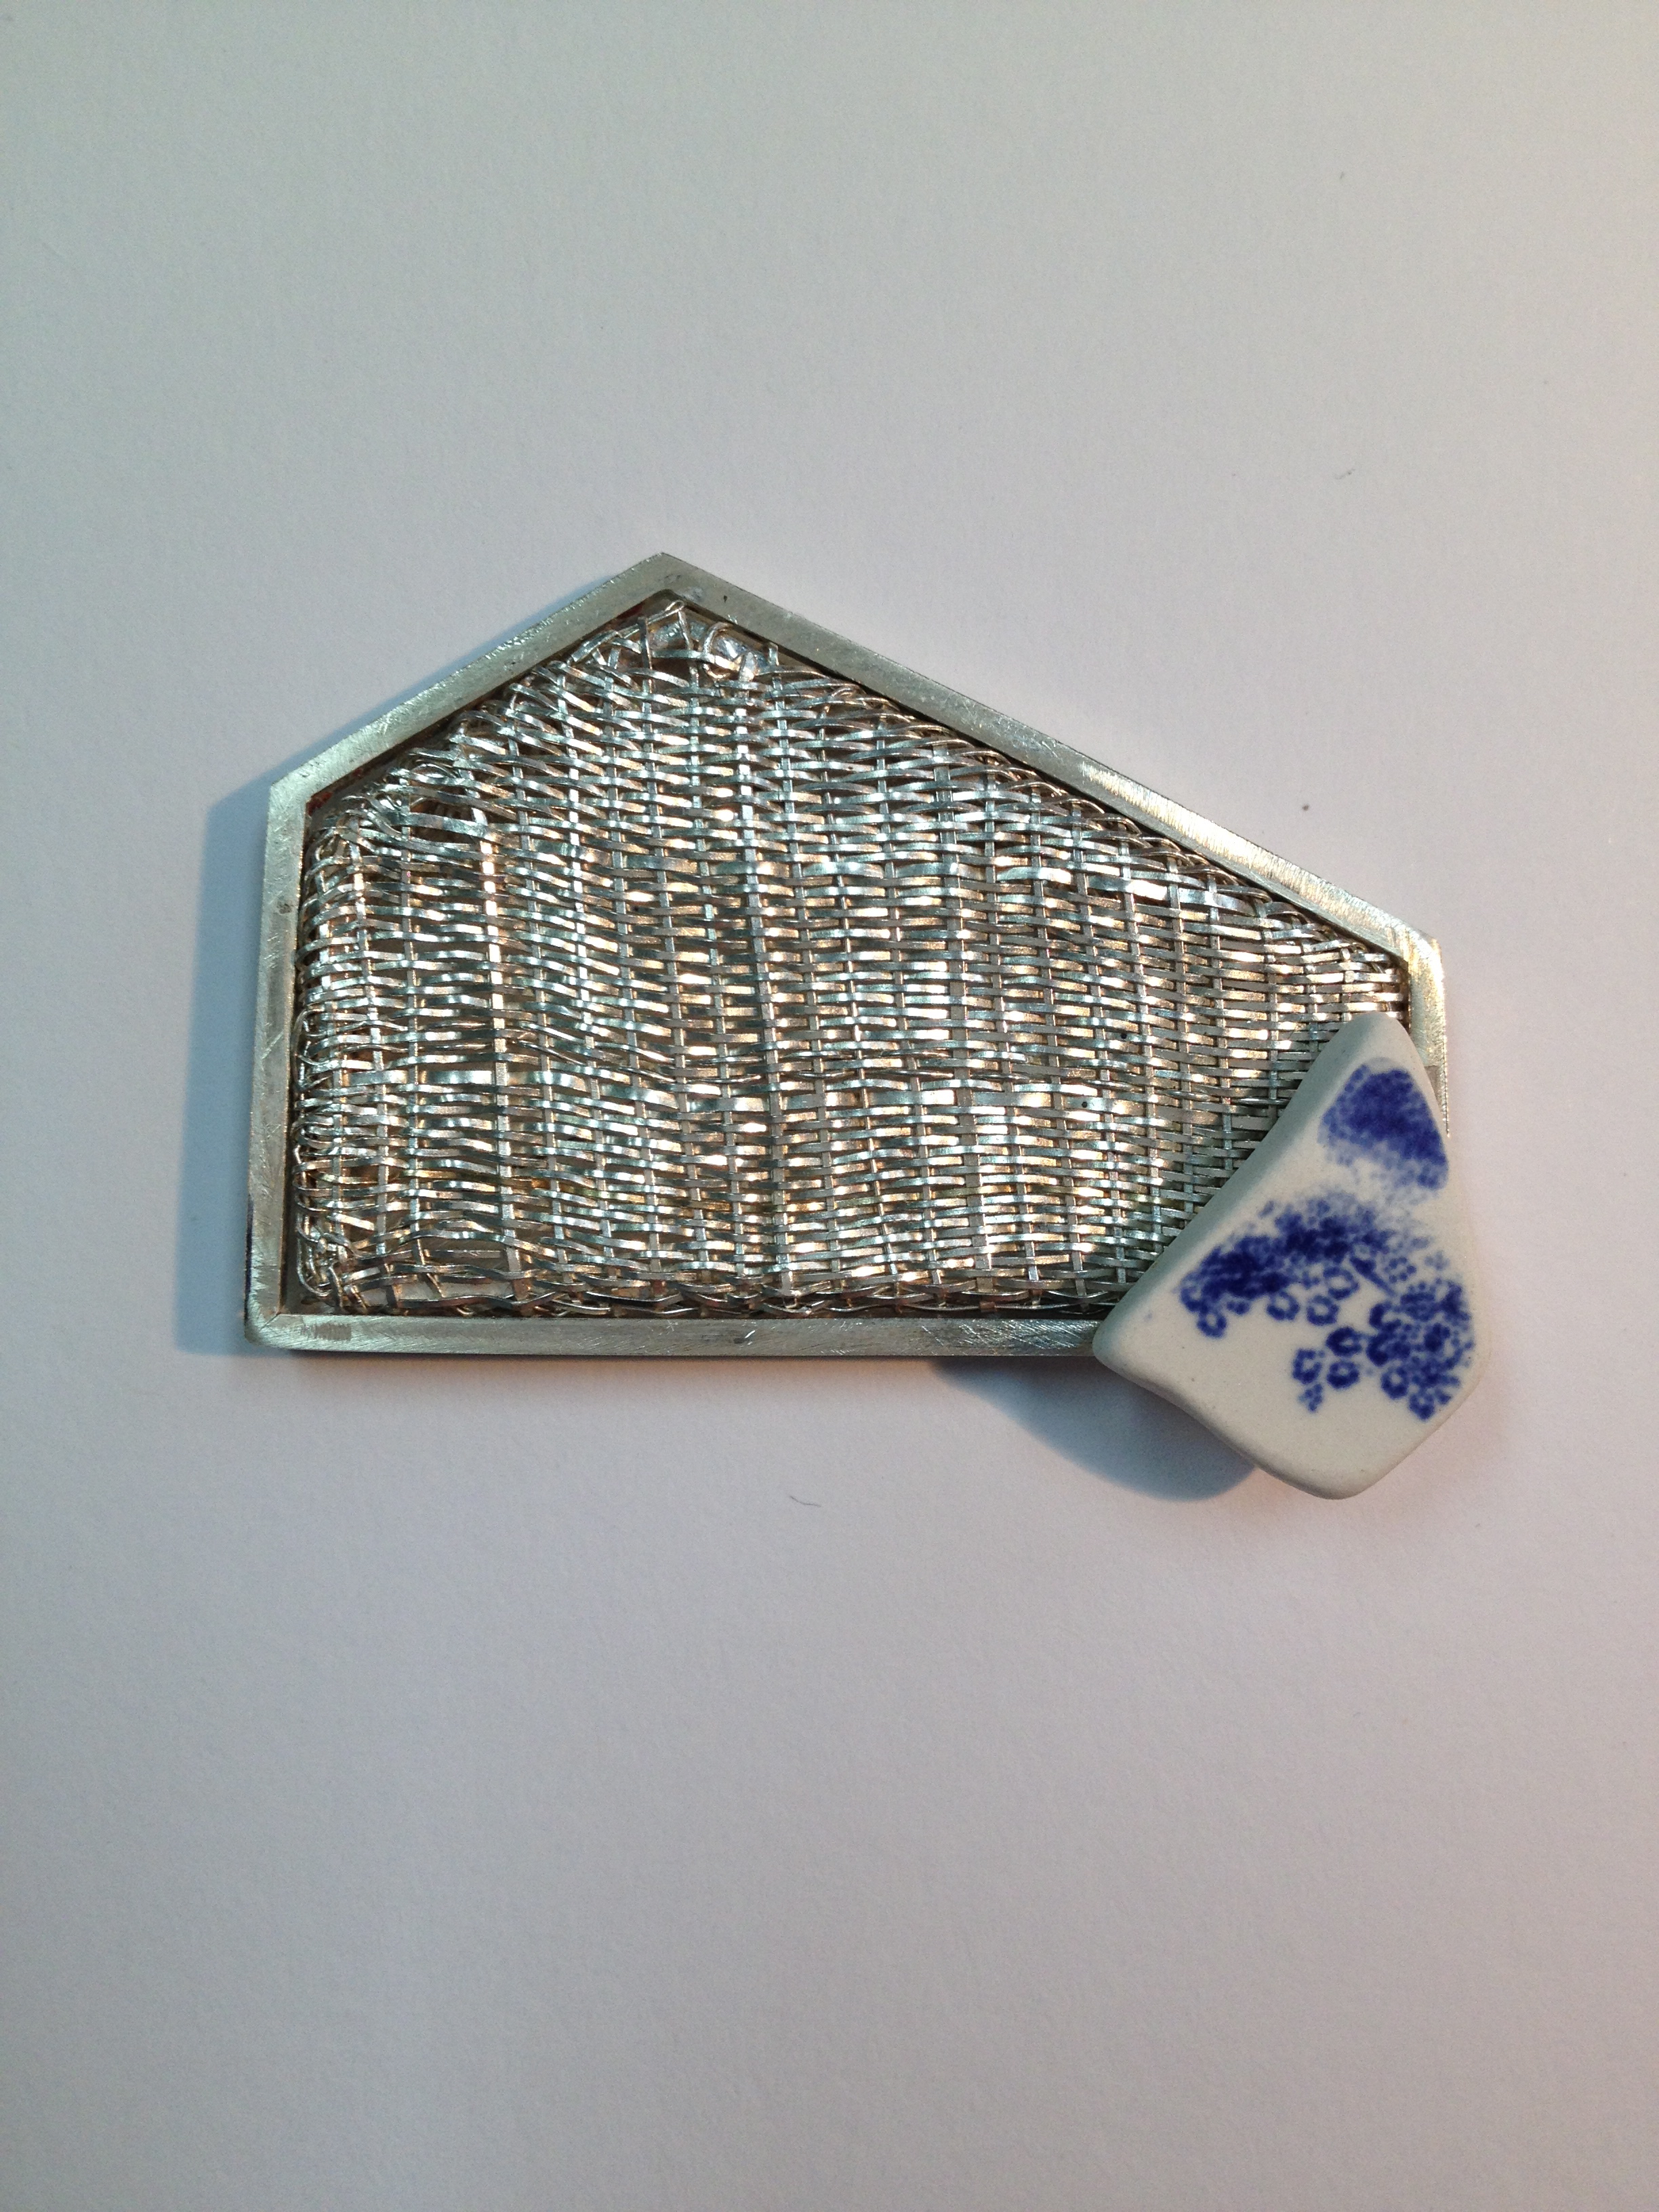
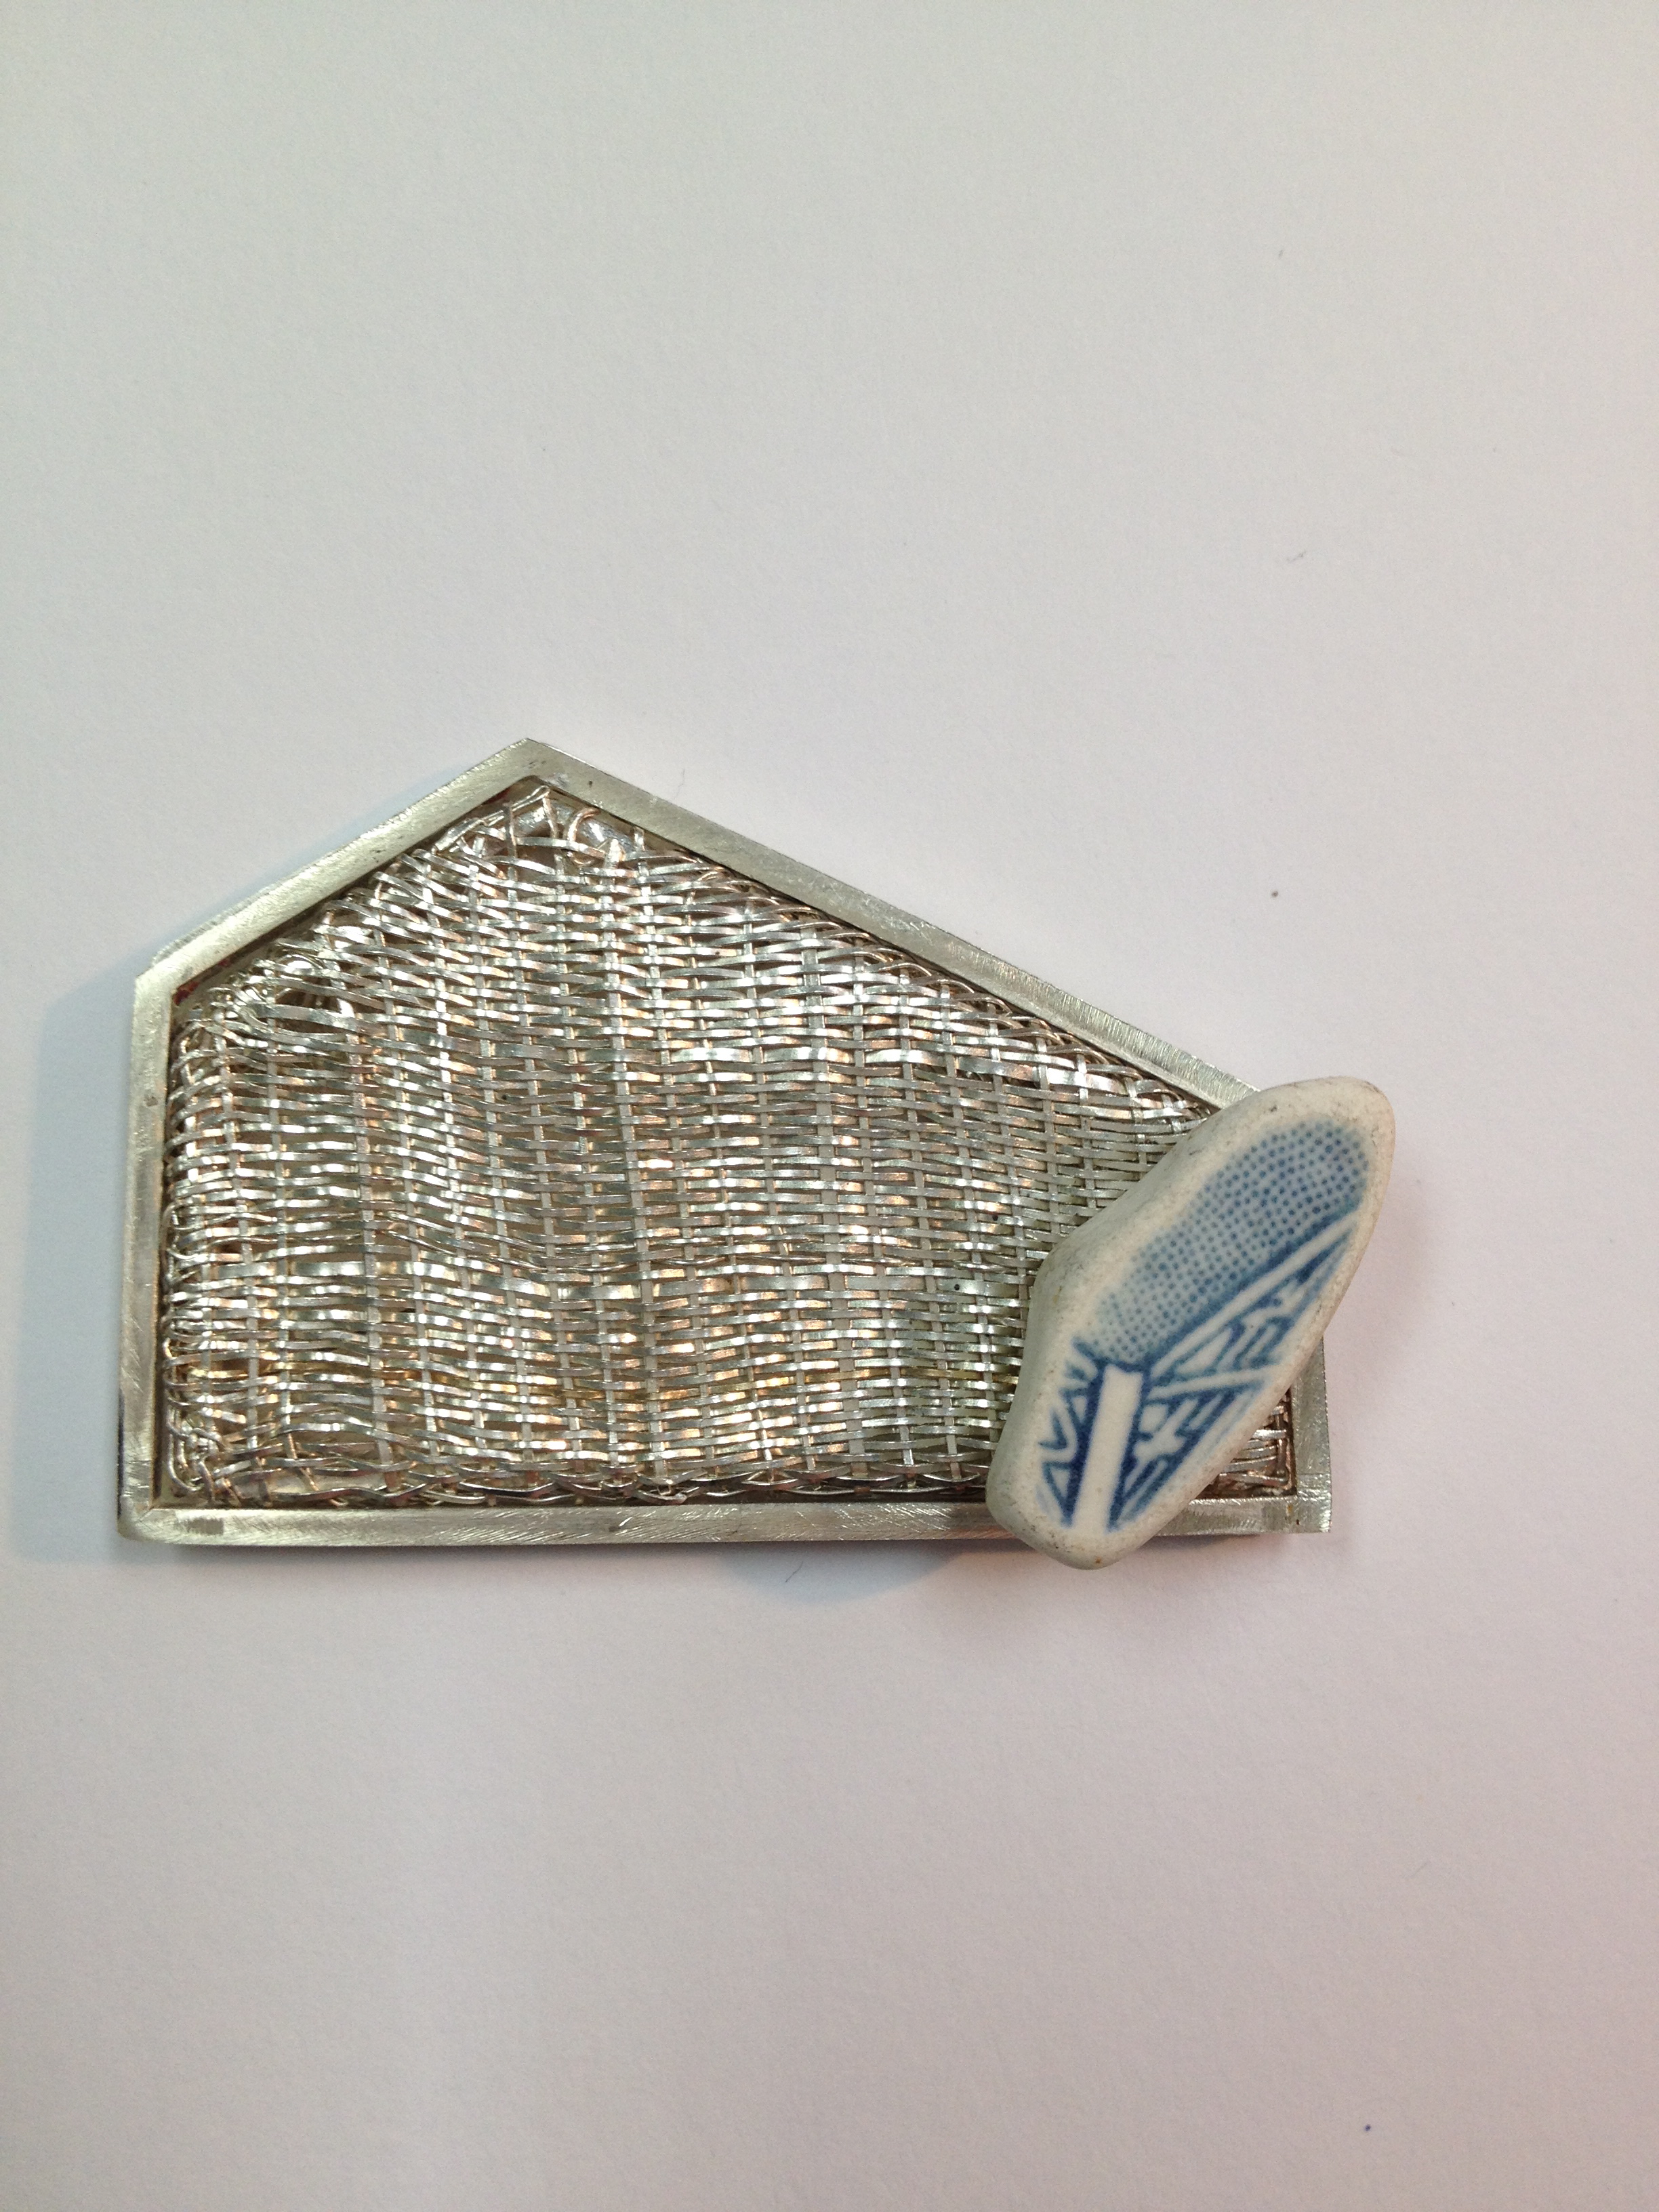
 choices, choices…
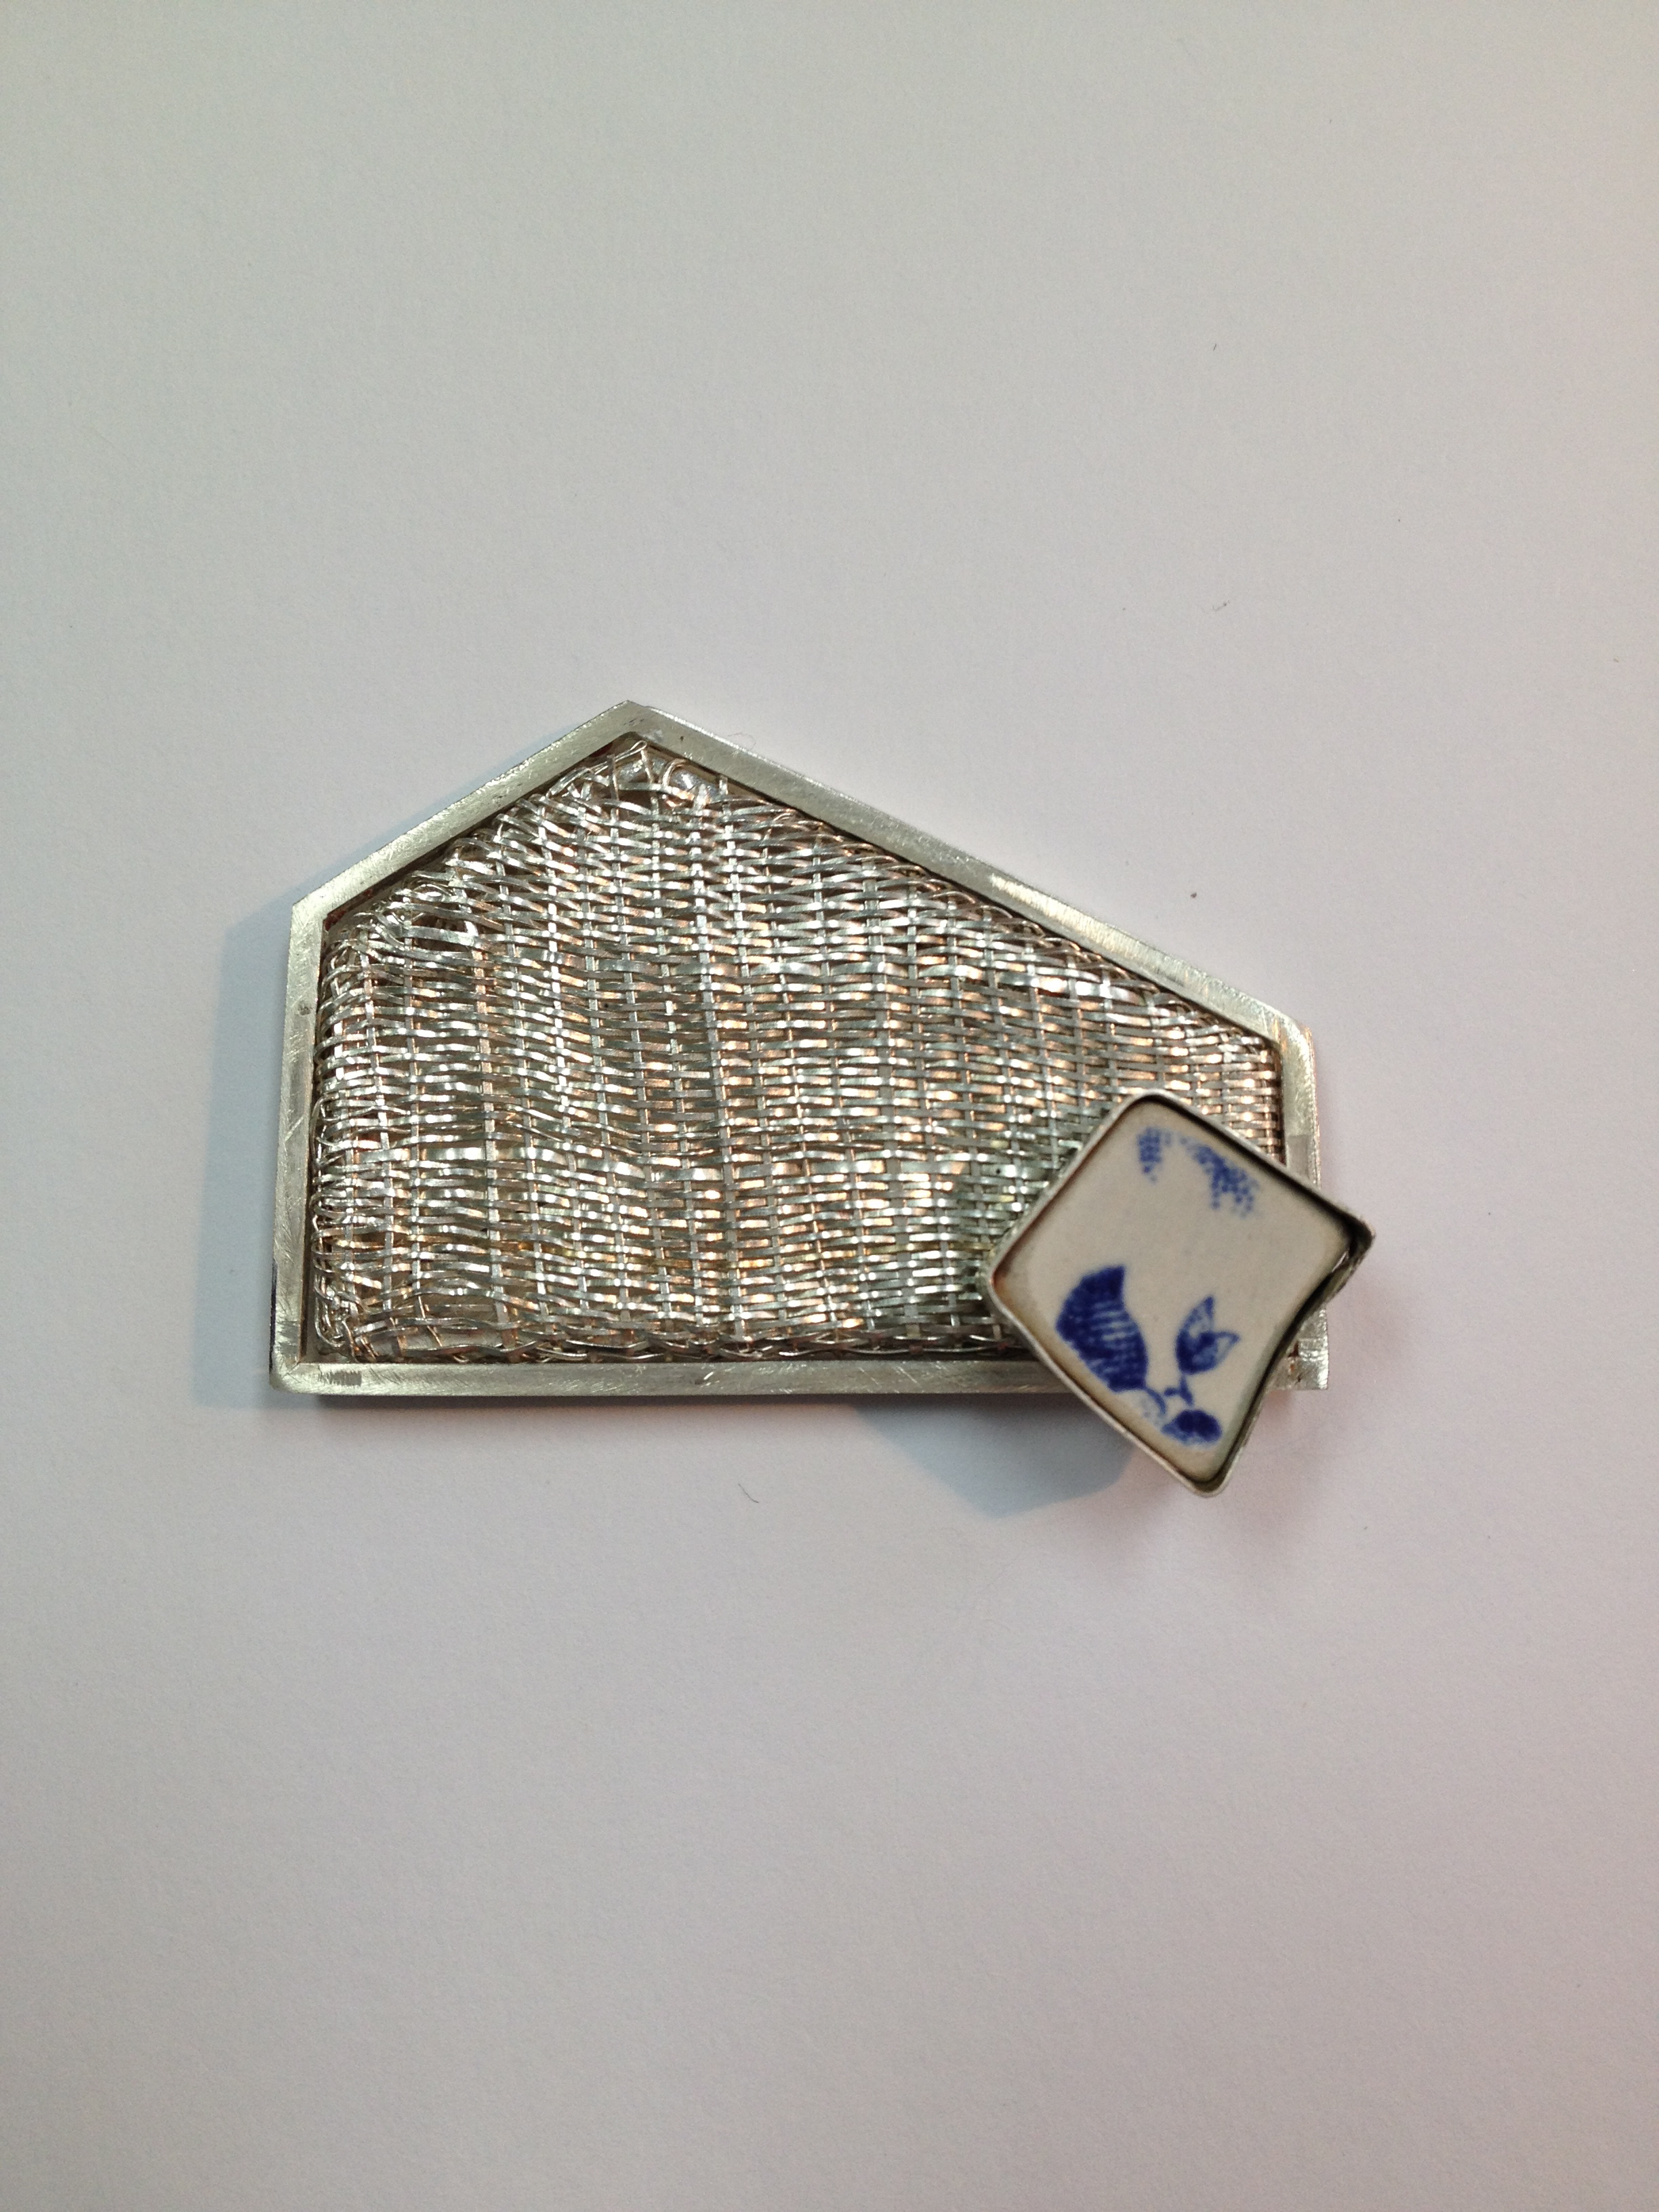
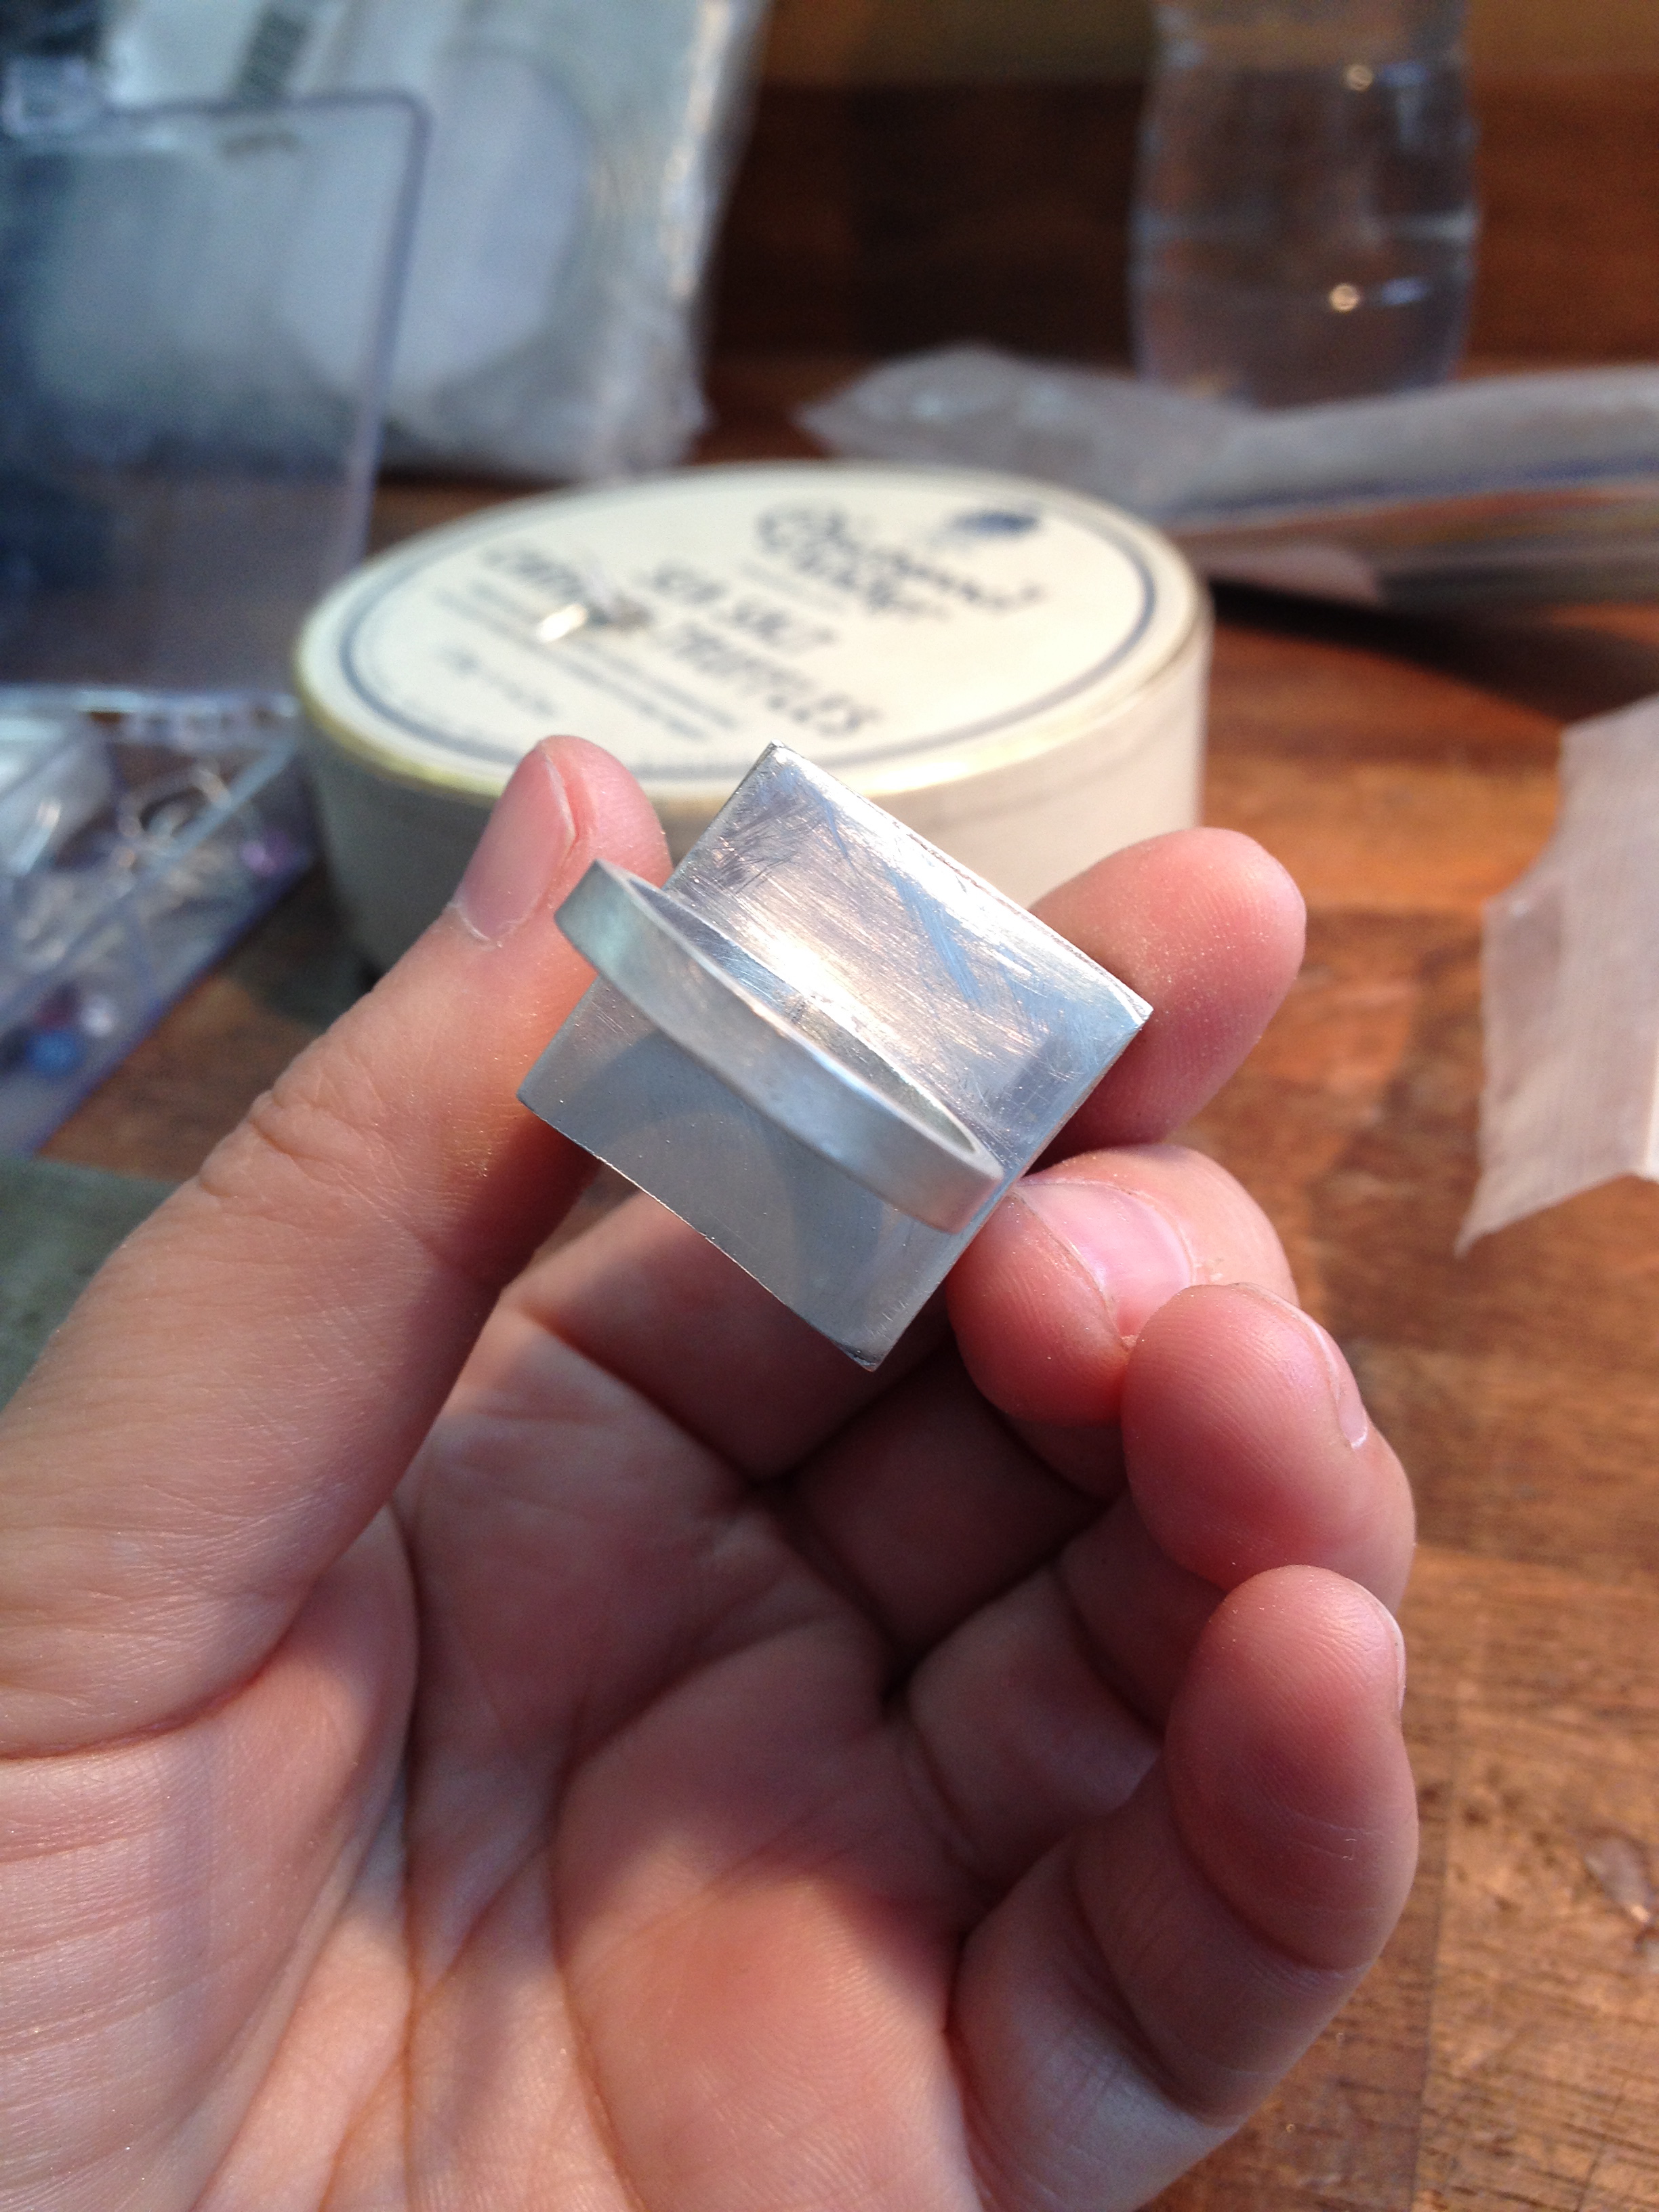
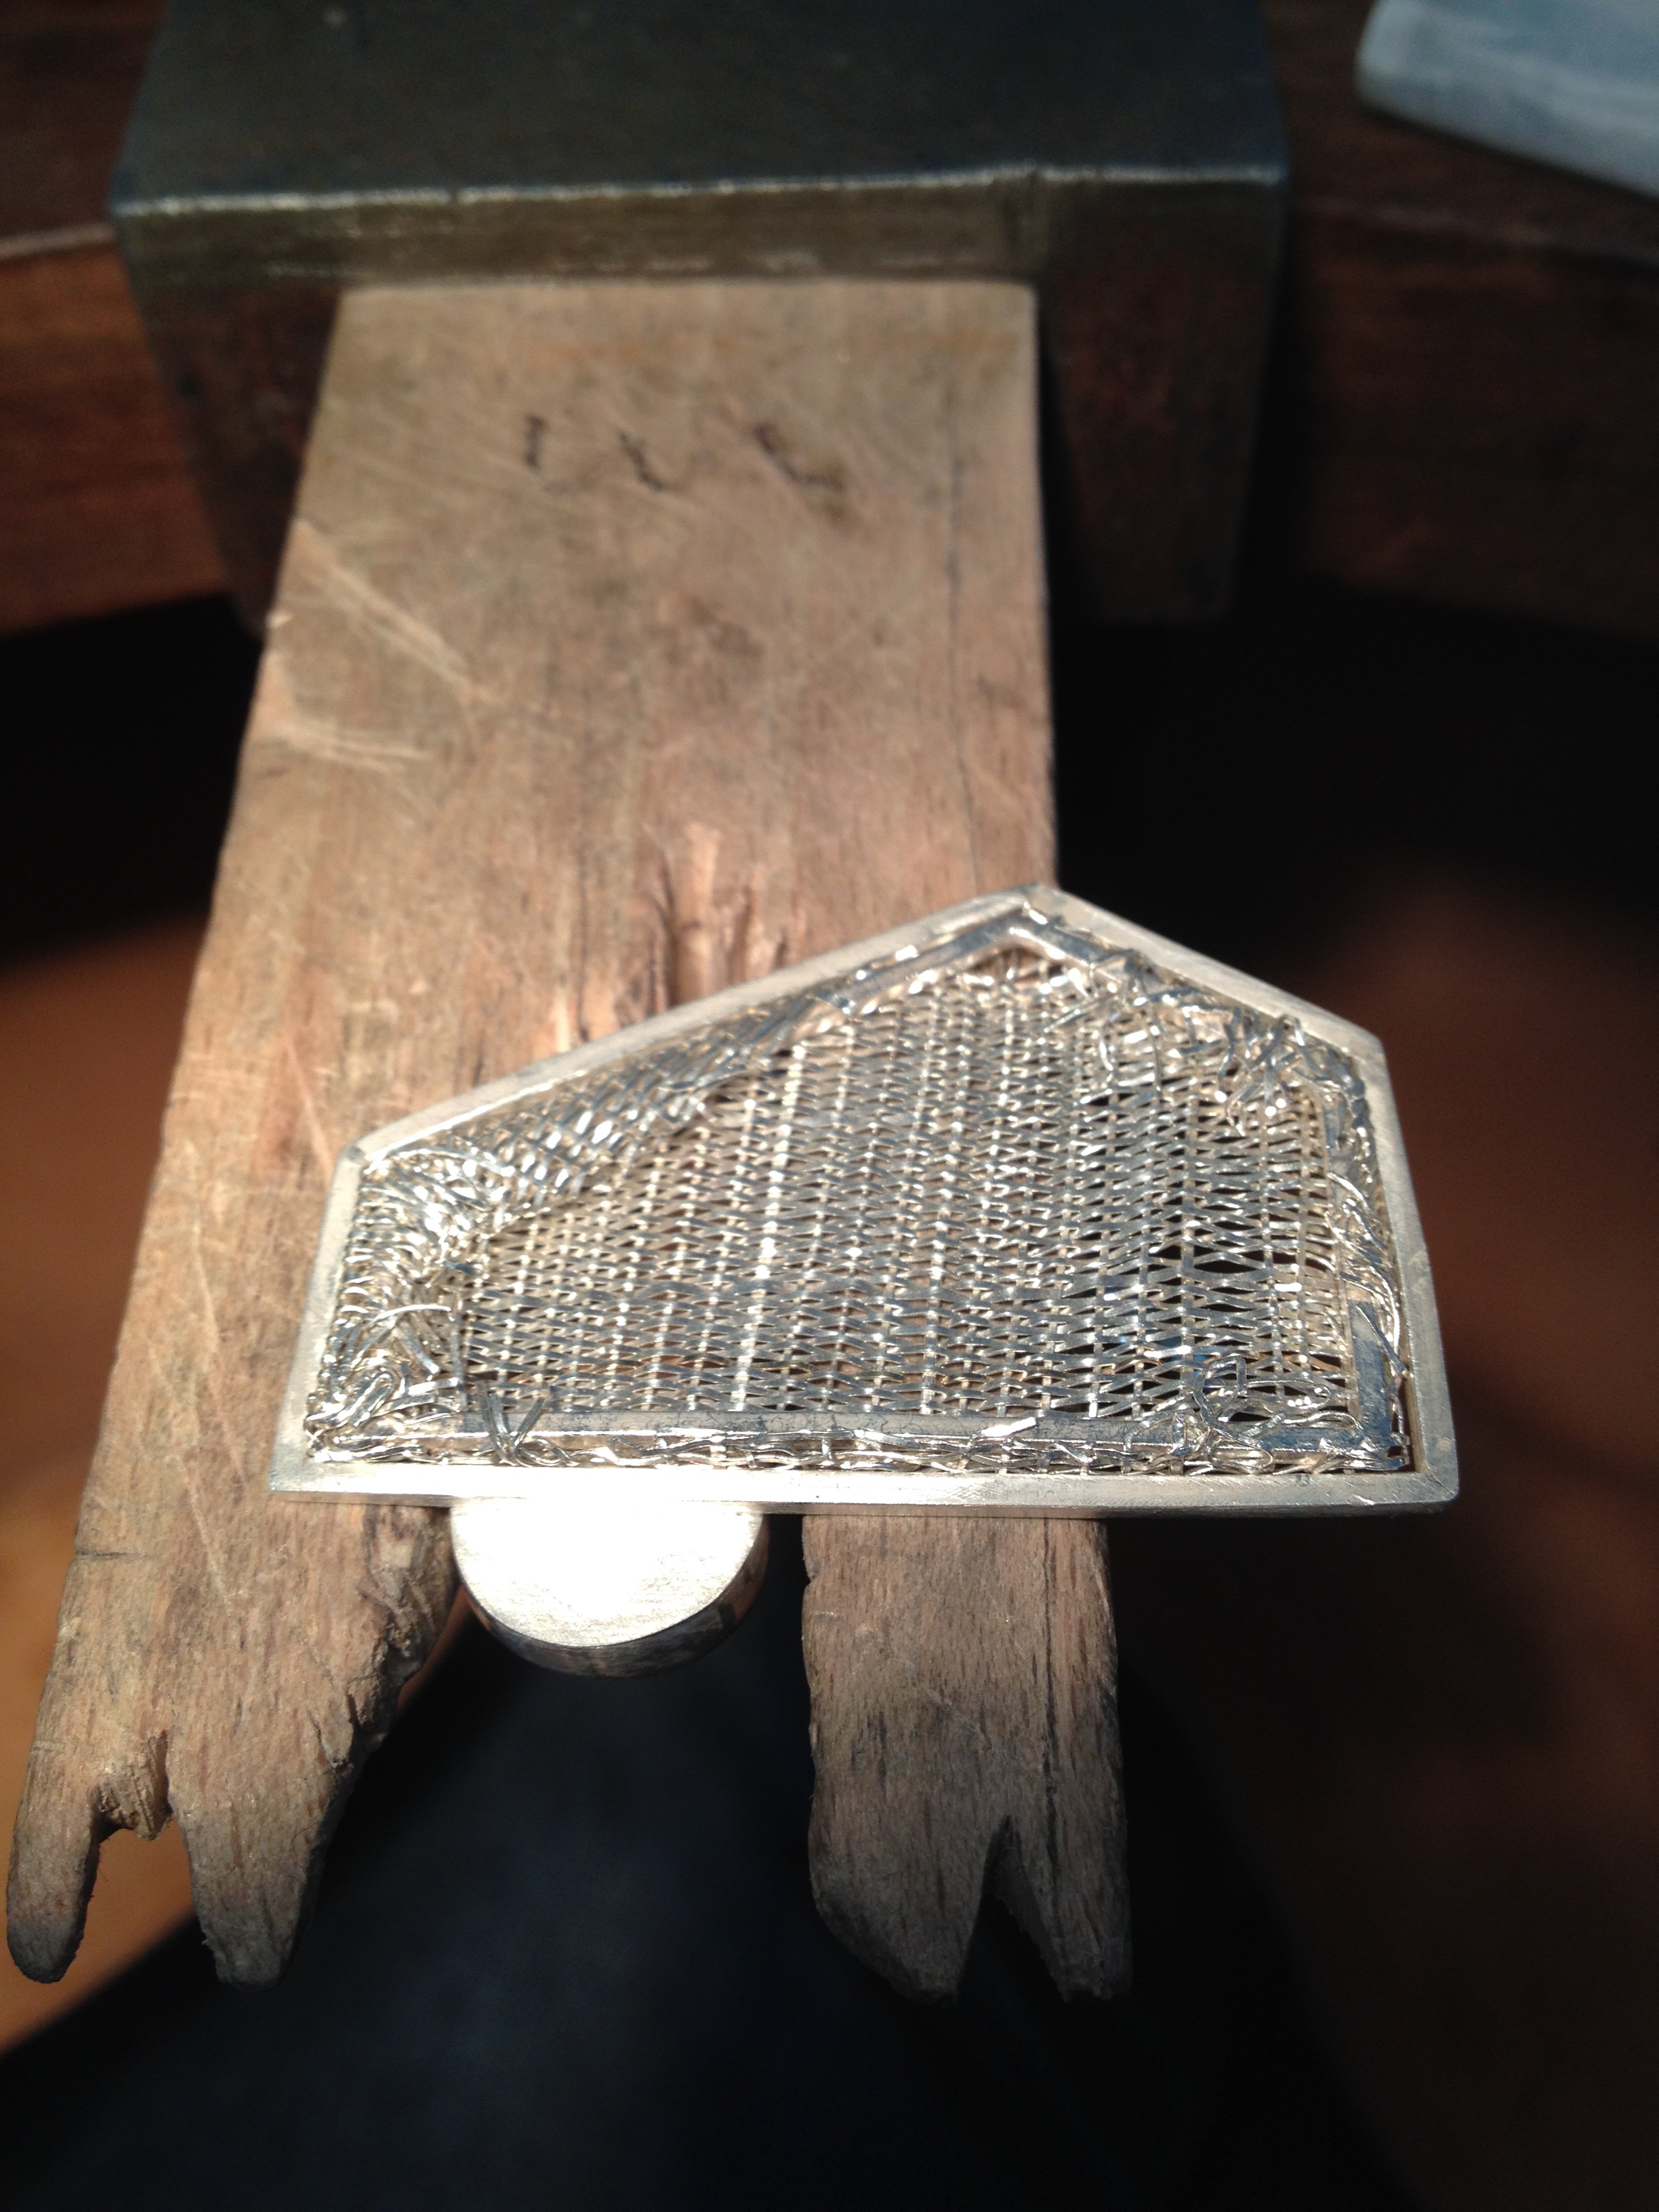
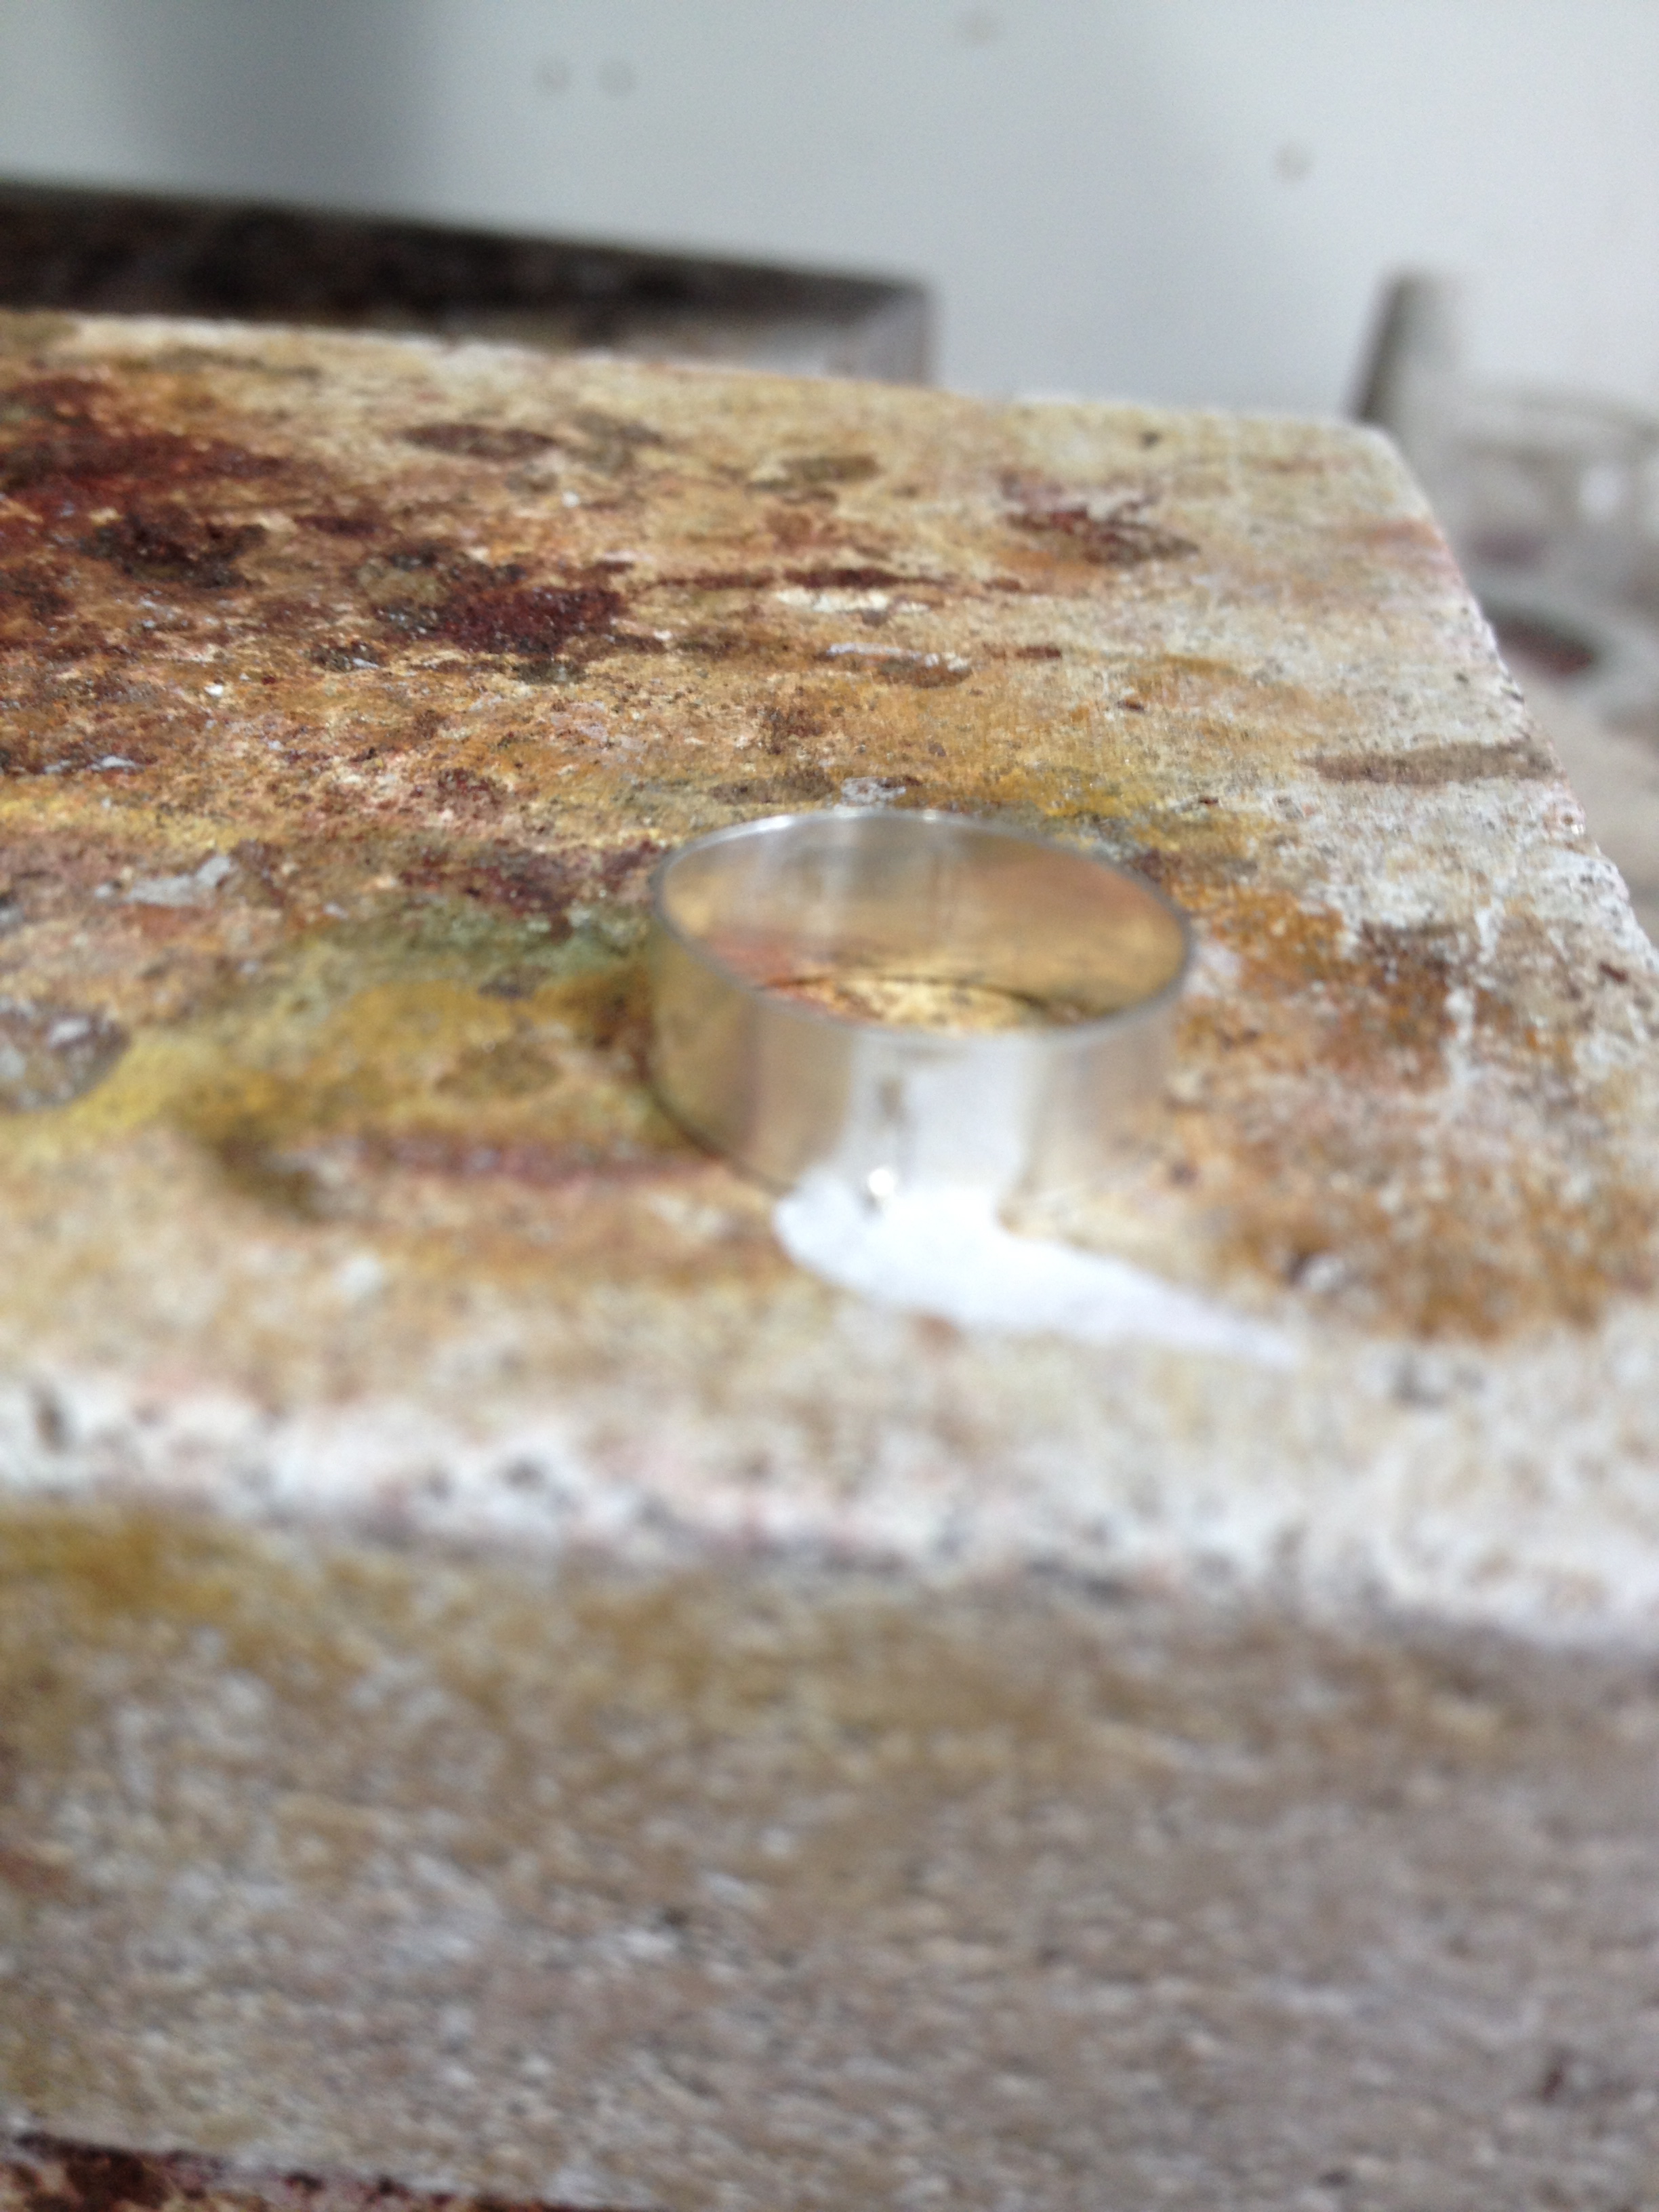
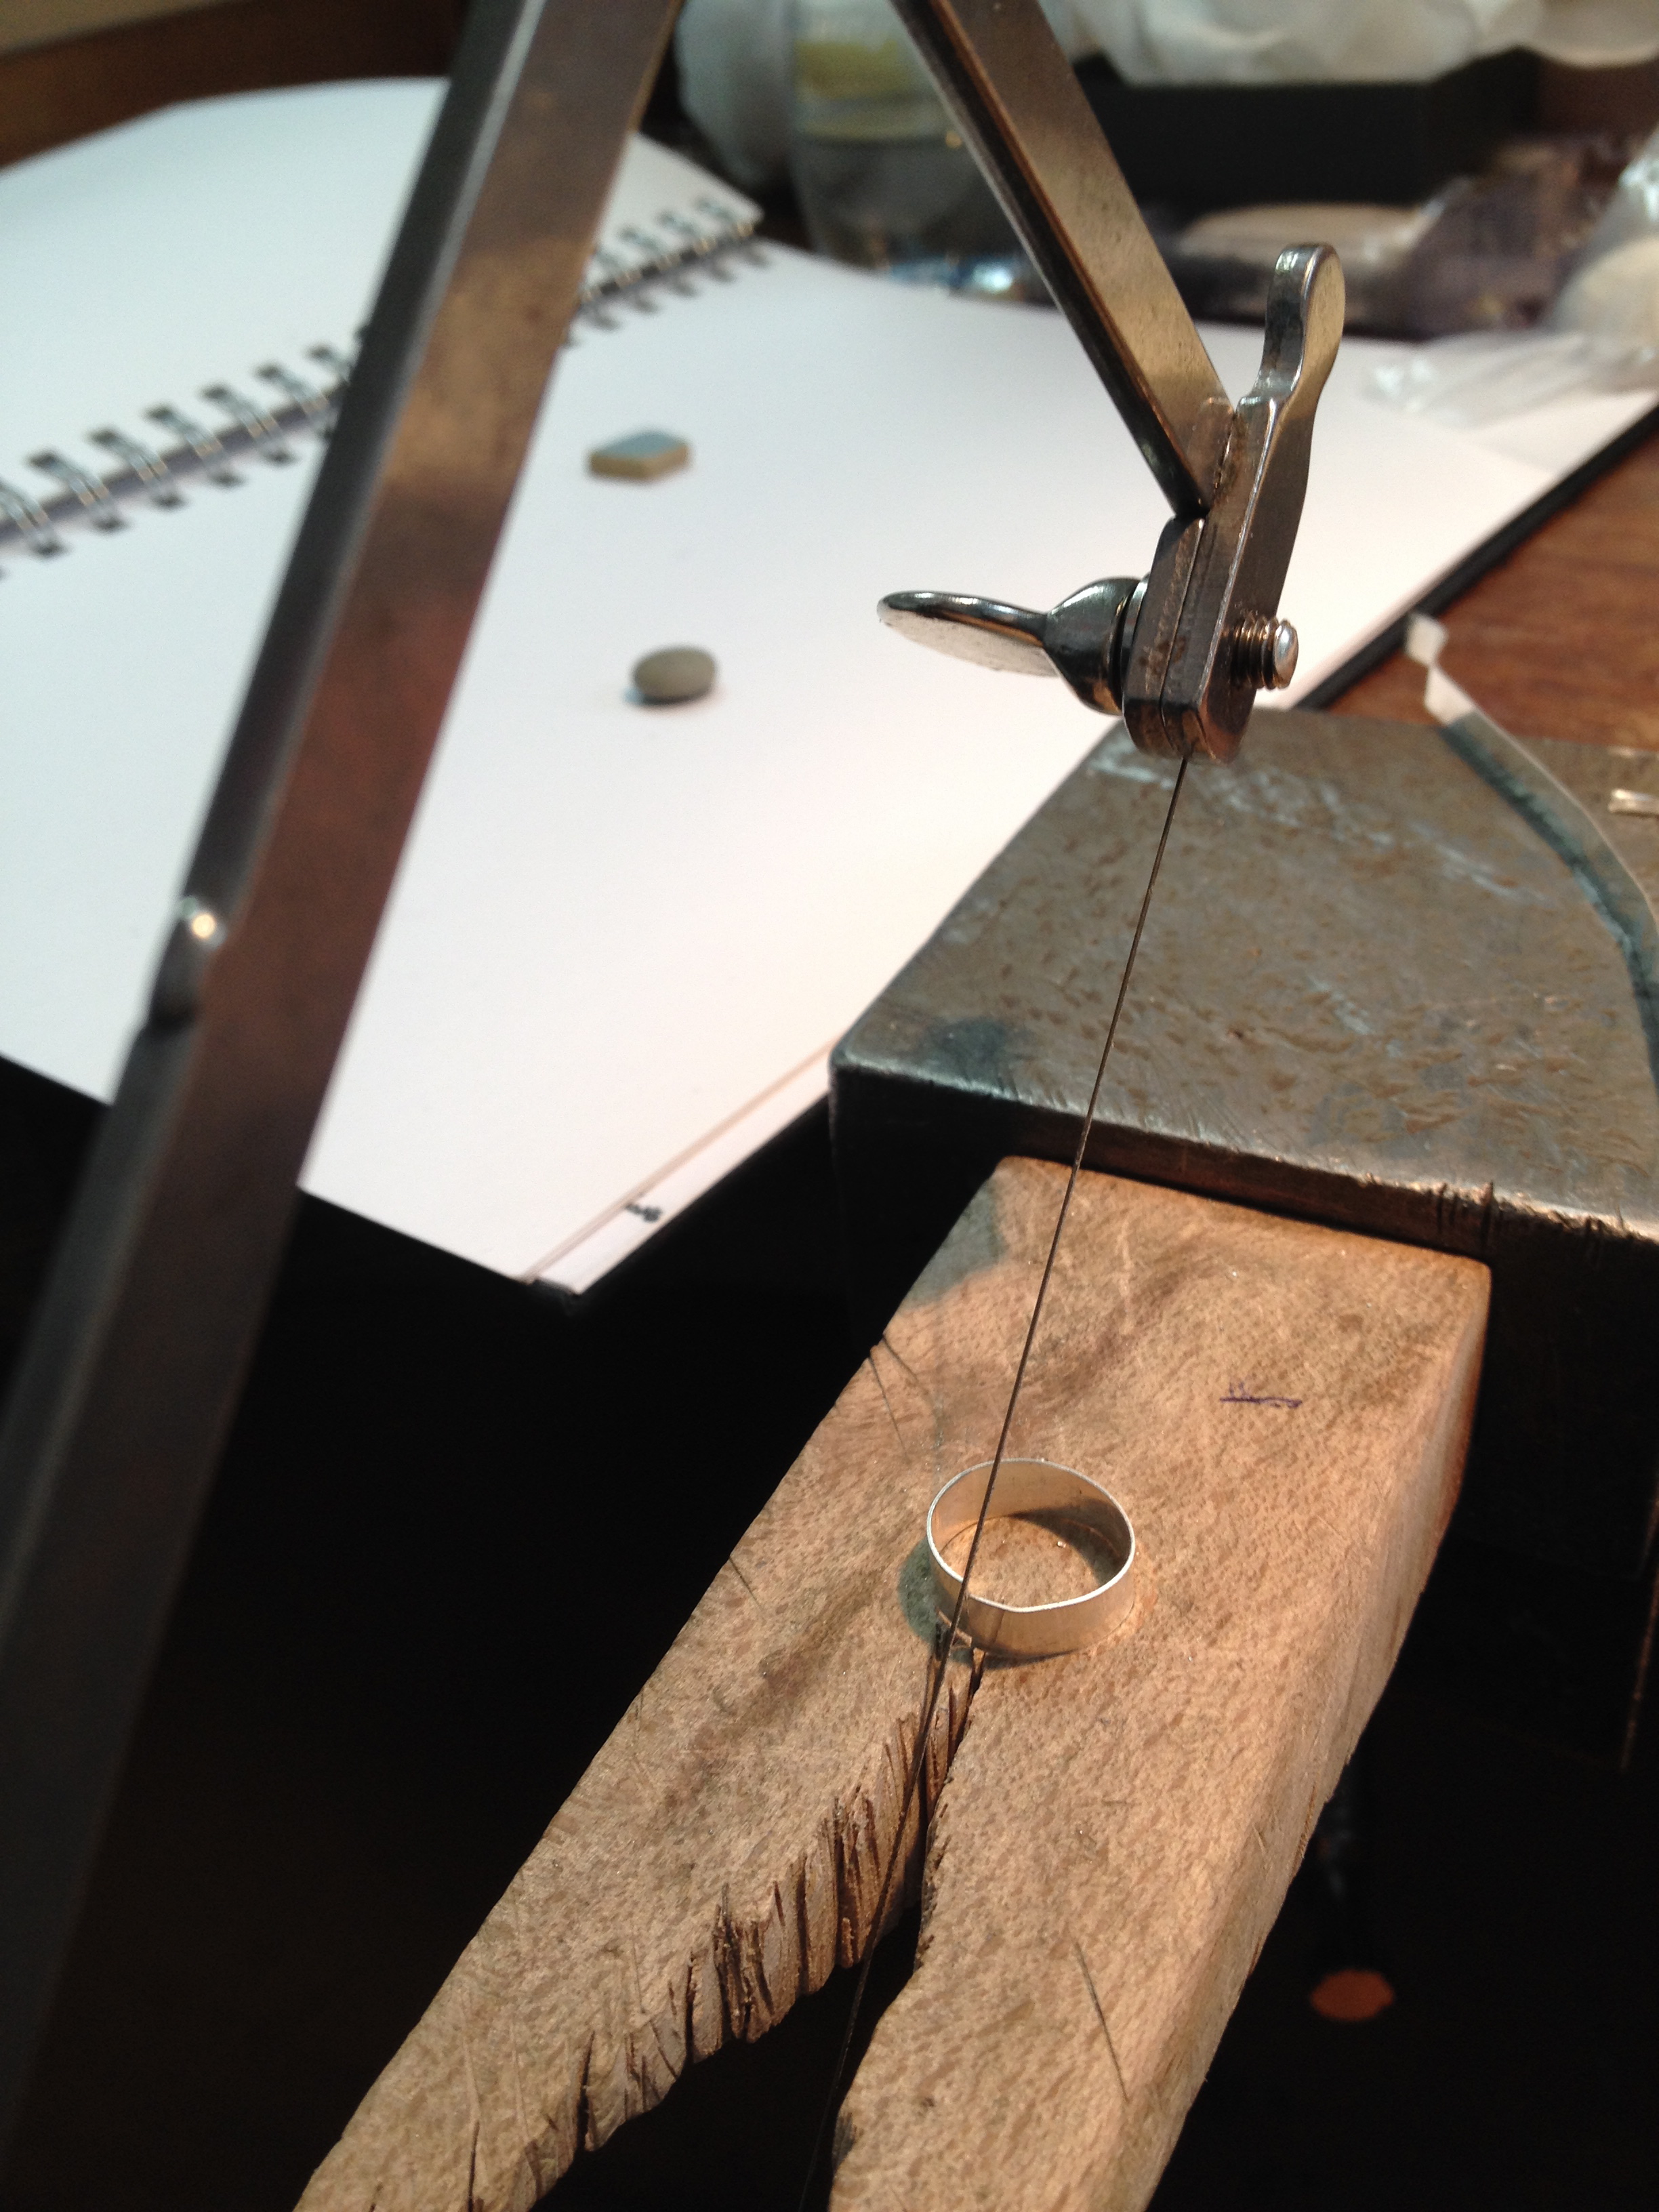 Making the bezel: the edited (unmelted/unsawn through) highlights that is…


