Three lovely, happy customers and six beautifully adorned ears :-)) 

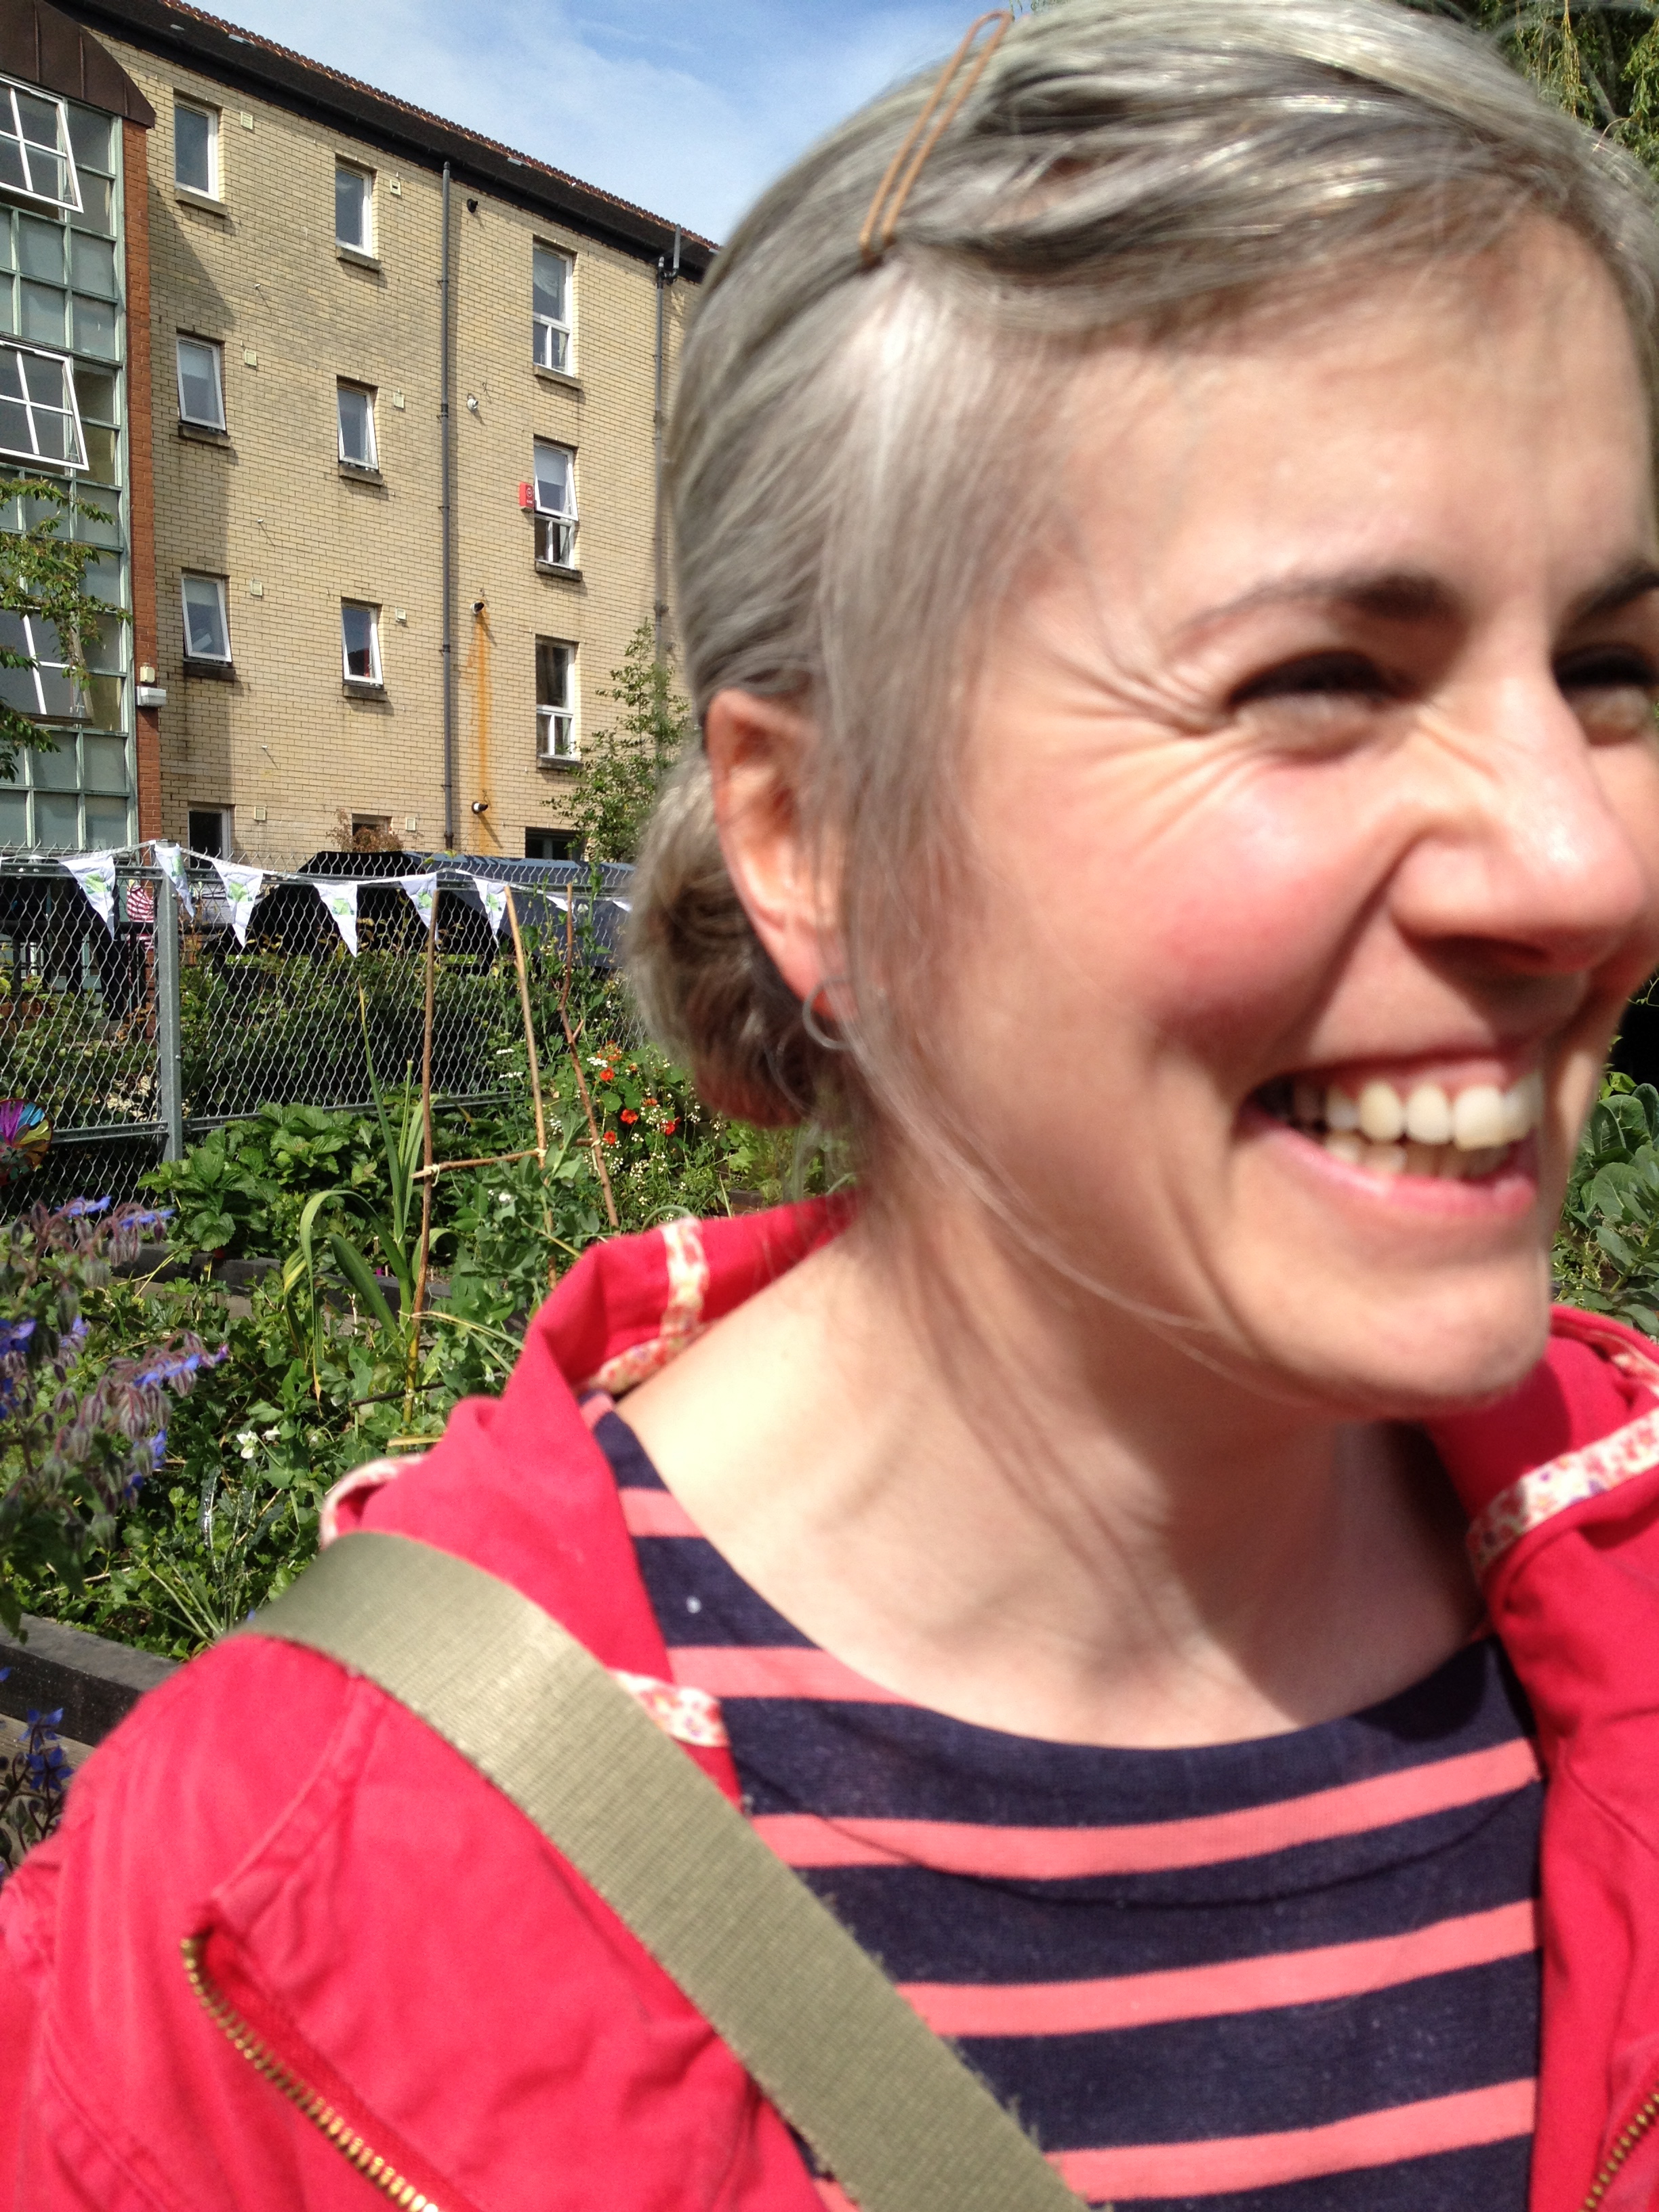


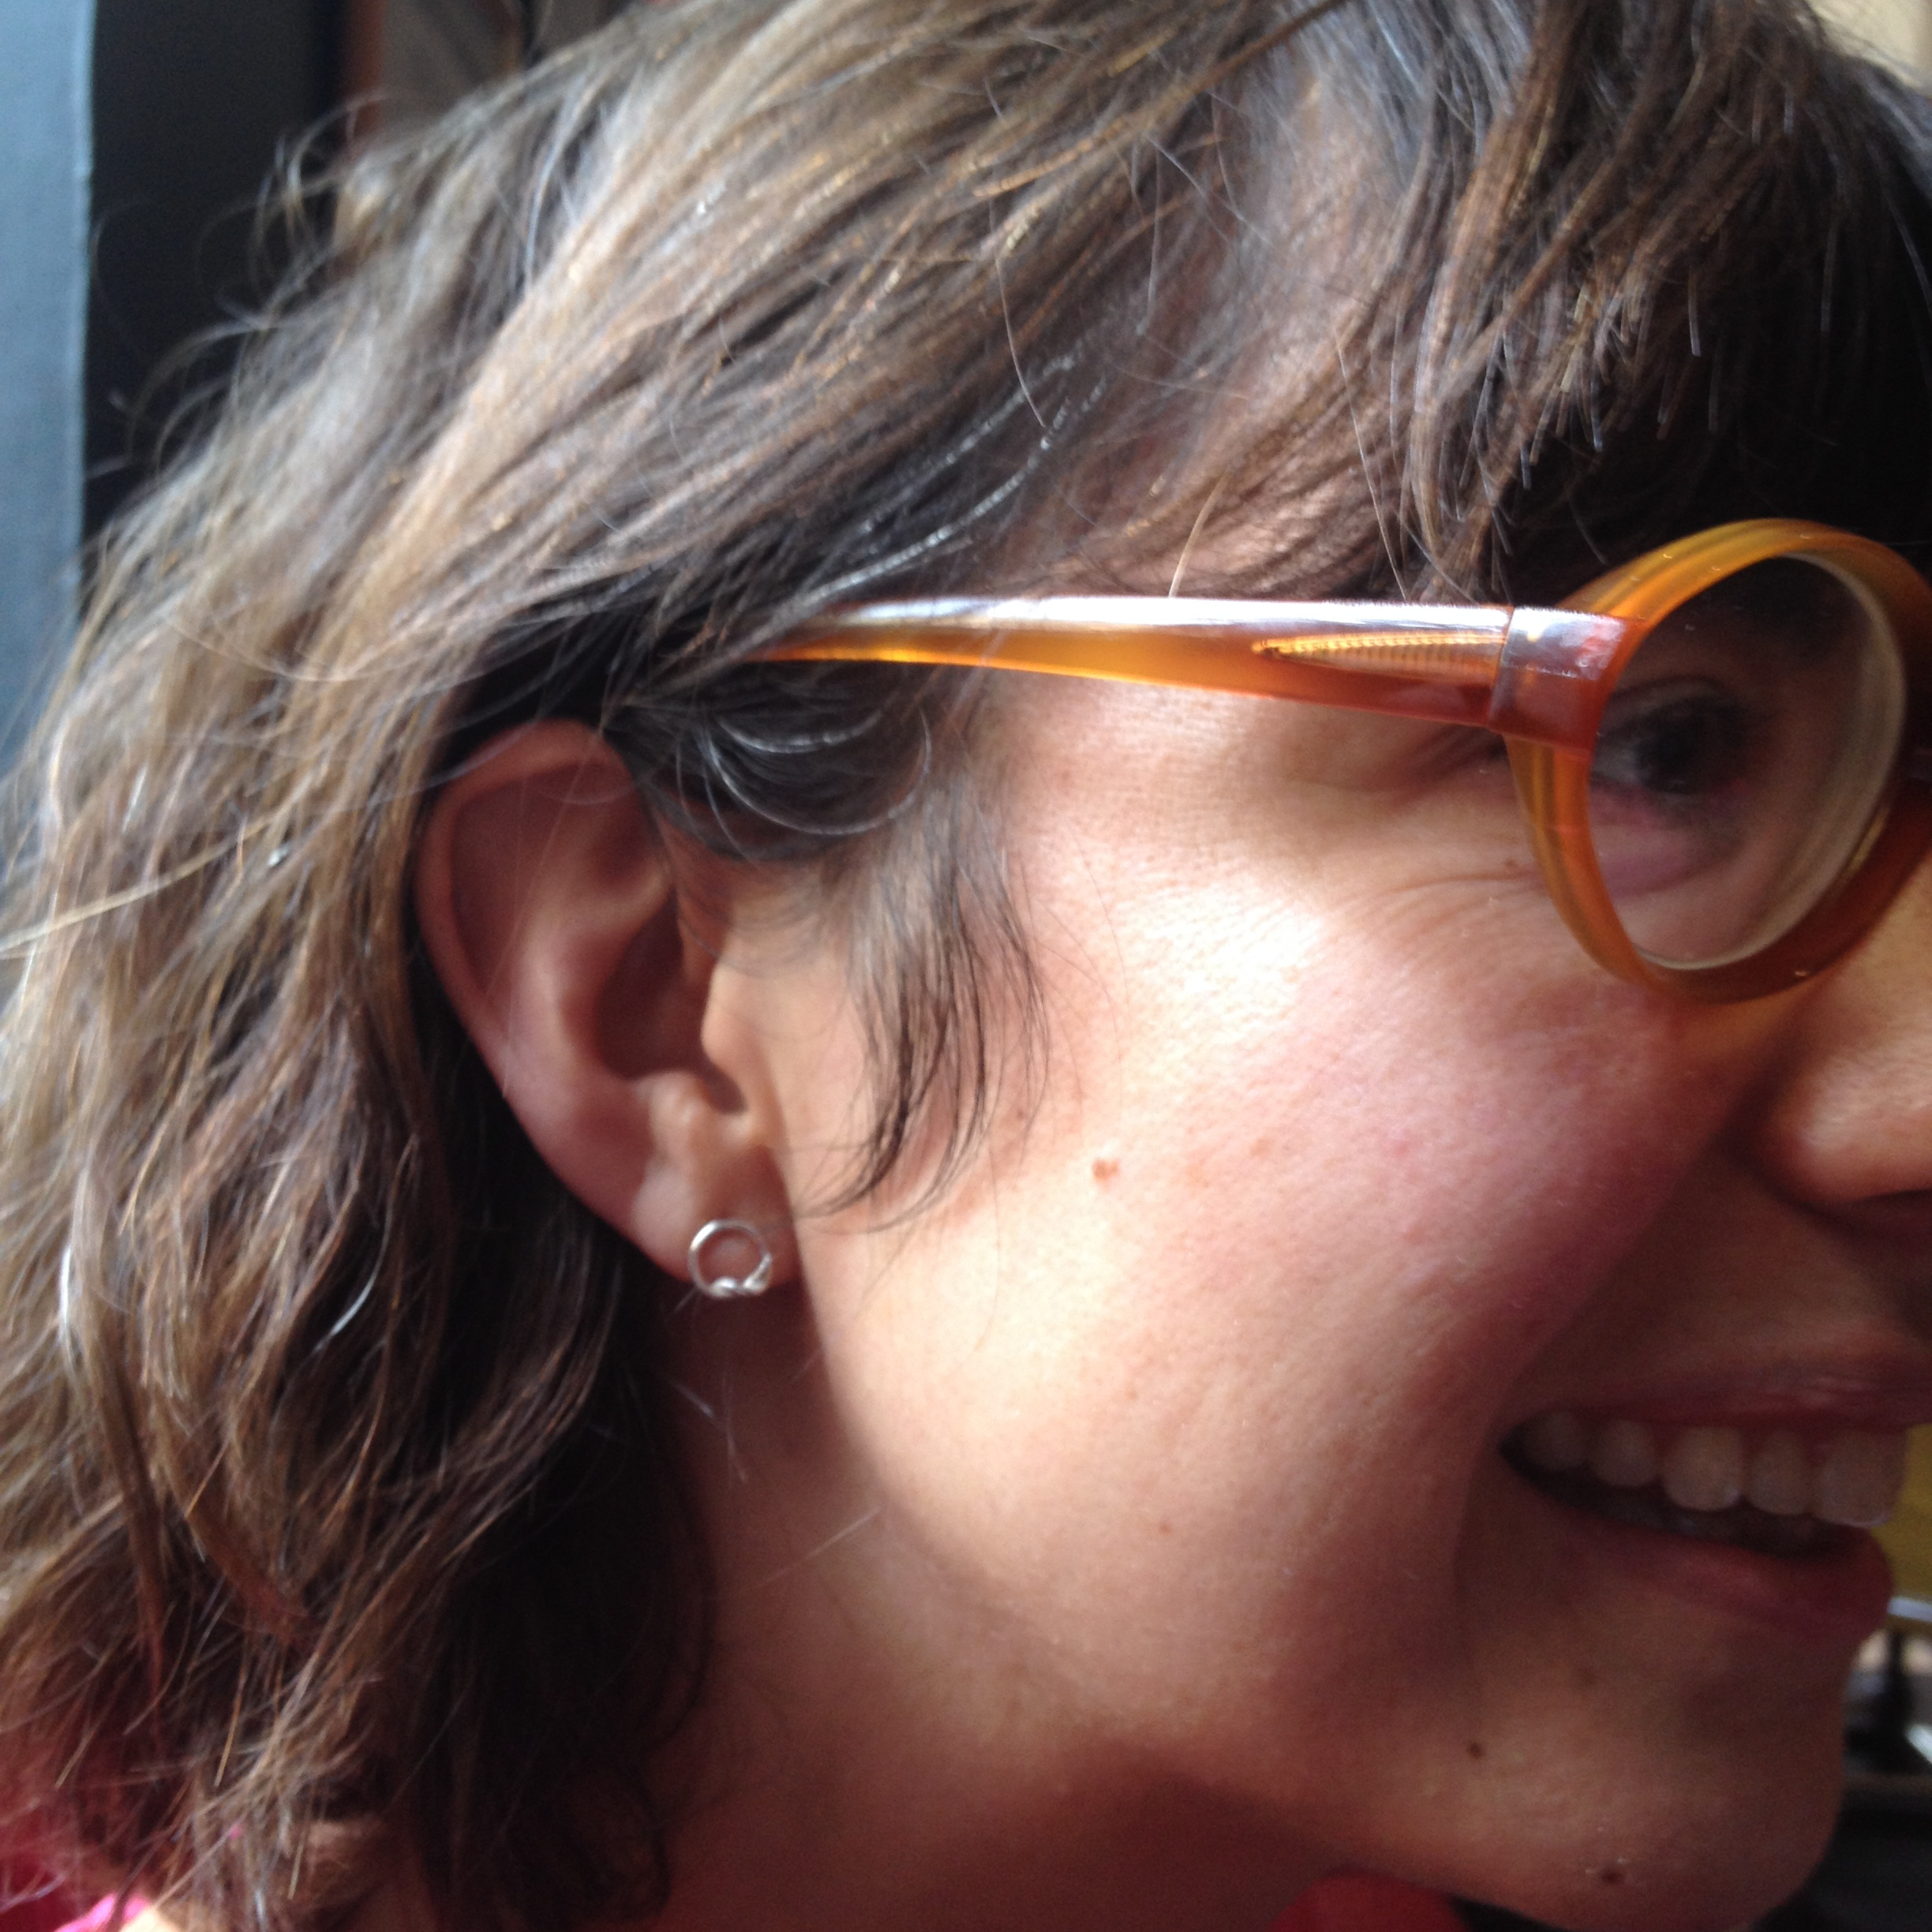
Thank you Amy, Rachel and Jenny Wren for making my earrings look so fabulous :-))
Three lovely, happy customers and six beautifully adorned ears :-))
Thank you Amy, Rachel and Jenny Wren for making my earrings look so fabulous :-))
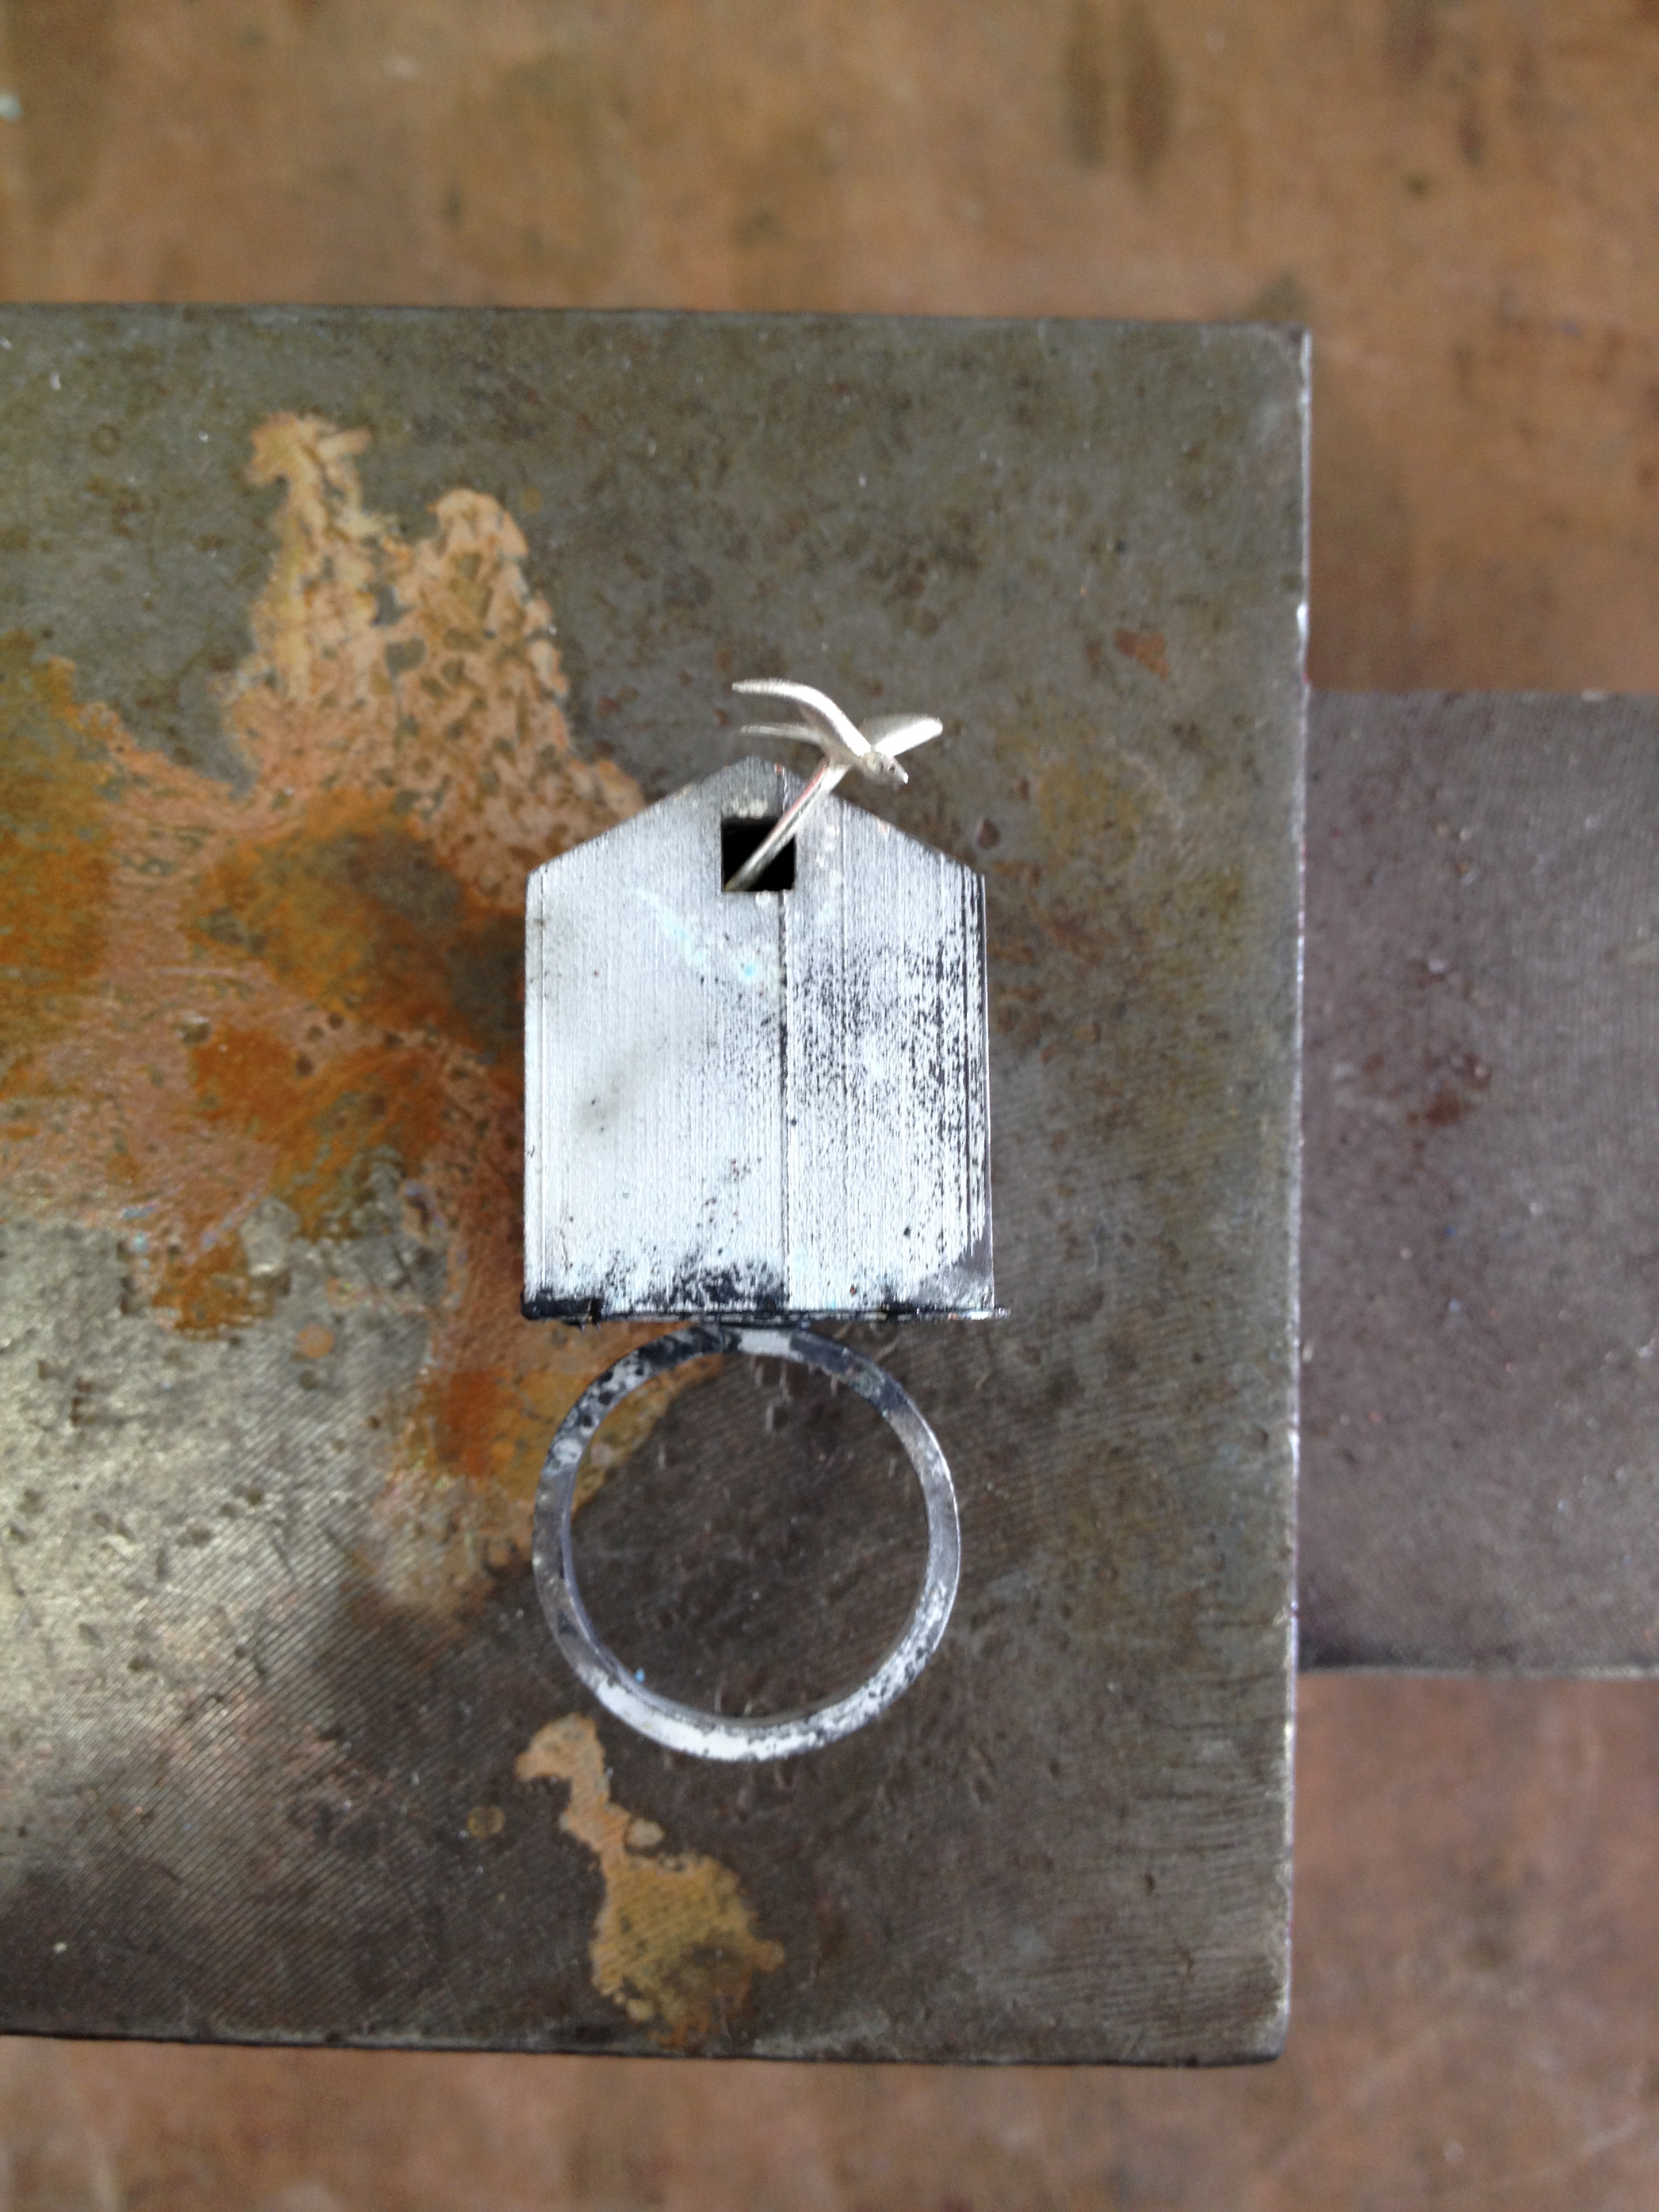
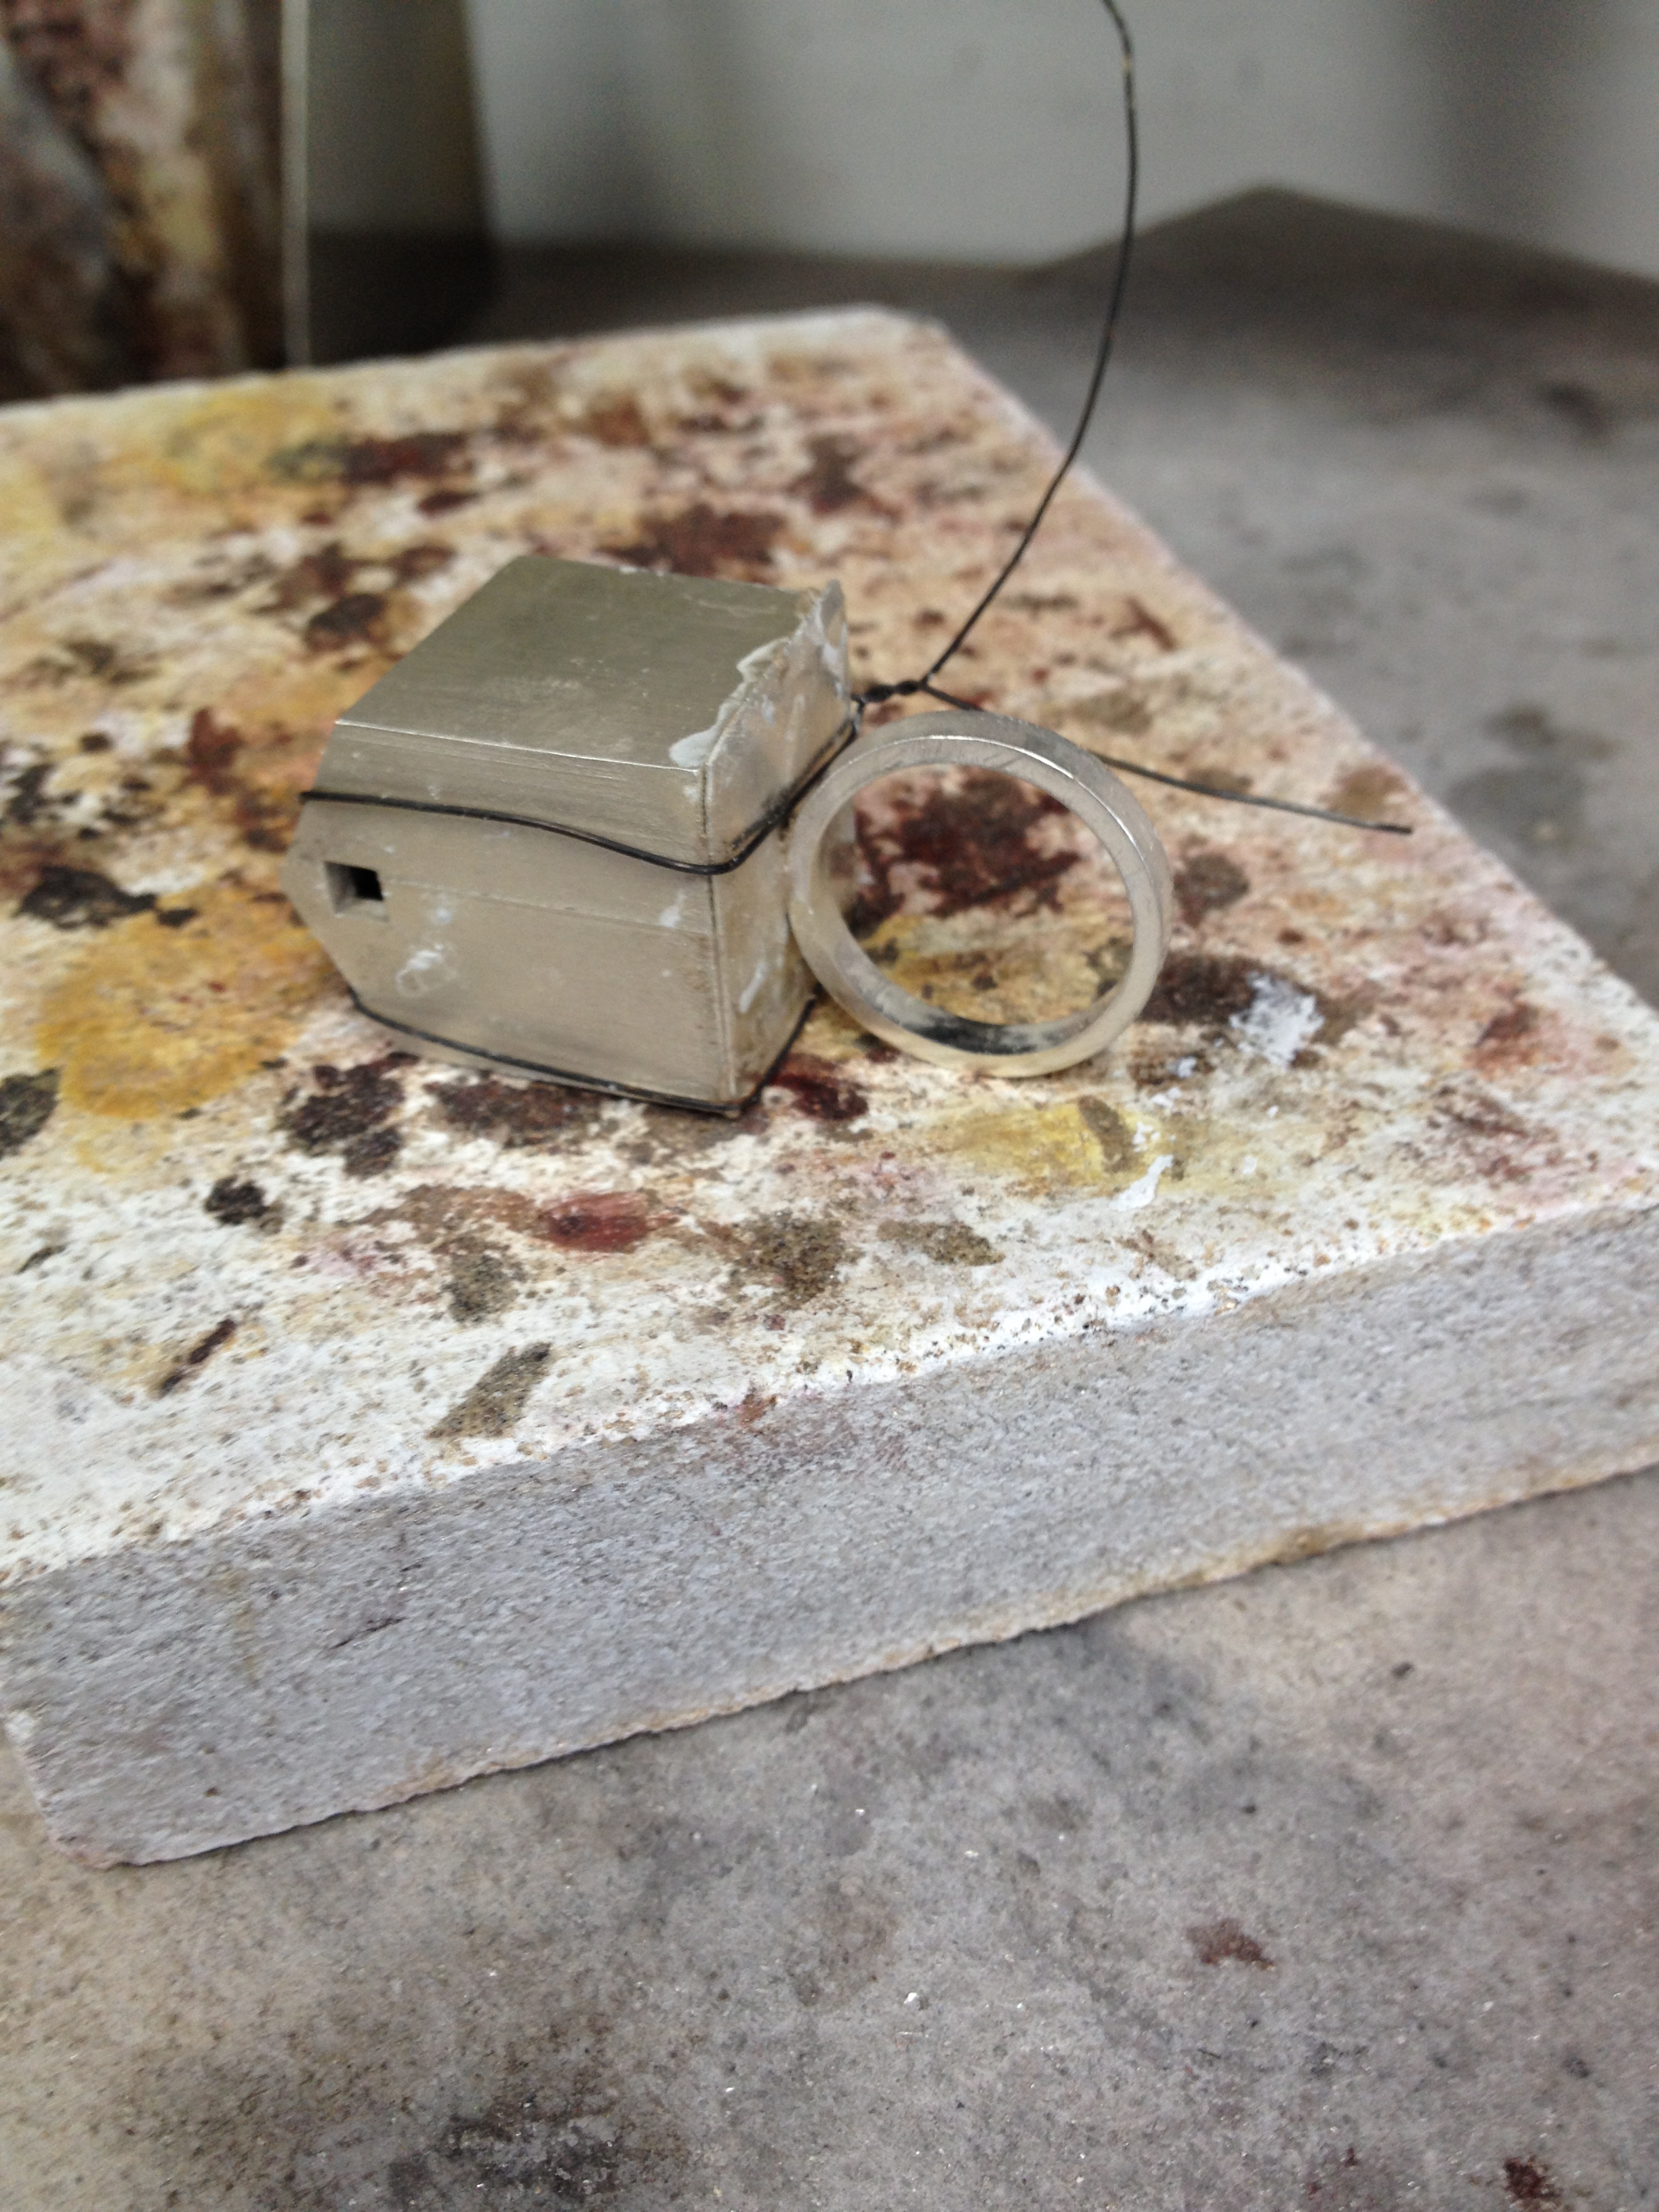
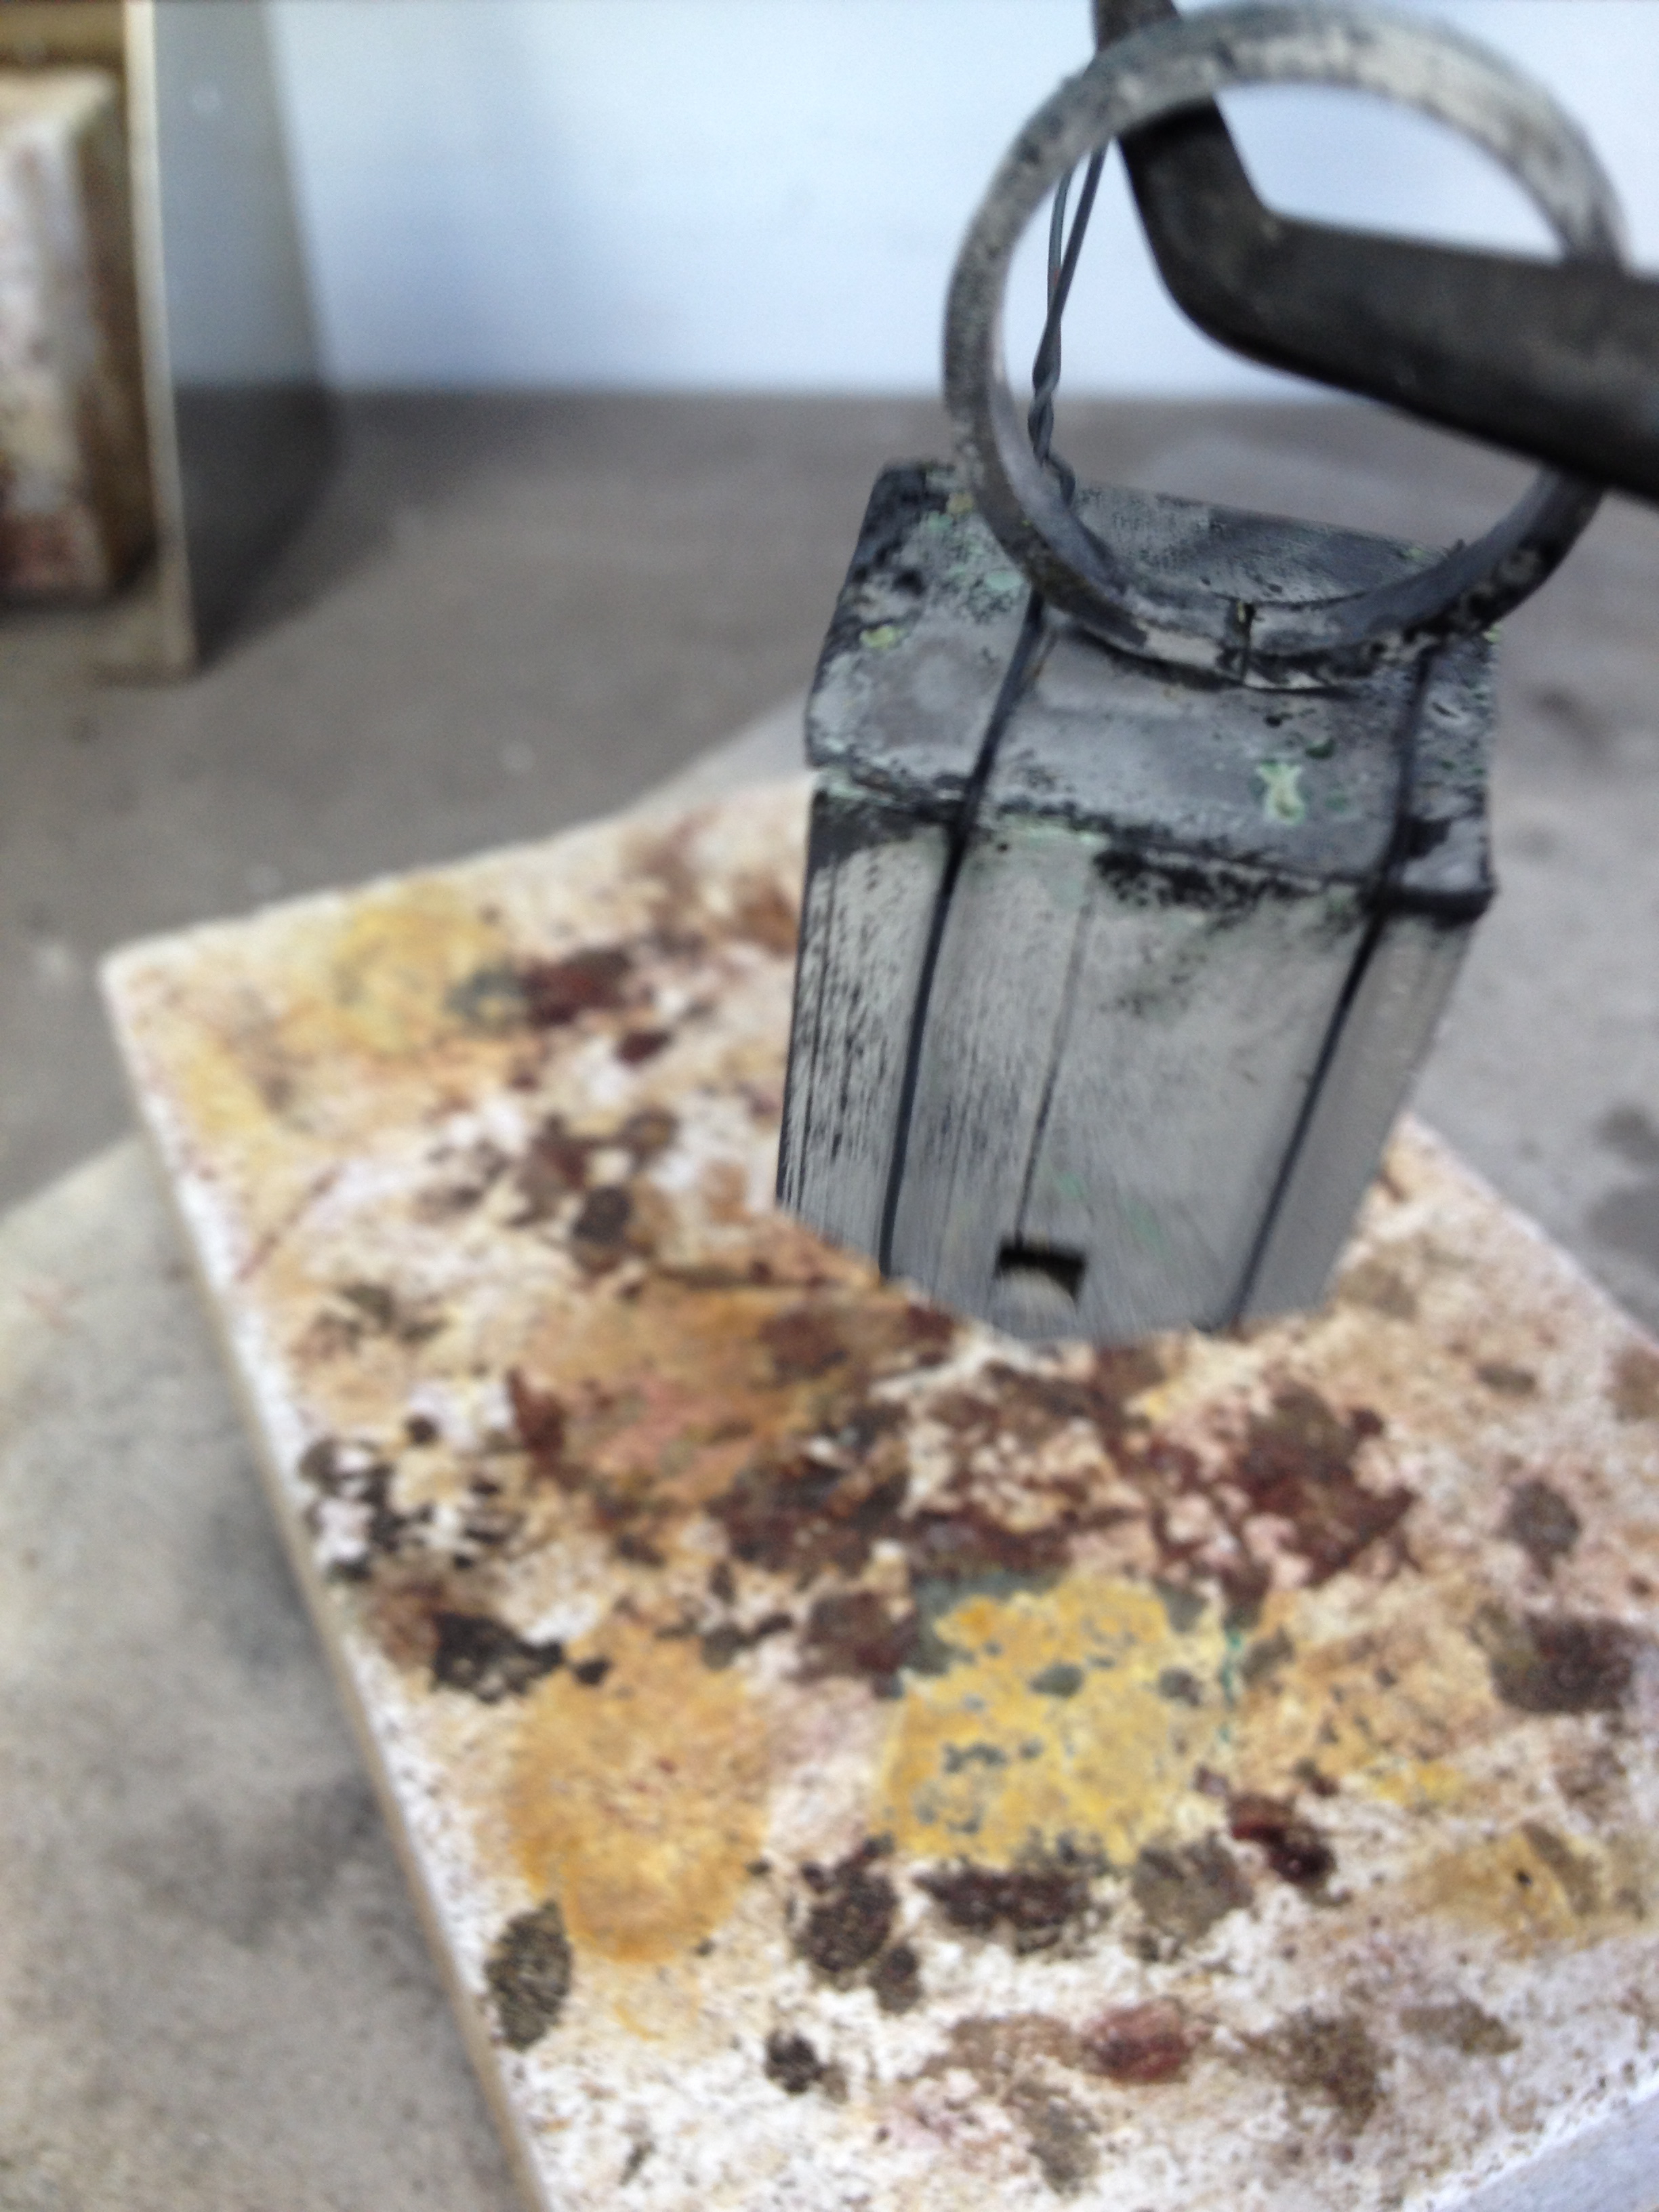
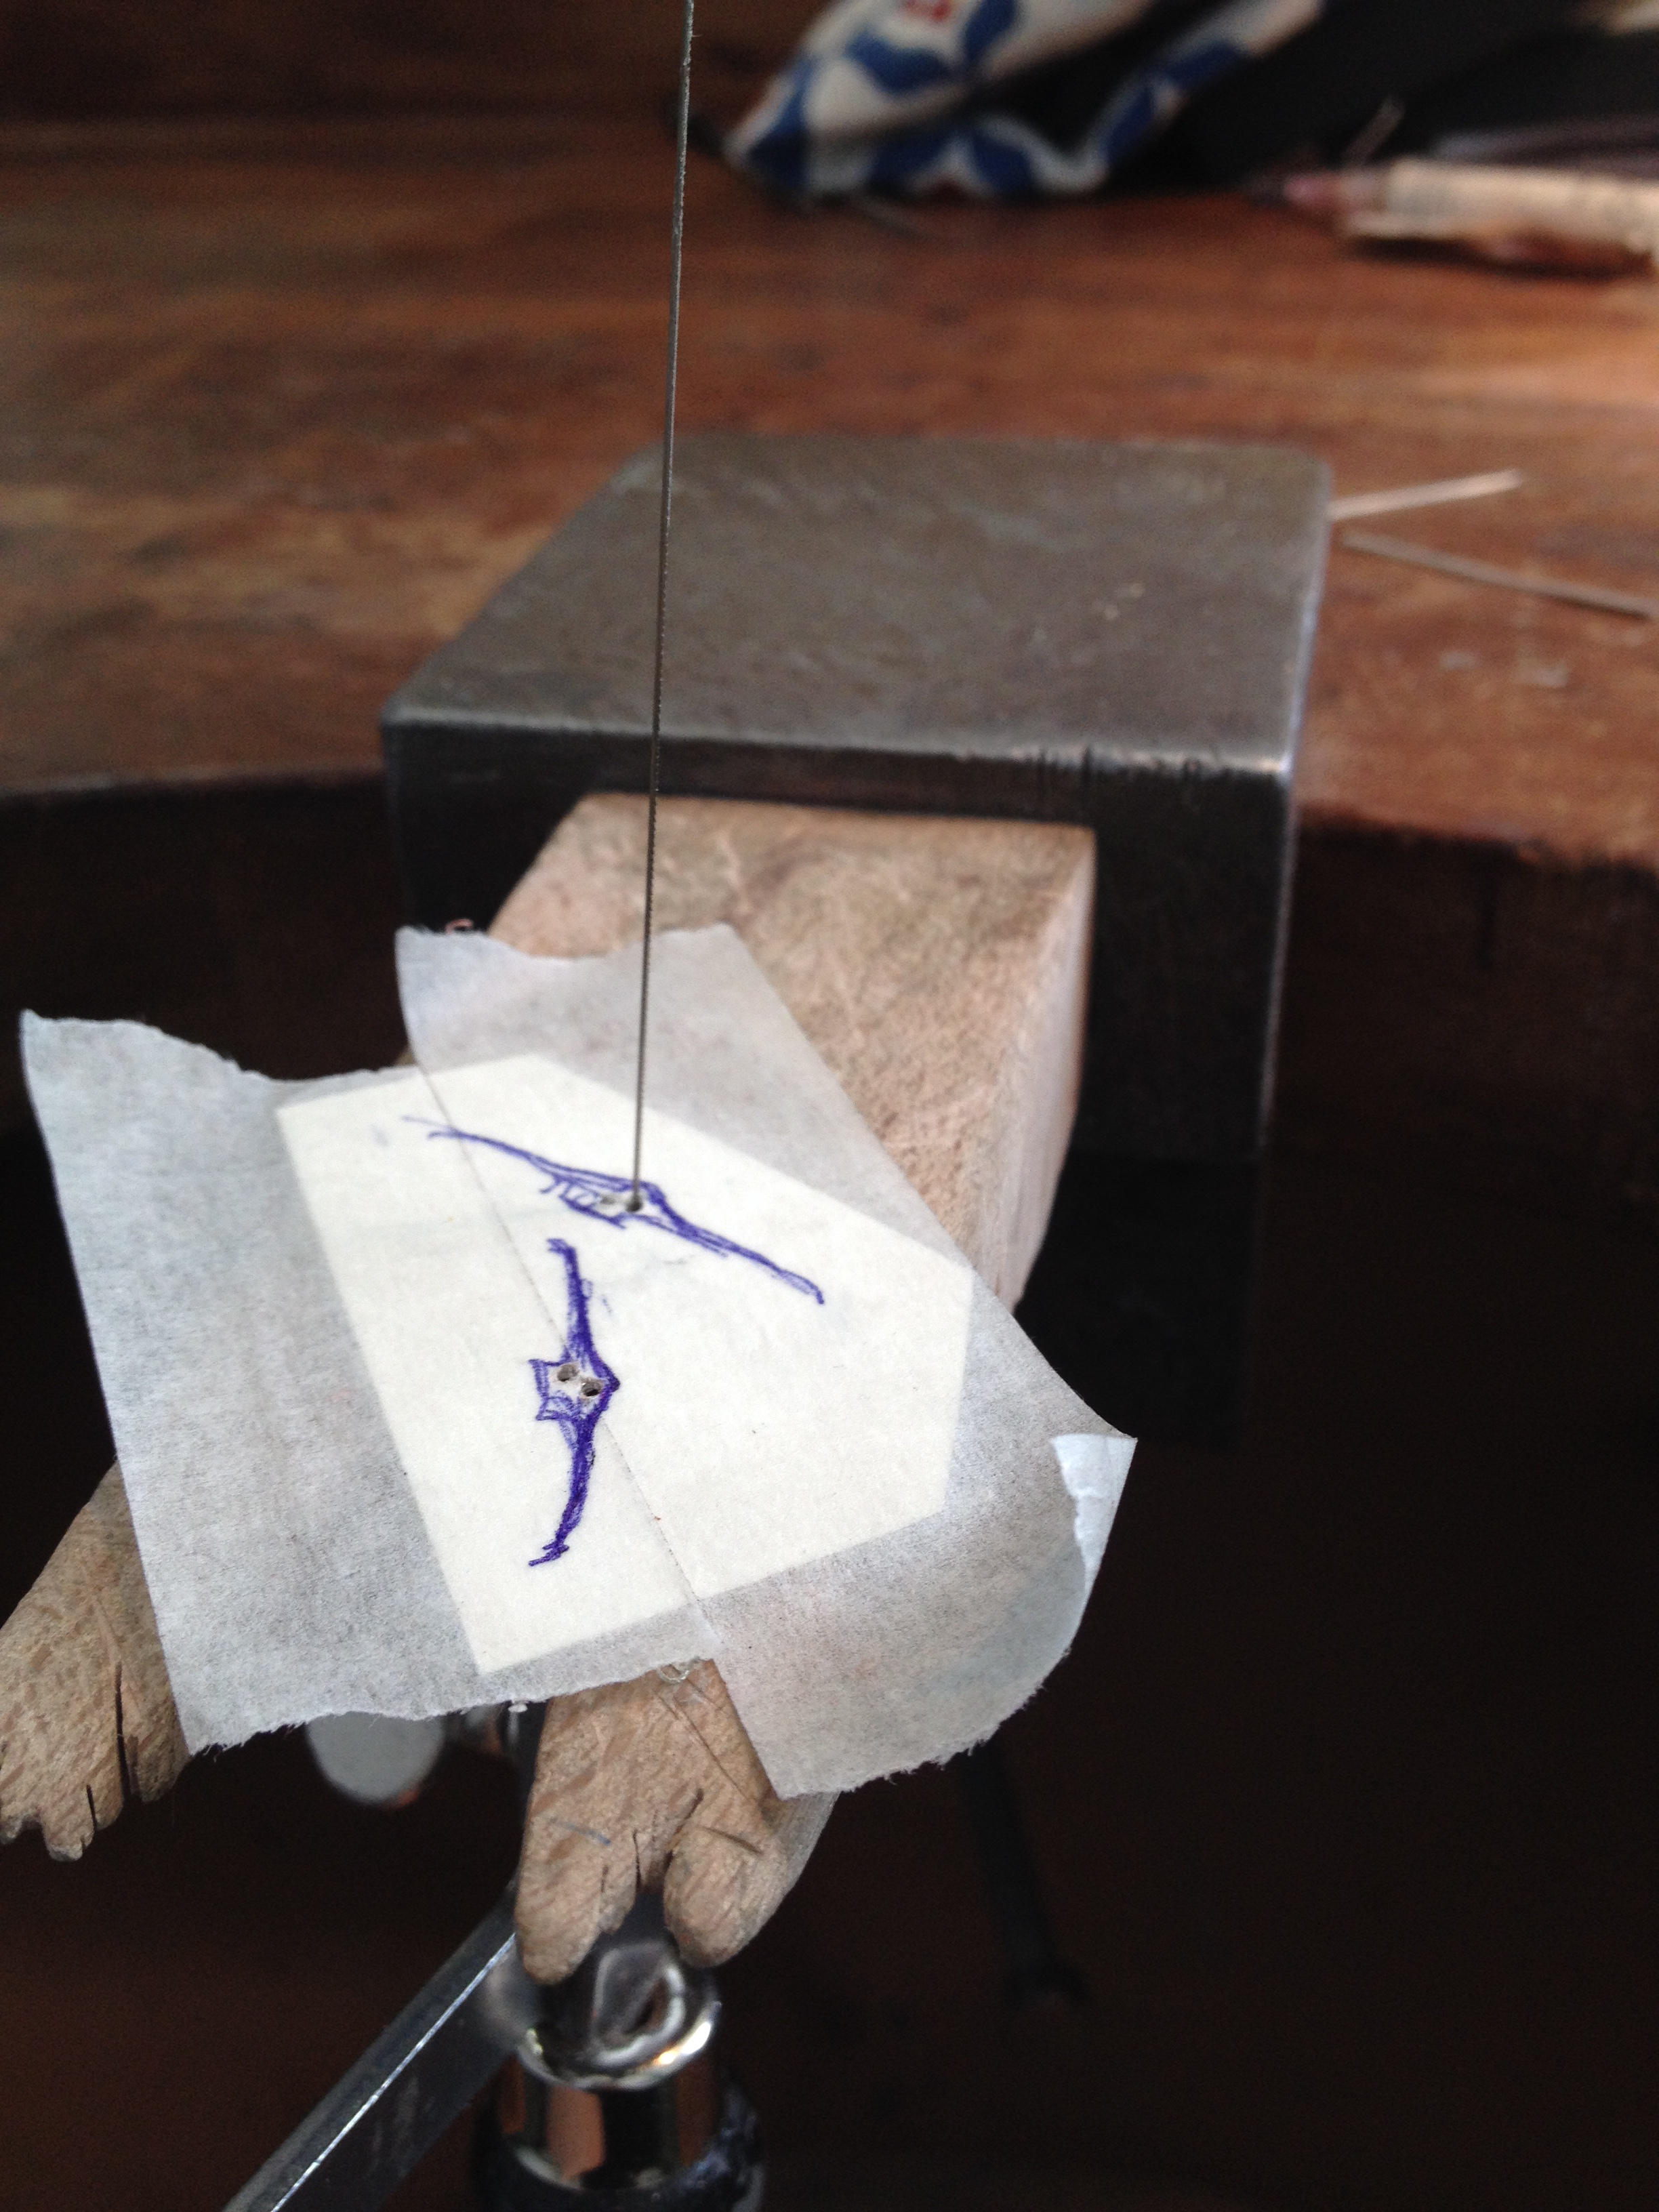
Yesterday I had the challenge of soldering the tiny cast bird onto a silver wire – to make a pin. The idea being, to give the illusion of a bird ‘flying’ out of the window of the cast house ring.
Am wondering if silently repeating ‘don’t melt, don’t melt, don’t melt’ in a mantra-like fashion and holding my breath count as technical notes at this point…
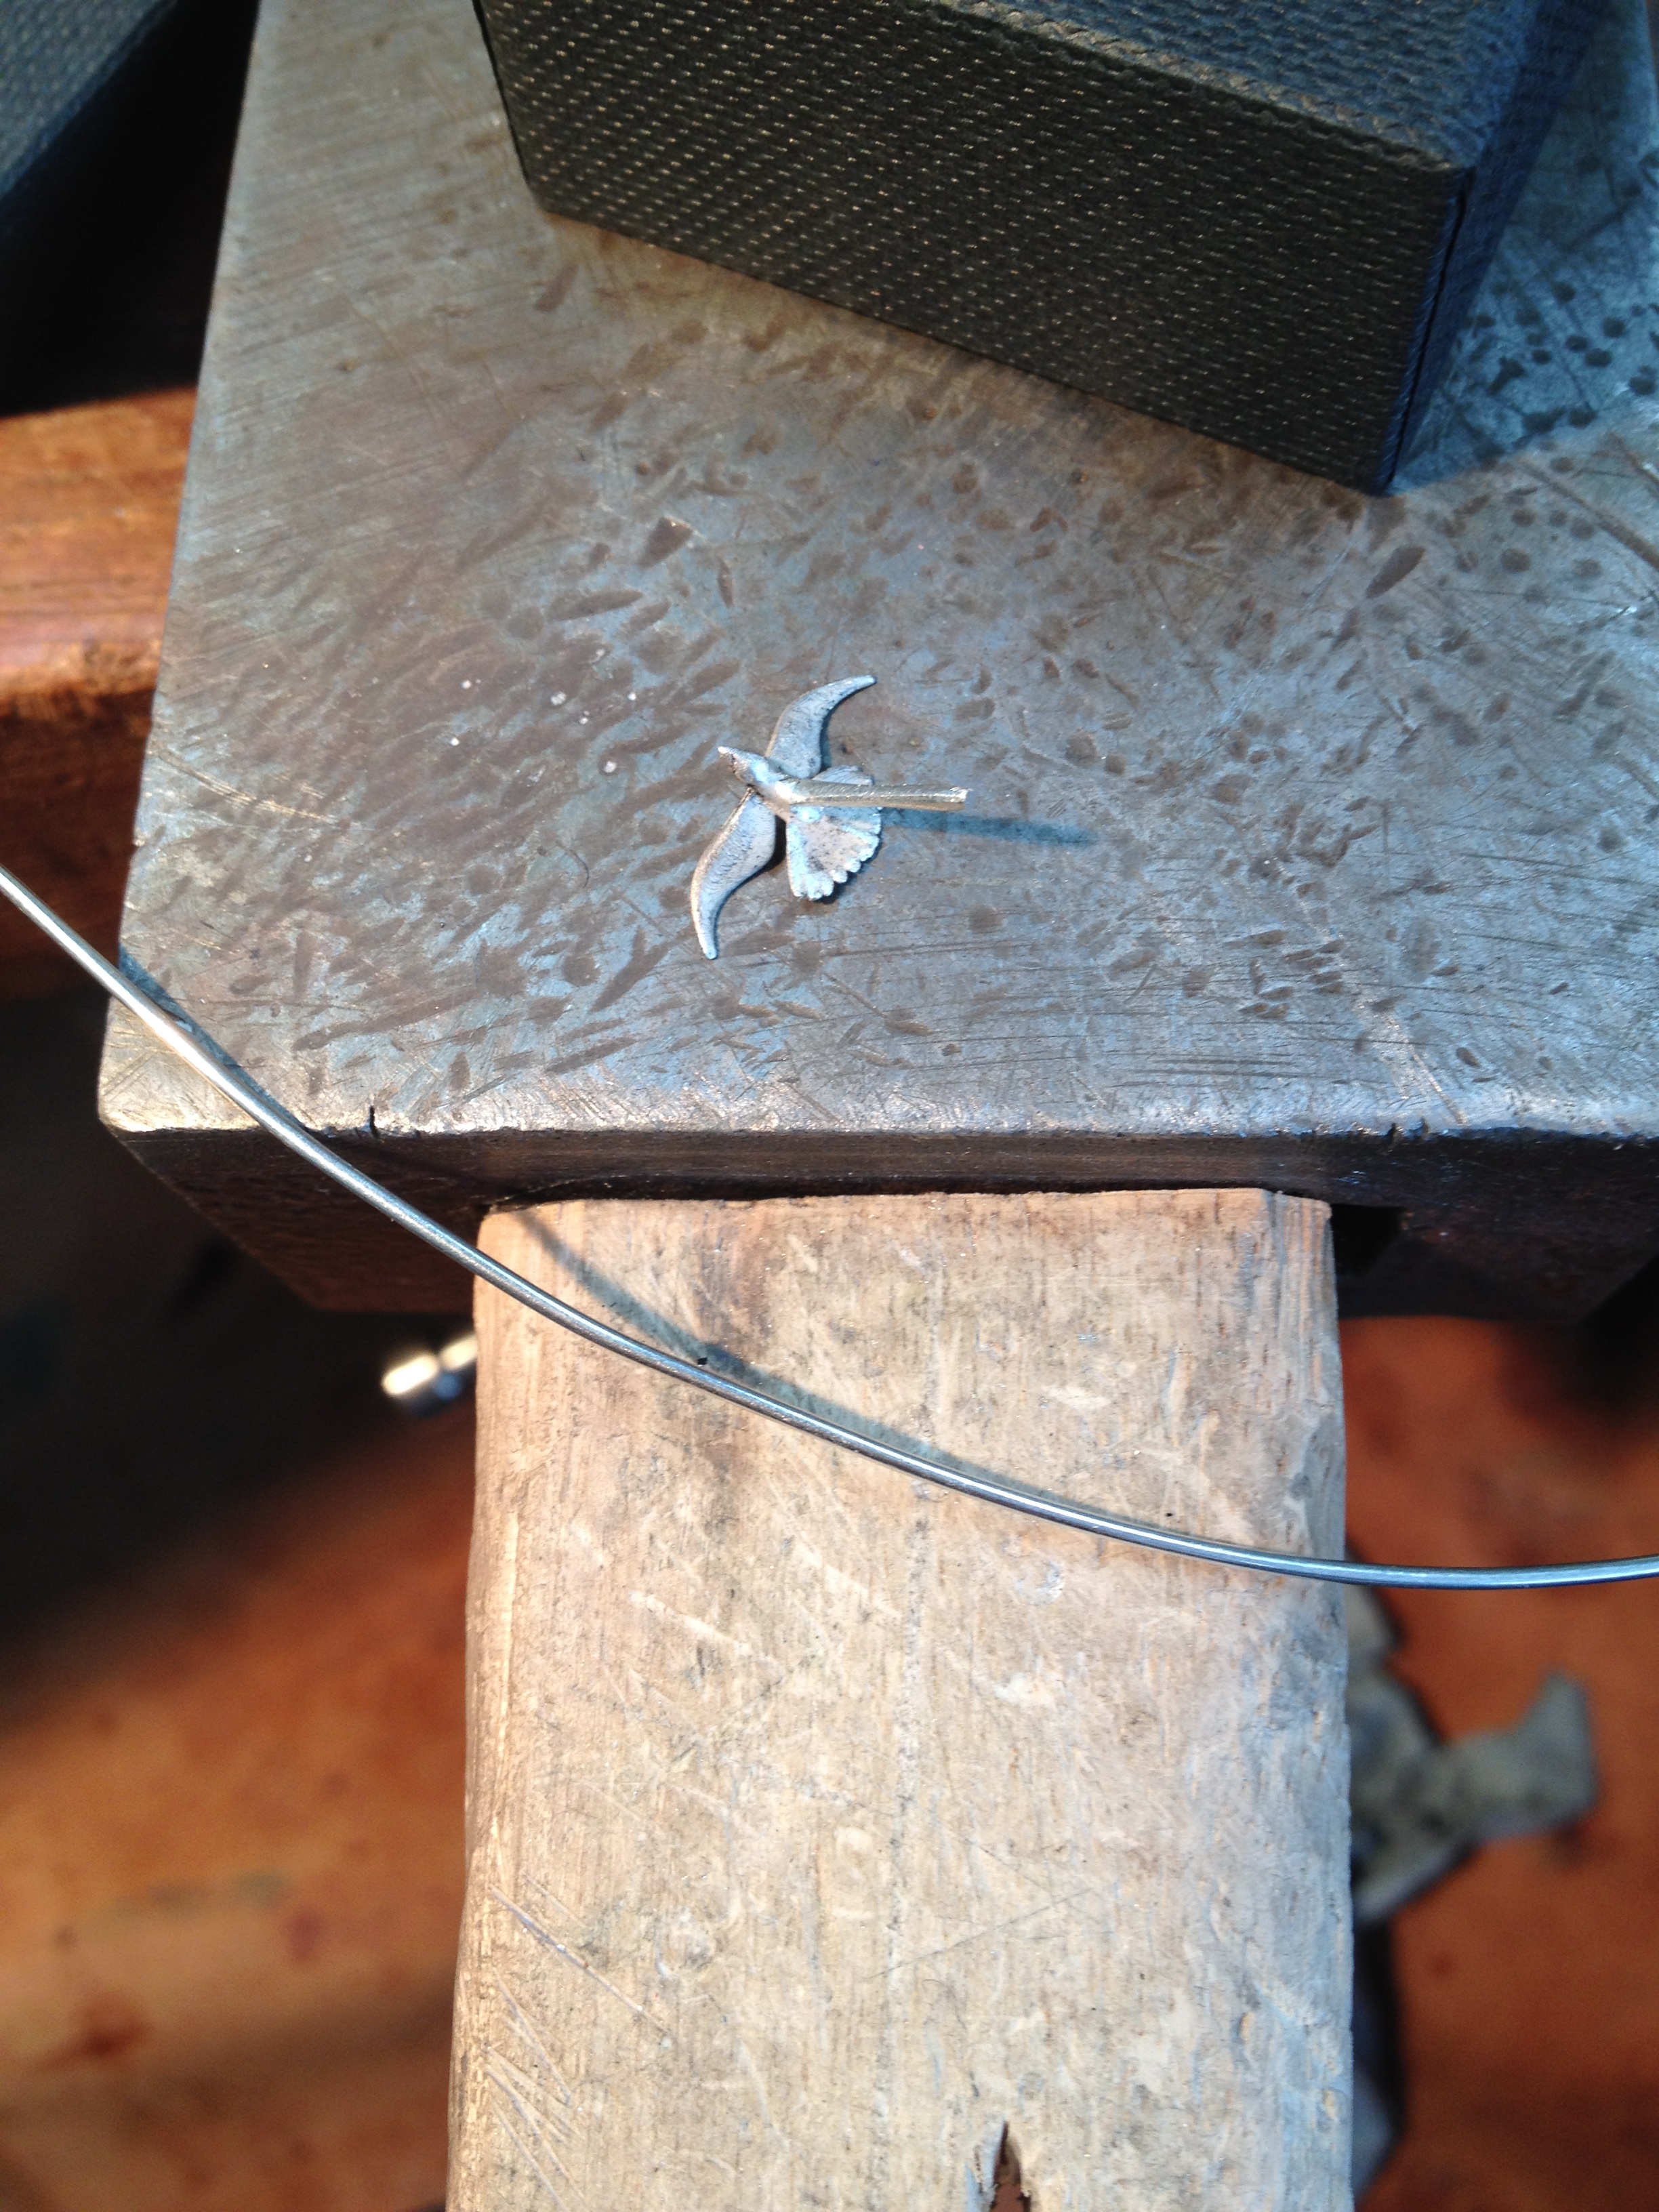
First I needed some silver wire and the aforementioned little bird (designed by my own fair hand… and a computer). Then I had to bury the wee bird in charcoal to protect it from the heat of soldering – thanks for that tip Lisa. It worked really well! Wee bird came out a bit mucky but none the worse for wear – and, most importantly, not in the least bit melted!! *breathes again
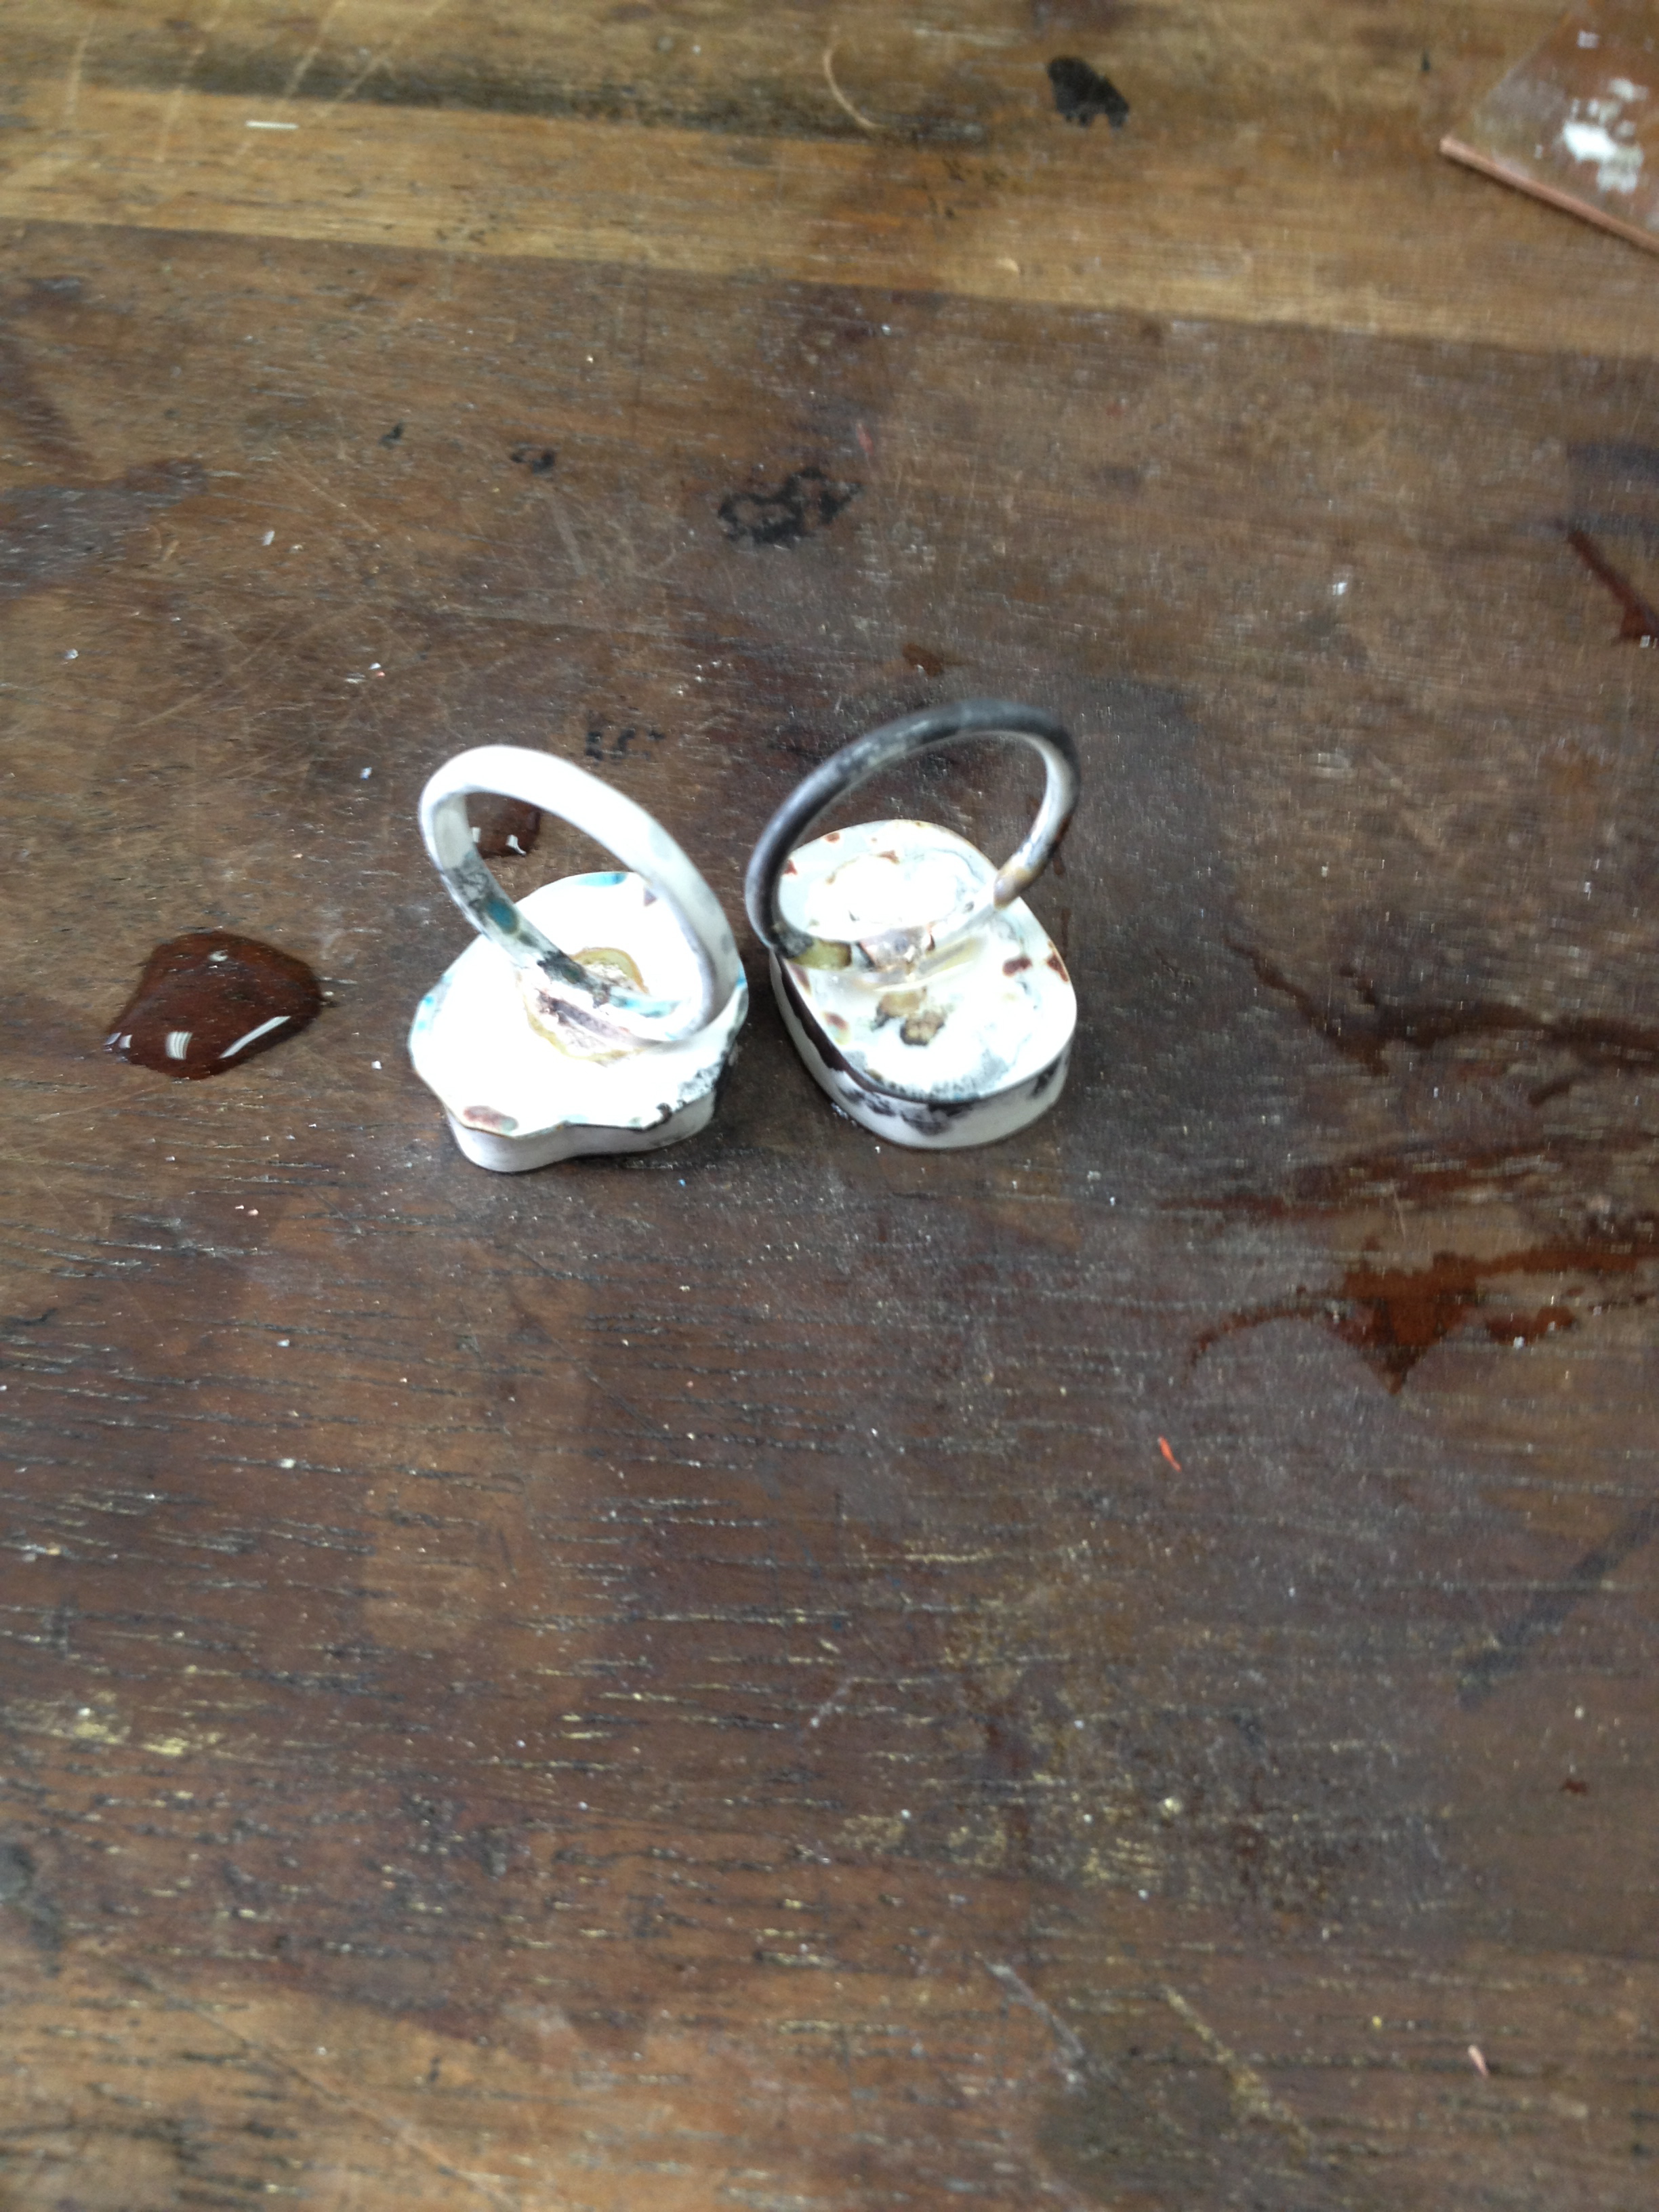
First I made a protective charcoal nest for the bird
then wrapped it up tight
held the the wire and solder in place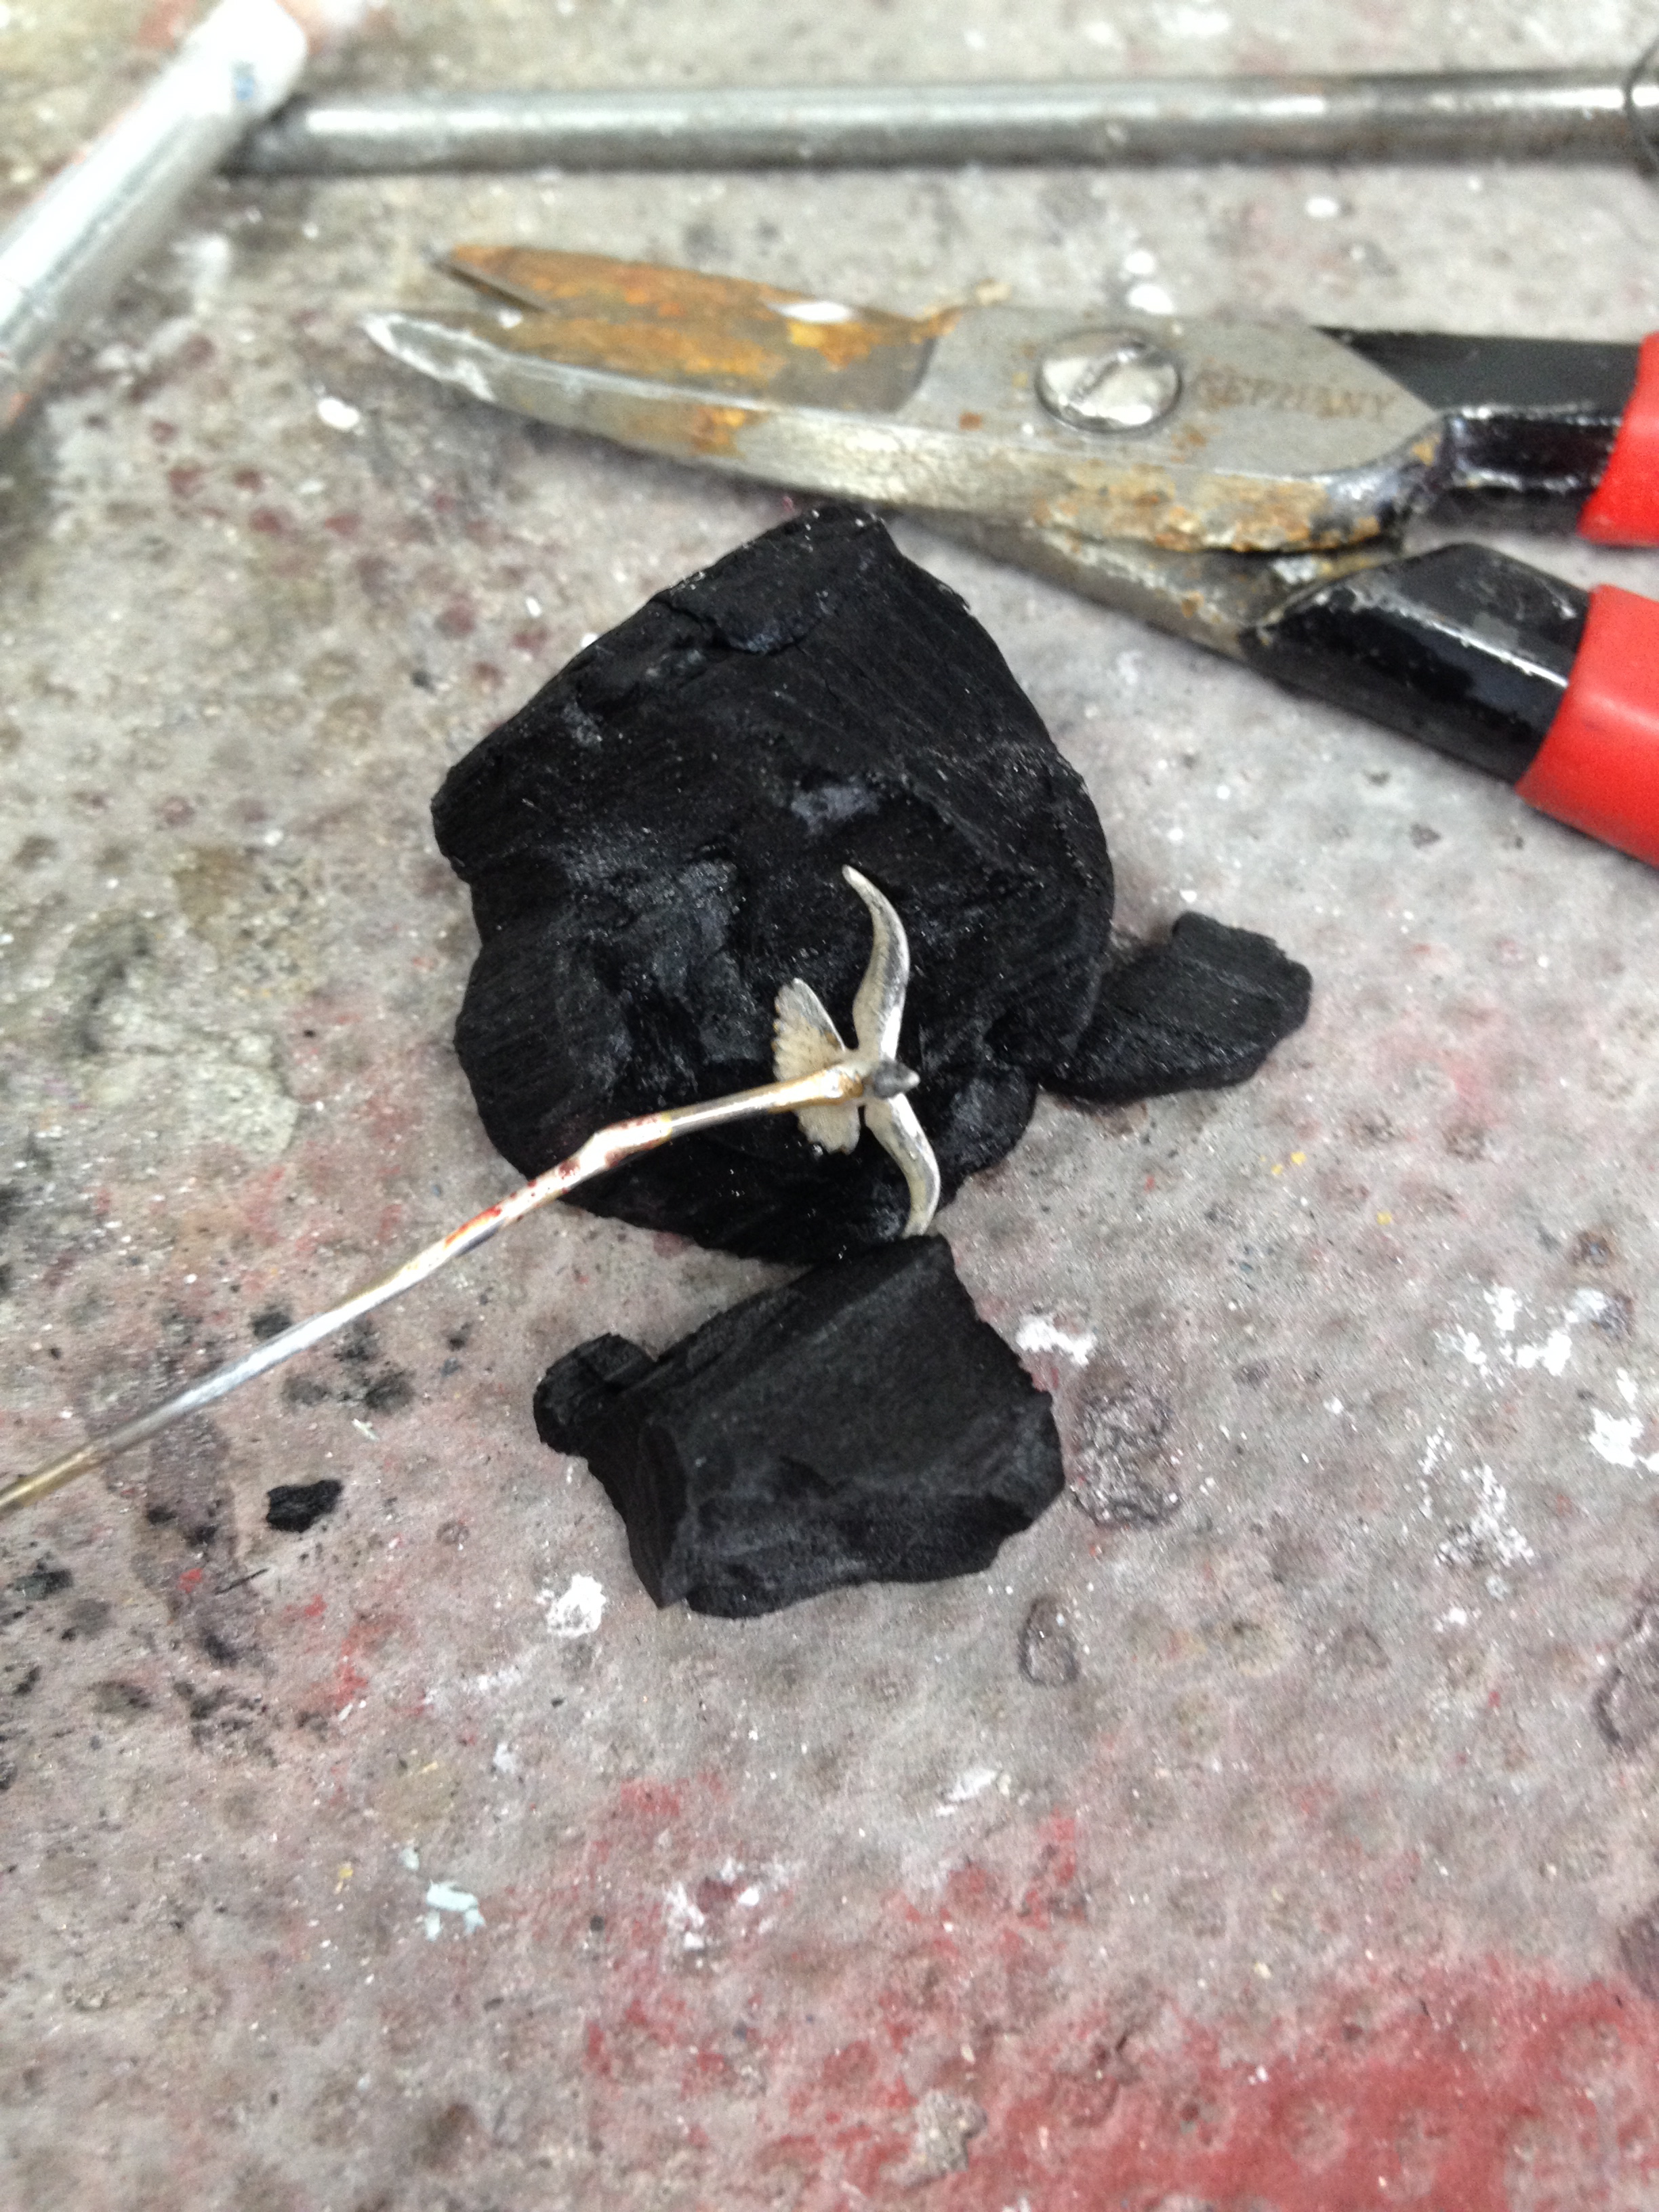
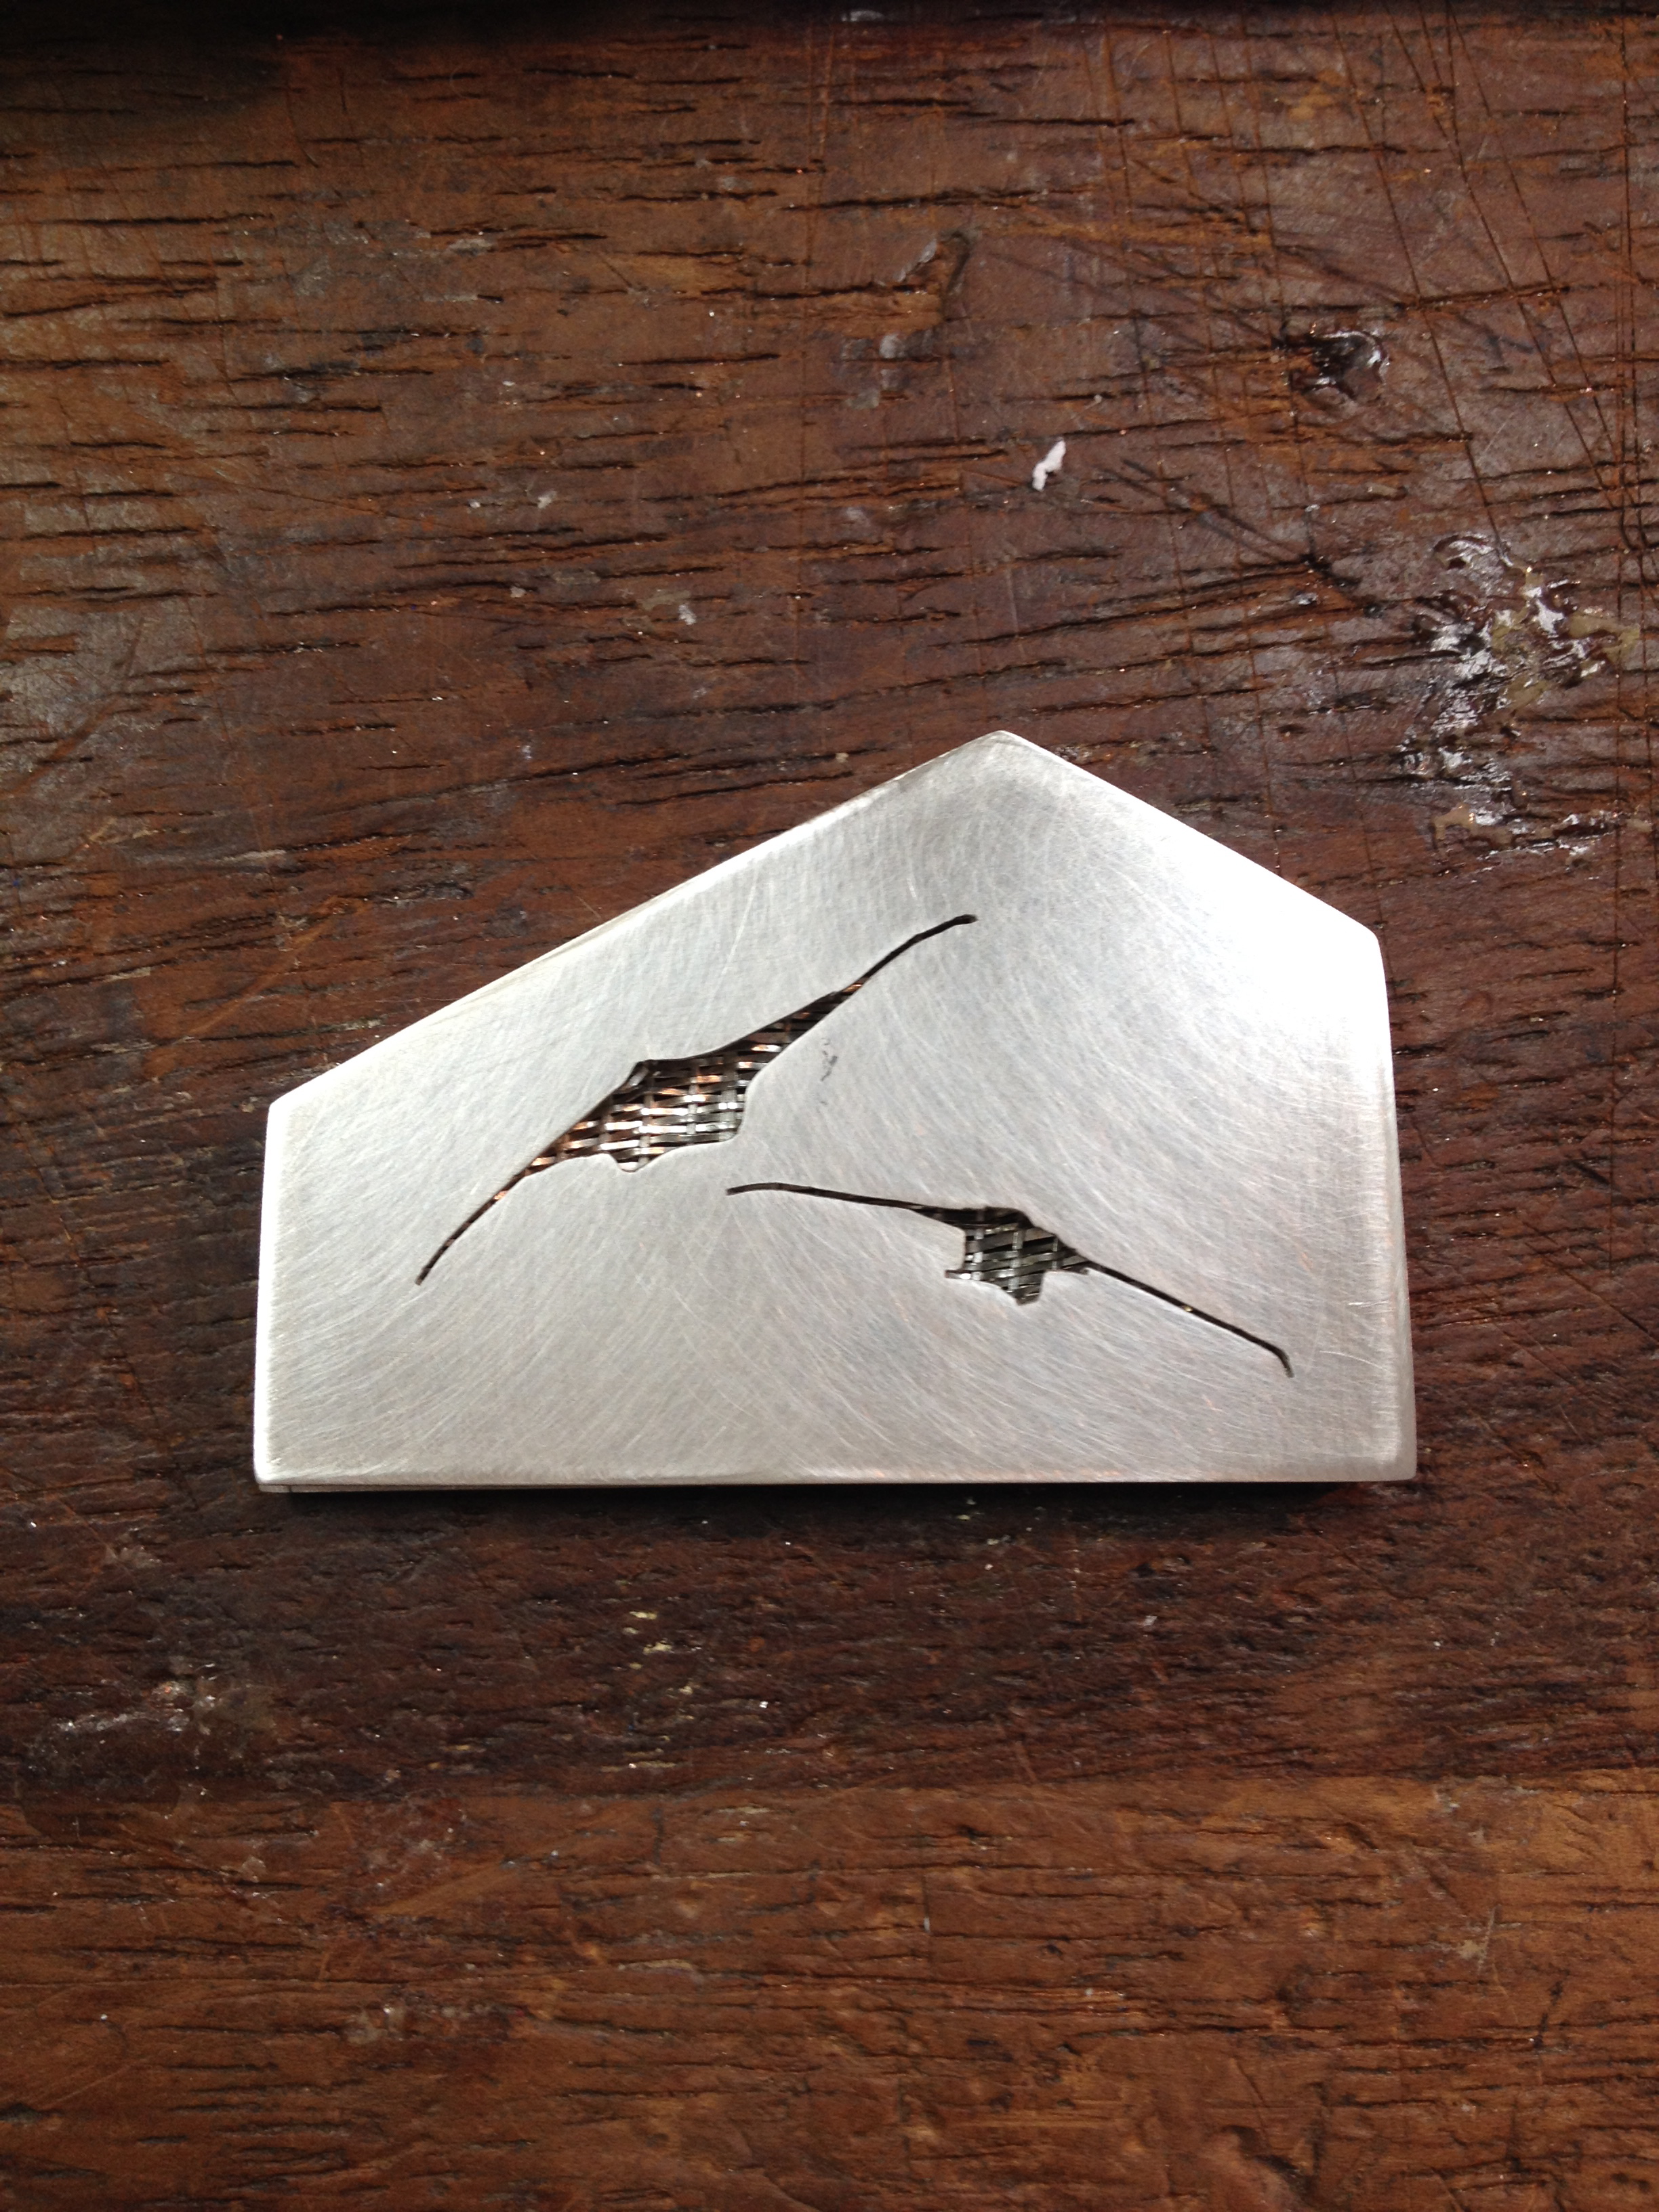
and applied some heat, et voila – a bird on a wire (albeit a bit of a wonky wire – but nothing a gentle tweak with a pair of pliers won’t sort out).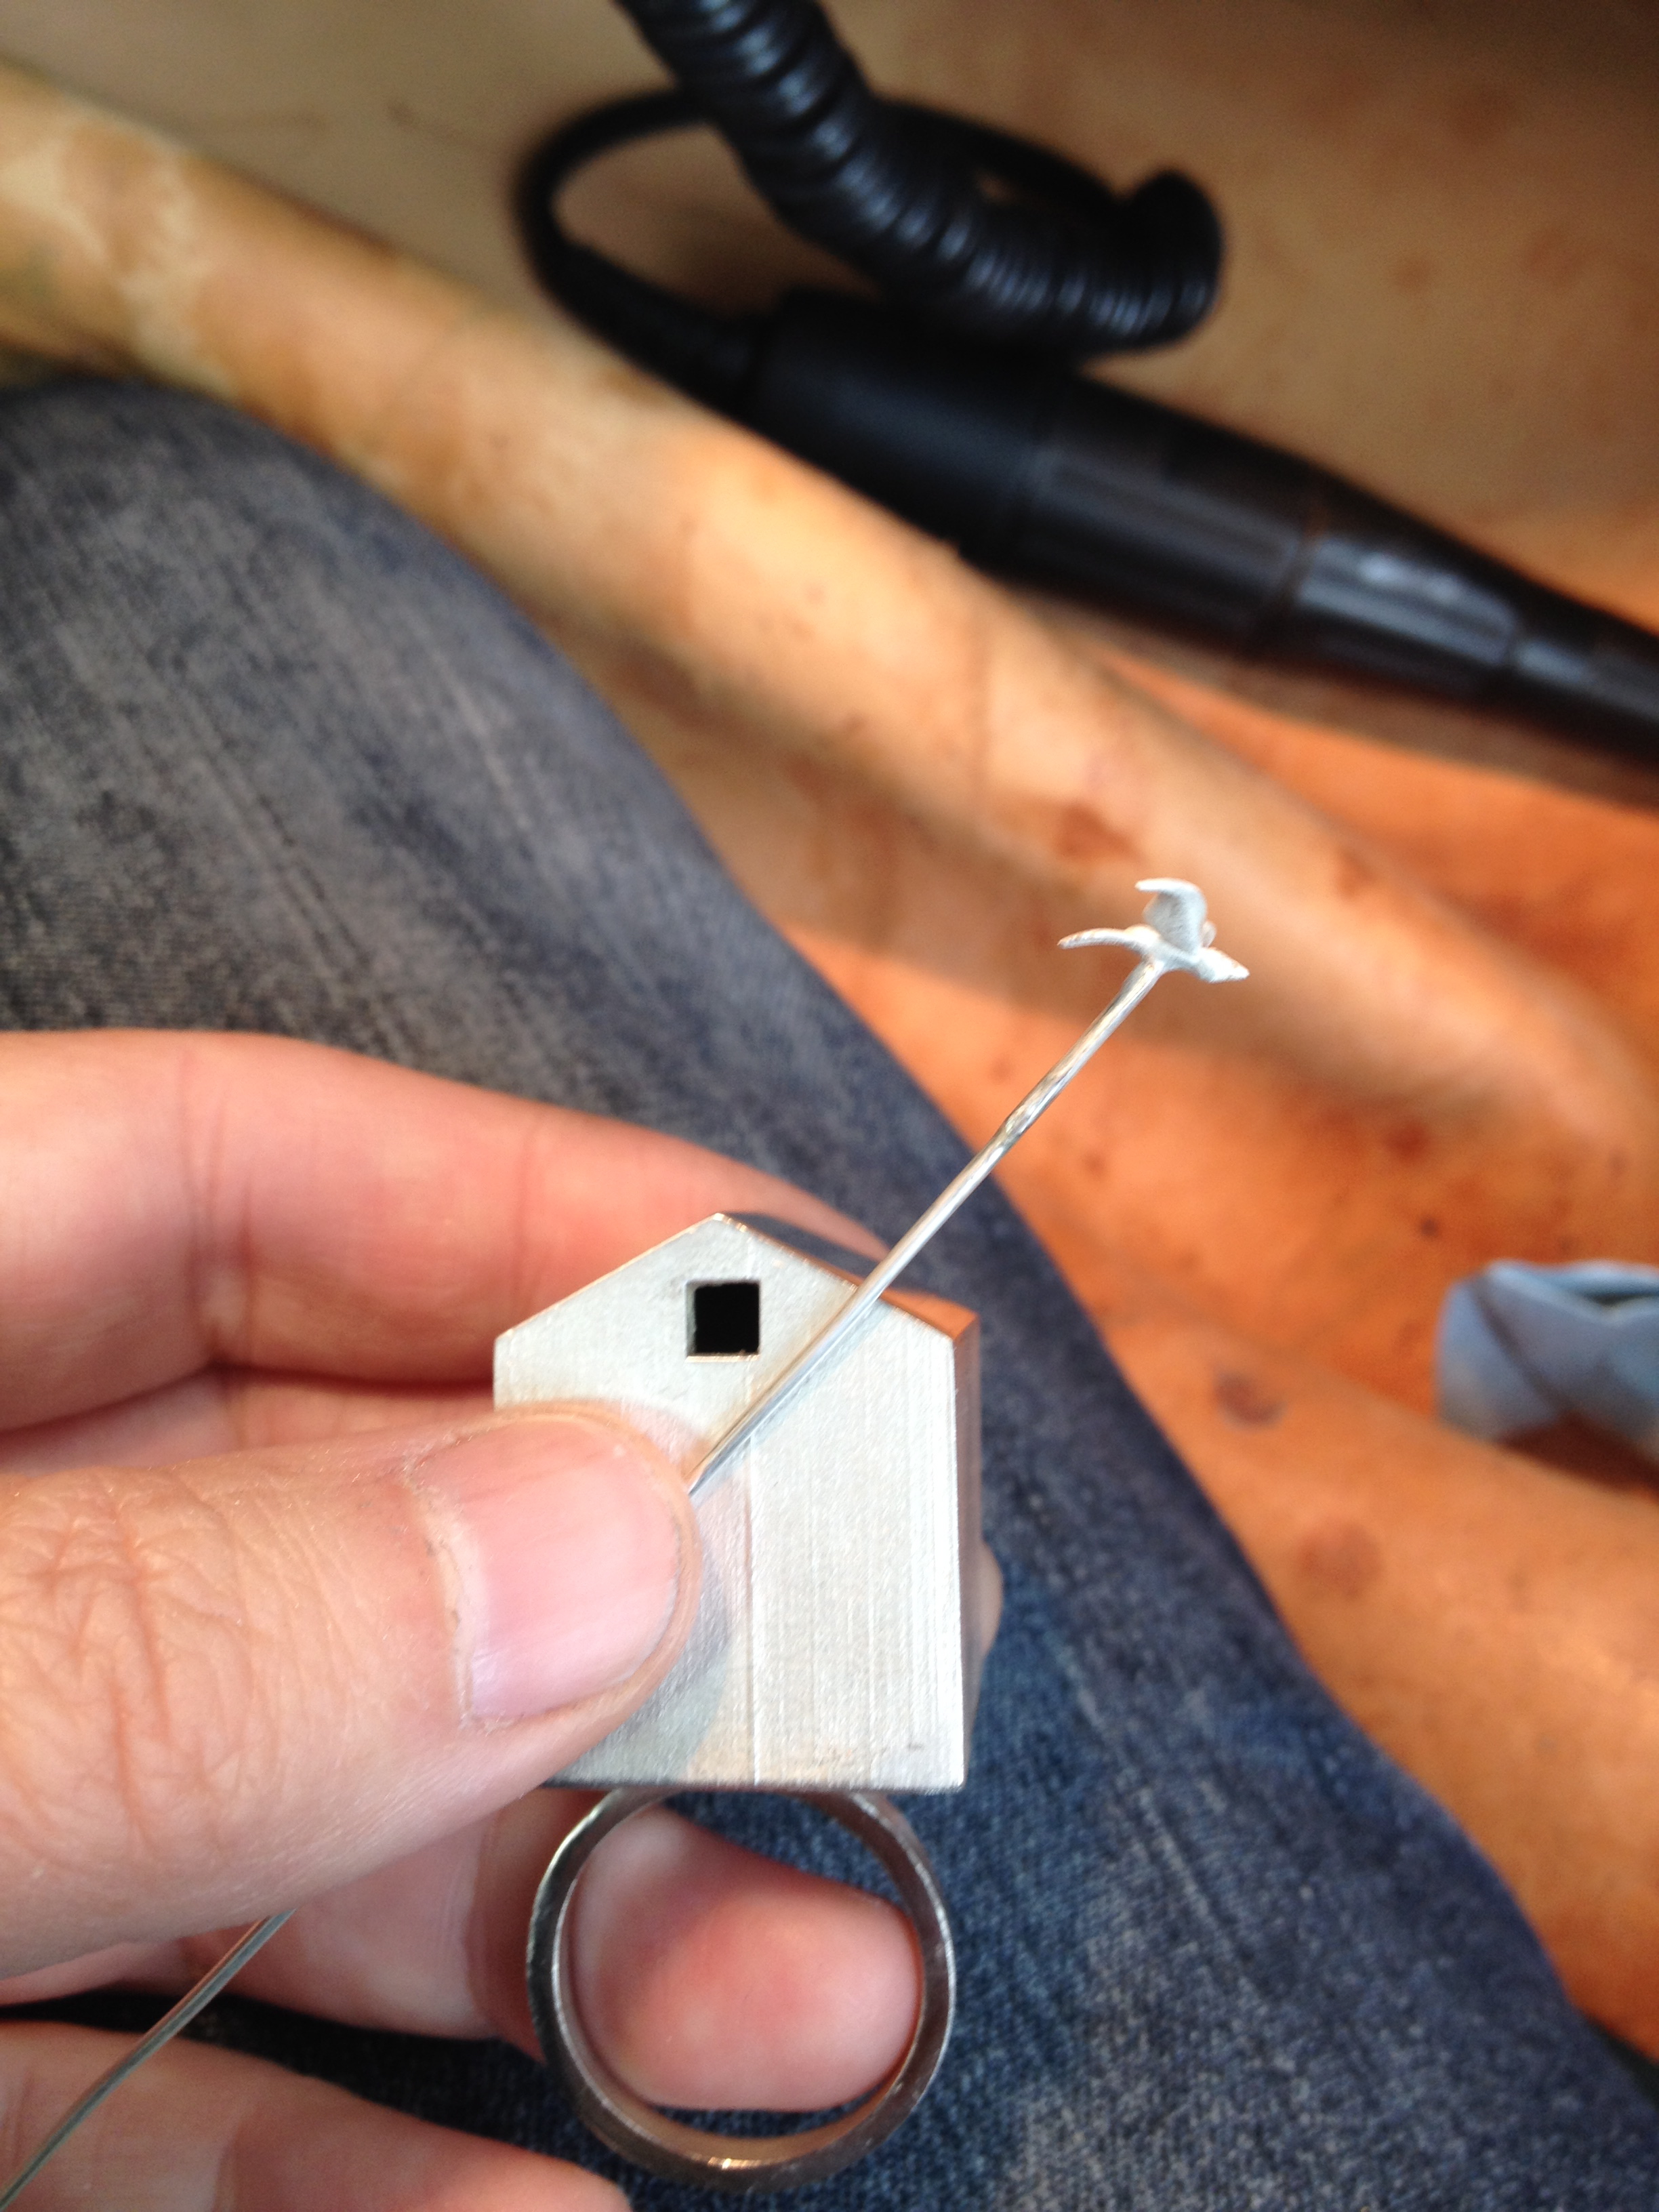
Next I had to decide on just the right length for the pin… too long I think….
bit shorter here but still a bit too long…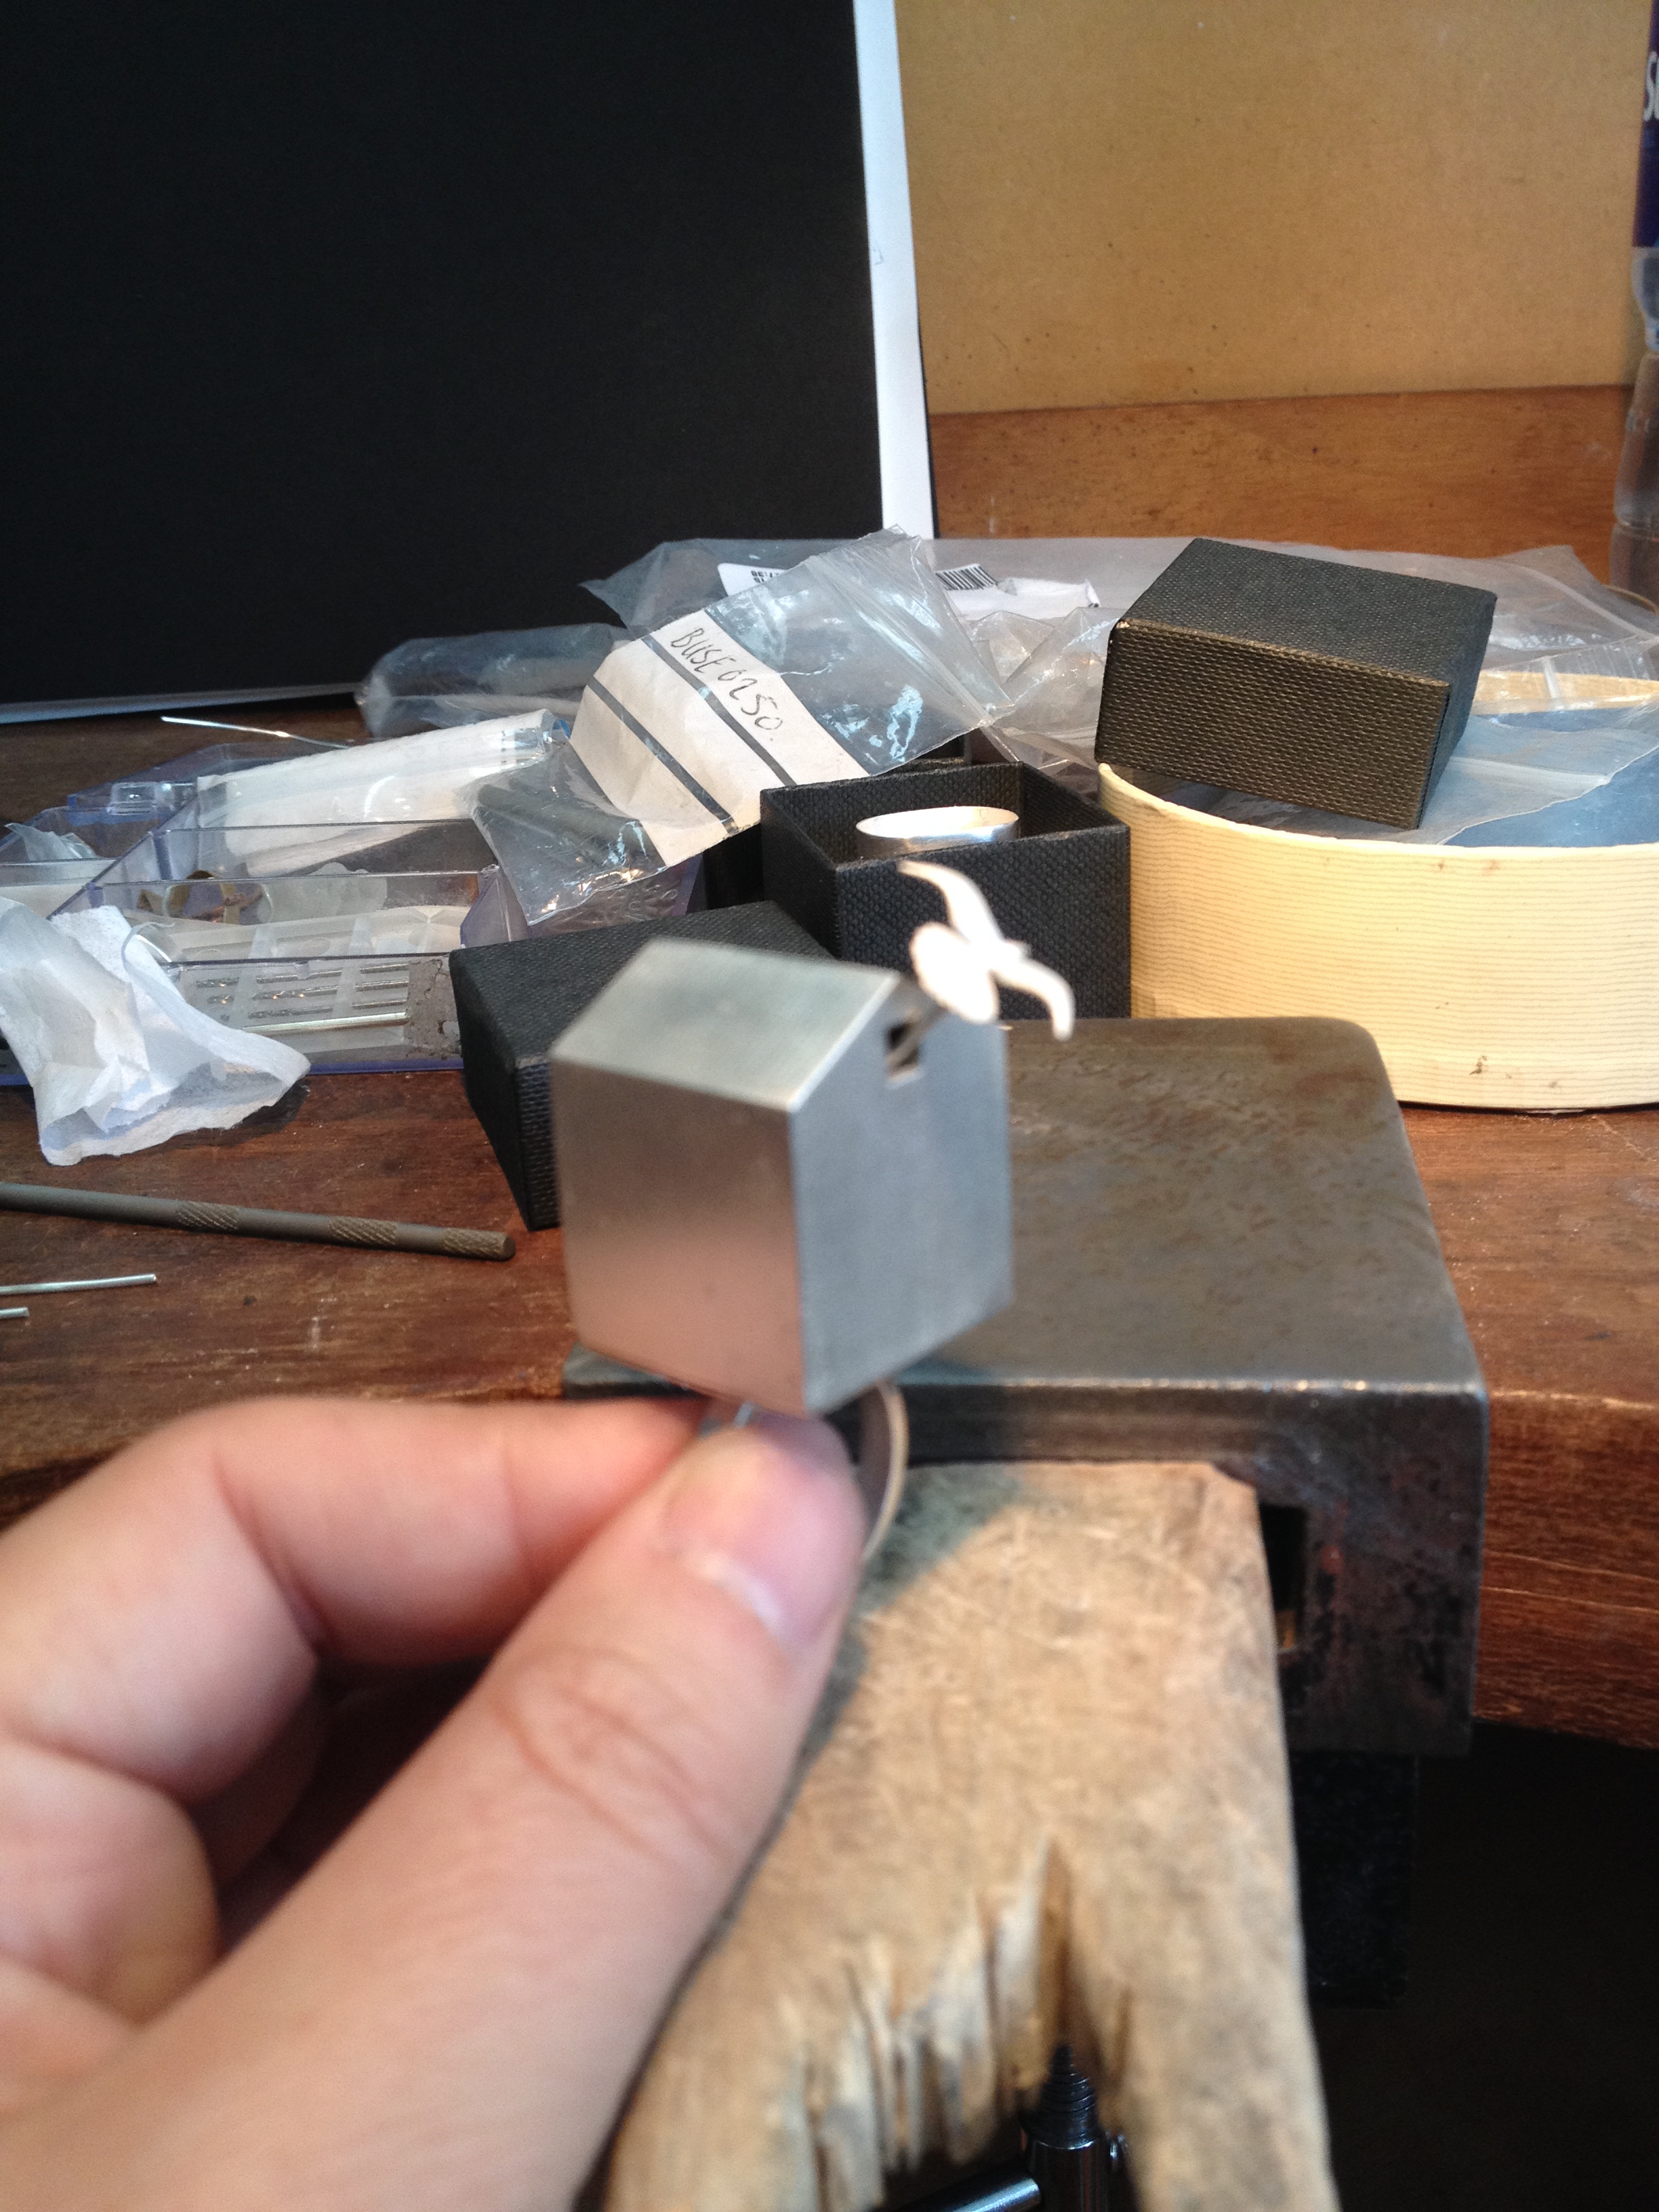
just right 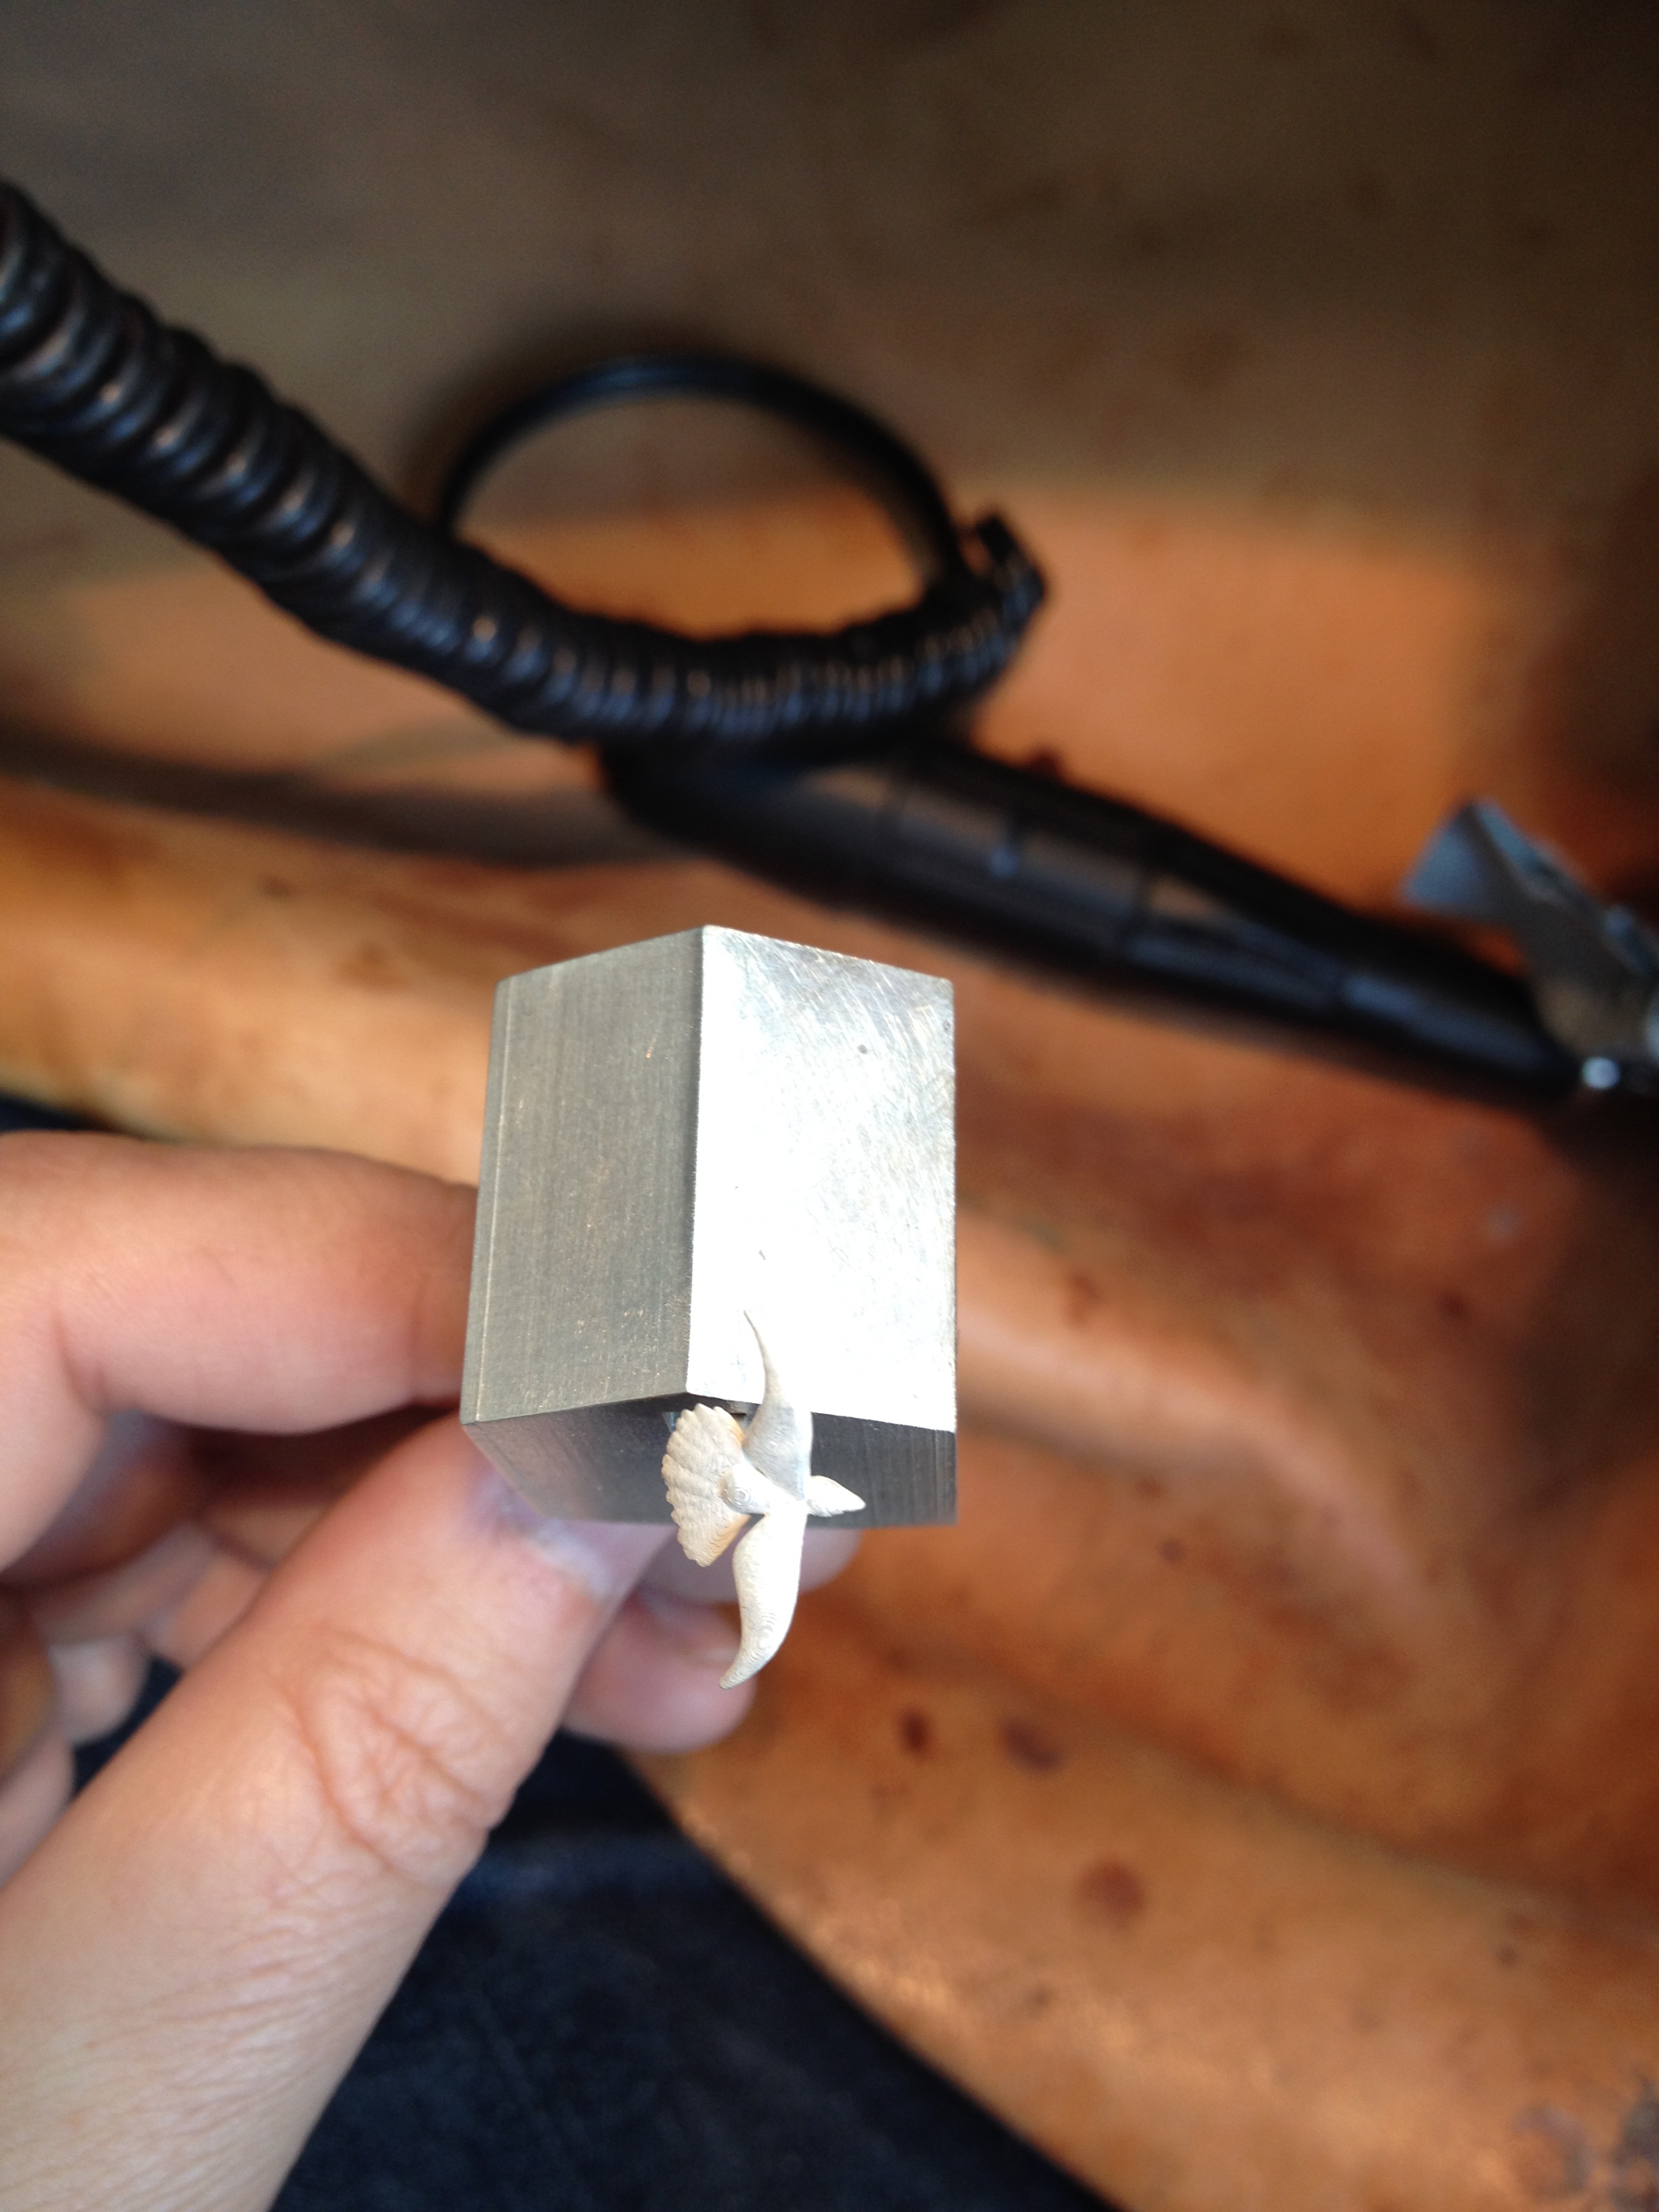 I’d say

My work here is done ;))
Well, apart from making the rest of the installation that is… Watch this space…
Cleaning up the bottom of the CAD house ring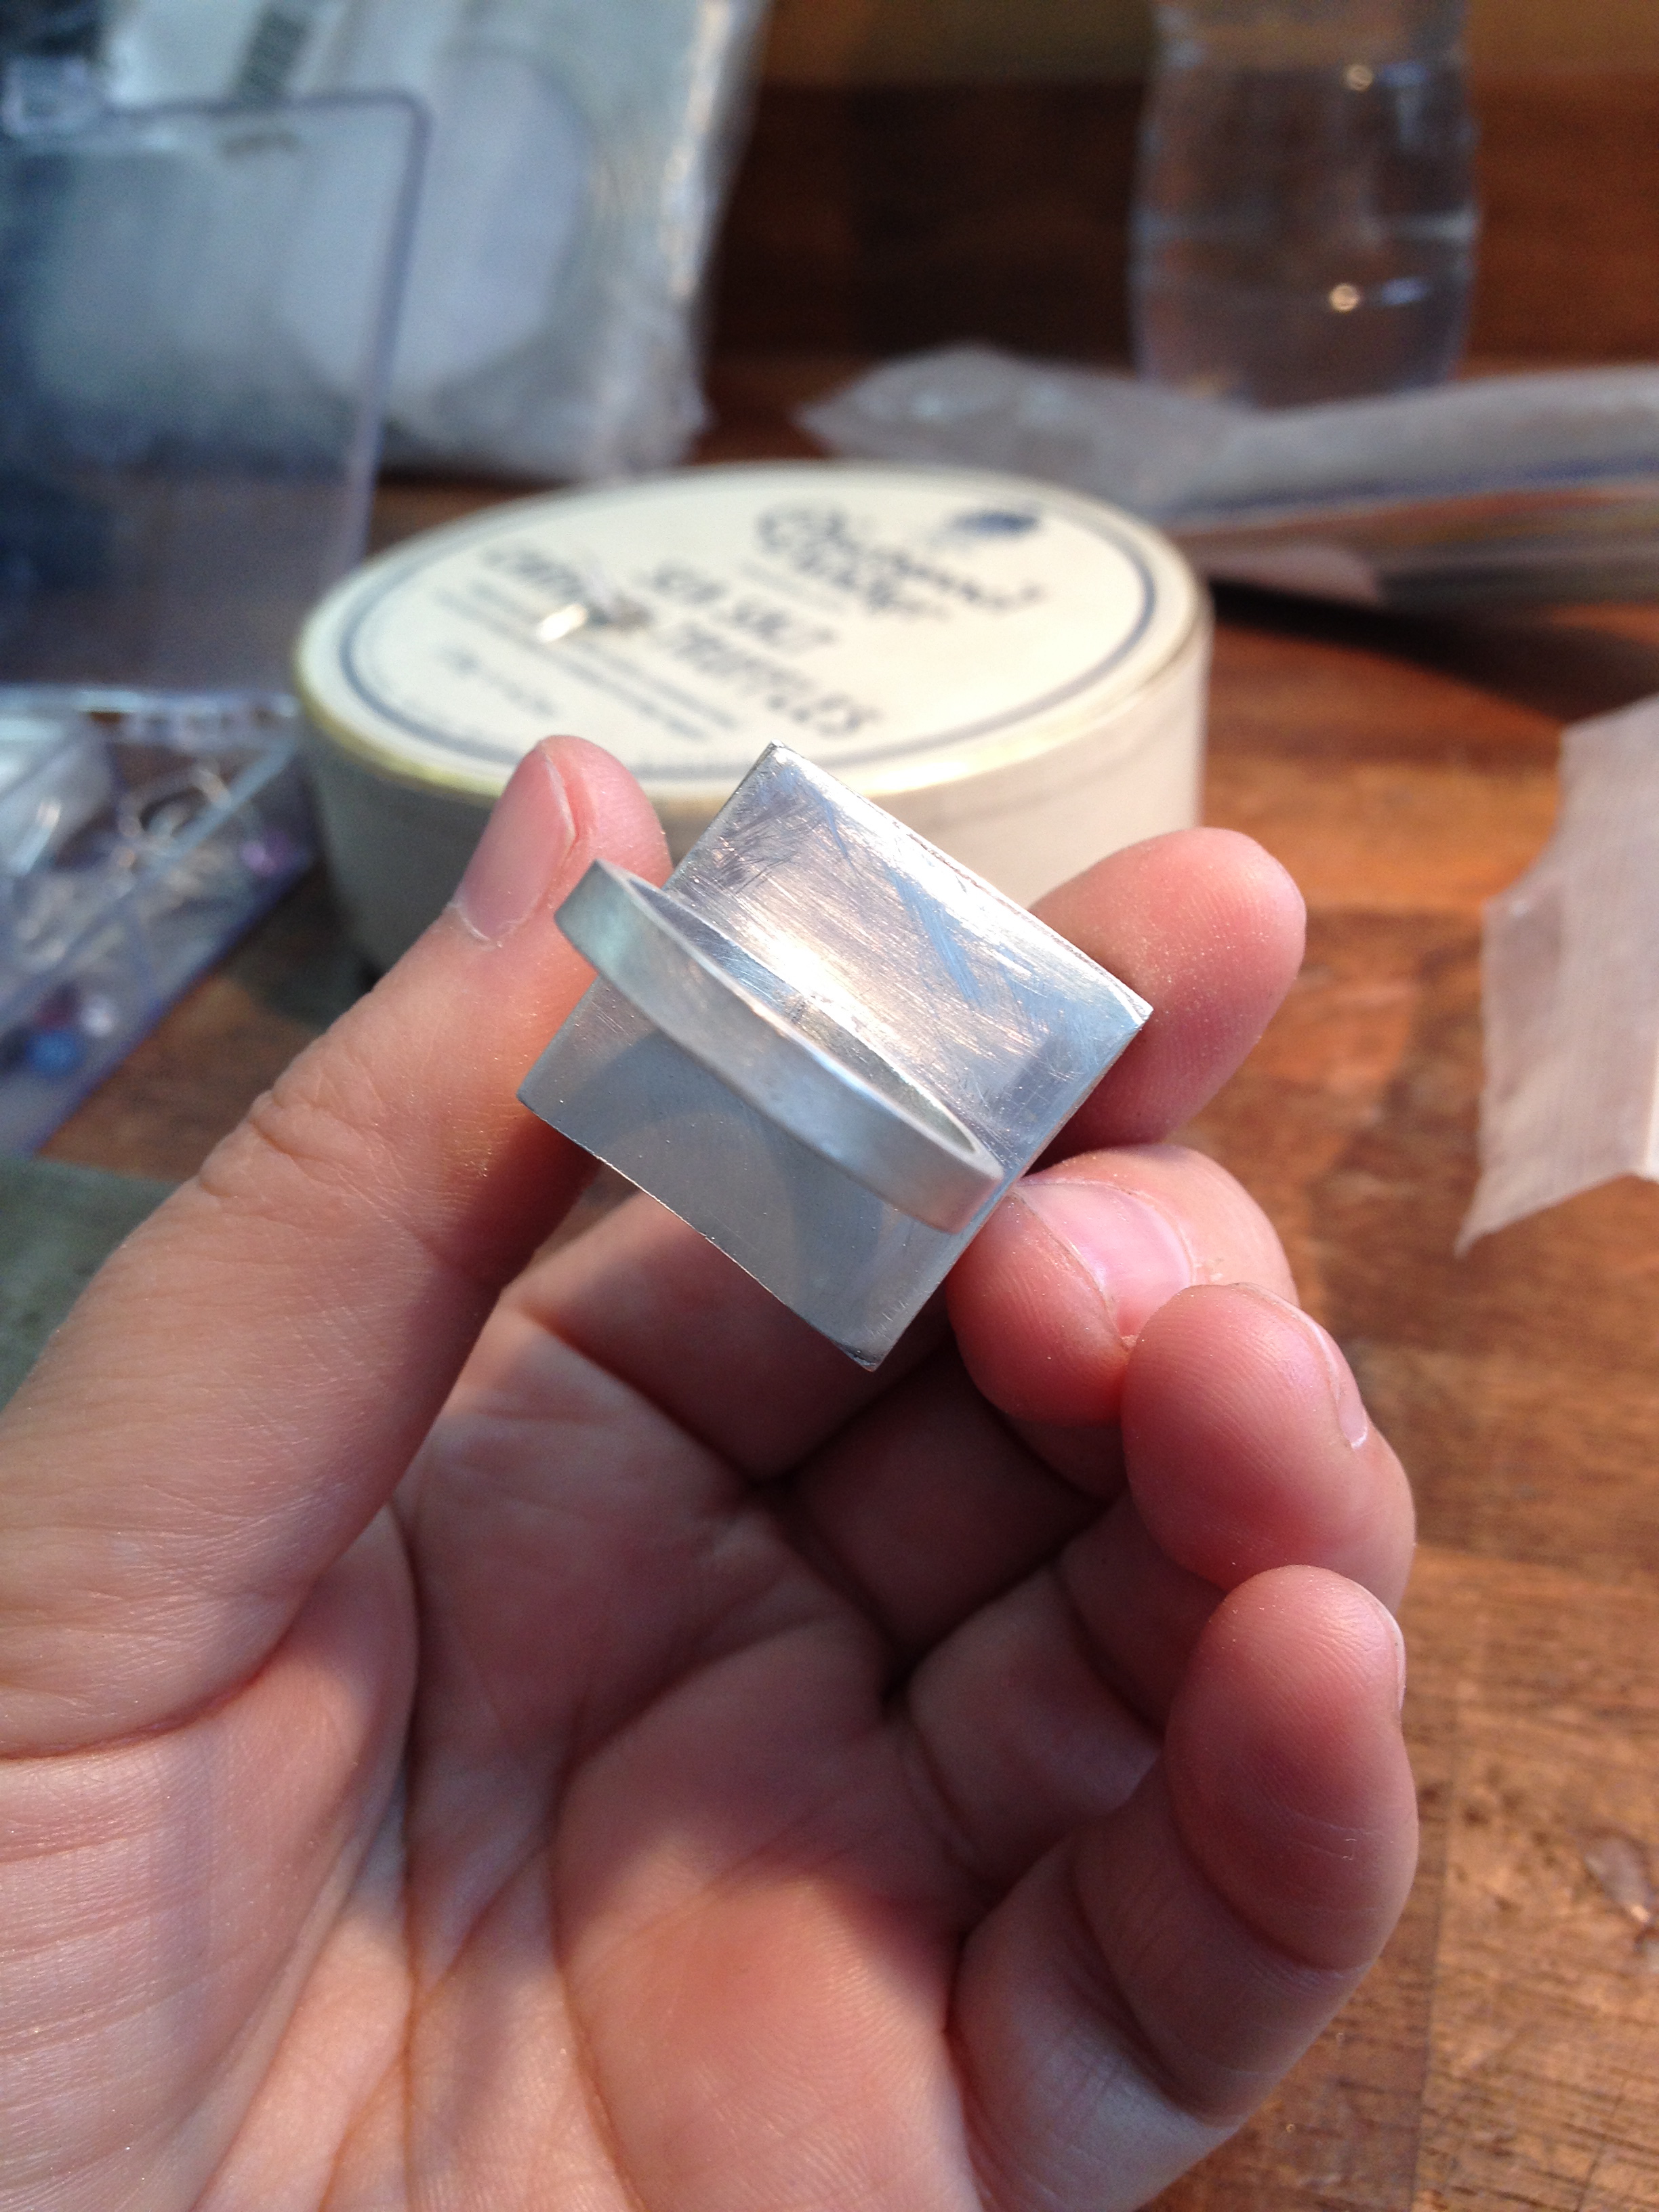 …
…
Cleaning and polishing the inside of the little silver handmade house ring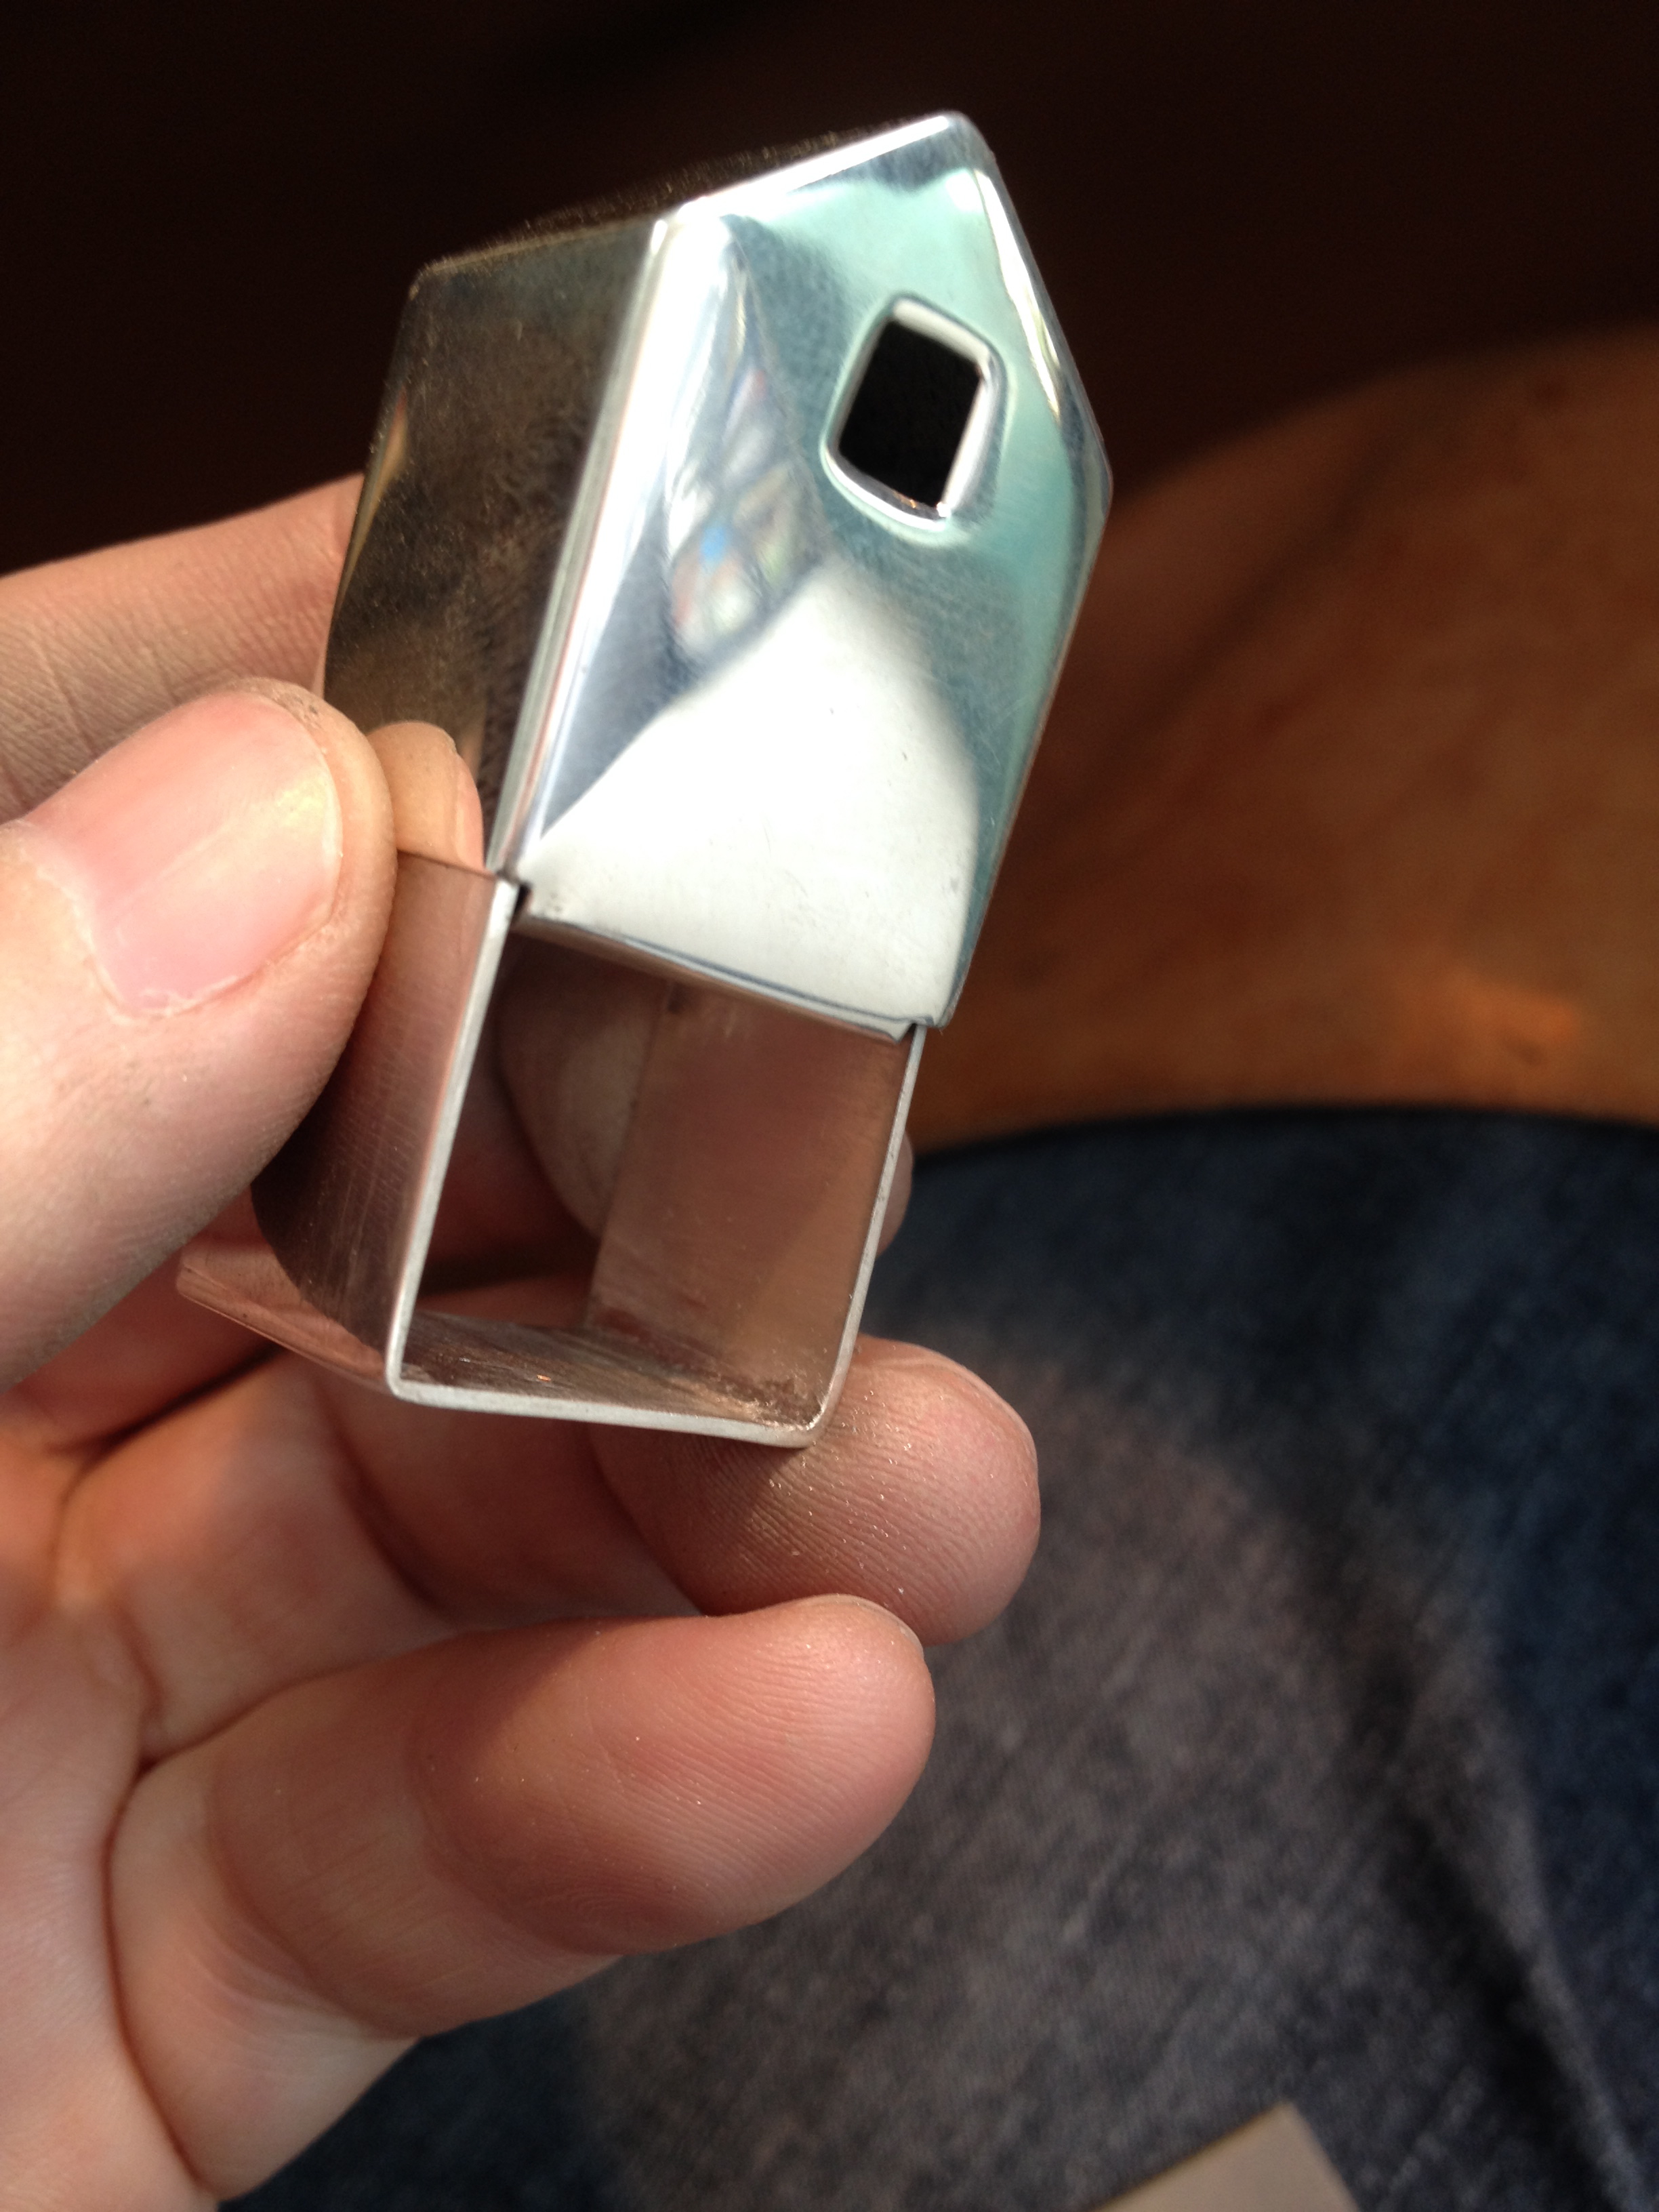 …
…
Making and soldering on ring shanks …
…

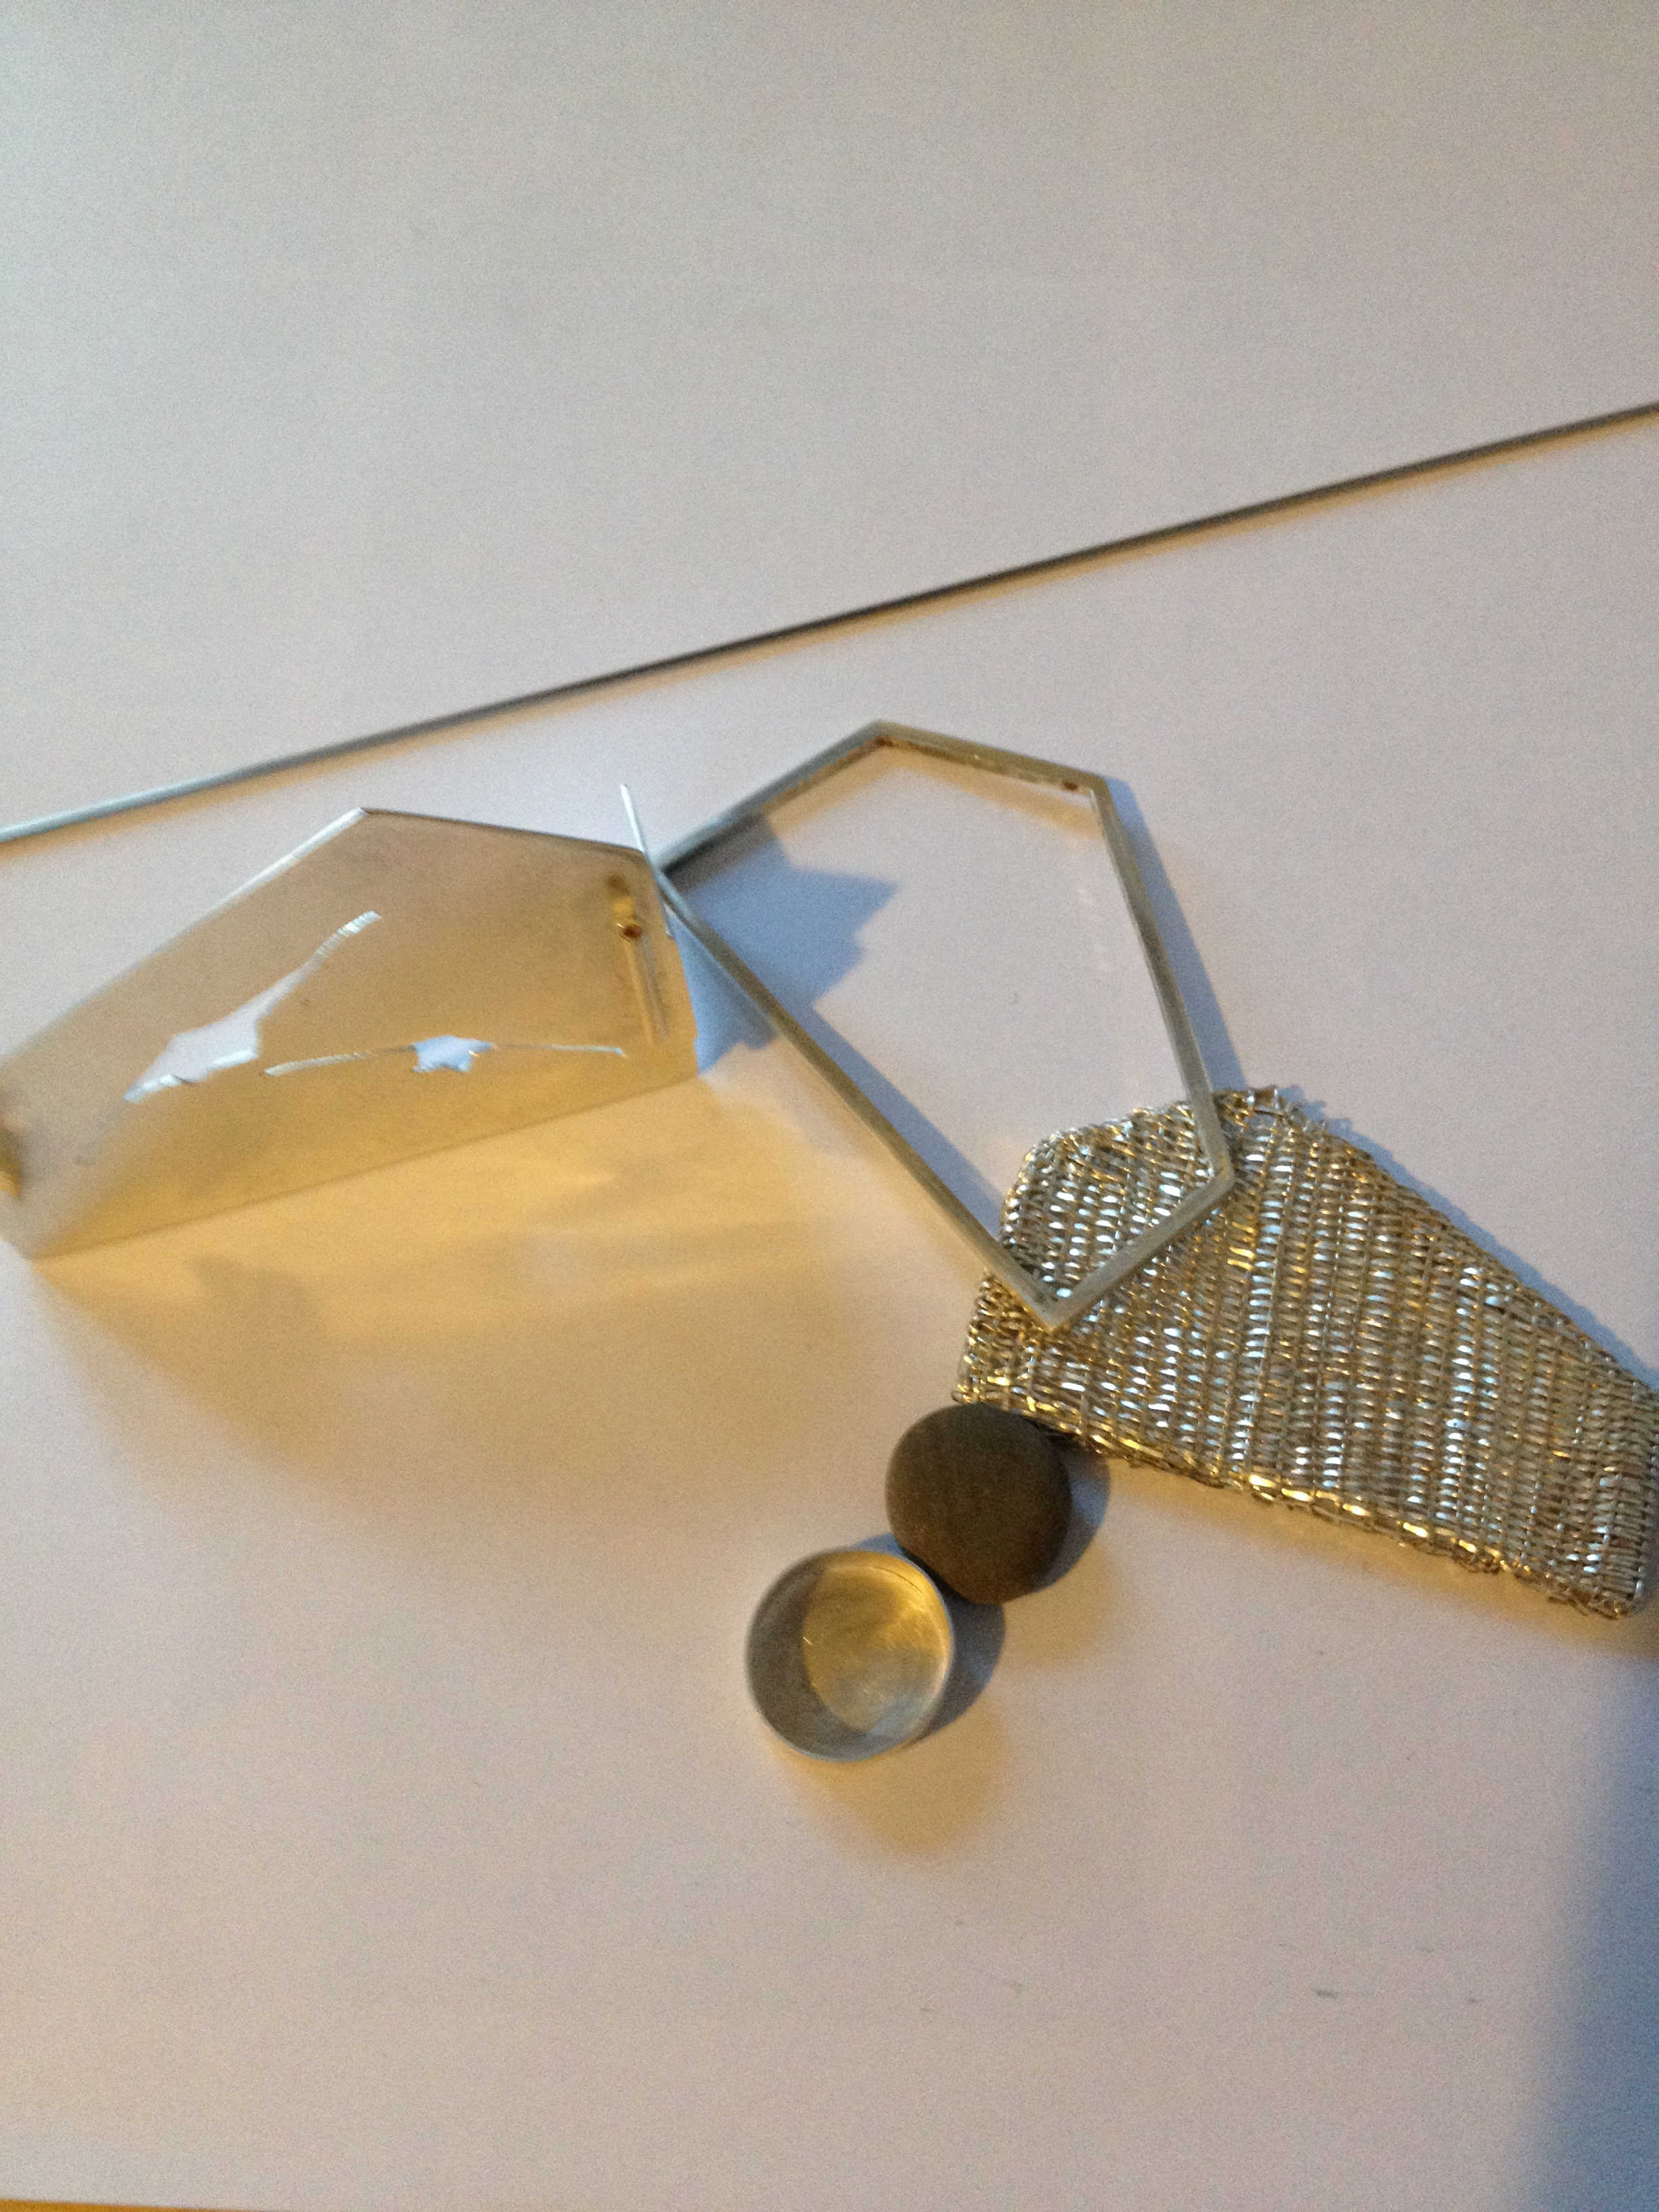
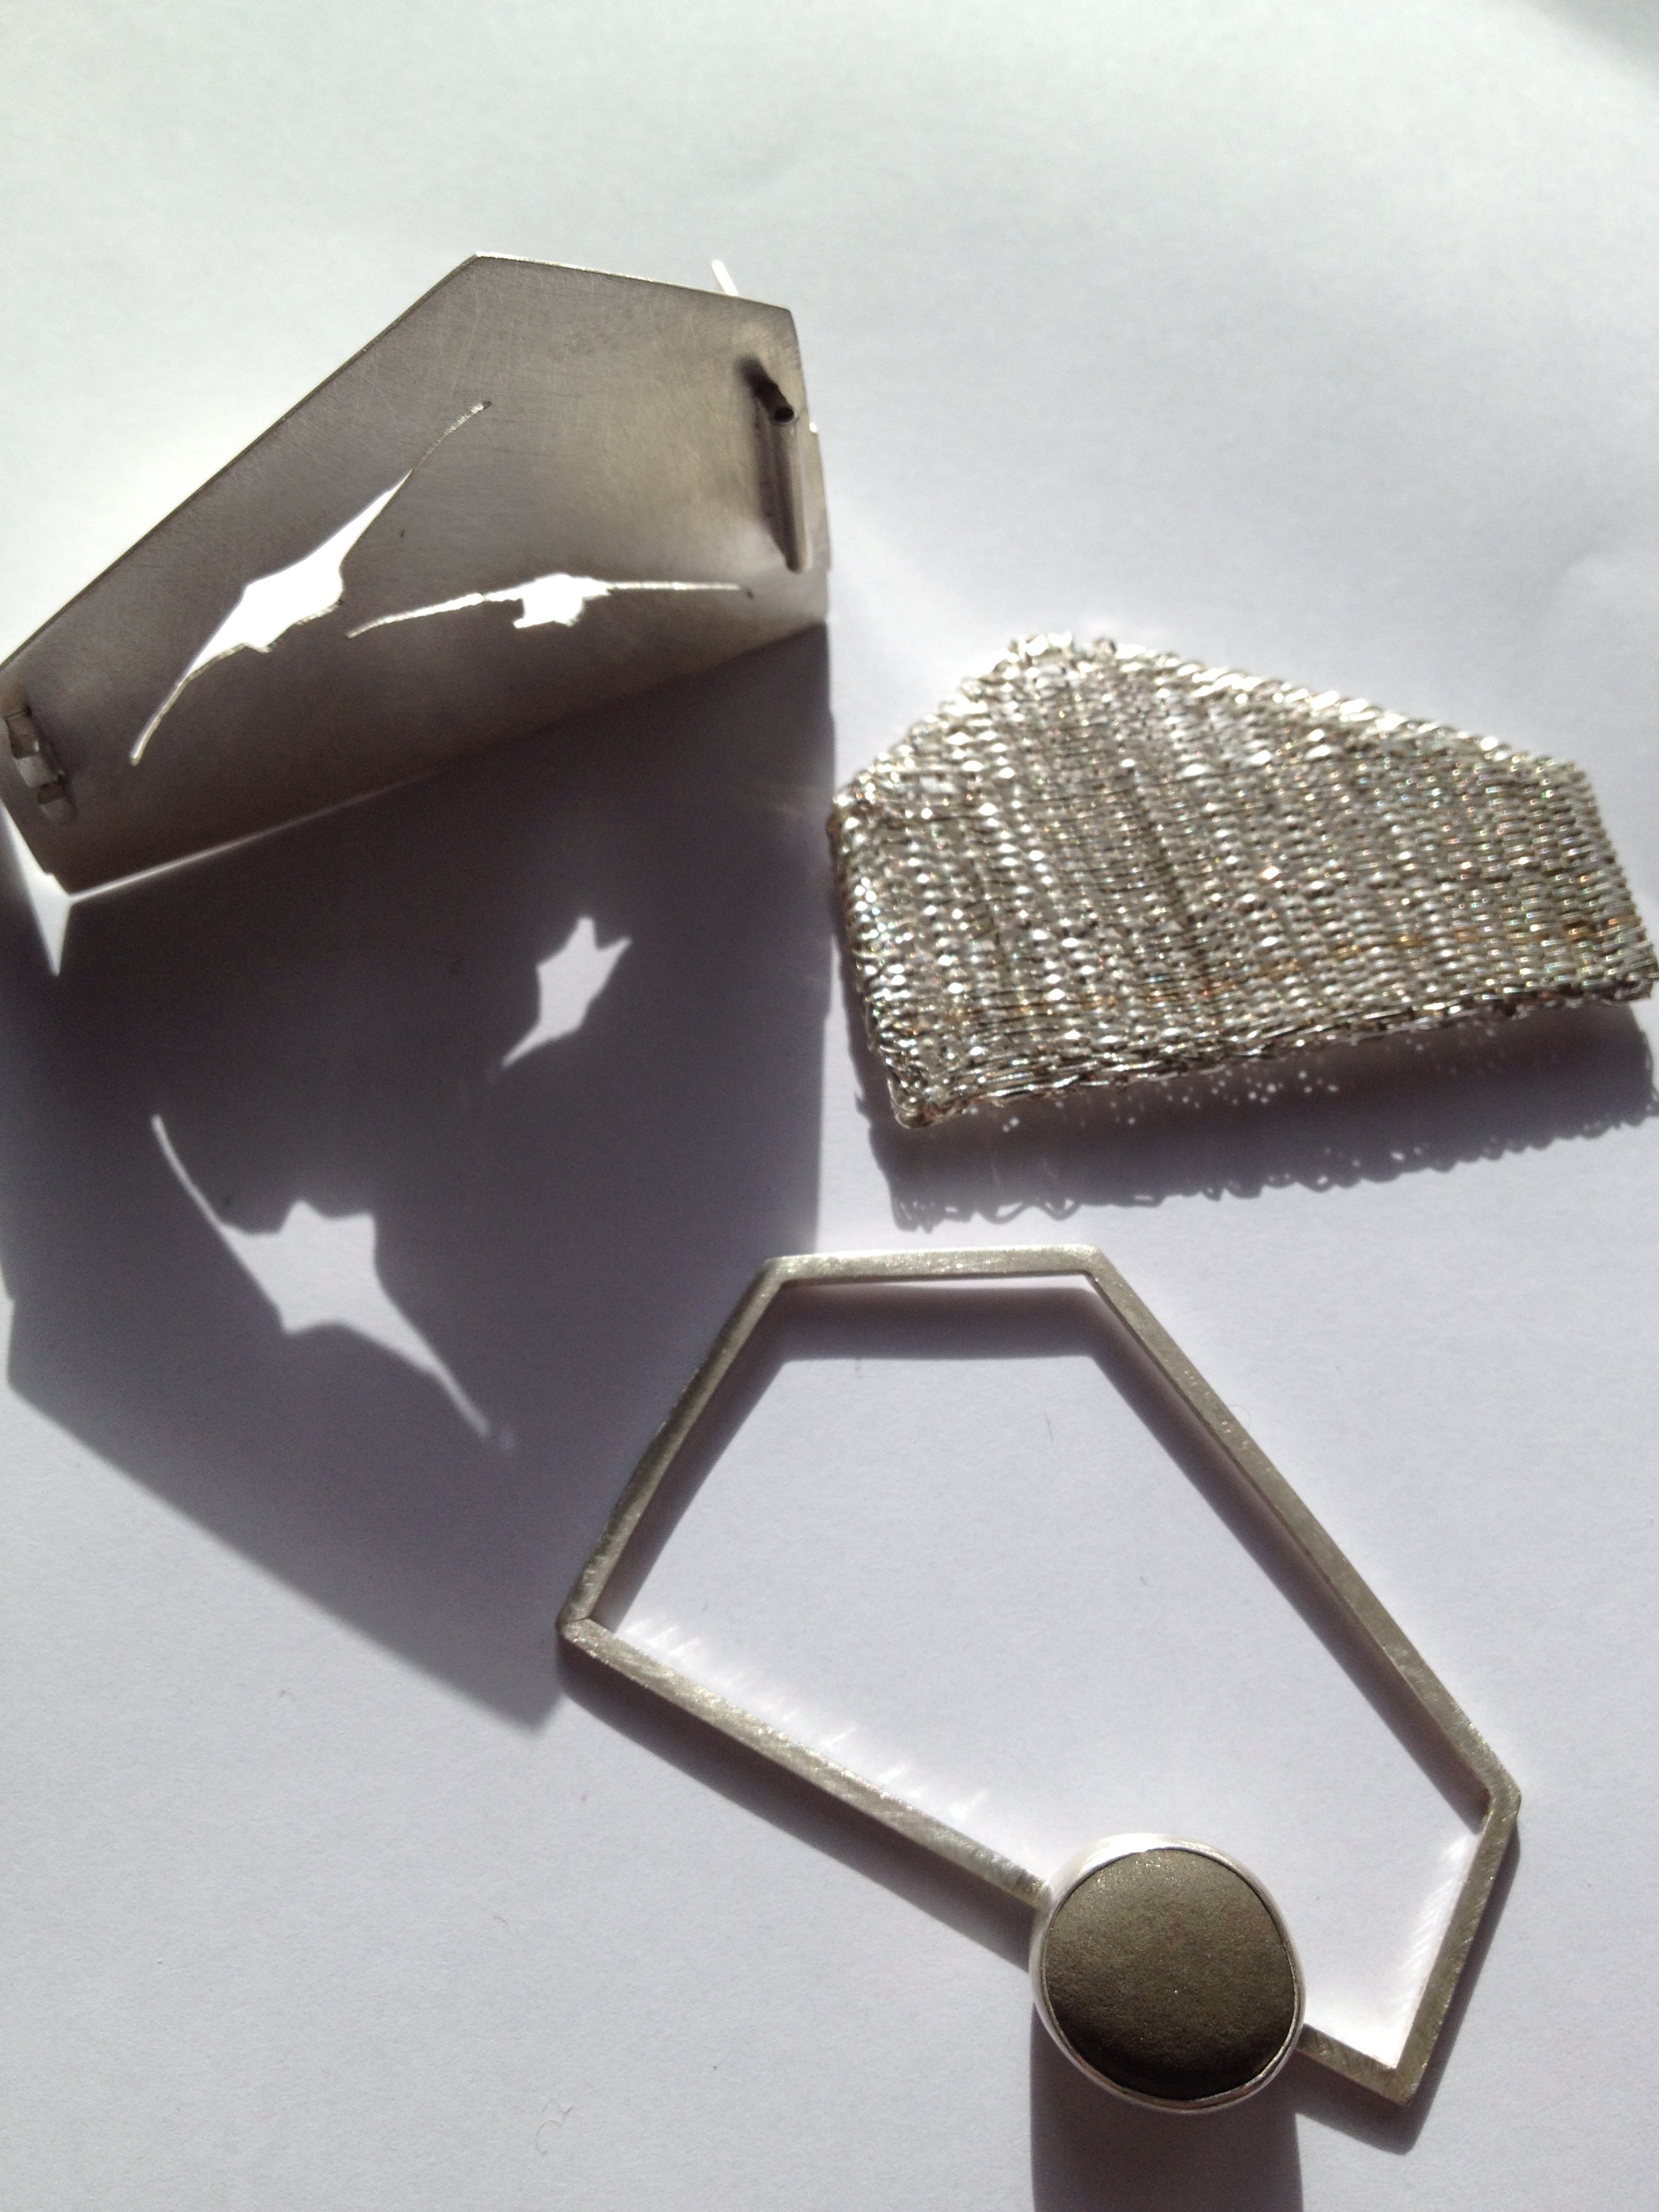
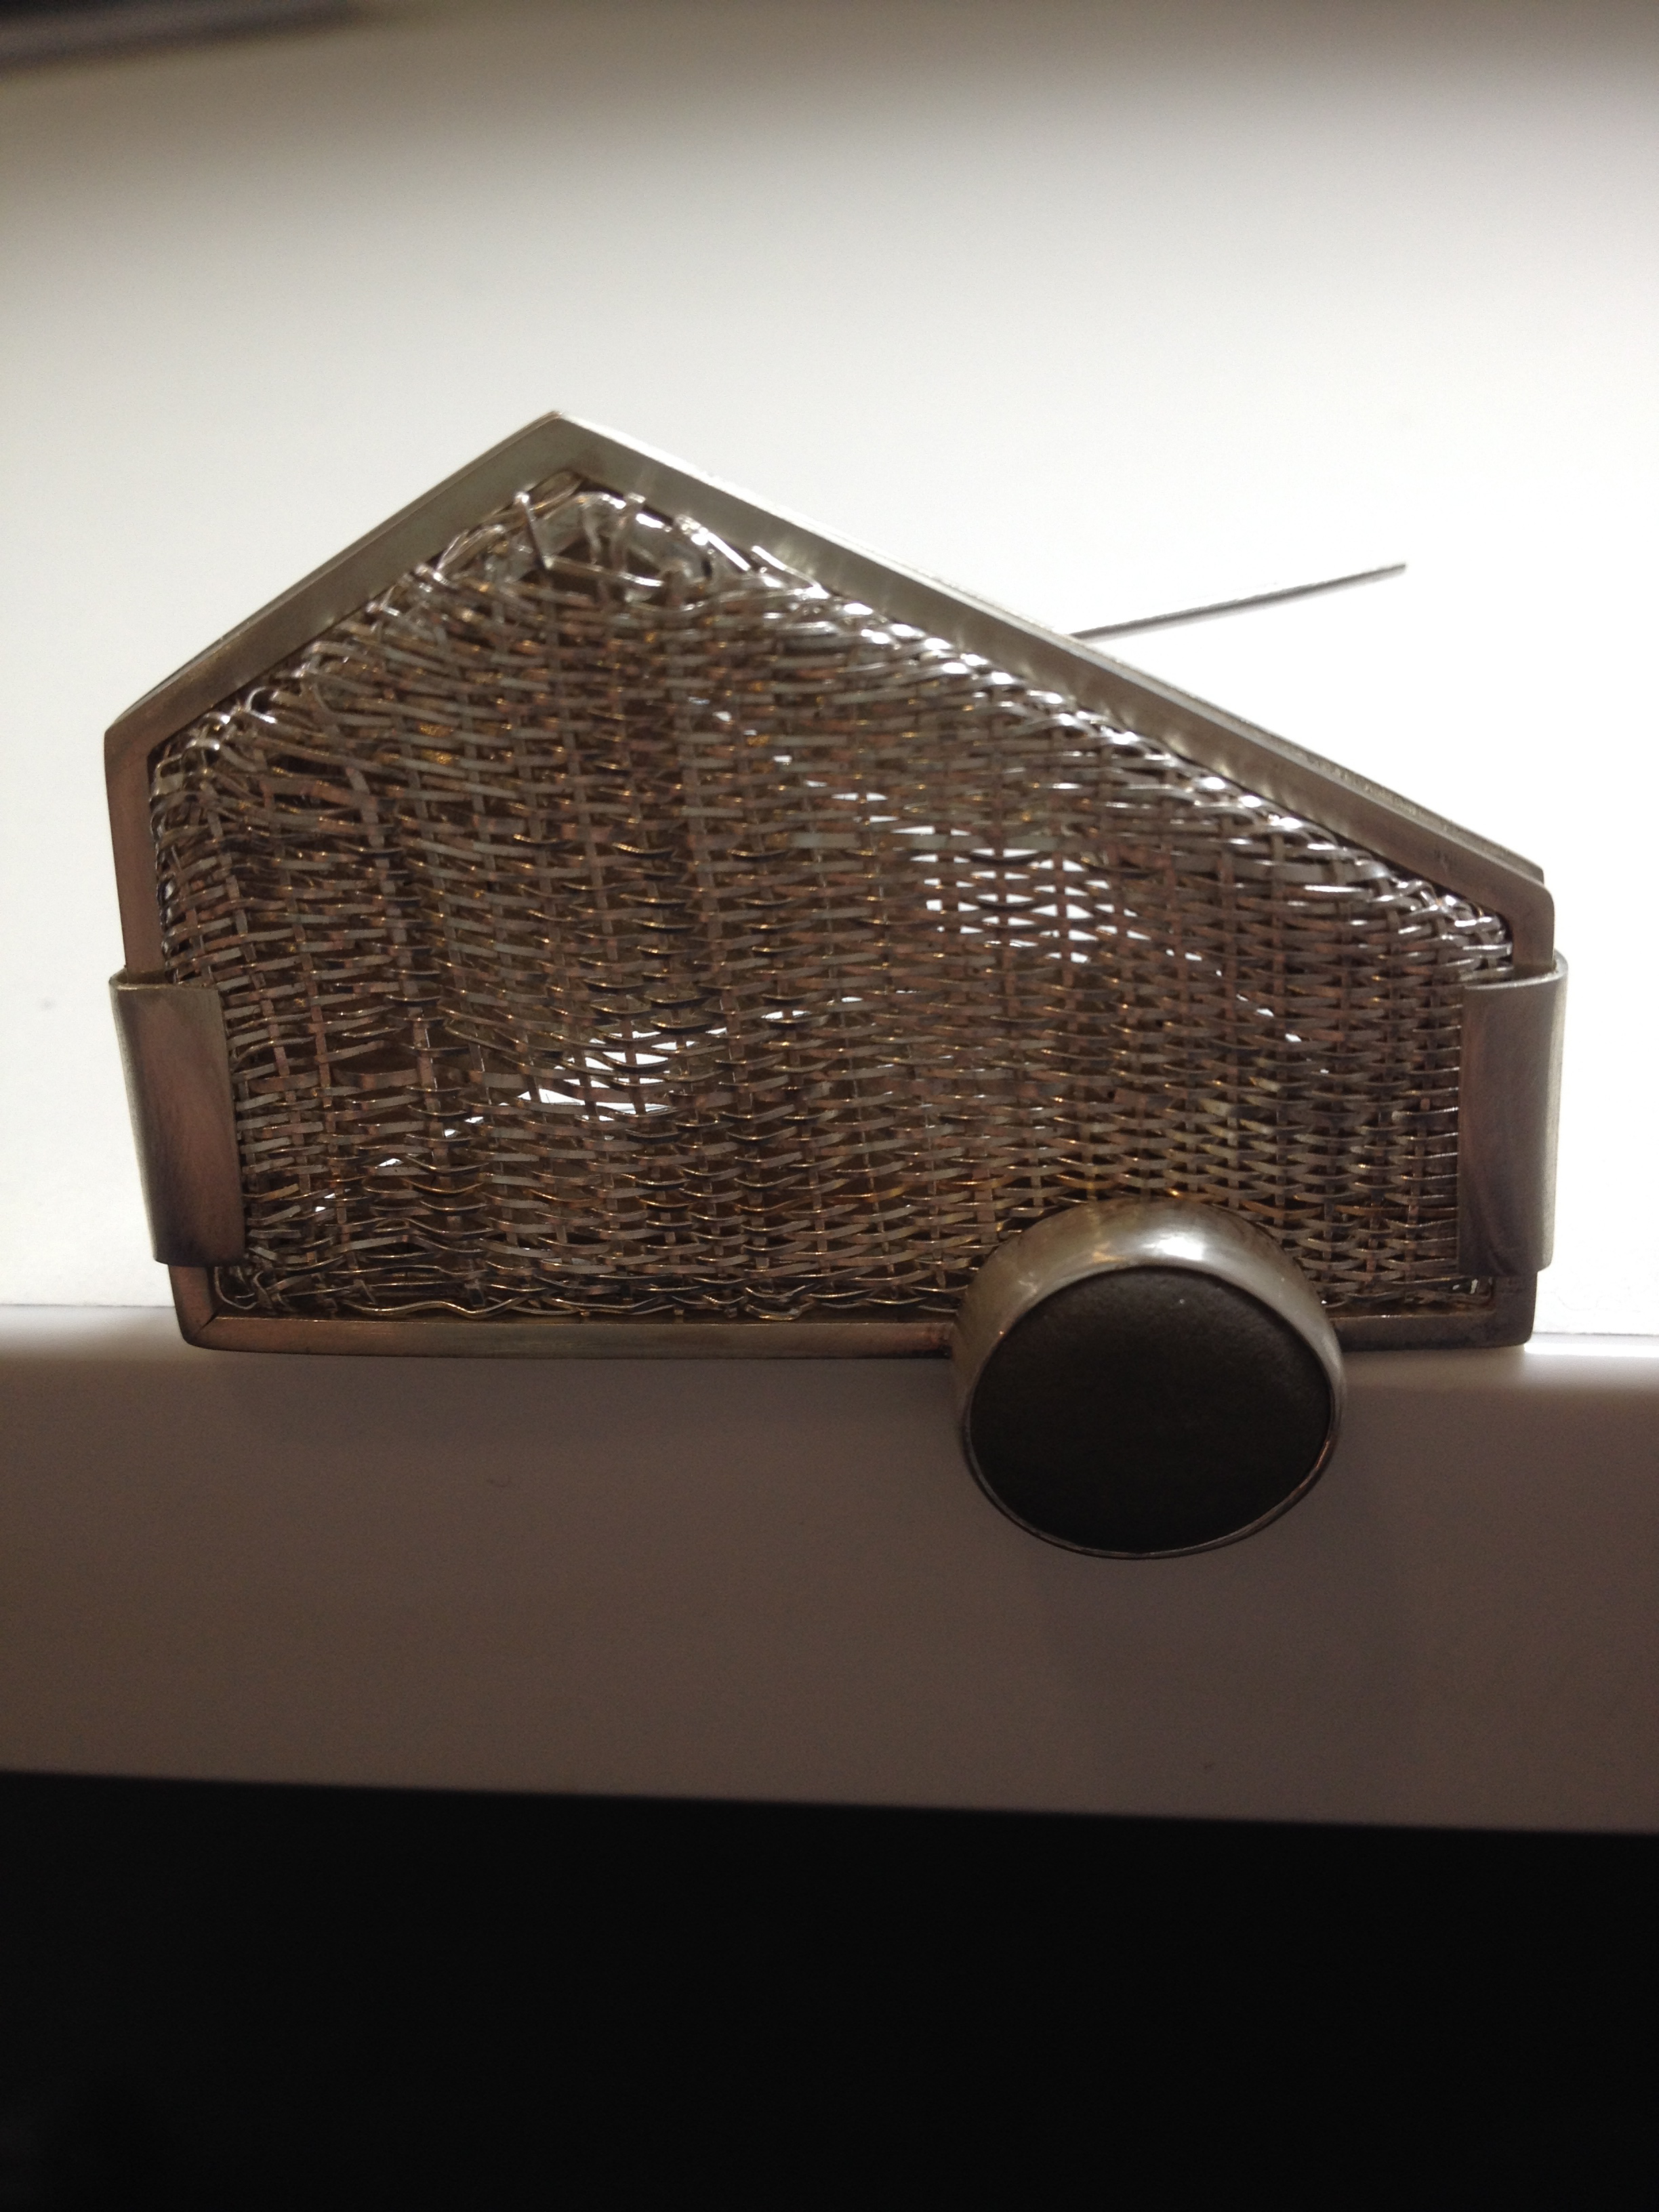
And trying settings for size… A hand woven silver and rose gold panel and a little dark grey pebble from our recent (mini) grand tour of Scotland. This one came all the way from Lower Largo ;))
;))
Today I mainly worked on a CAD ring that will become part of an installation that I’m making (for the Handmade by Machines Exhibition at The Lighthouse at the end of June). Although, the ring itself may well make an early guest appearance at our end of year show first depending on its state of readiness.
(Am also hoping the piece may count towards my final unit: advanced jewellery manufacturing techniques too… as it definitely demonstrates several advanced techniques… as required… right?… Colin?? ;))
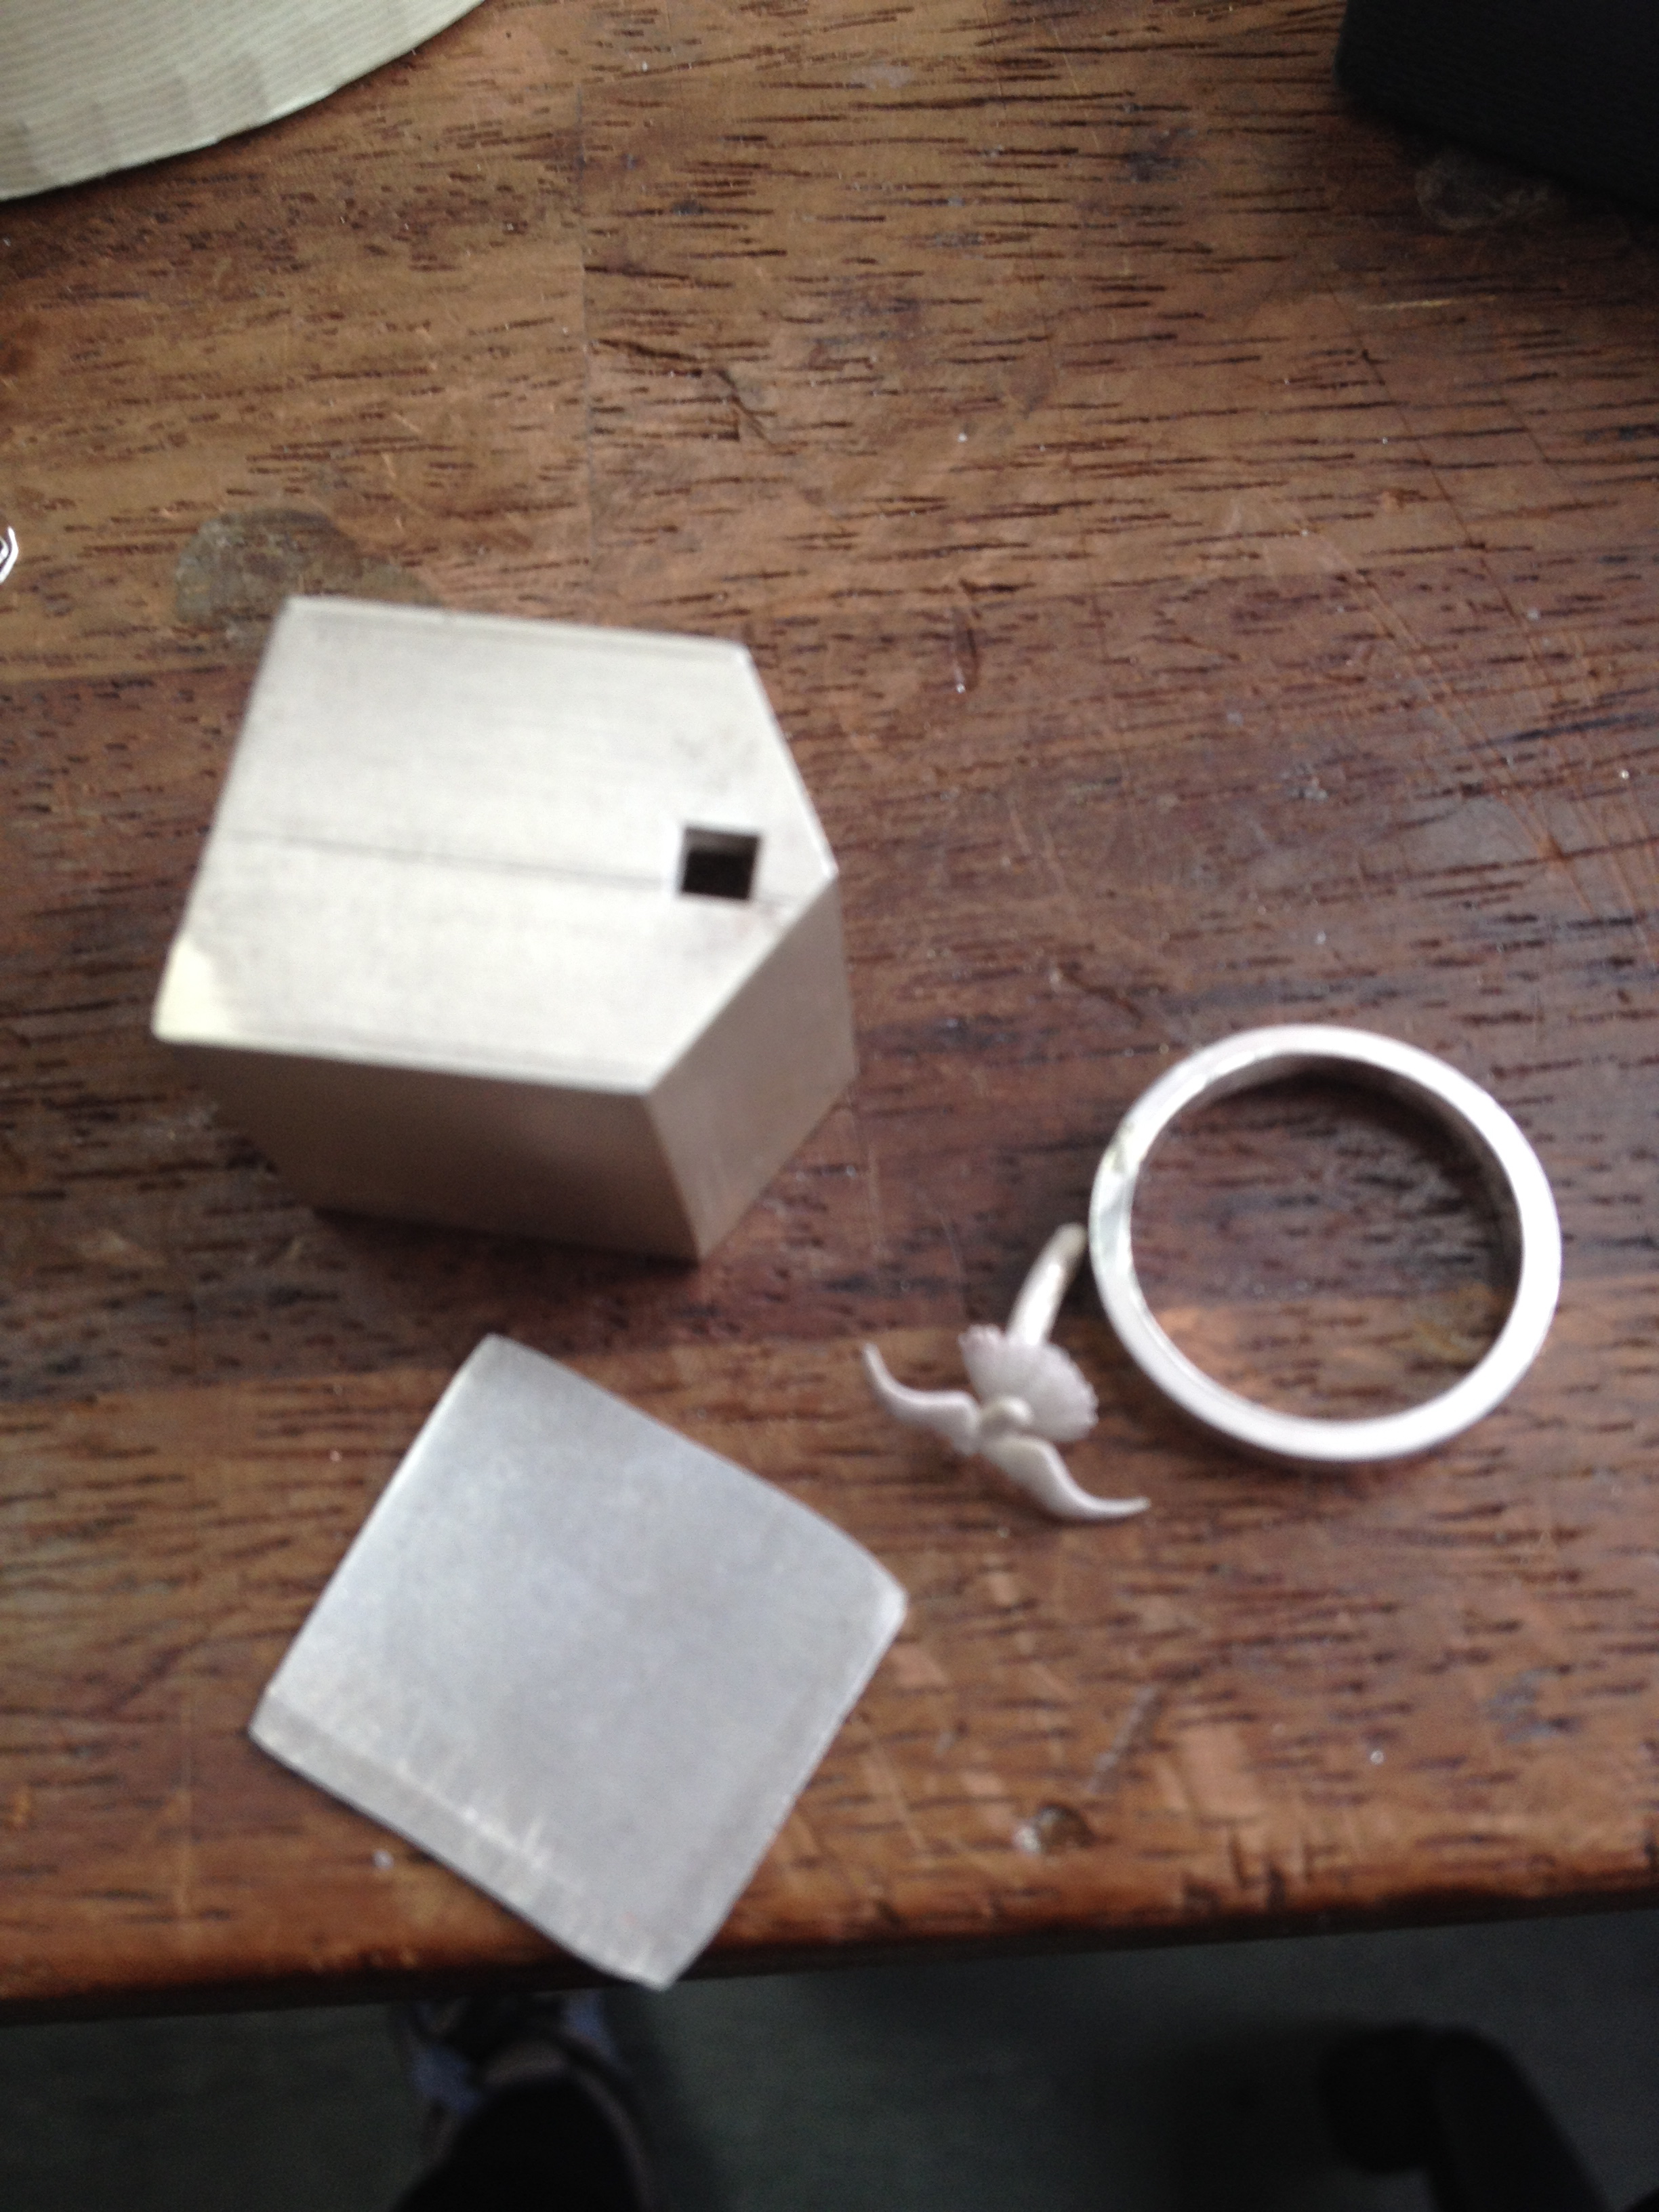
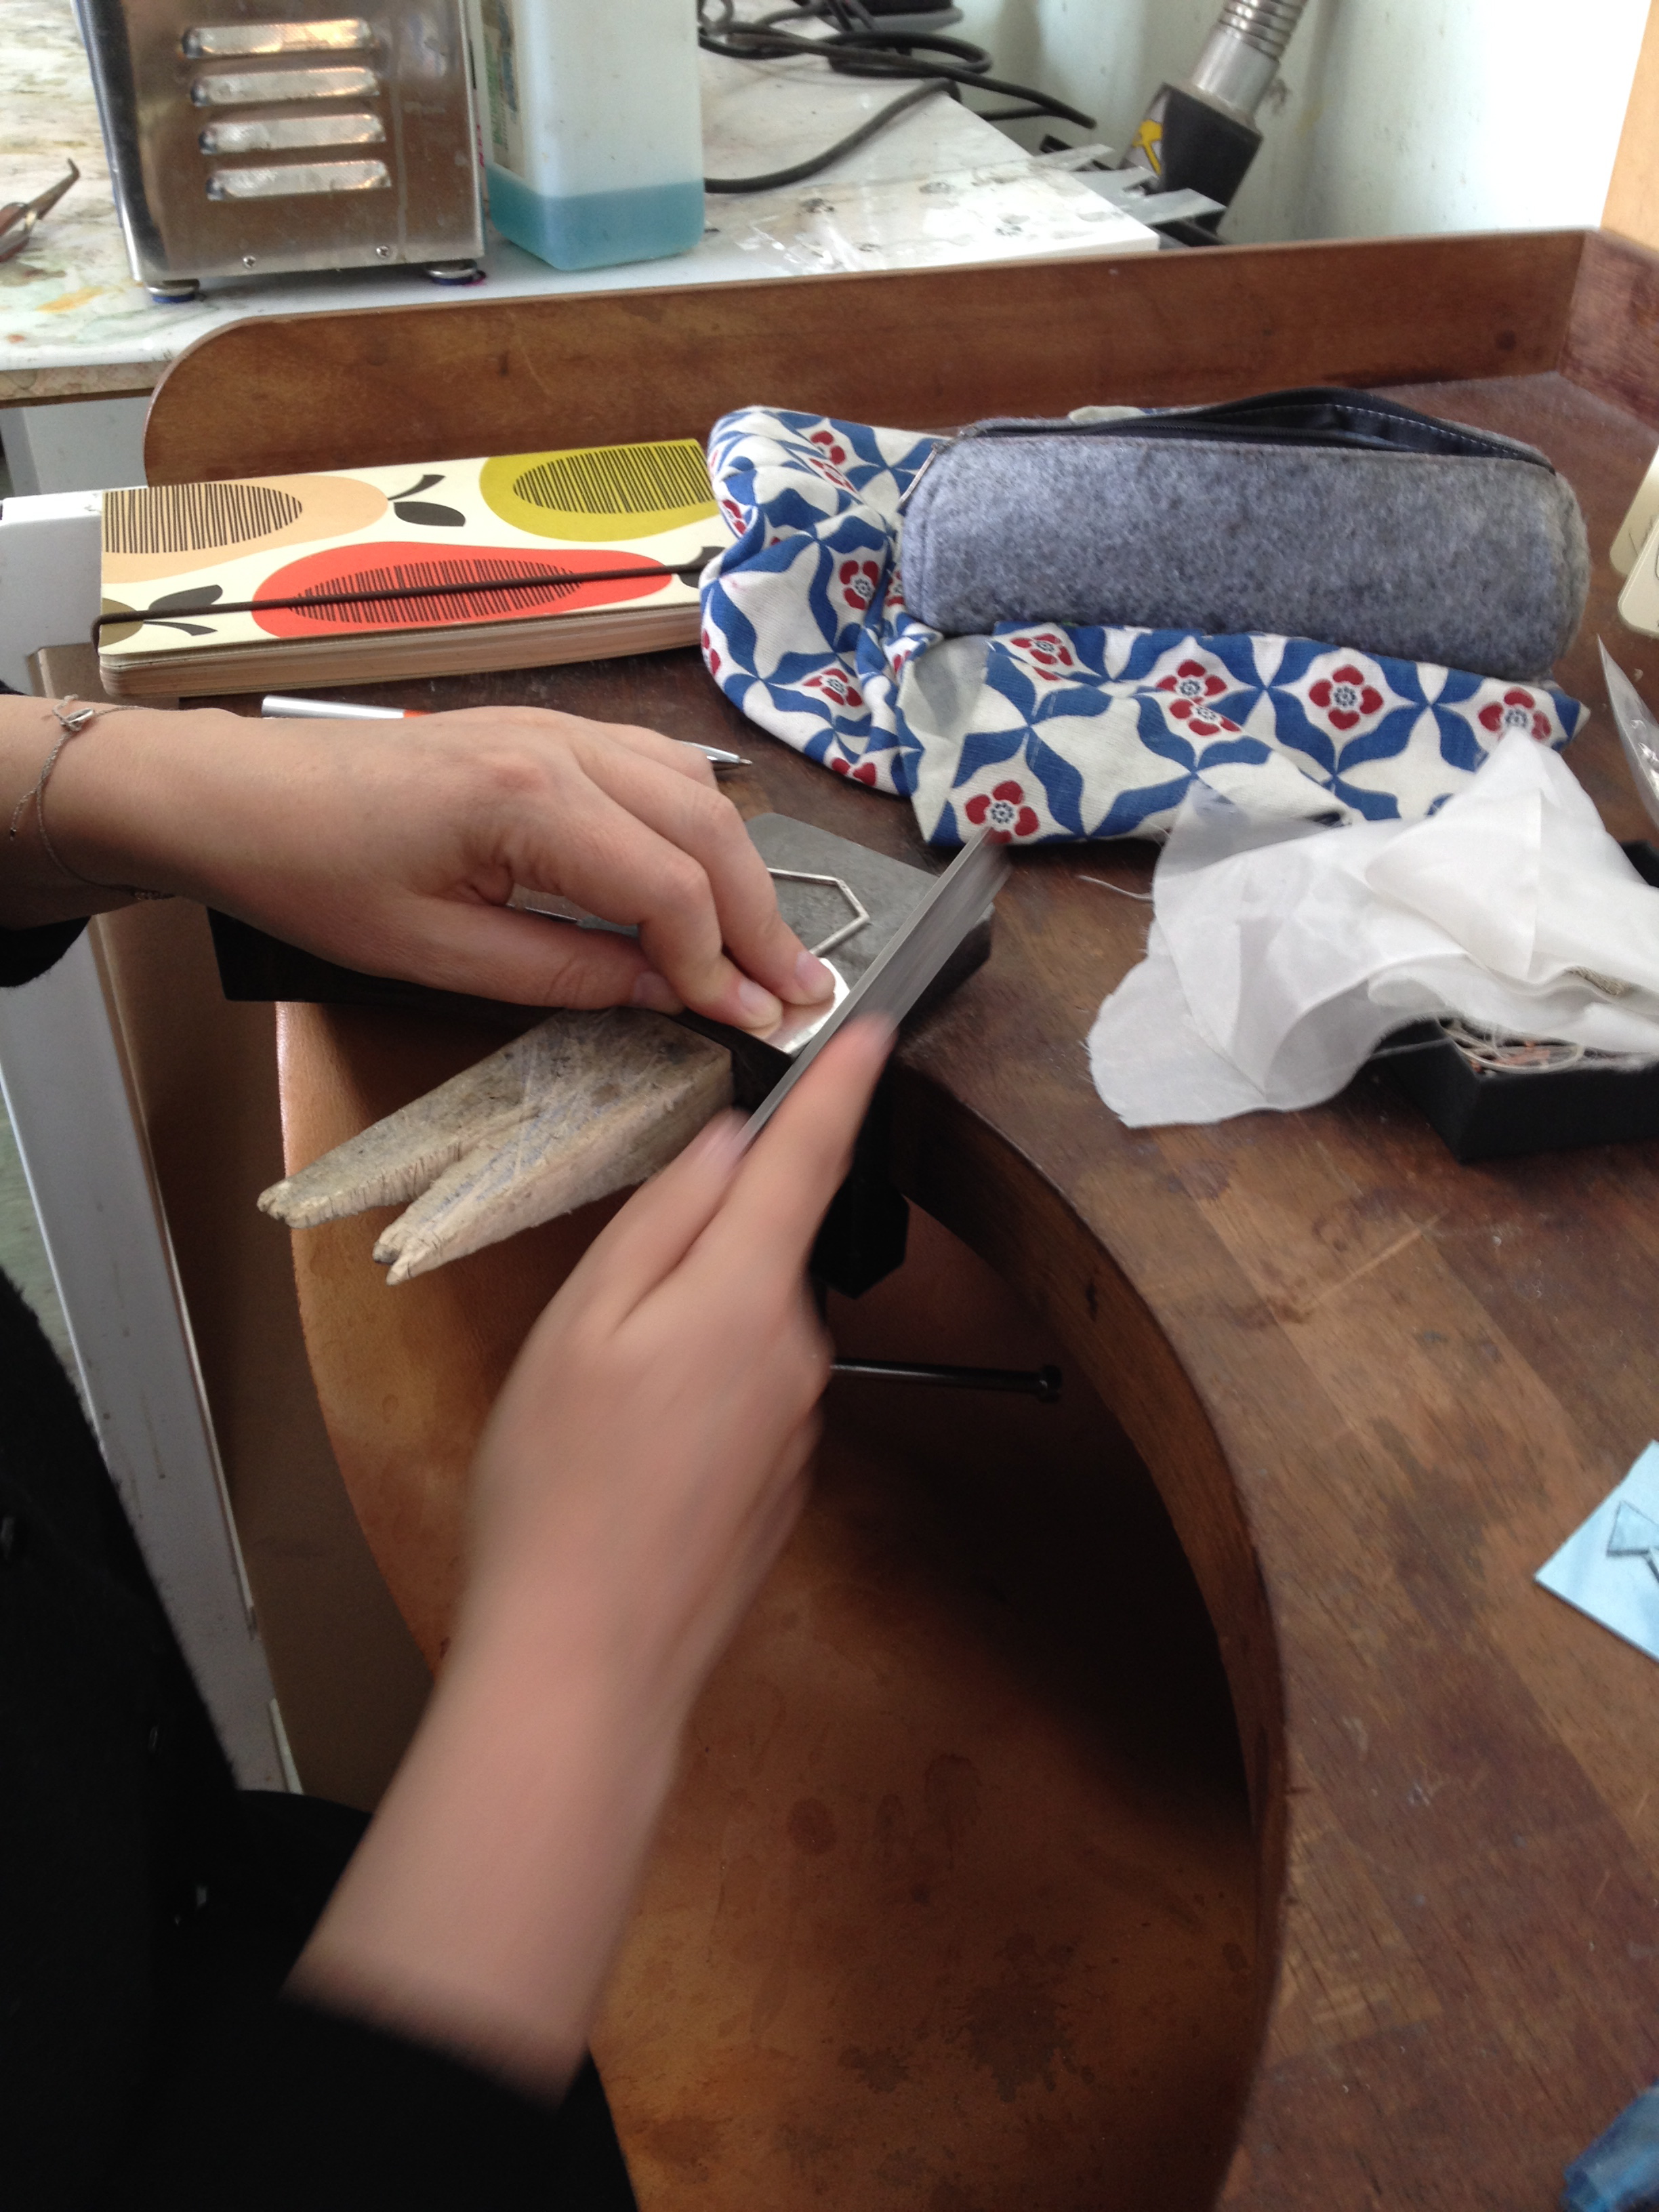
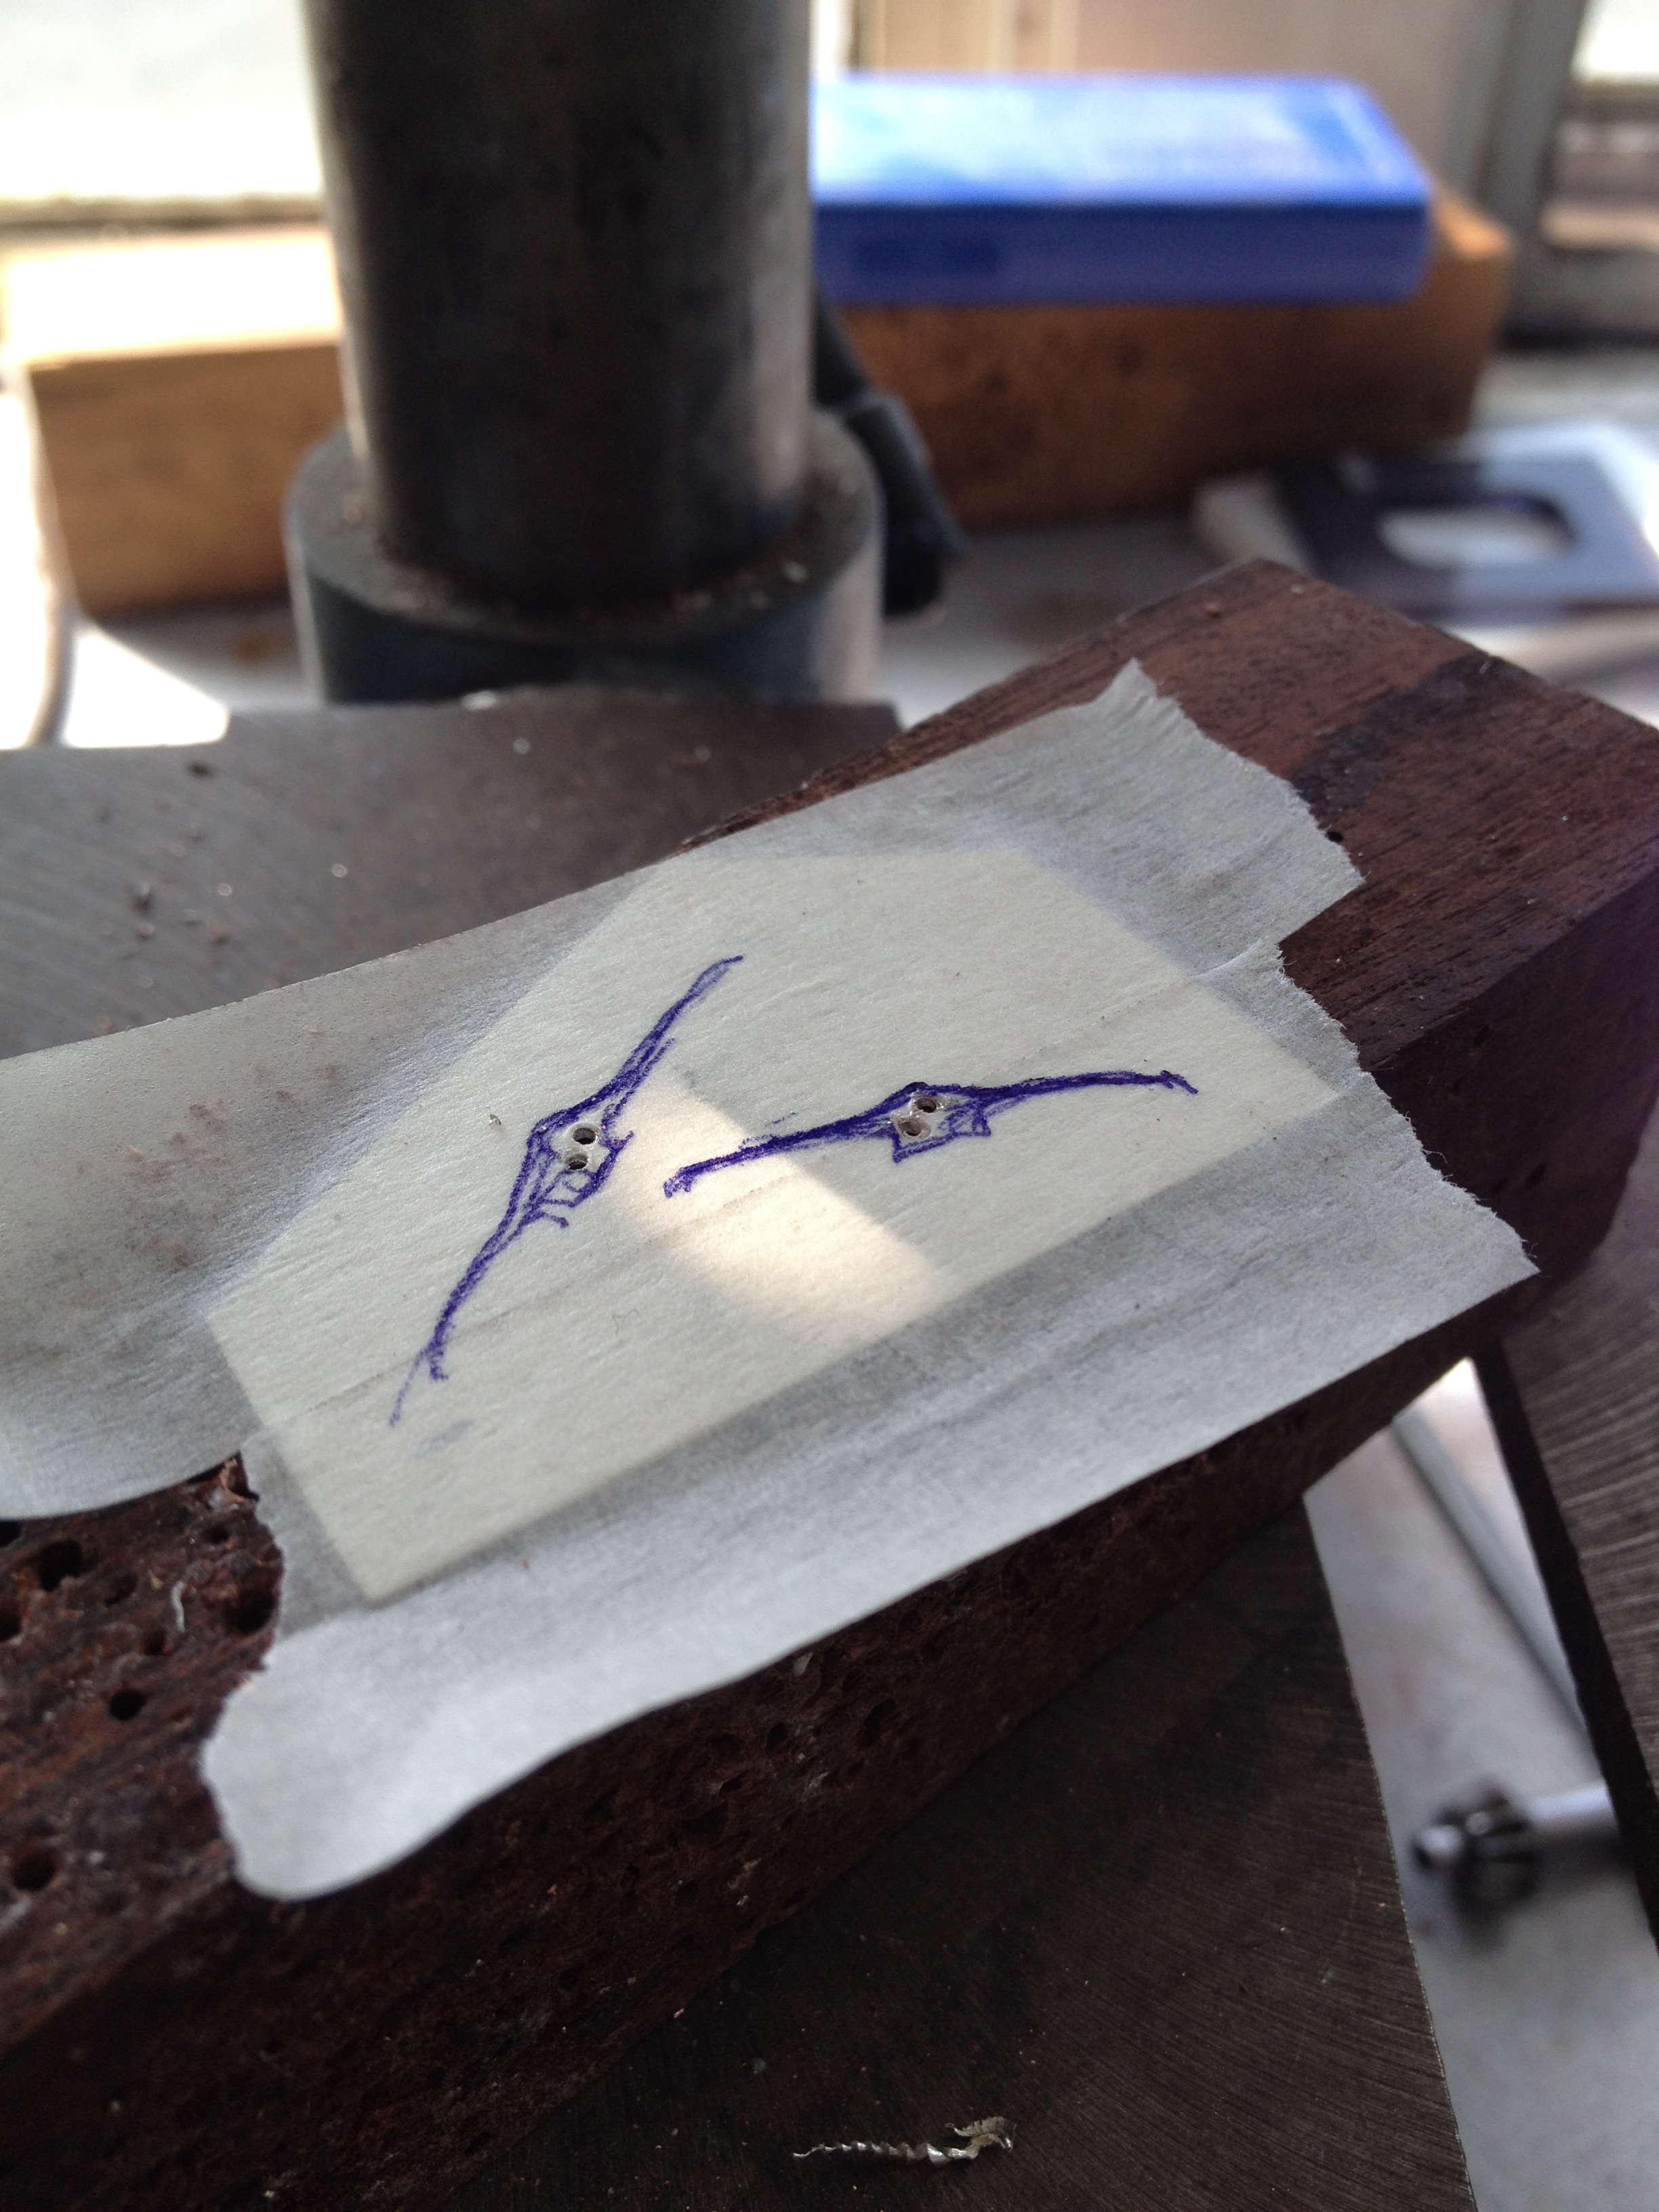
I started the day with a little silver house, which I designed several months ago, using CAD. The design is very much based on my handmade house rings – only much more symmetrical ;)) I also designed the wee bird on CAD at the same time as the house and handmade the round ring shank more recently.
 The wee bird had a fat sprue, which had originally attached it onto the casting tree. I spent most of the morning filing this into a narrower, more elegant (I’d like to think) wire.
Next came the soldering…
I often love the unfinished, soldered pieces almost as much as the cleaned, final versions… maybe even more in fact. I love the pale green colour that appeared on the back of this house after soldering. I can just imagine some of my other house rings spray painted or enamelled to give a lovely distressed finish at some point. That’s the plan anyway. Although, I shall probably allow this one to remain clean as I do love the finish that it left the casting machine with – reminds me of a wooden hut or a clapboard house.
I pickled the house (somewhat reluctantly ;)) to begin the cleaning process.
Then filed off the edges of the newly soldered base and packed it away for the night with some of its housemates (I know!) ready to work on again in the morning.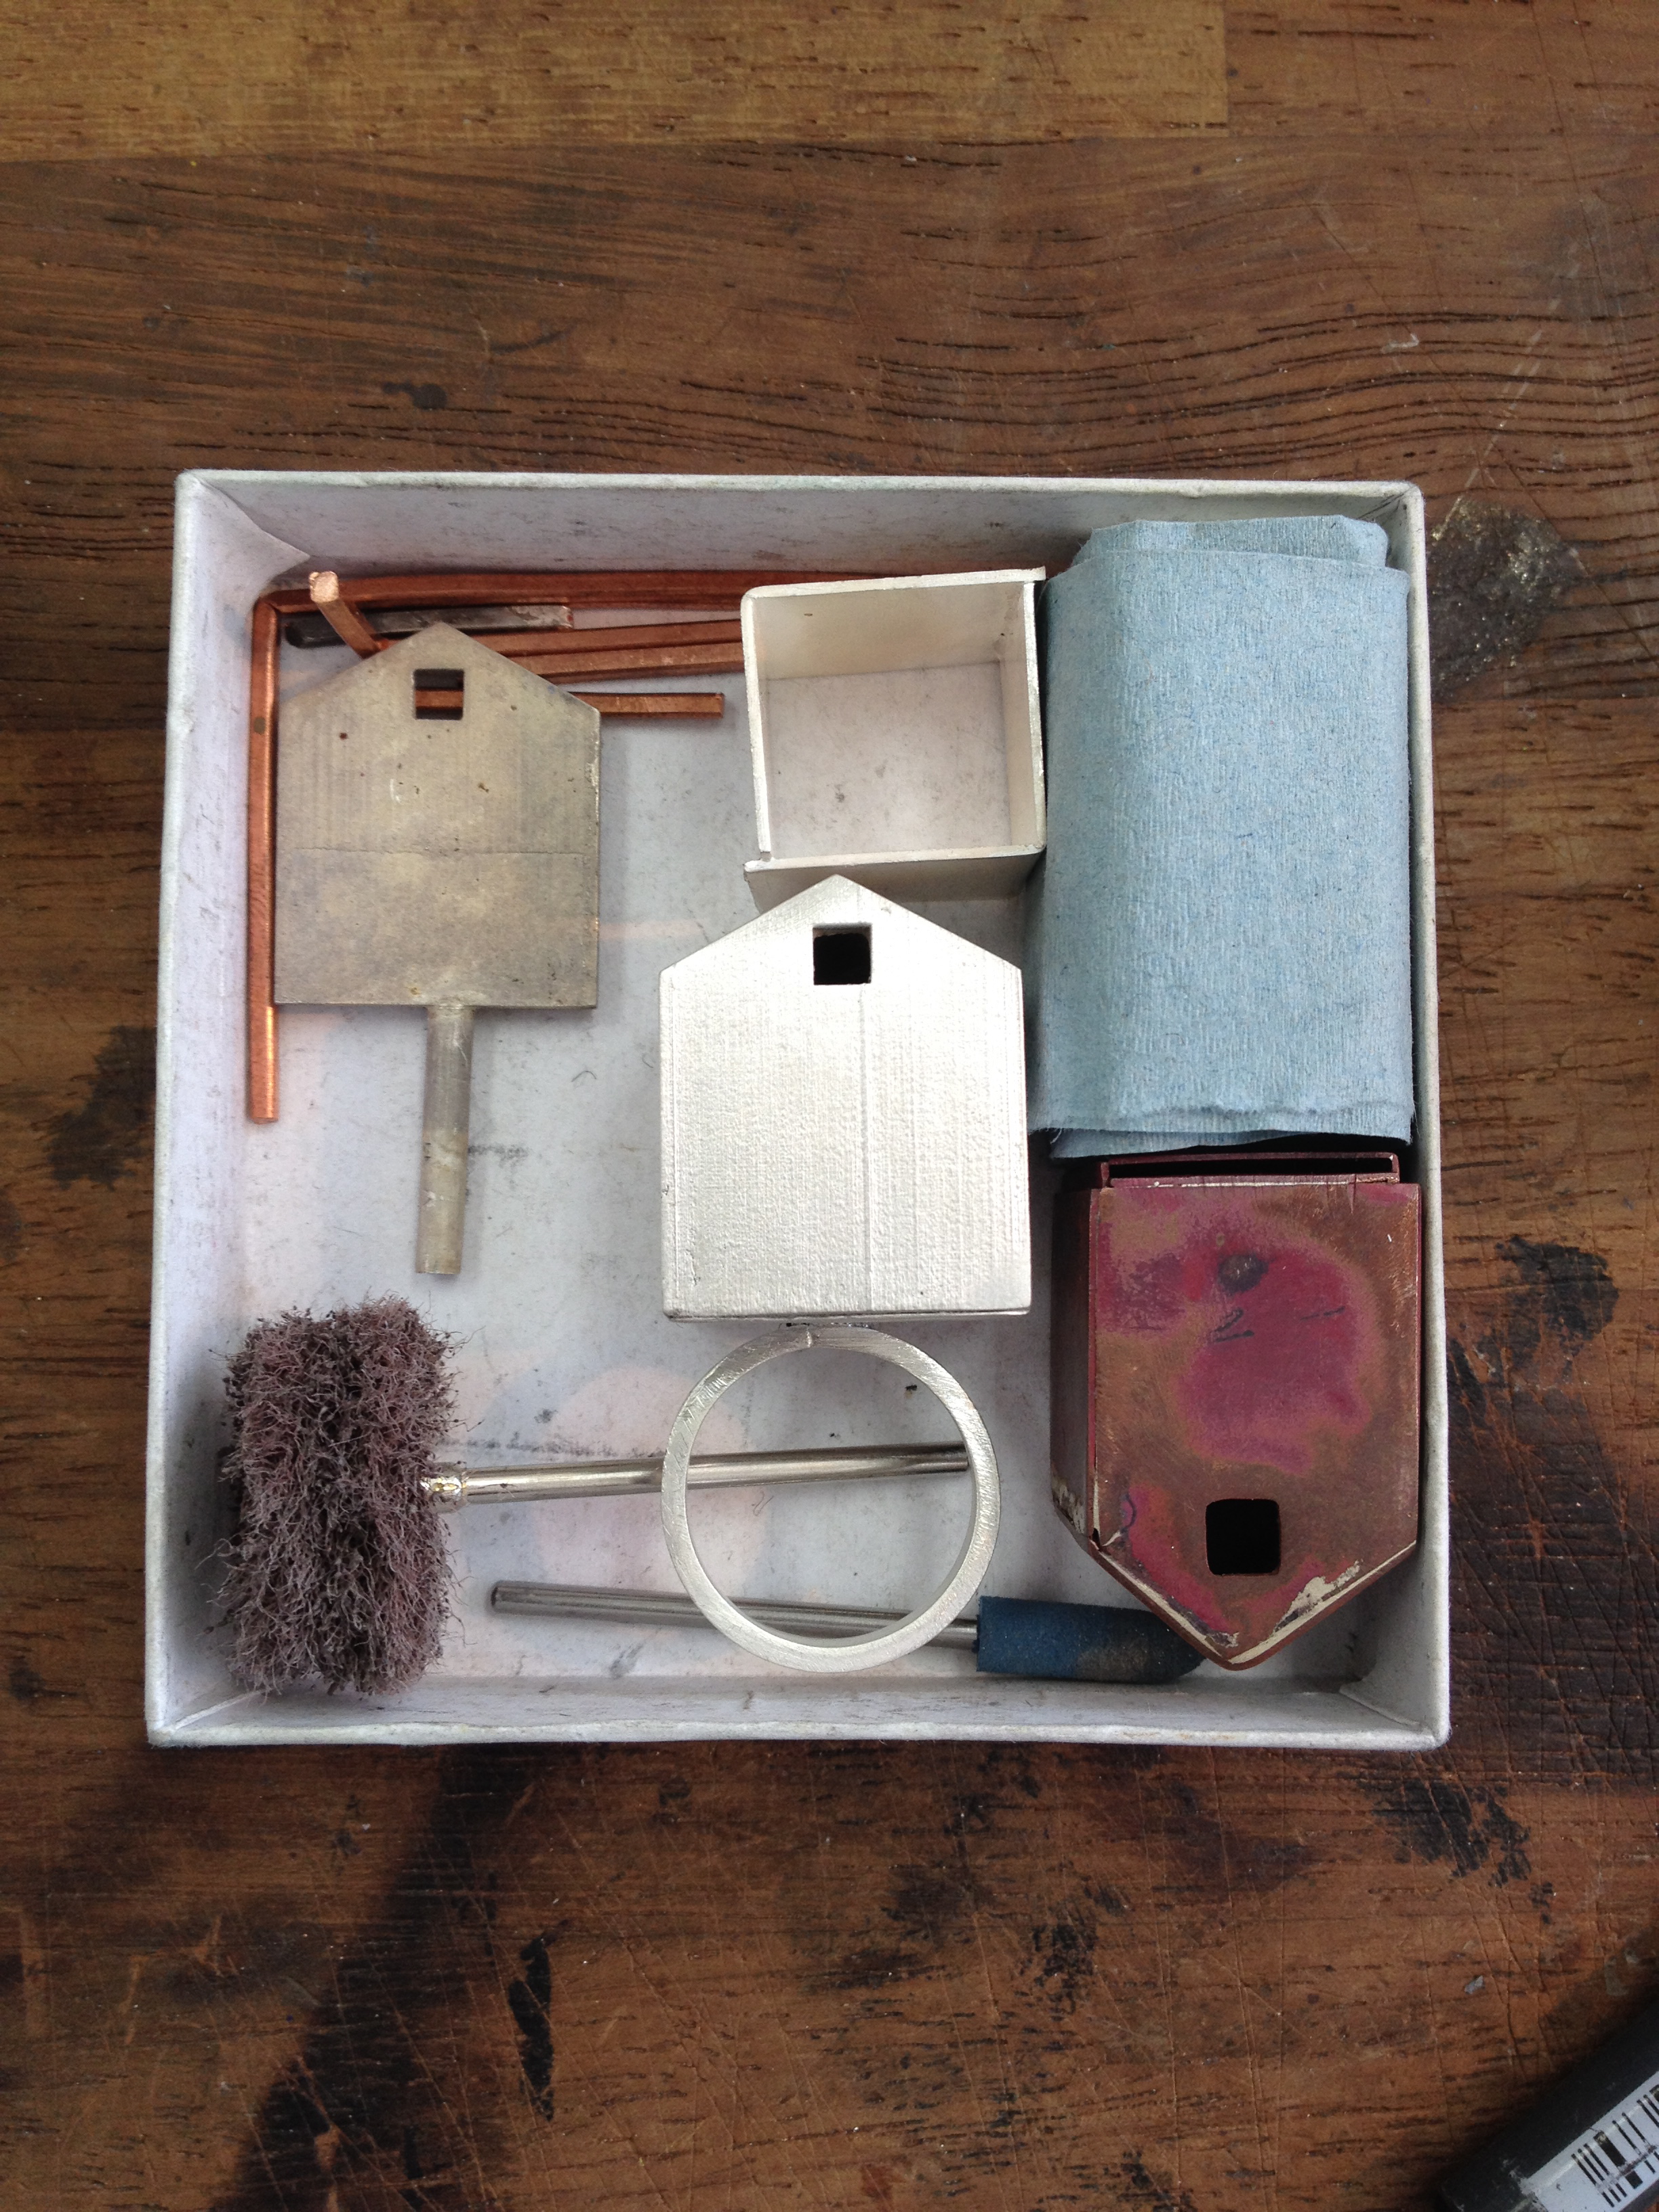
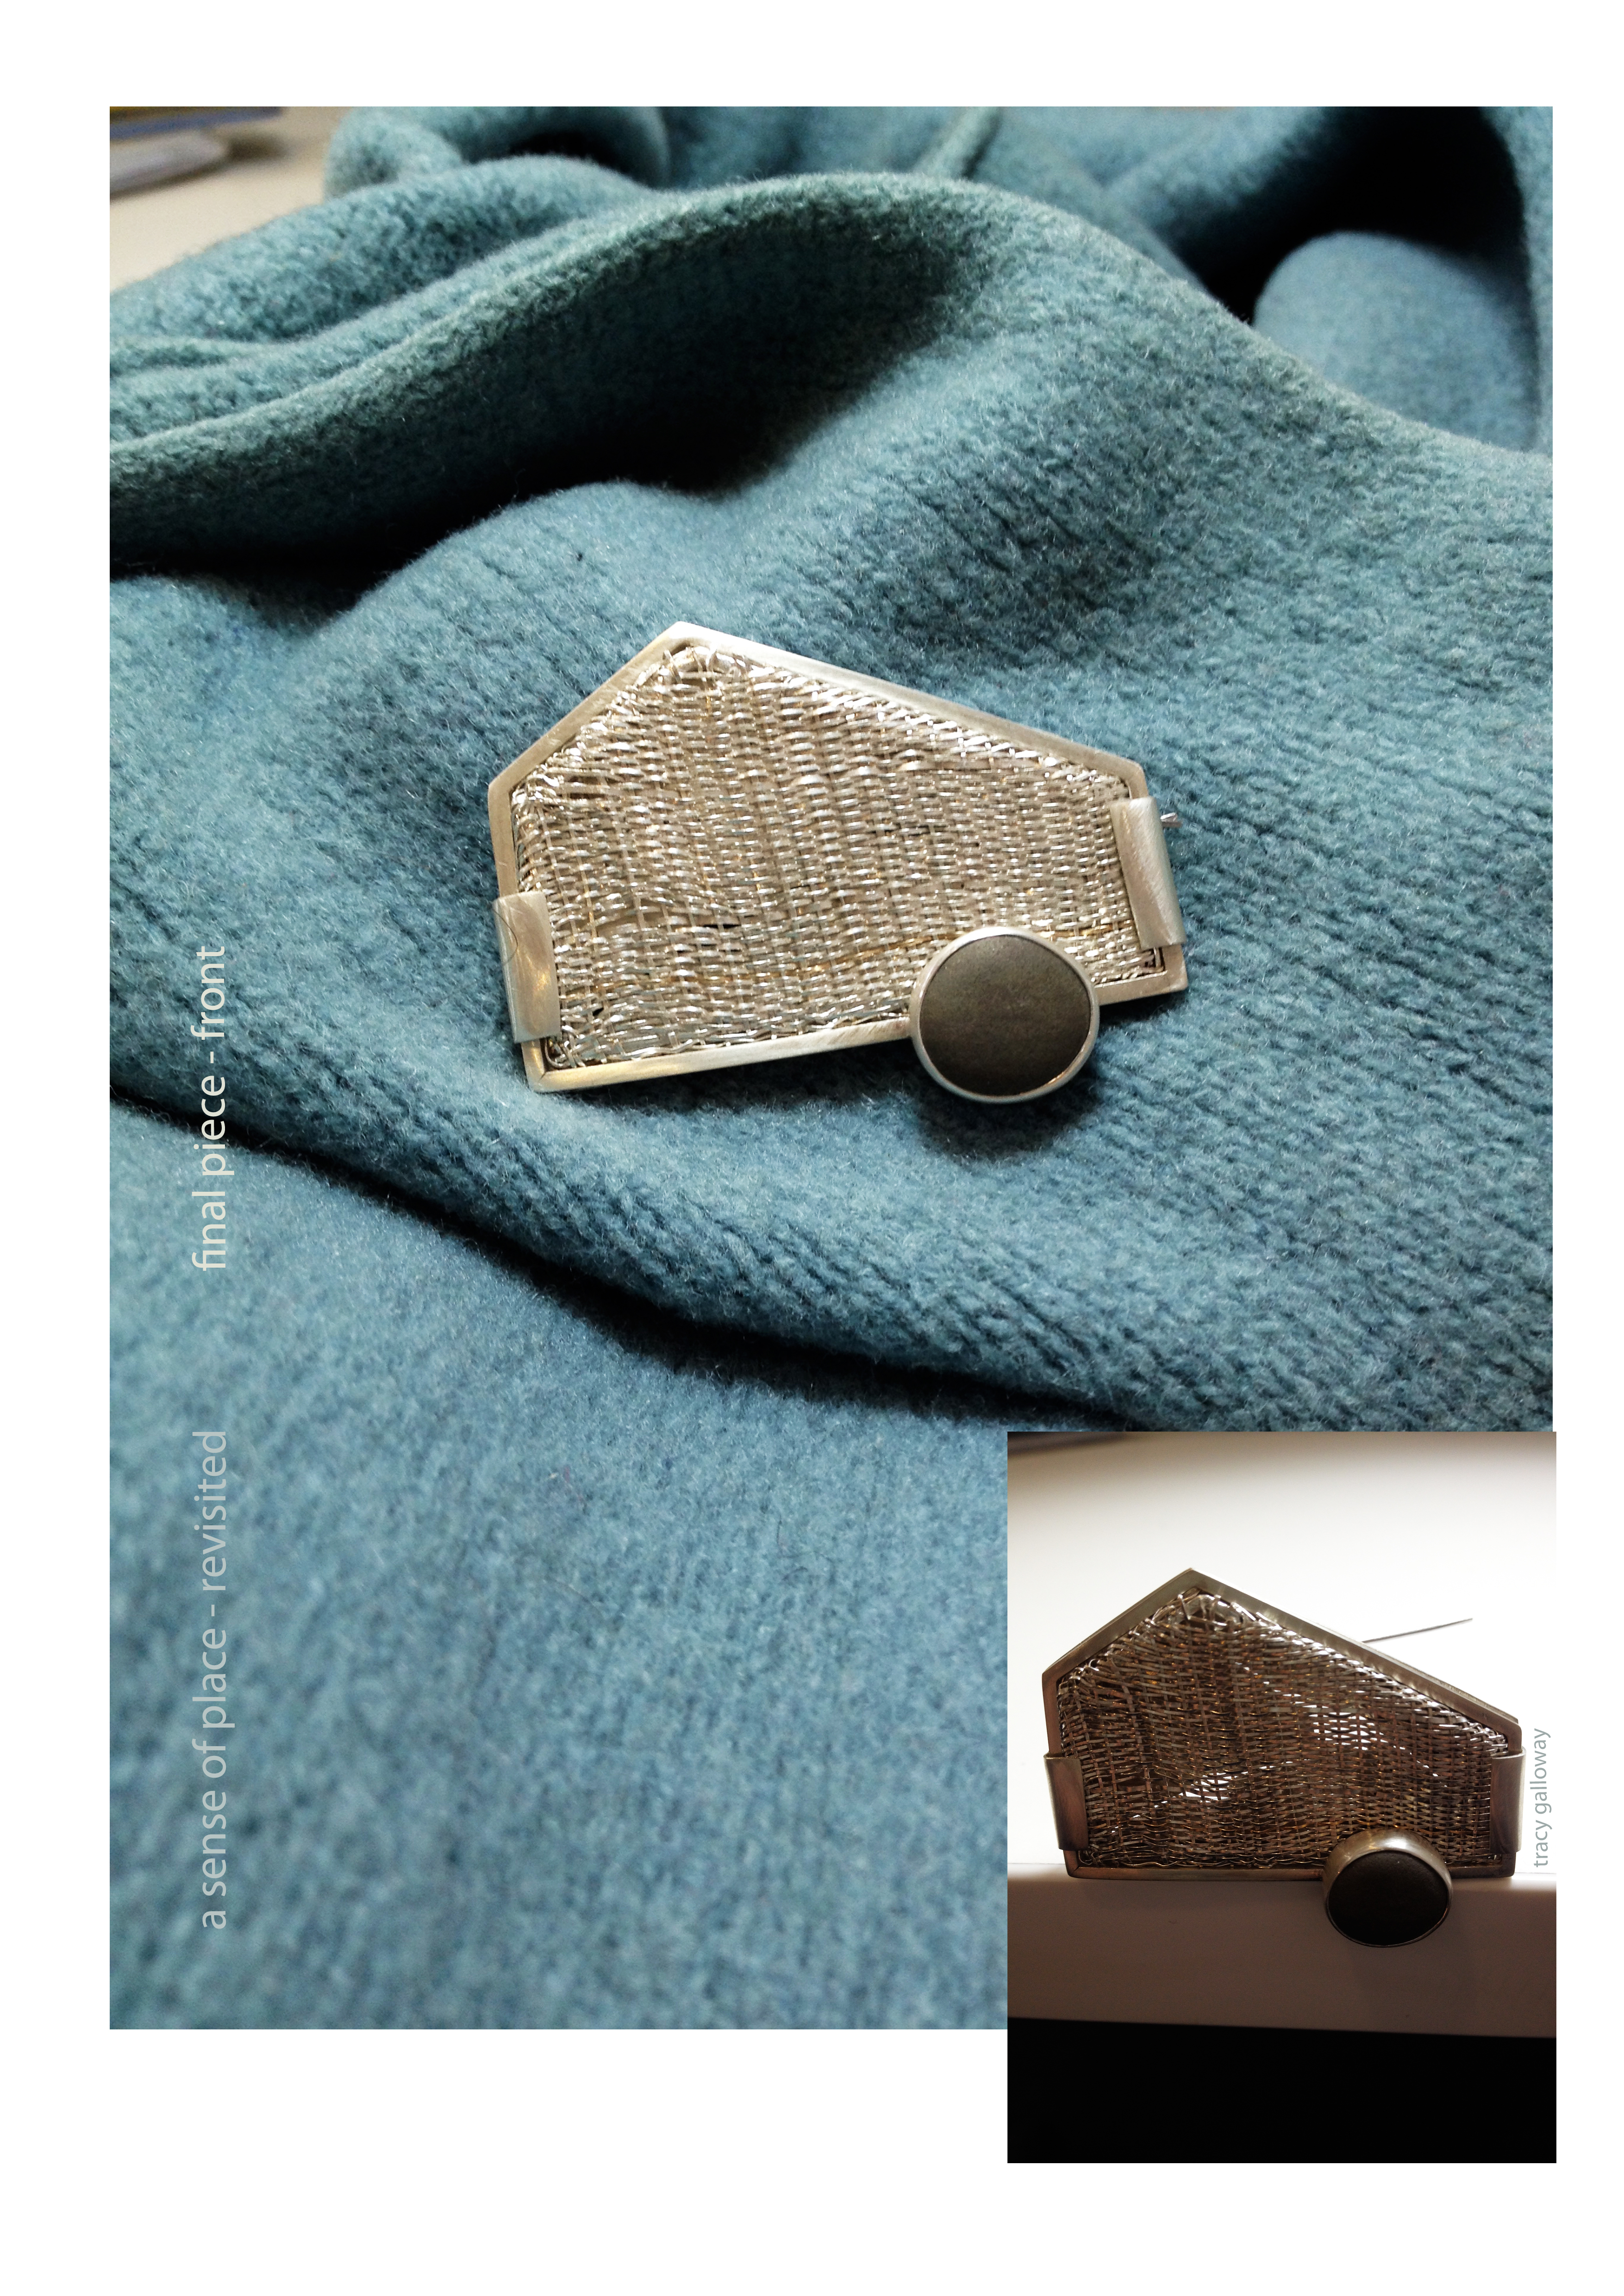
A new silver pendant is born :)) There is an enamel version in the pipeline too. Watch this space…


This weekend is officially dedicated to putting my Design Boards together!! No more time left to procrastinate, though I’m sure I’ll still manage ;)) Listening to KC – And the Racket They Made – to set me off on the right atmospheric track ;)) https://www.youtube.com/watch?v=BQaFxPeI1Vg&list=RDBQaFxPeI1Vg May have to put The Magnetic North on a loop later to really feel that Orkney spirit – the whole album mind, not just this one track – that would be a wee bit obsessive, even by my standards ;)) https://www.youtube.com/watch?v=1tb2Ebf0gYI
In other news, this week has been full of making! The Graded Unit brooch continues unabated, despite my best efforts to melt bezels and completely forget how to saw in a straight line…
Wednesday and Thursday: Cutting and Piercing the Brooch Back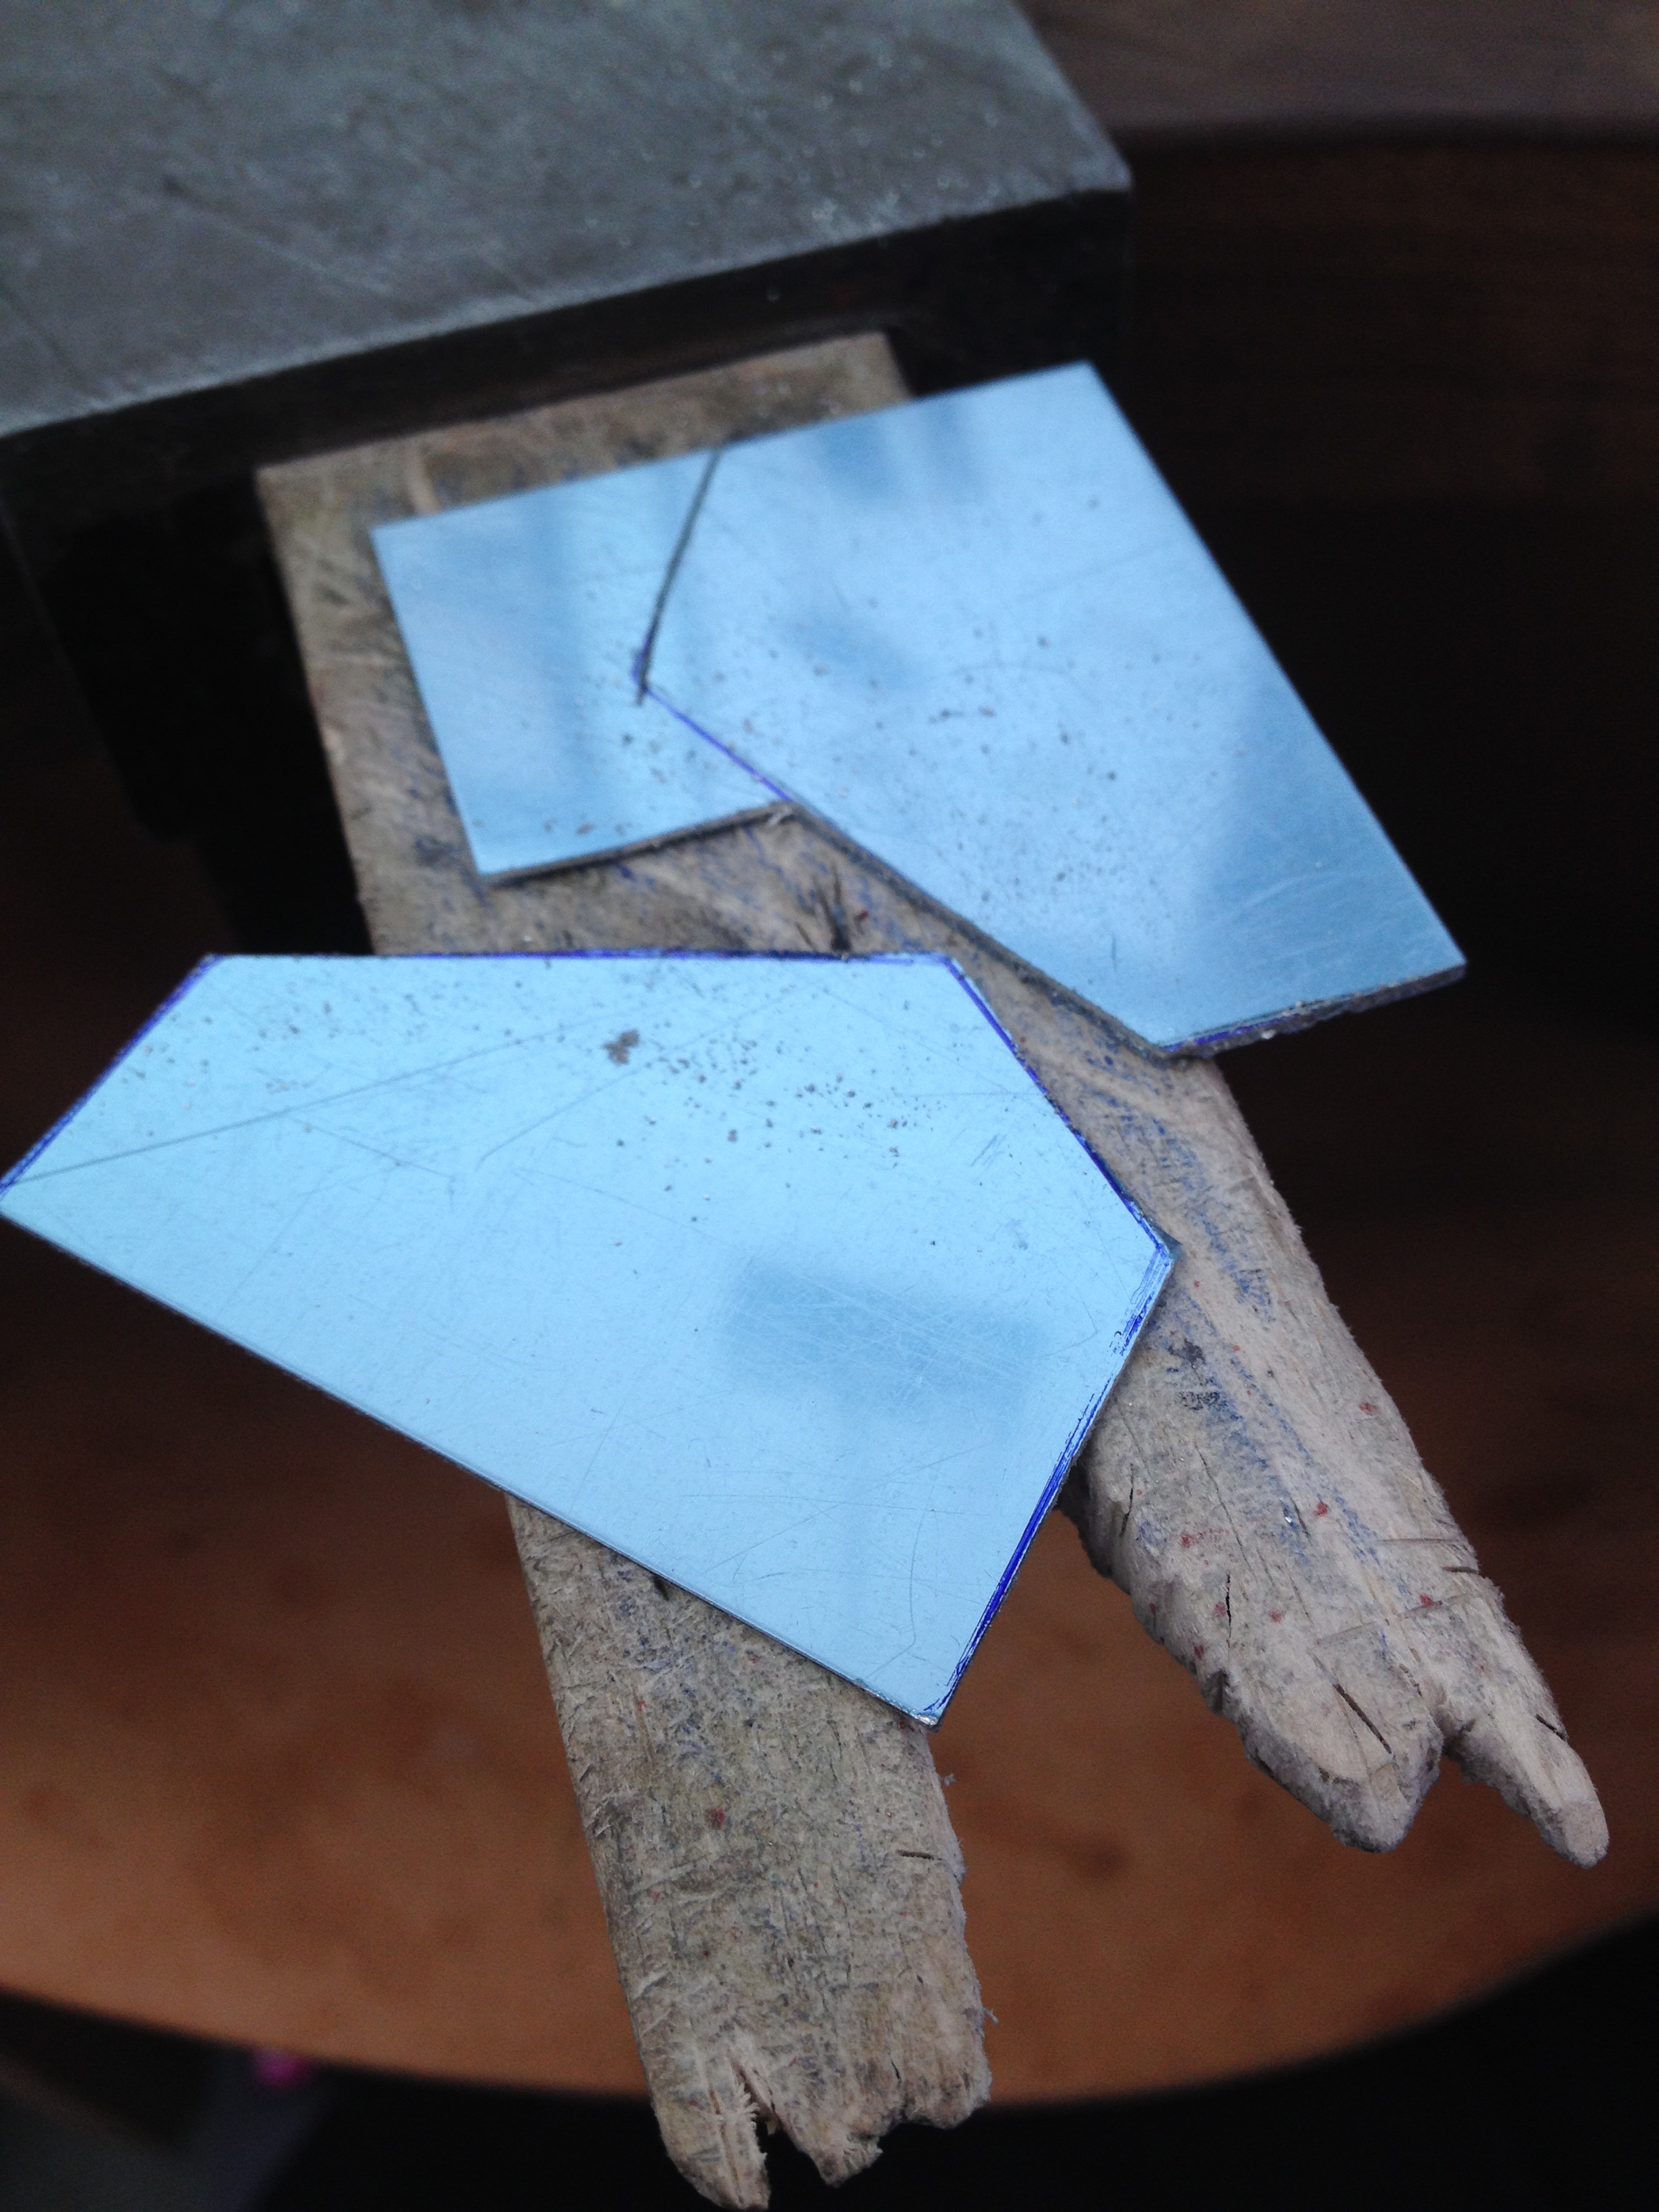
 Friday: Findings, Bezel Settings and Choosing the perfect ‘stone’
Step One: Findings (and finding that the ones I’d made earlier now seem just a little too small!) The remedy, in four easy steps…
1. Making the (difficult) decision that the brooch findings are just too dainty (difficult, because I now have to make a new set!) 2. Soldering the new (less dainty) findings together 3. Soldering new findings to brooch back (slathered with Argotect – to try to prevent too much firestain *crosses fingers*) 4. Cleaning up brooch back and admiring new elegant just-the-right-size findings ;))


to be continued…
The last few weeks haven’t been all about the Graded Unit (thankfully!). On my recent trip to Arran, I took some pieces from my current collection along with me, and had loads of fun shooting new images on a gloriously sunny beach :))
Here’s a tiny sneak preview – with added bonus image of my (as yet unfinished) graded unit brooch… posing as a ring for the occasion!
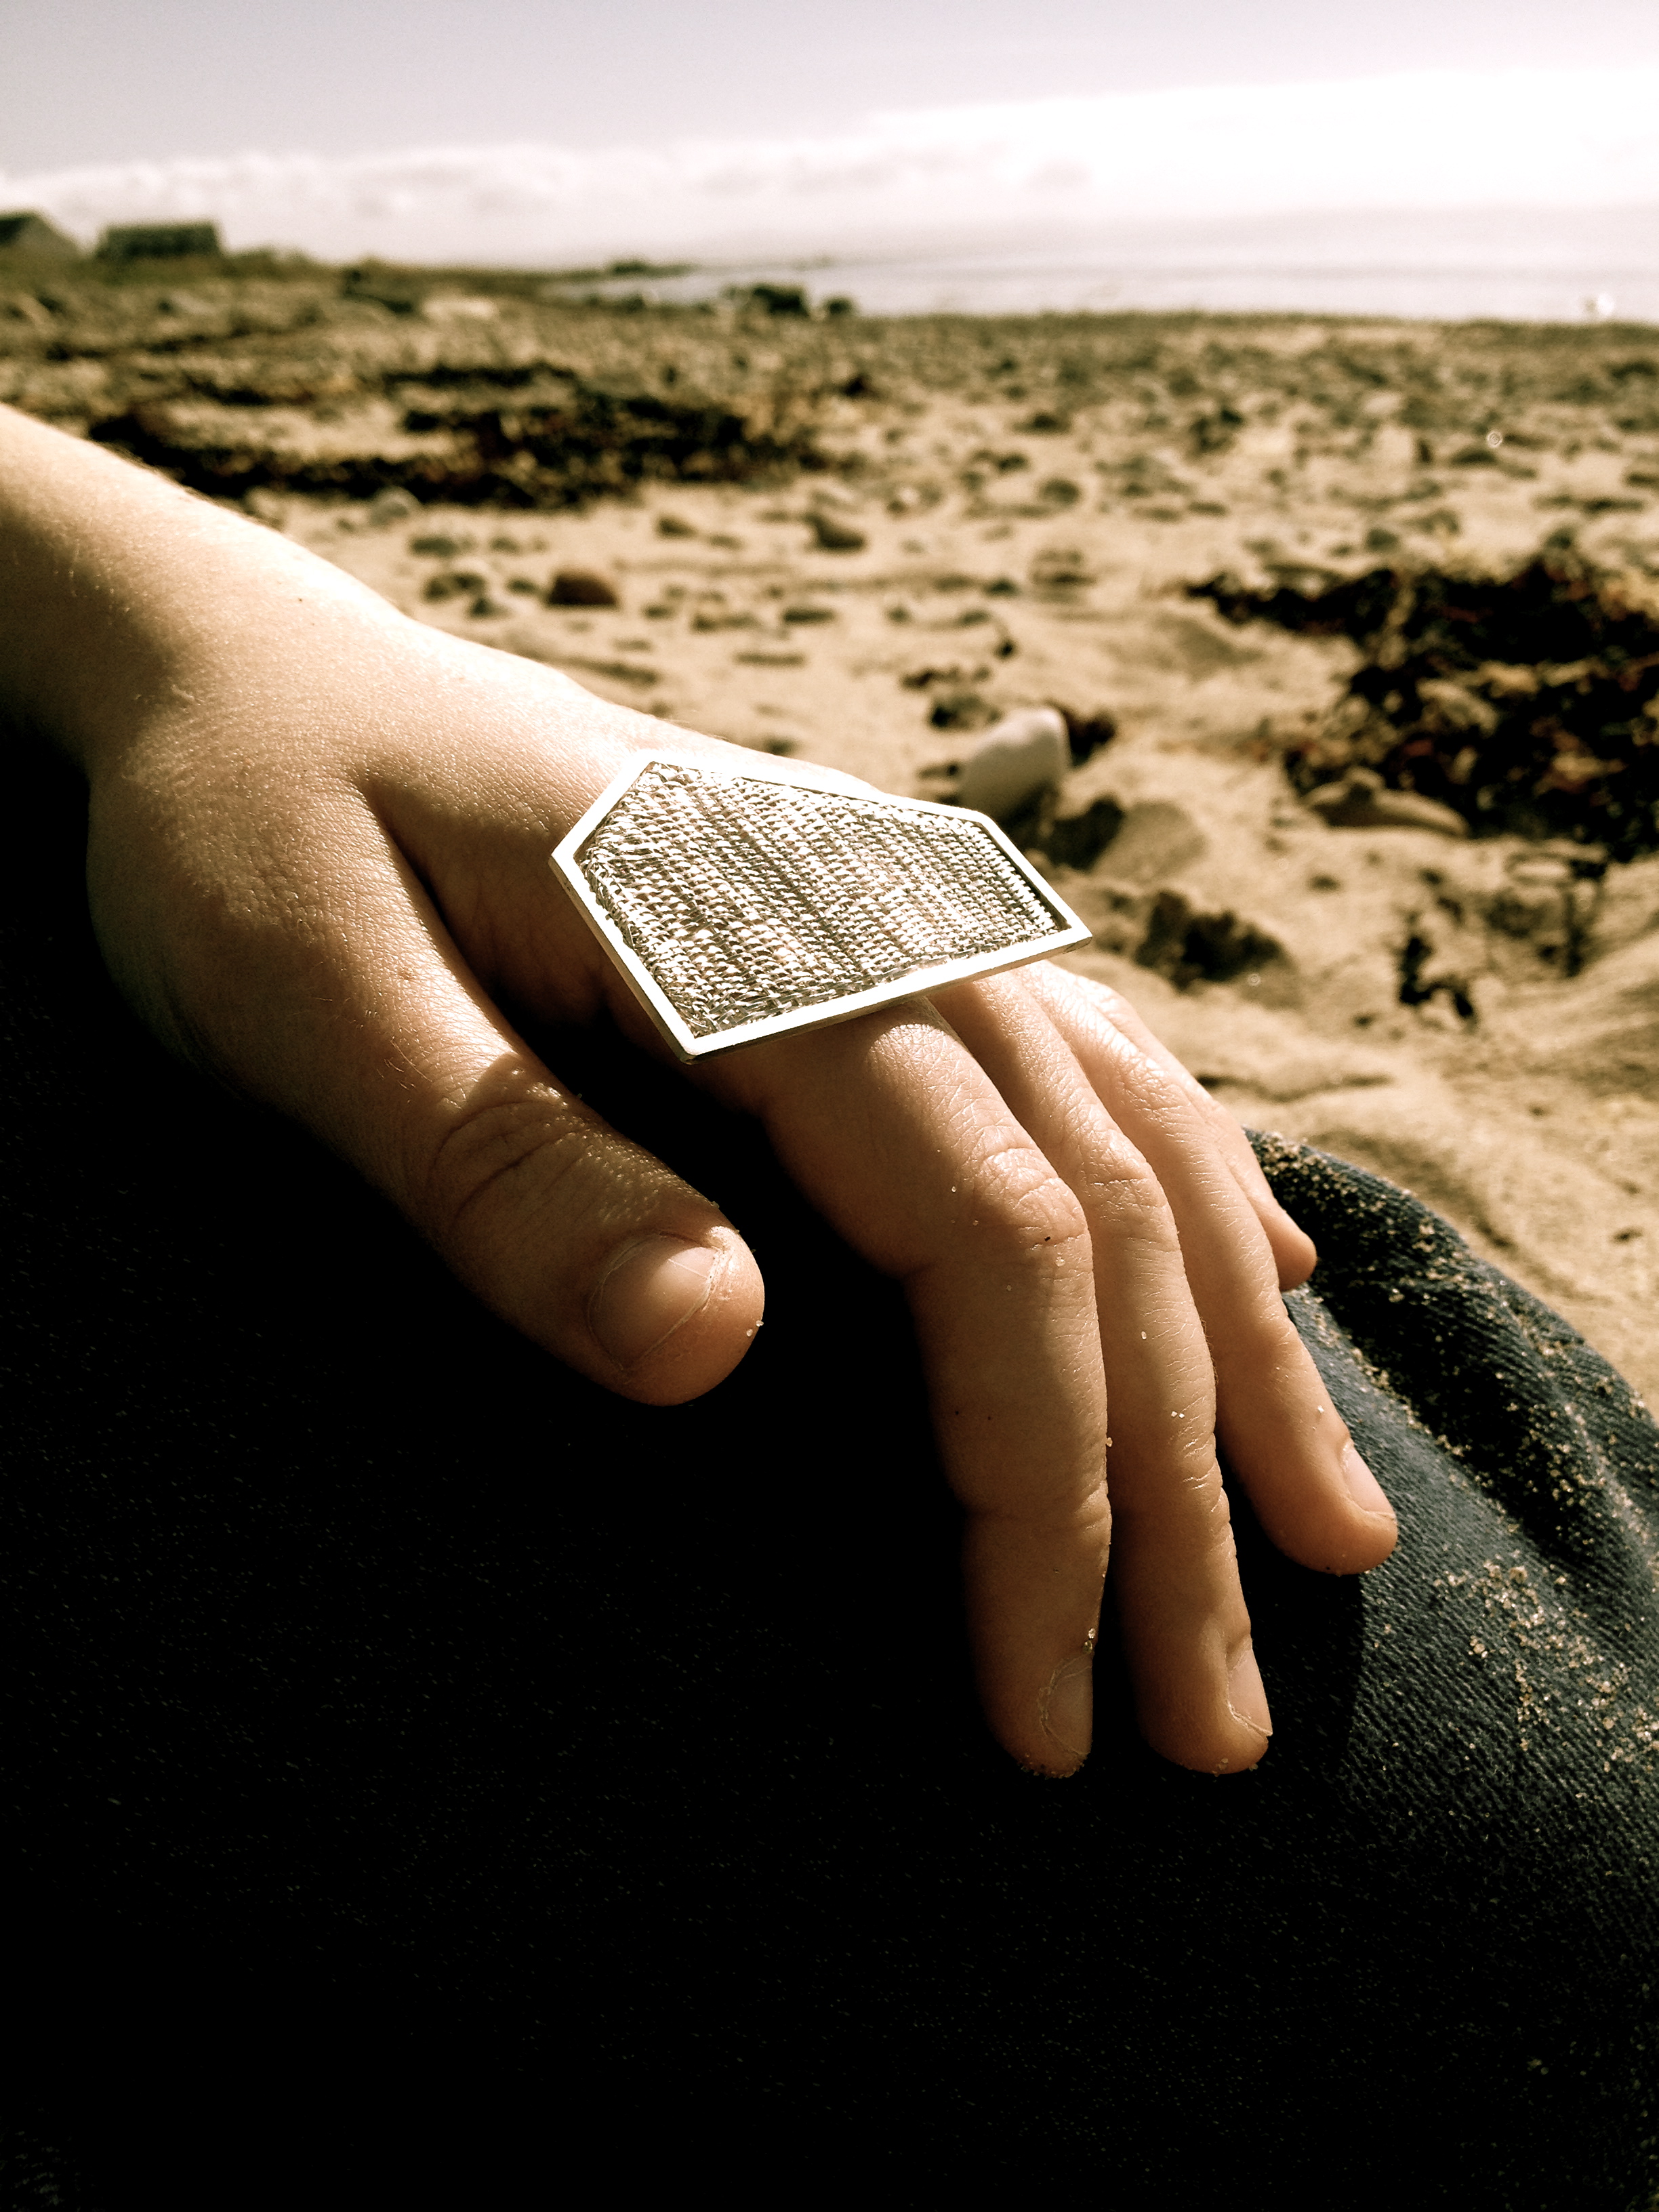 With special thanks to my first-rate location team and models (without whom, none of this would have been possible) ;))

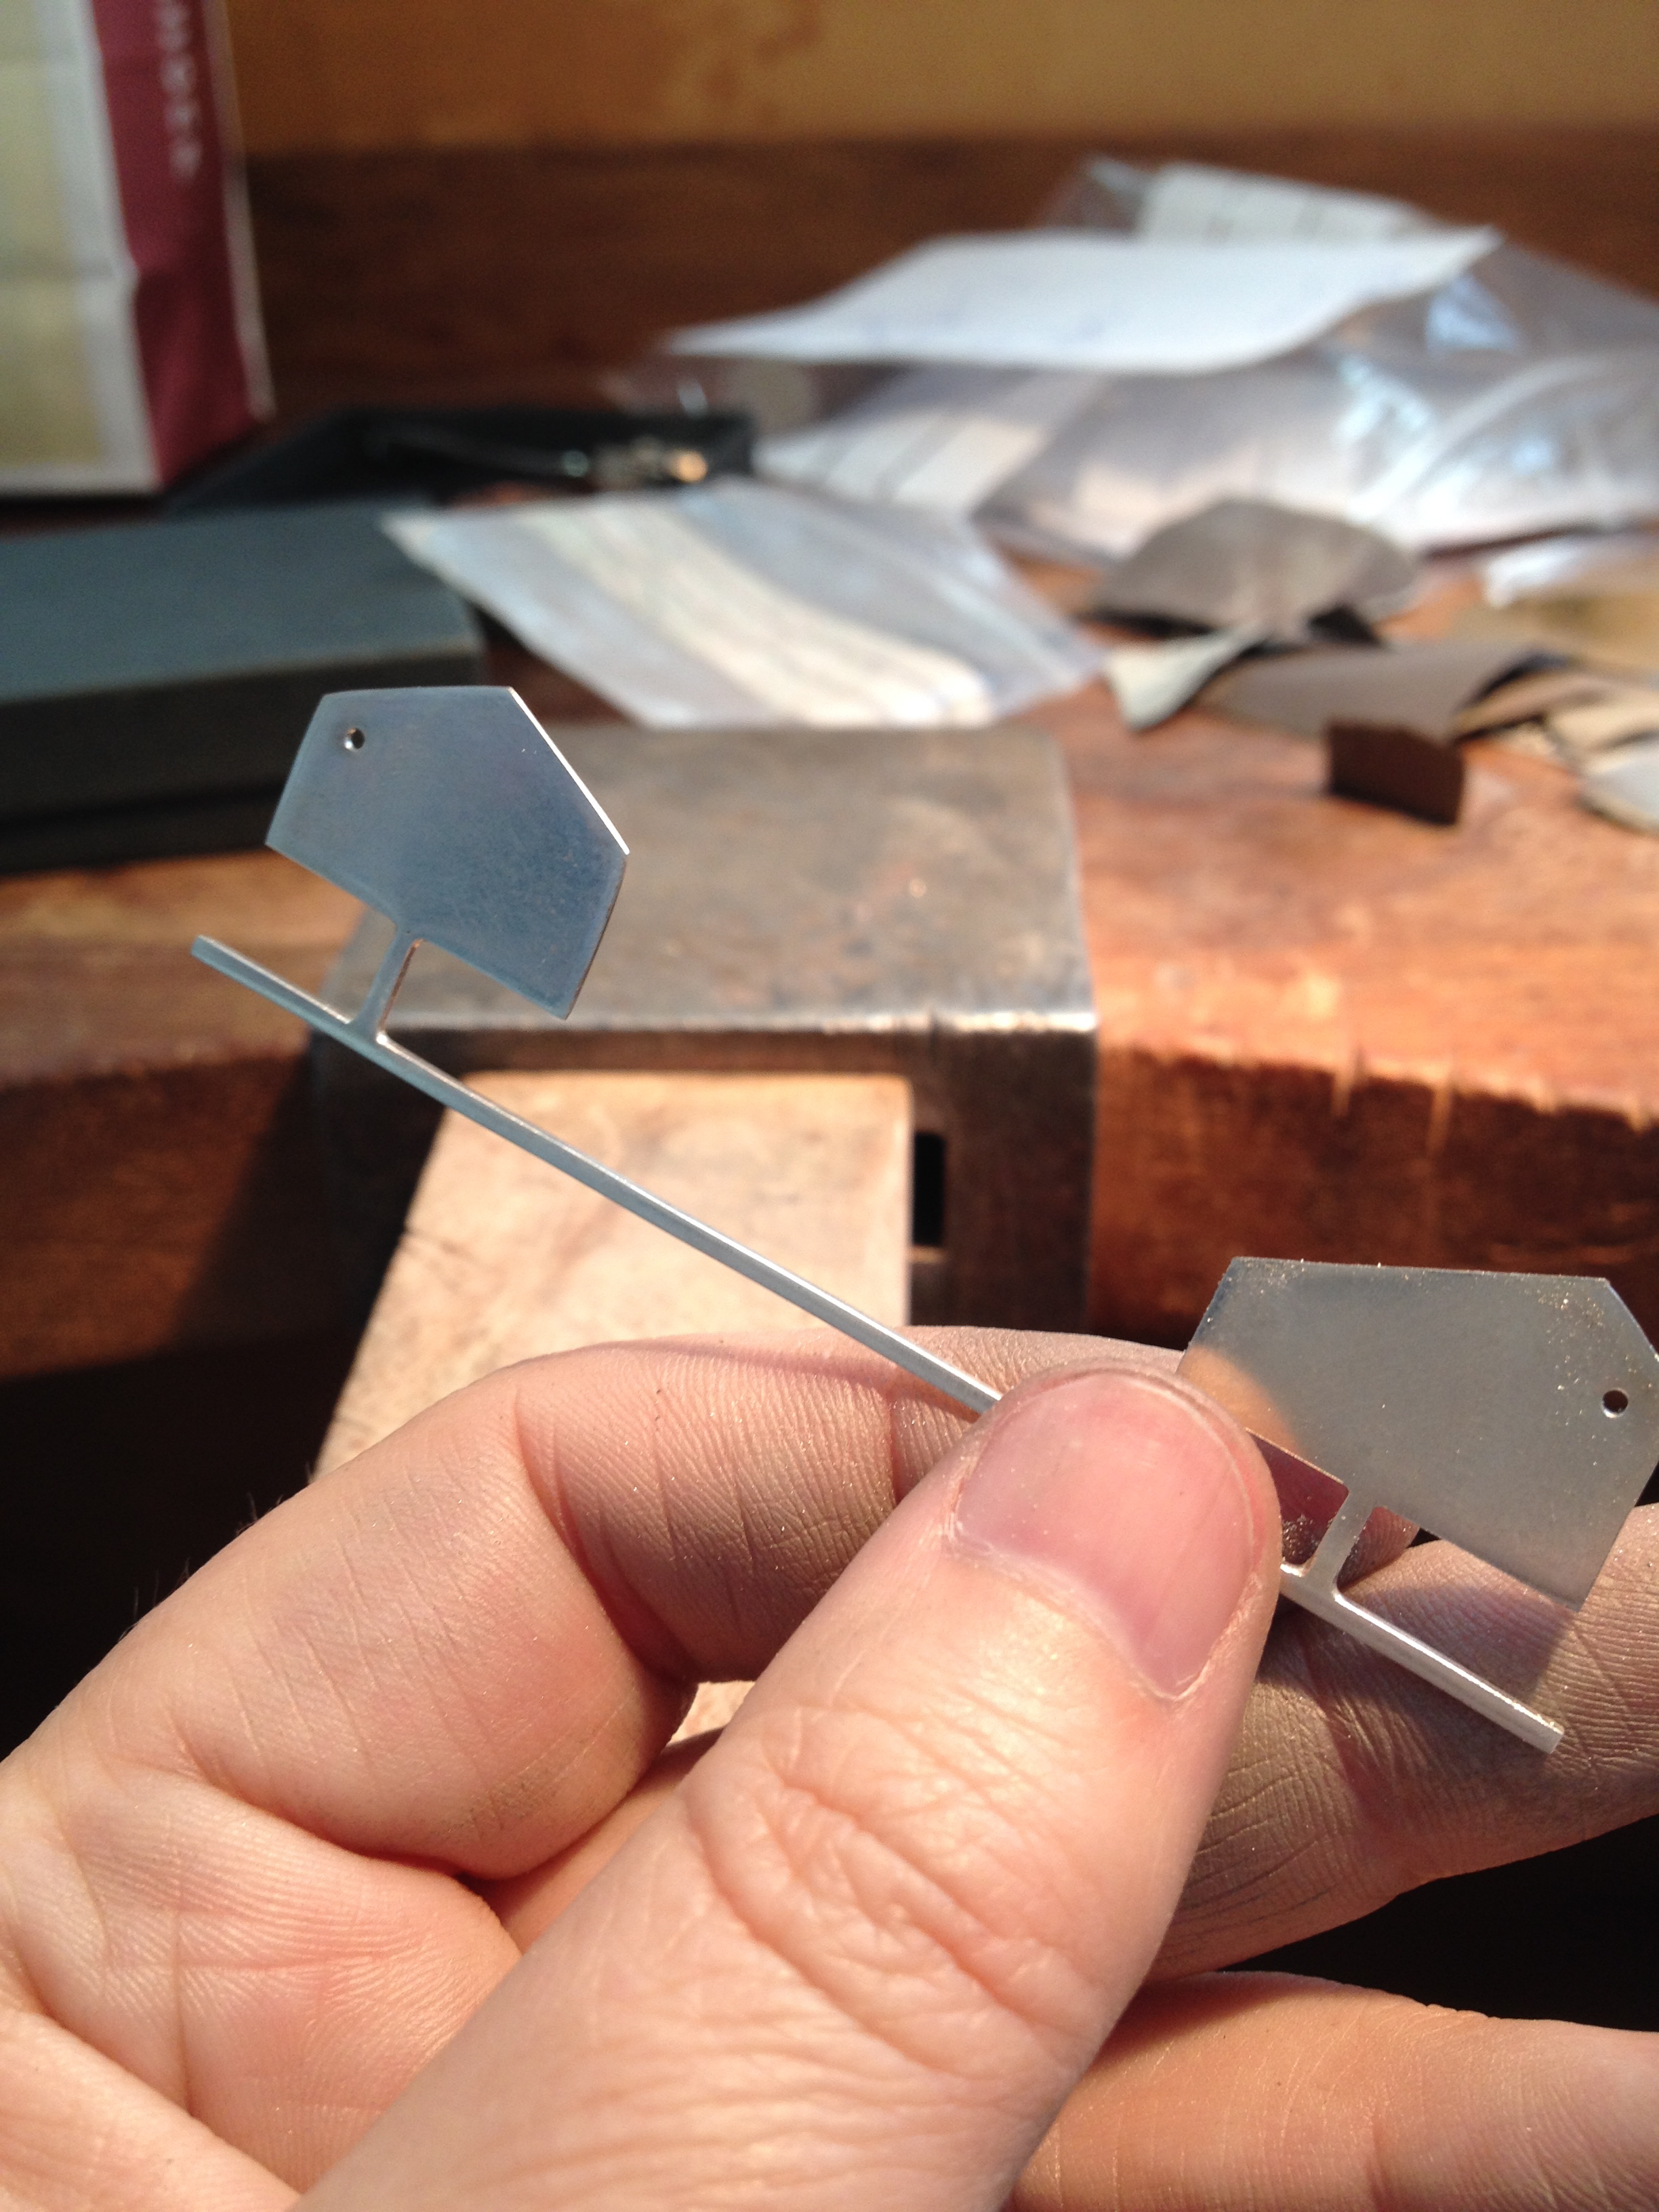
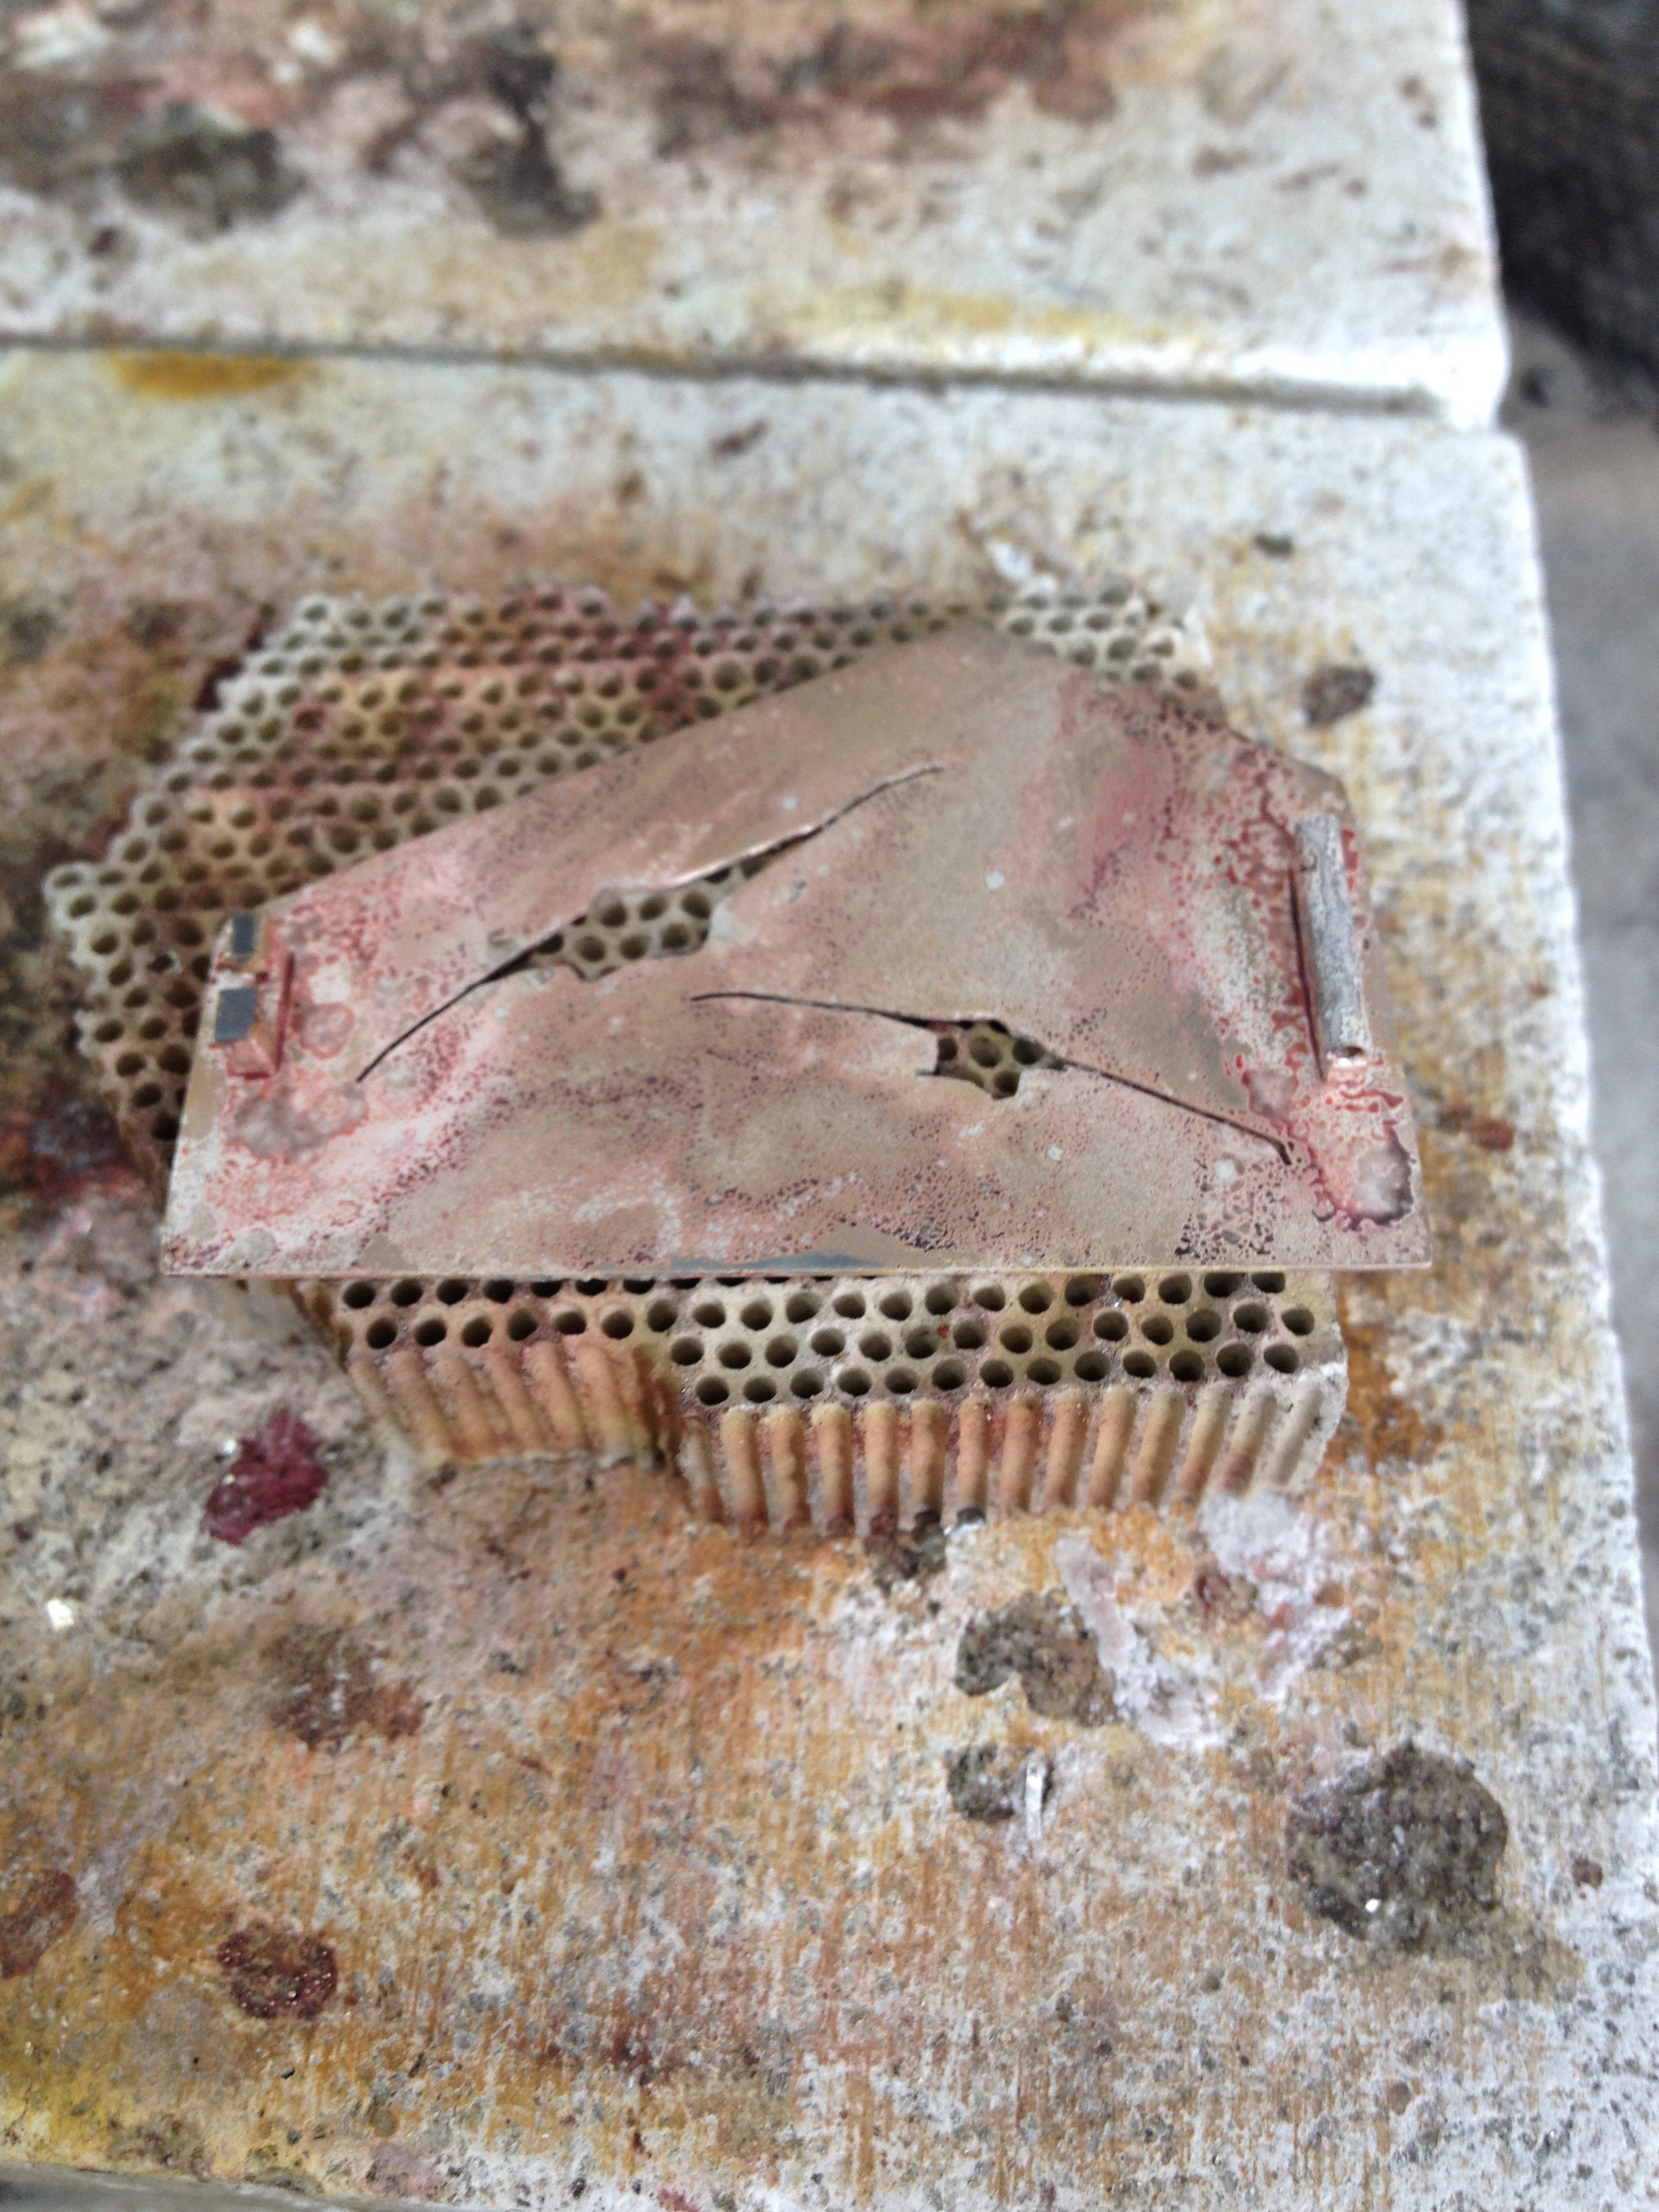
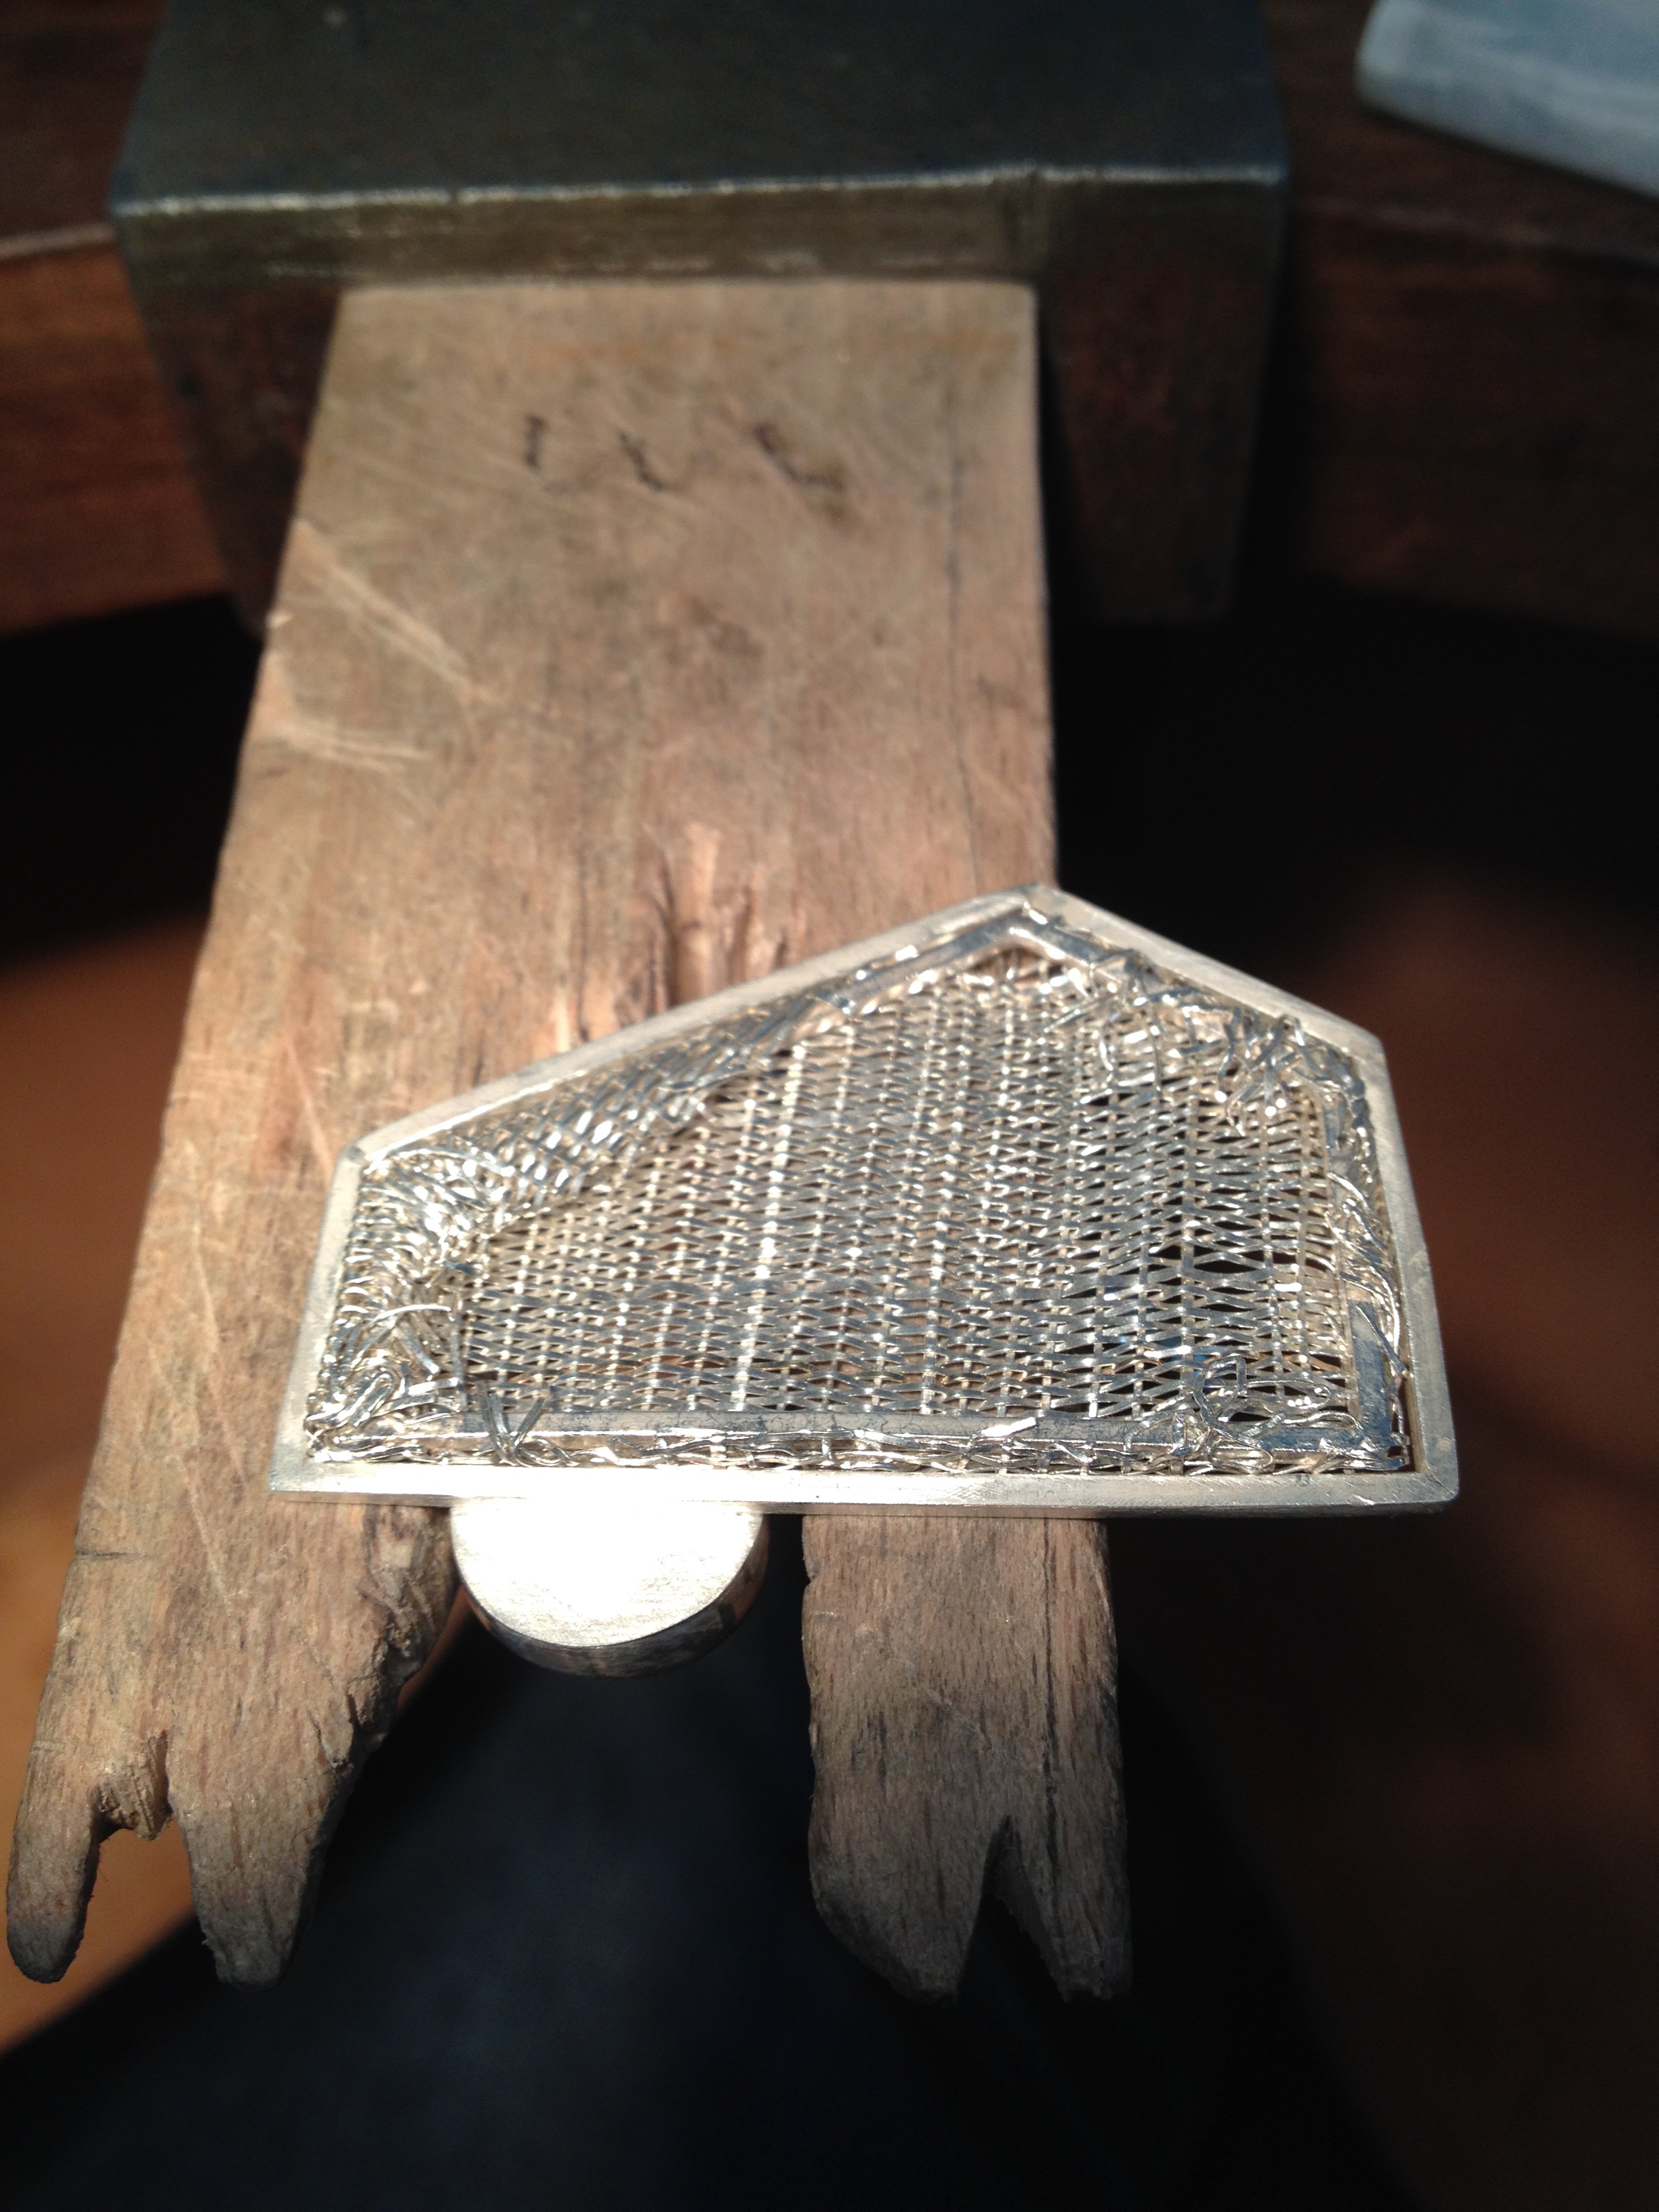
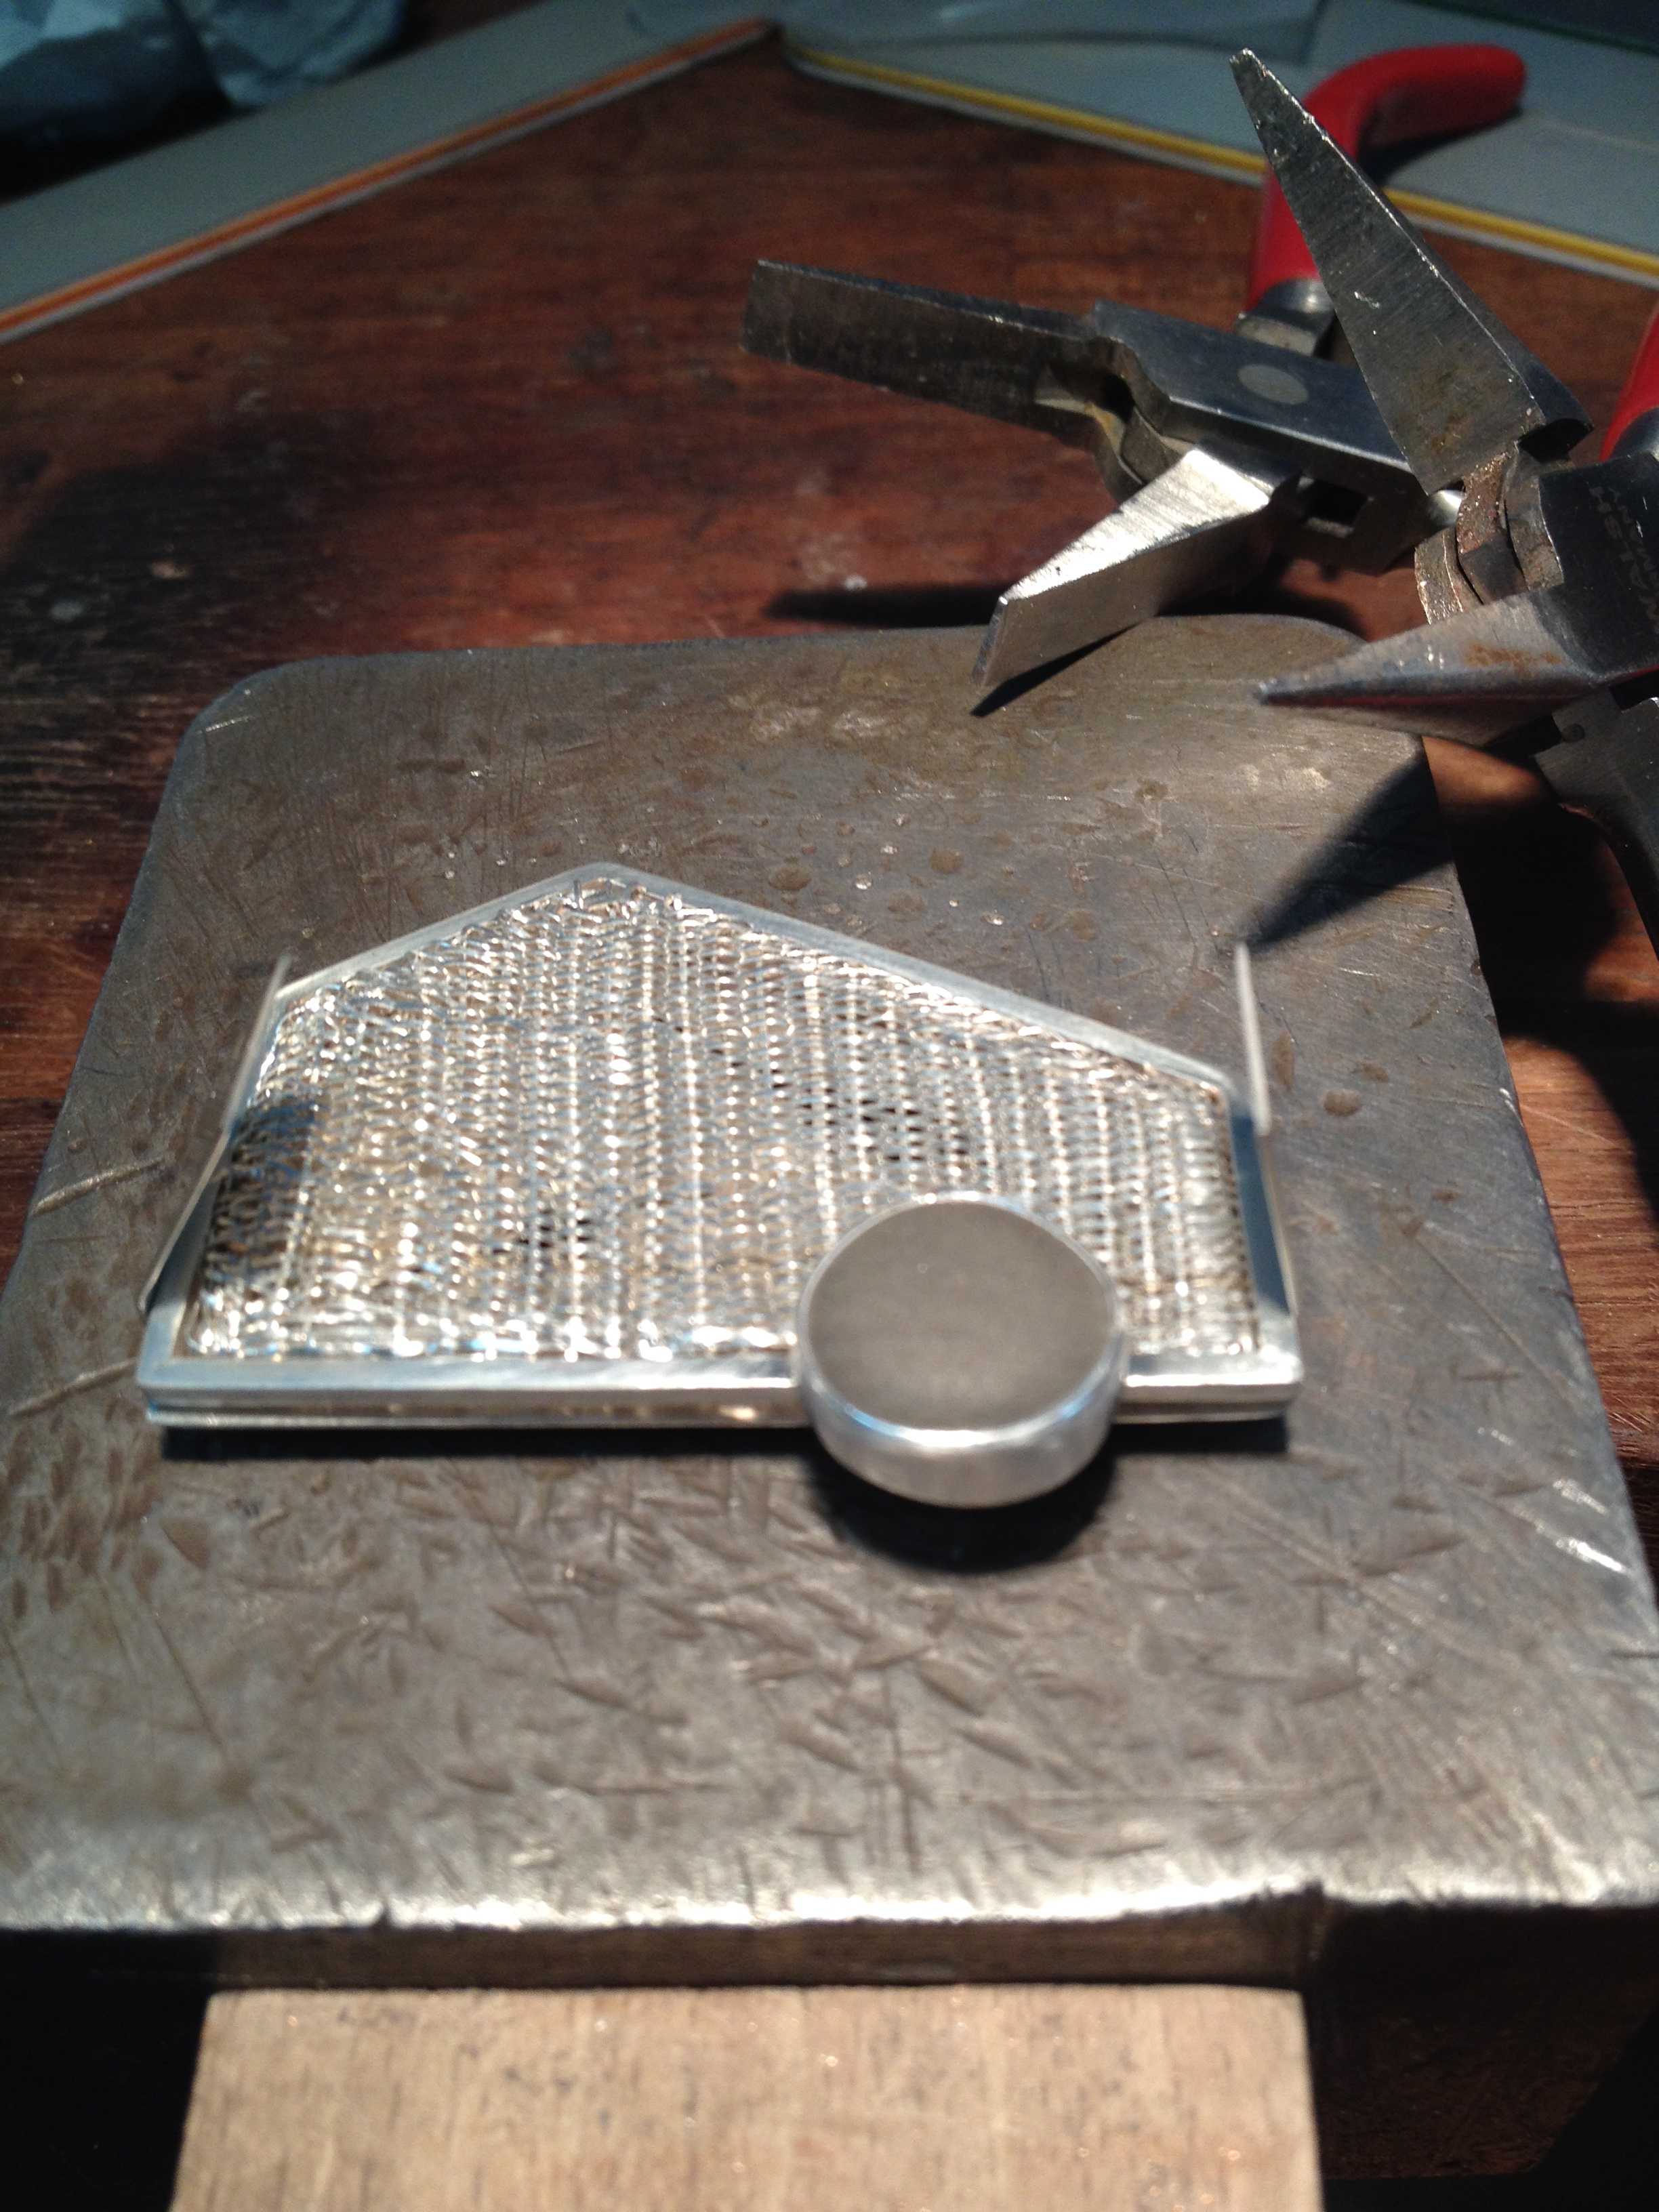
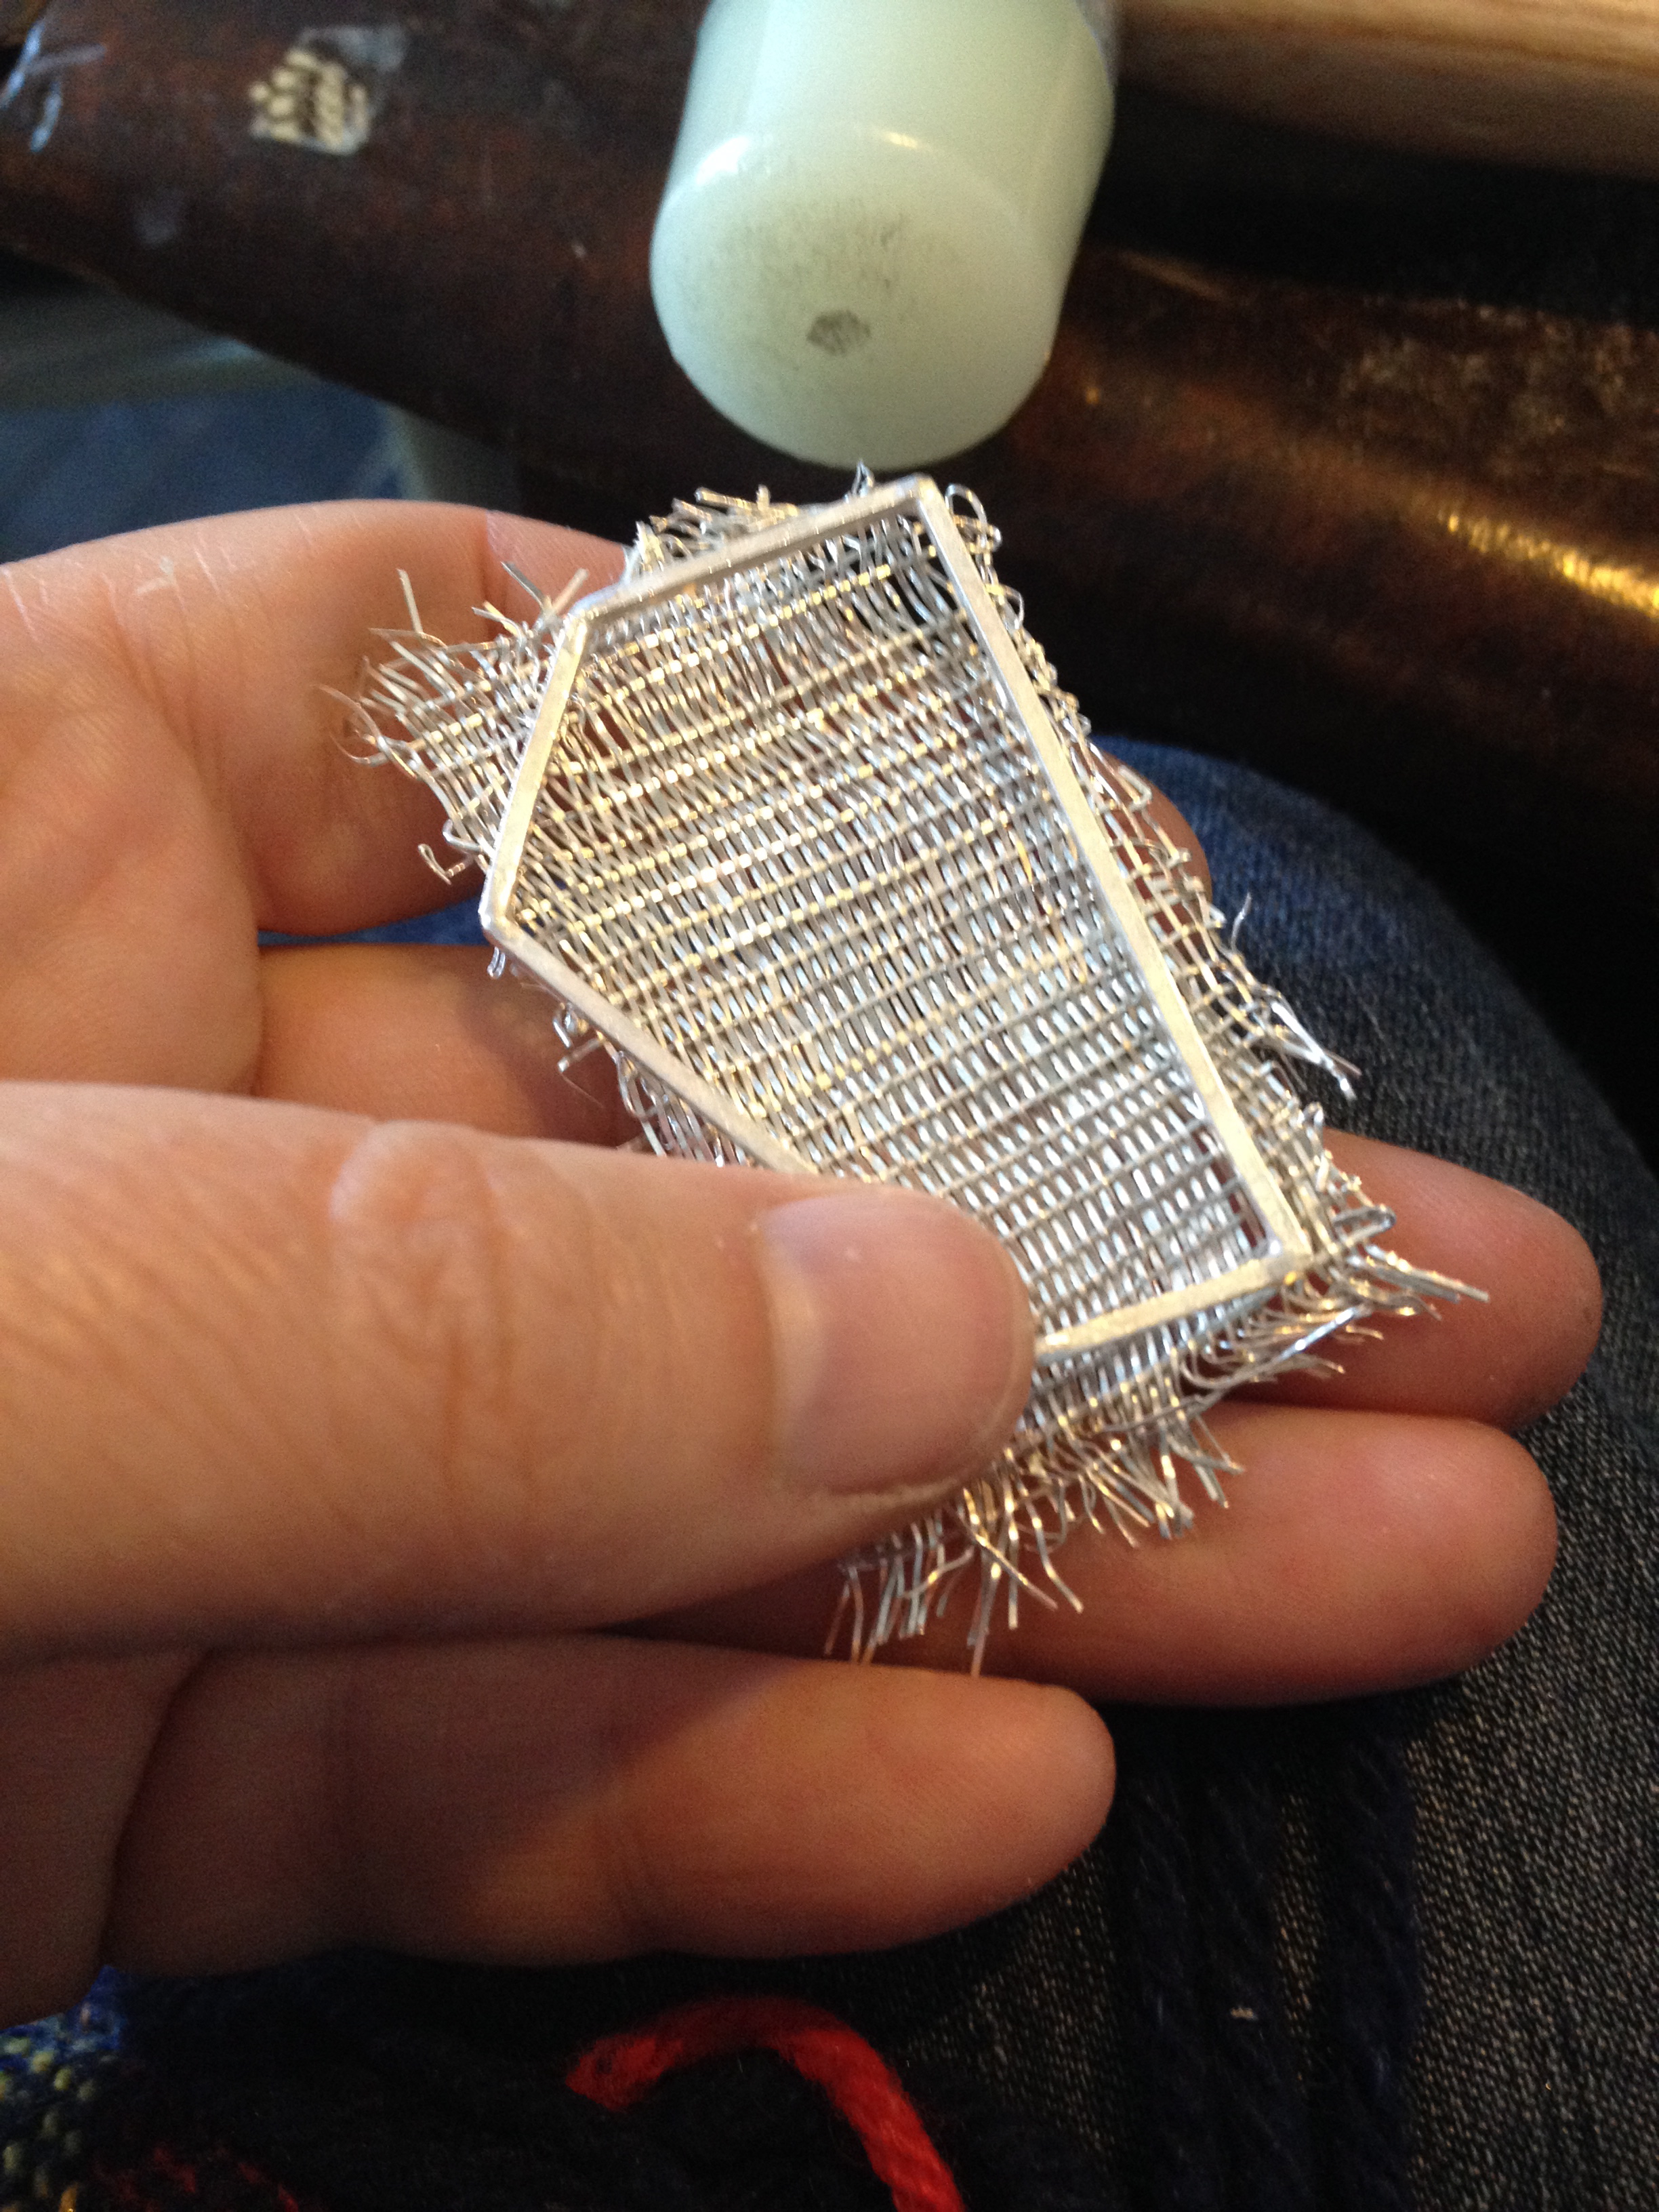
Tried to fit the old outer frame around the new woven panel… but it no longer seems to fit! no matter how hard I try to hammer ease it into place…!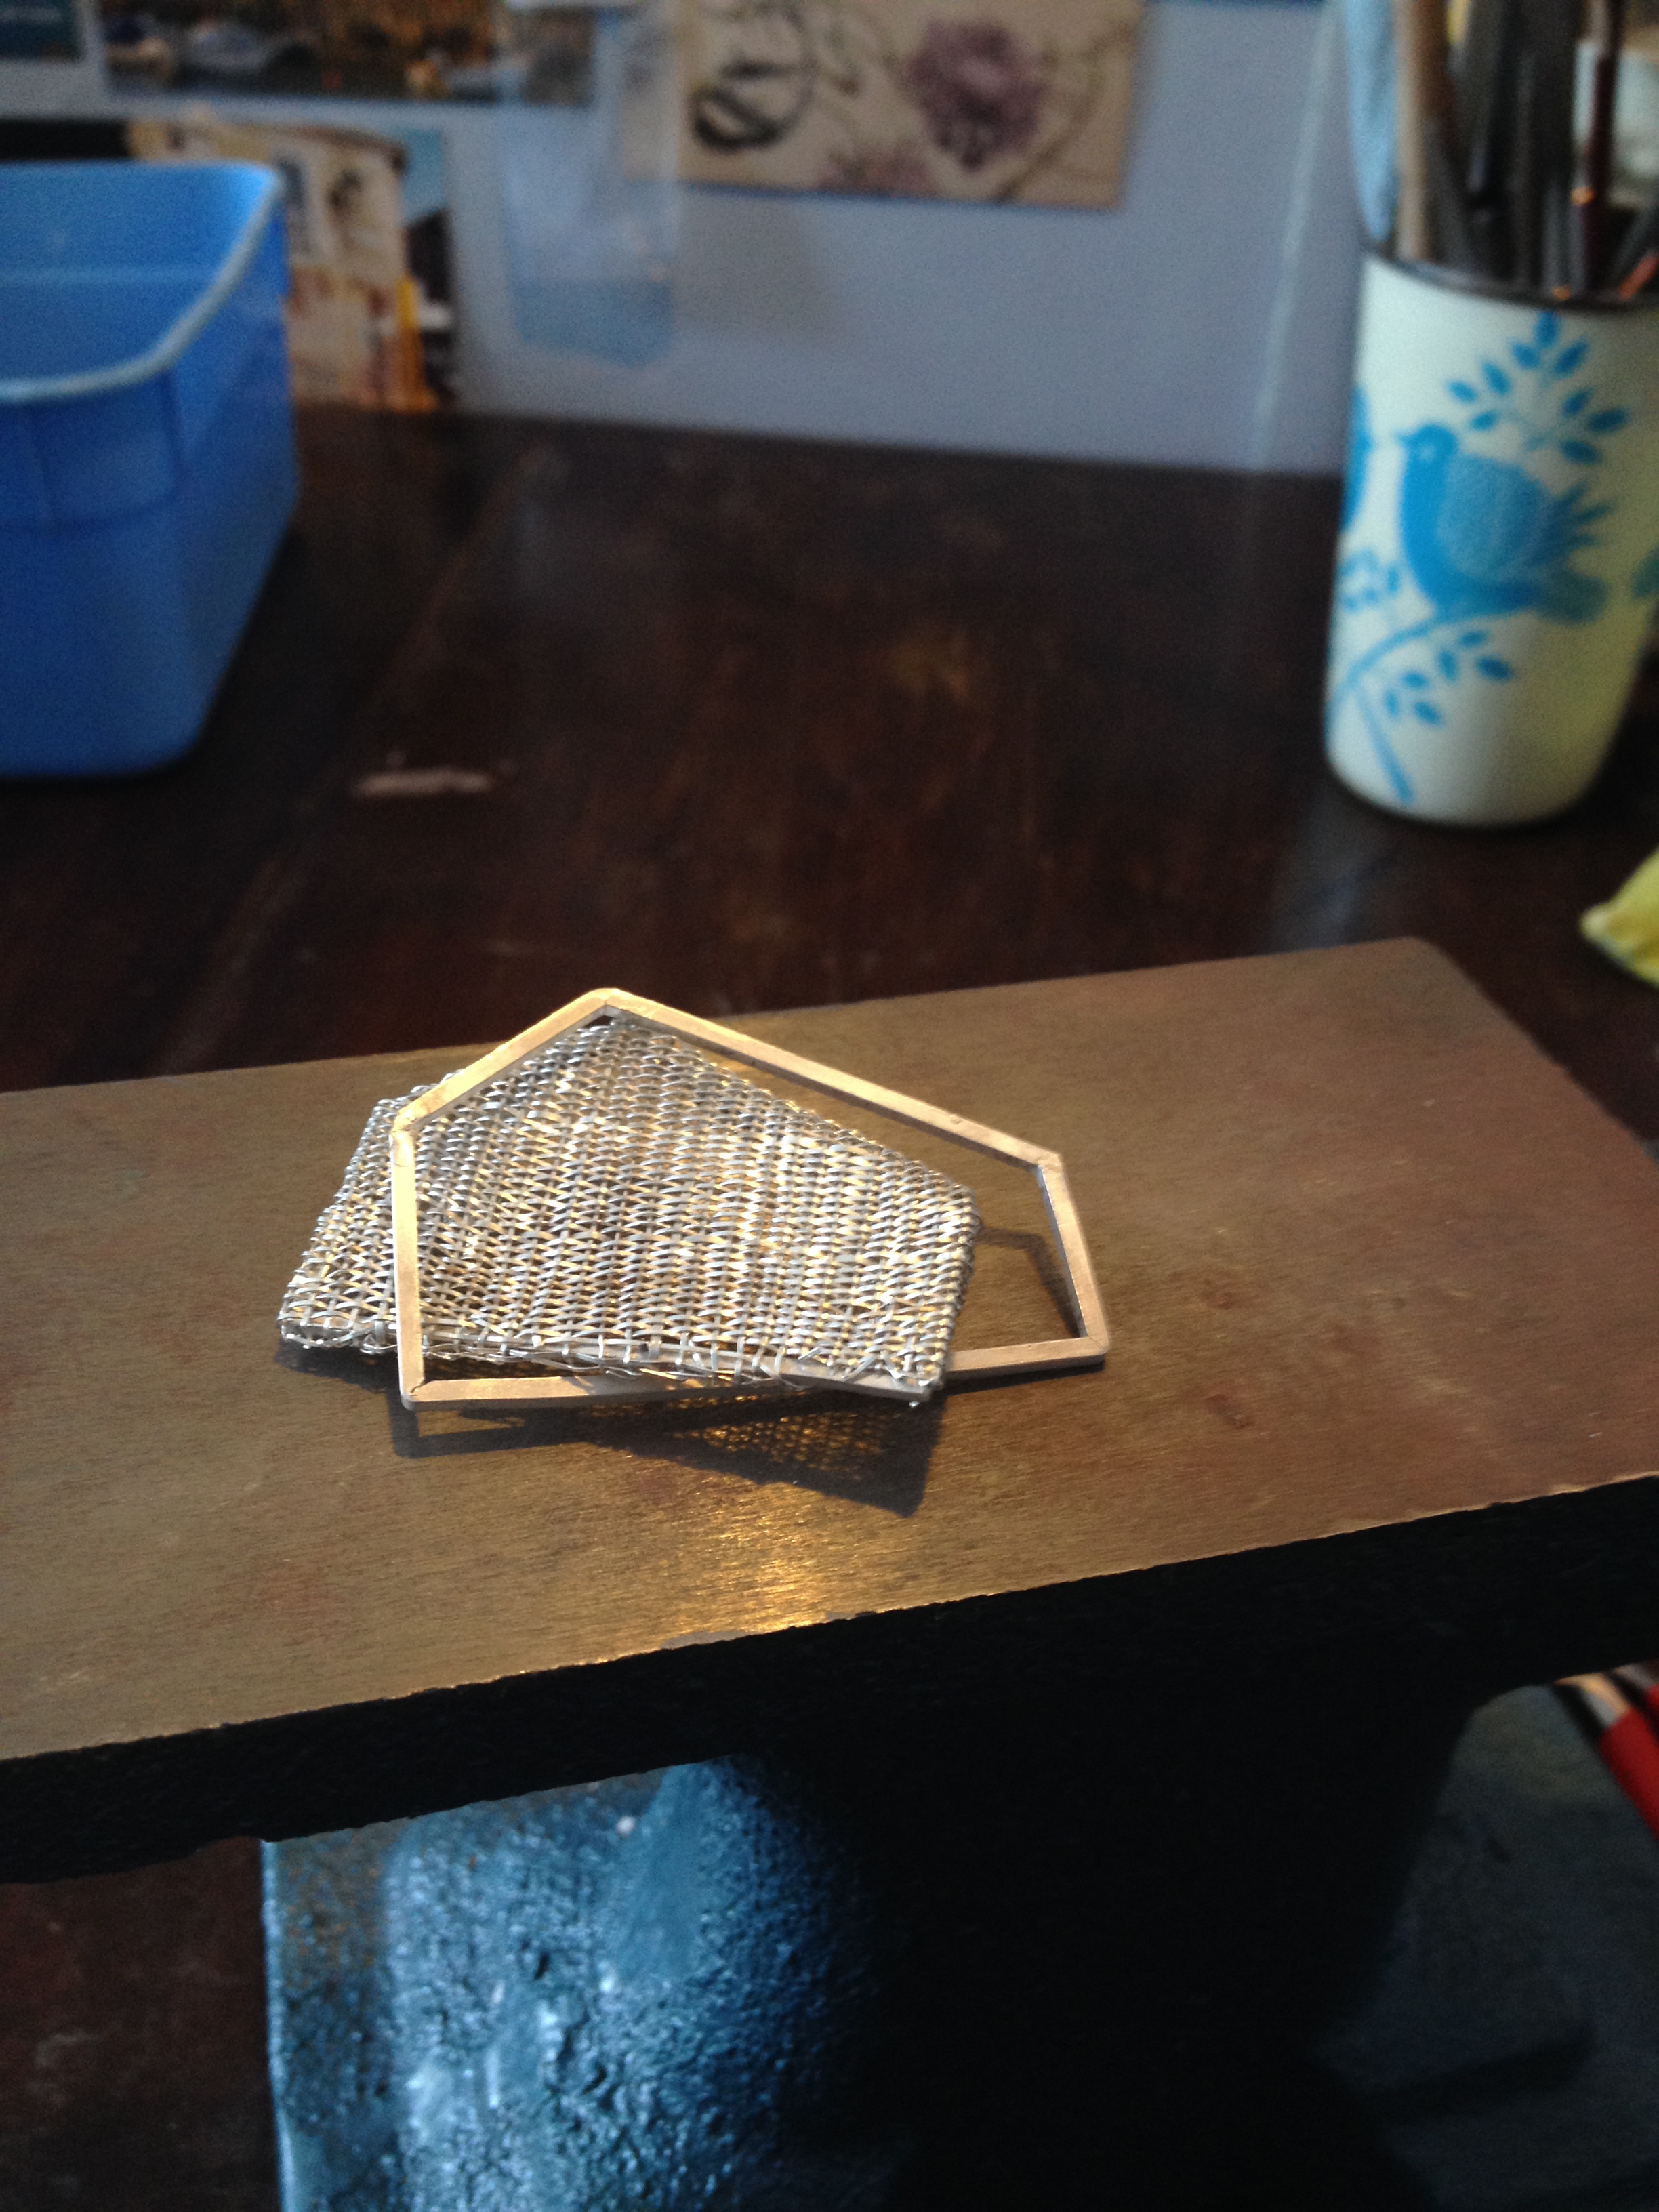 Nothing for it but to make a new frame. Luckily I’m not working to a deadline… O wait… isn’t that the 1st of May fast approaching…! Quick, hand me that torch!
 Making the new frame from an already partially made prototype, hence the random angles…
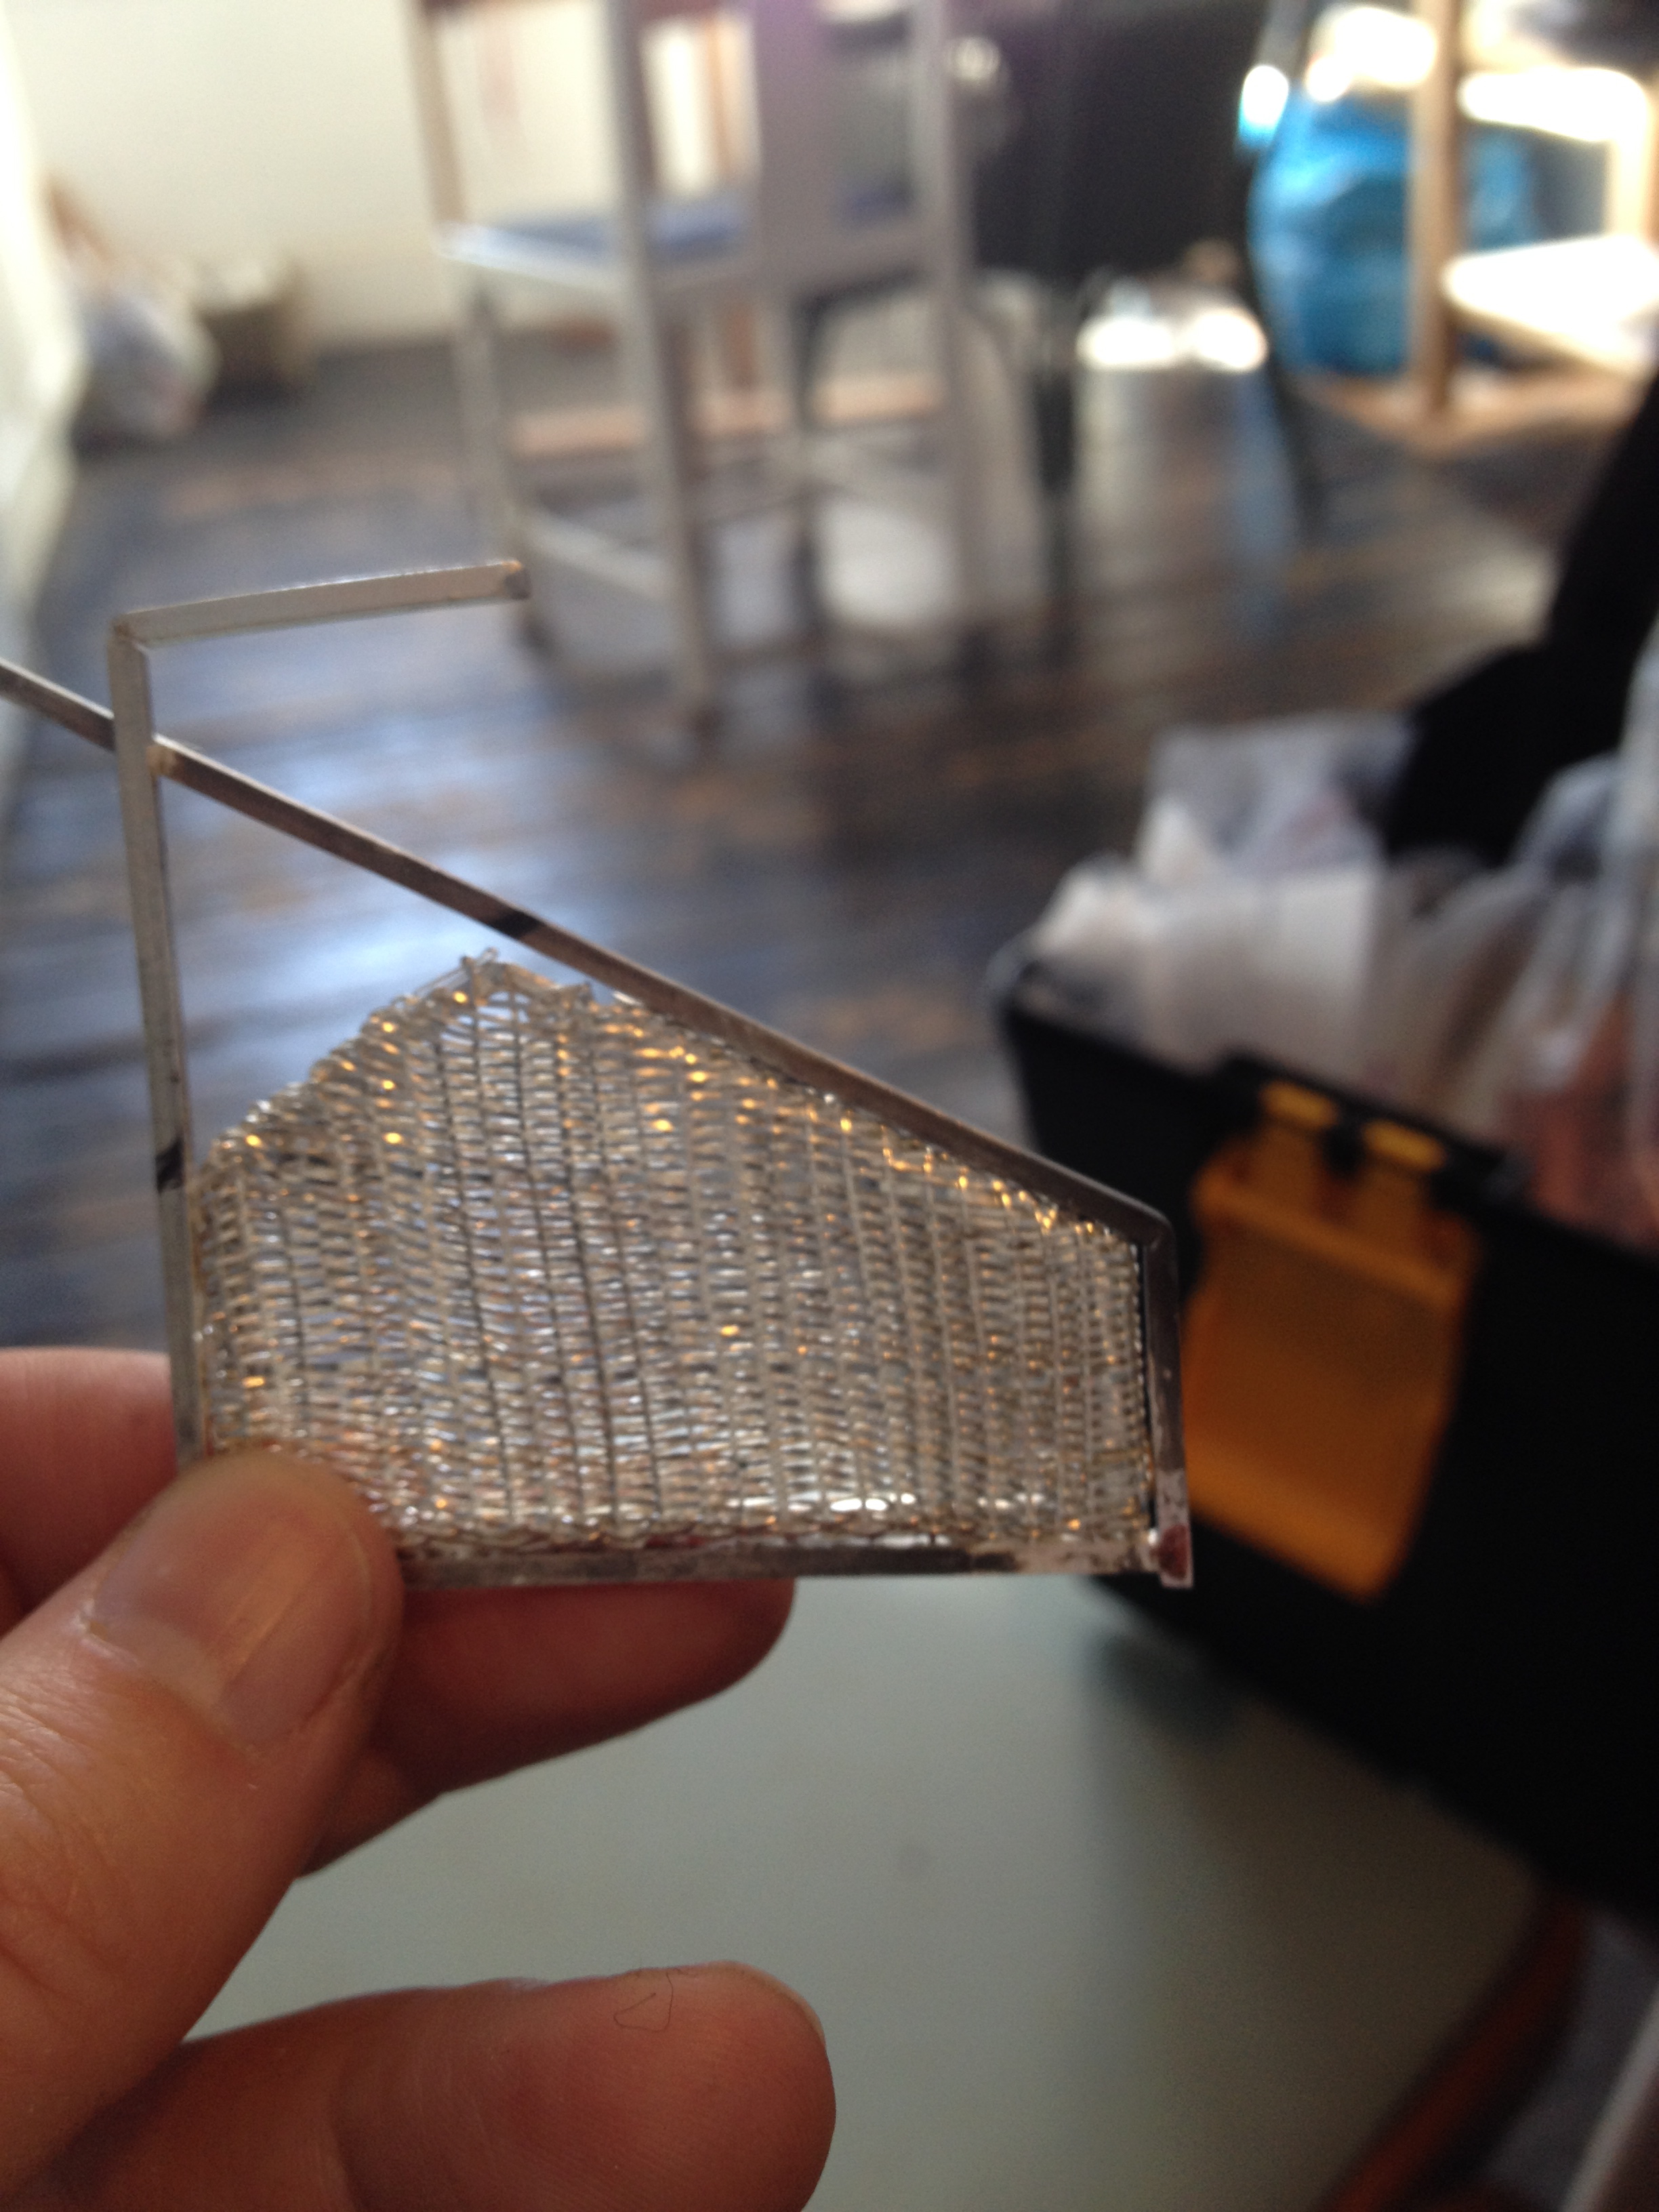 nearly there now…
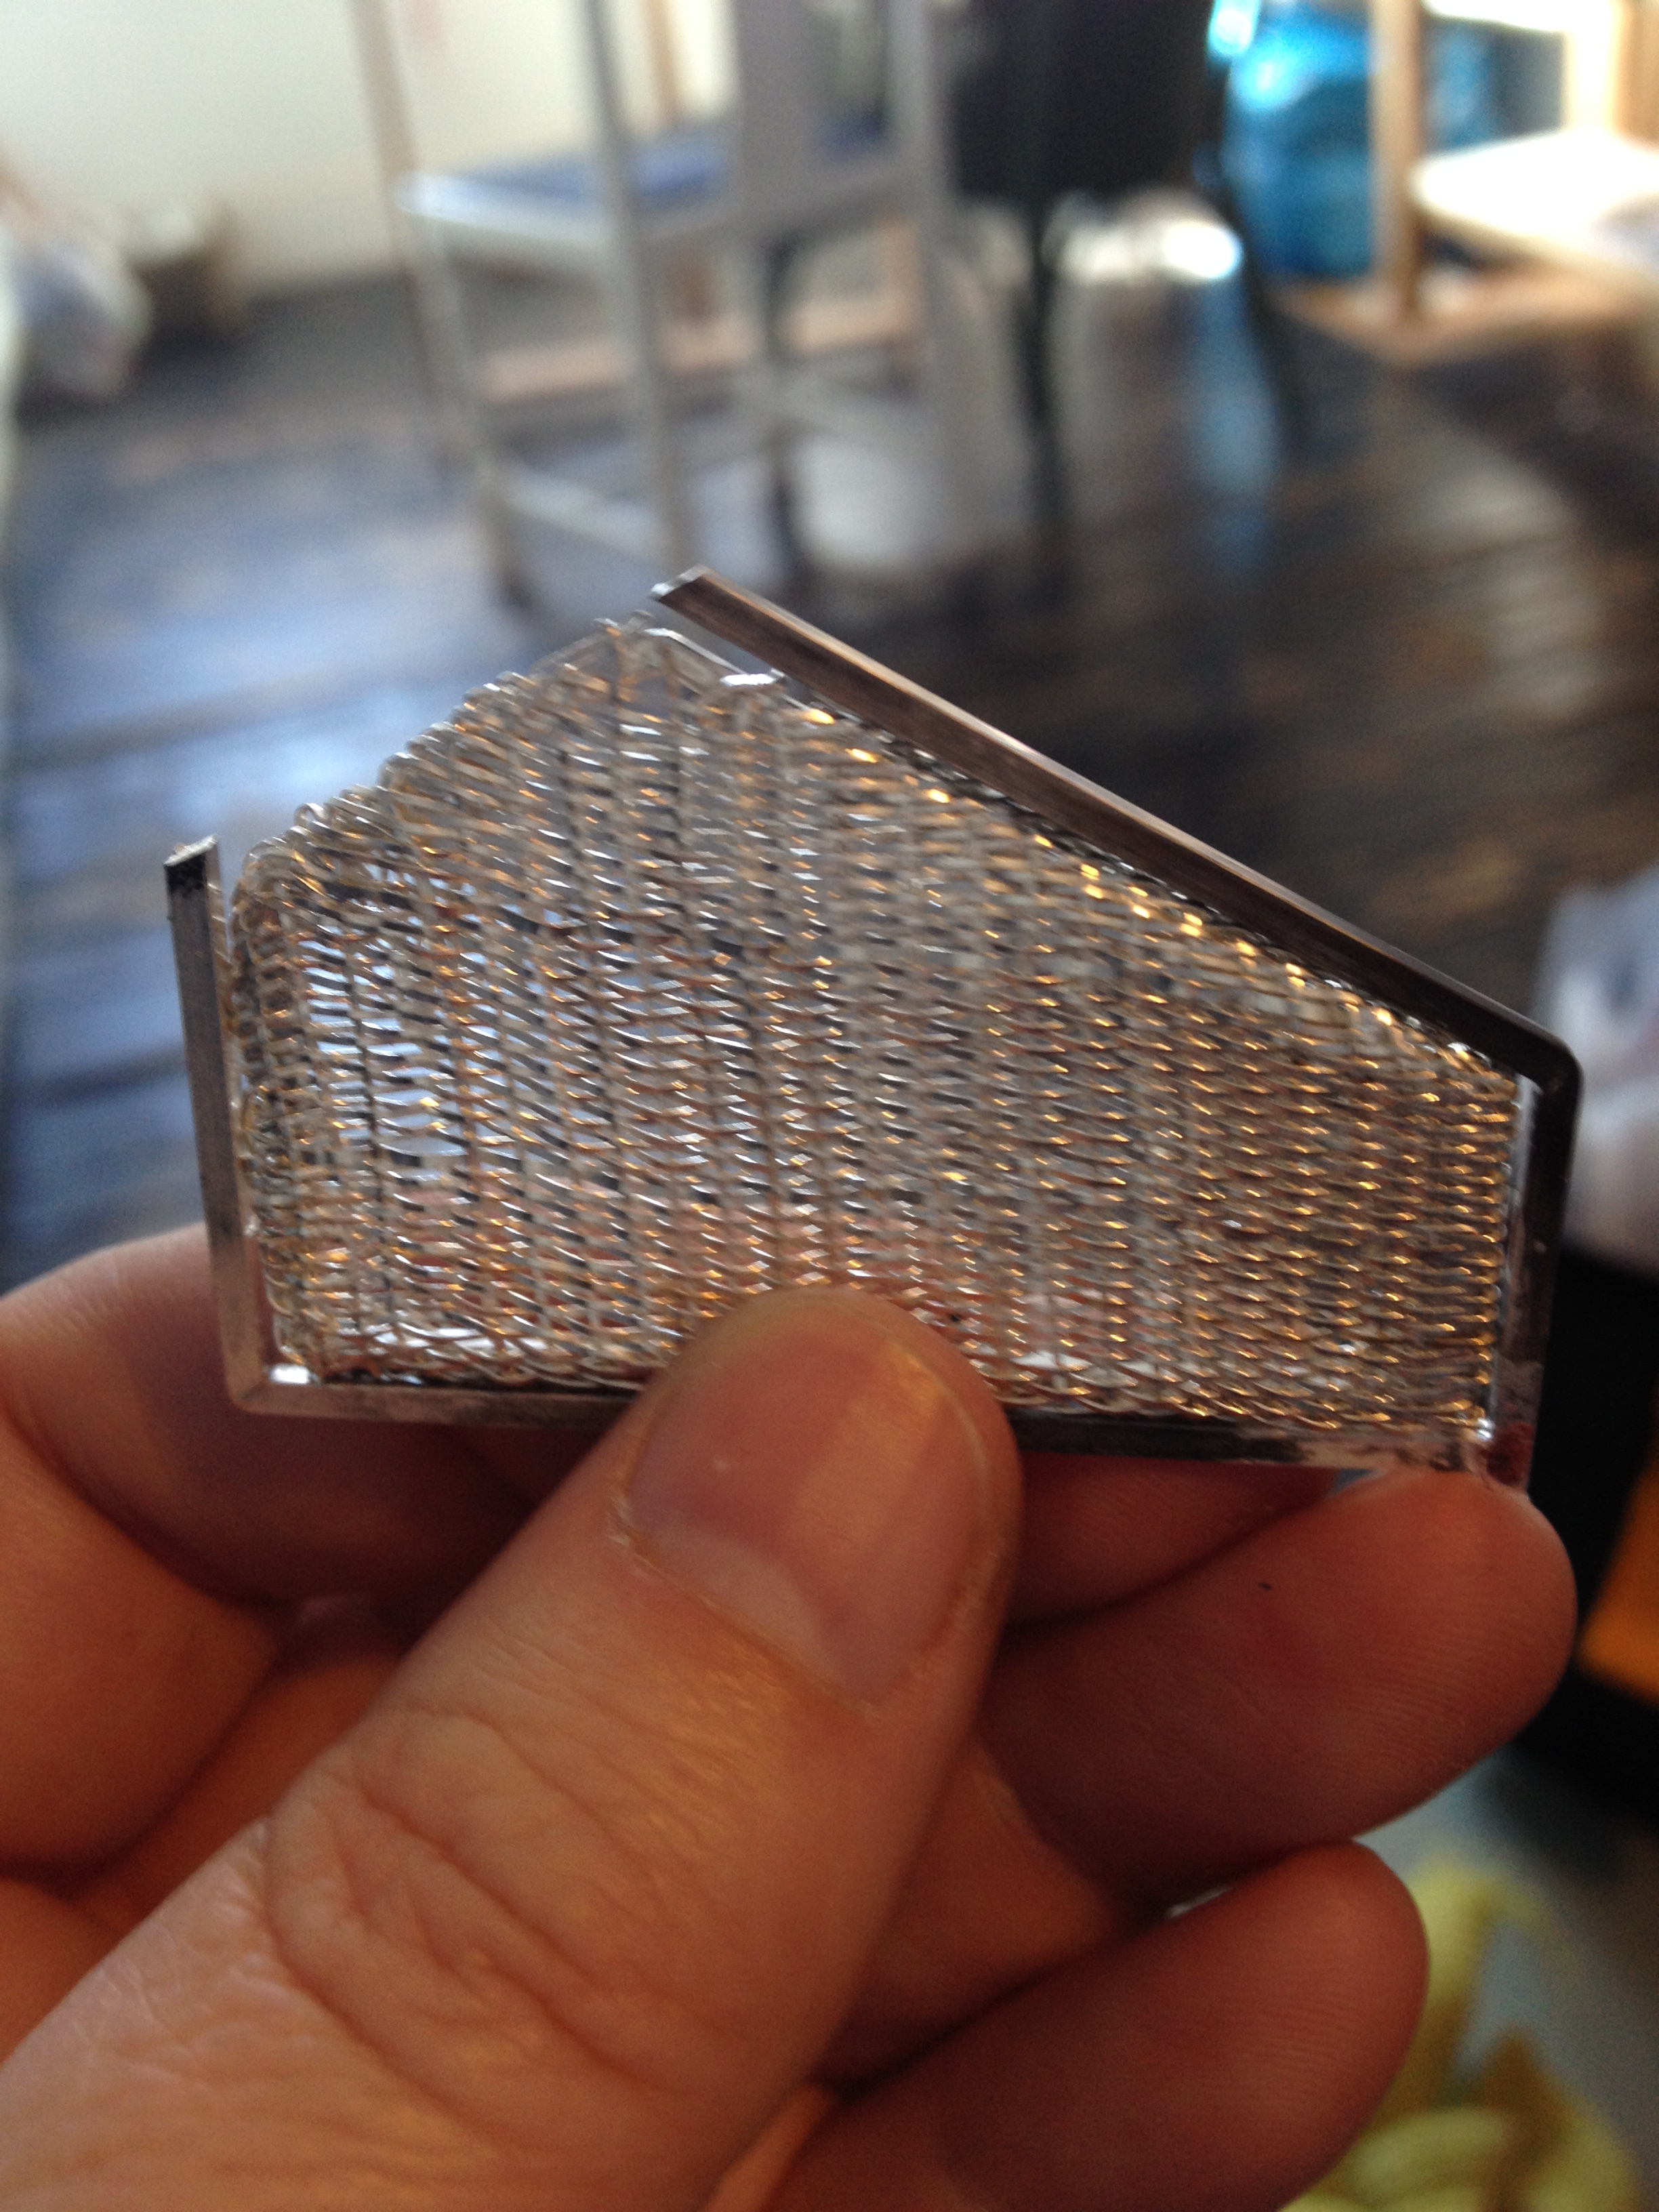 all ready to be cleaned up
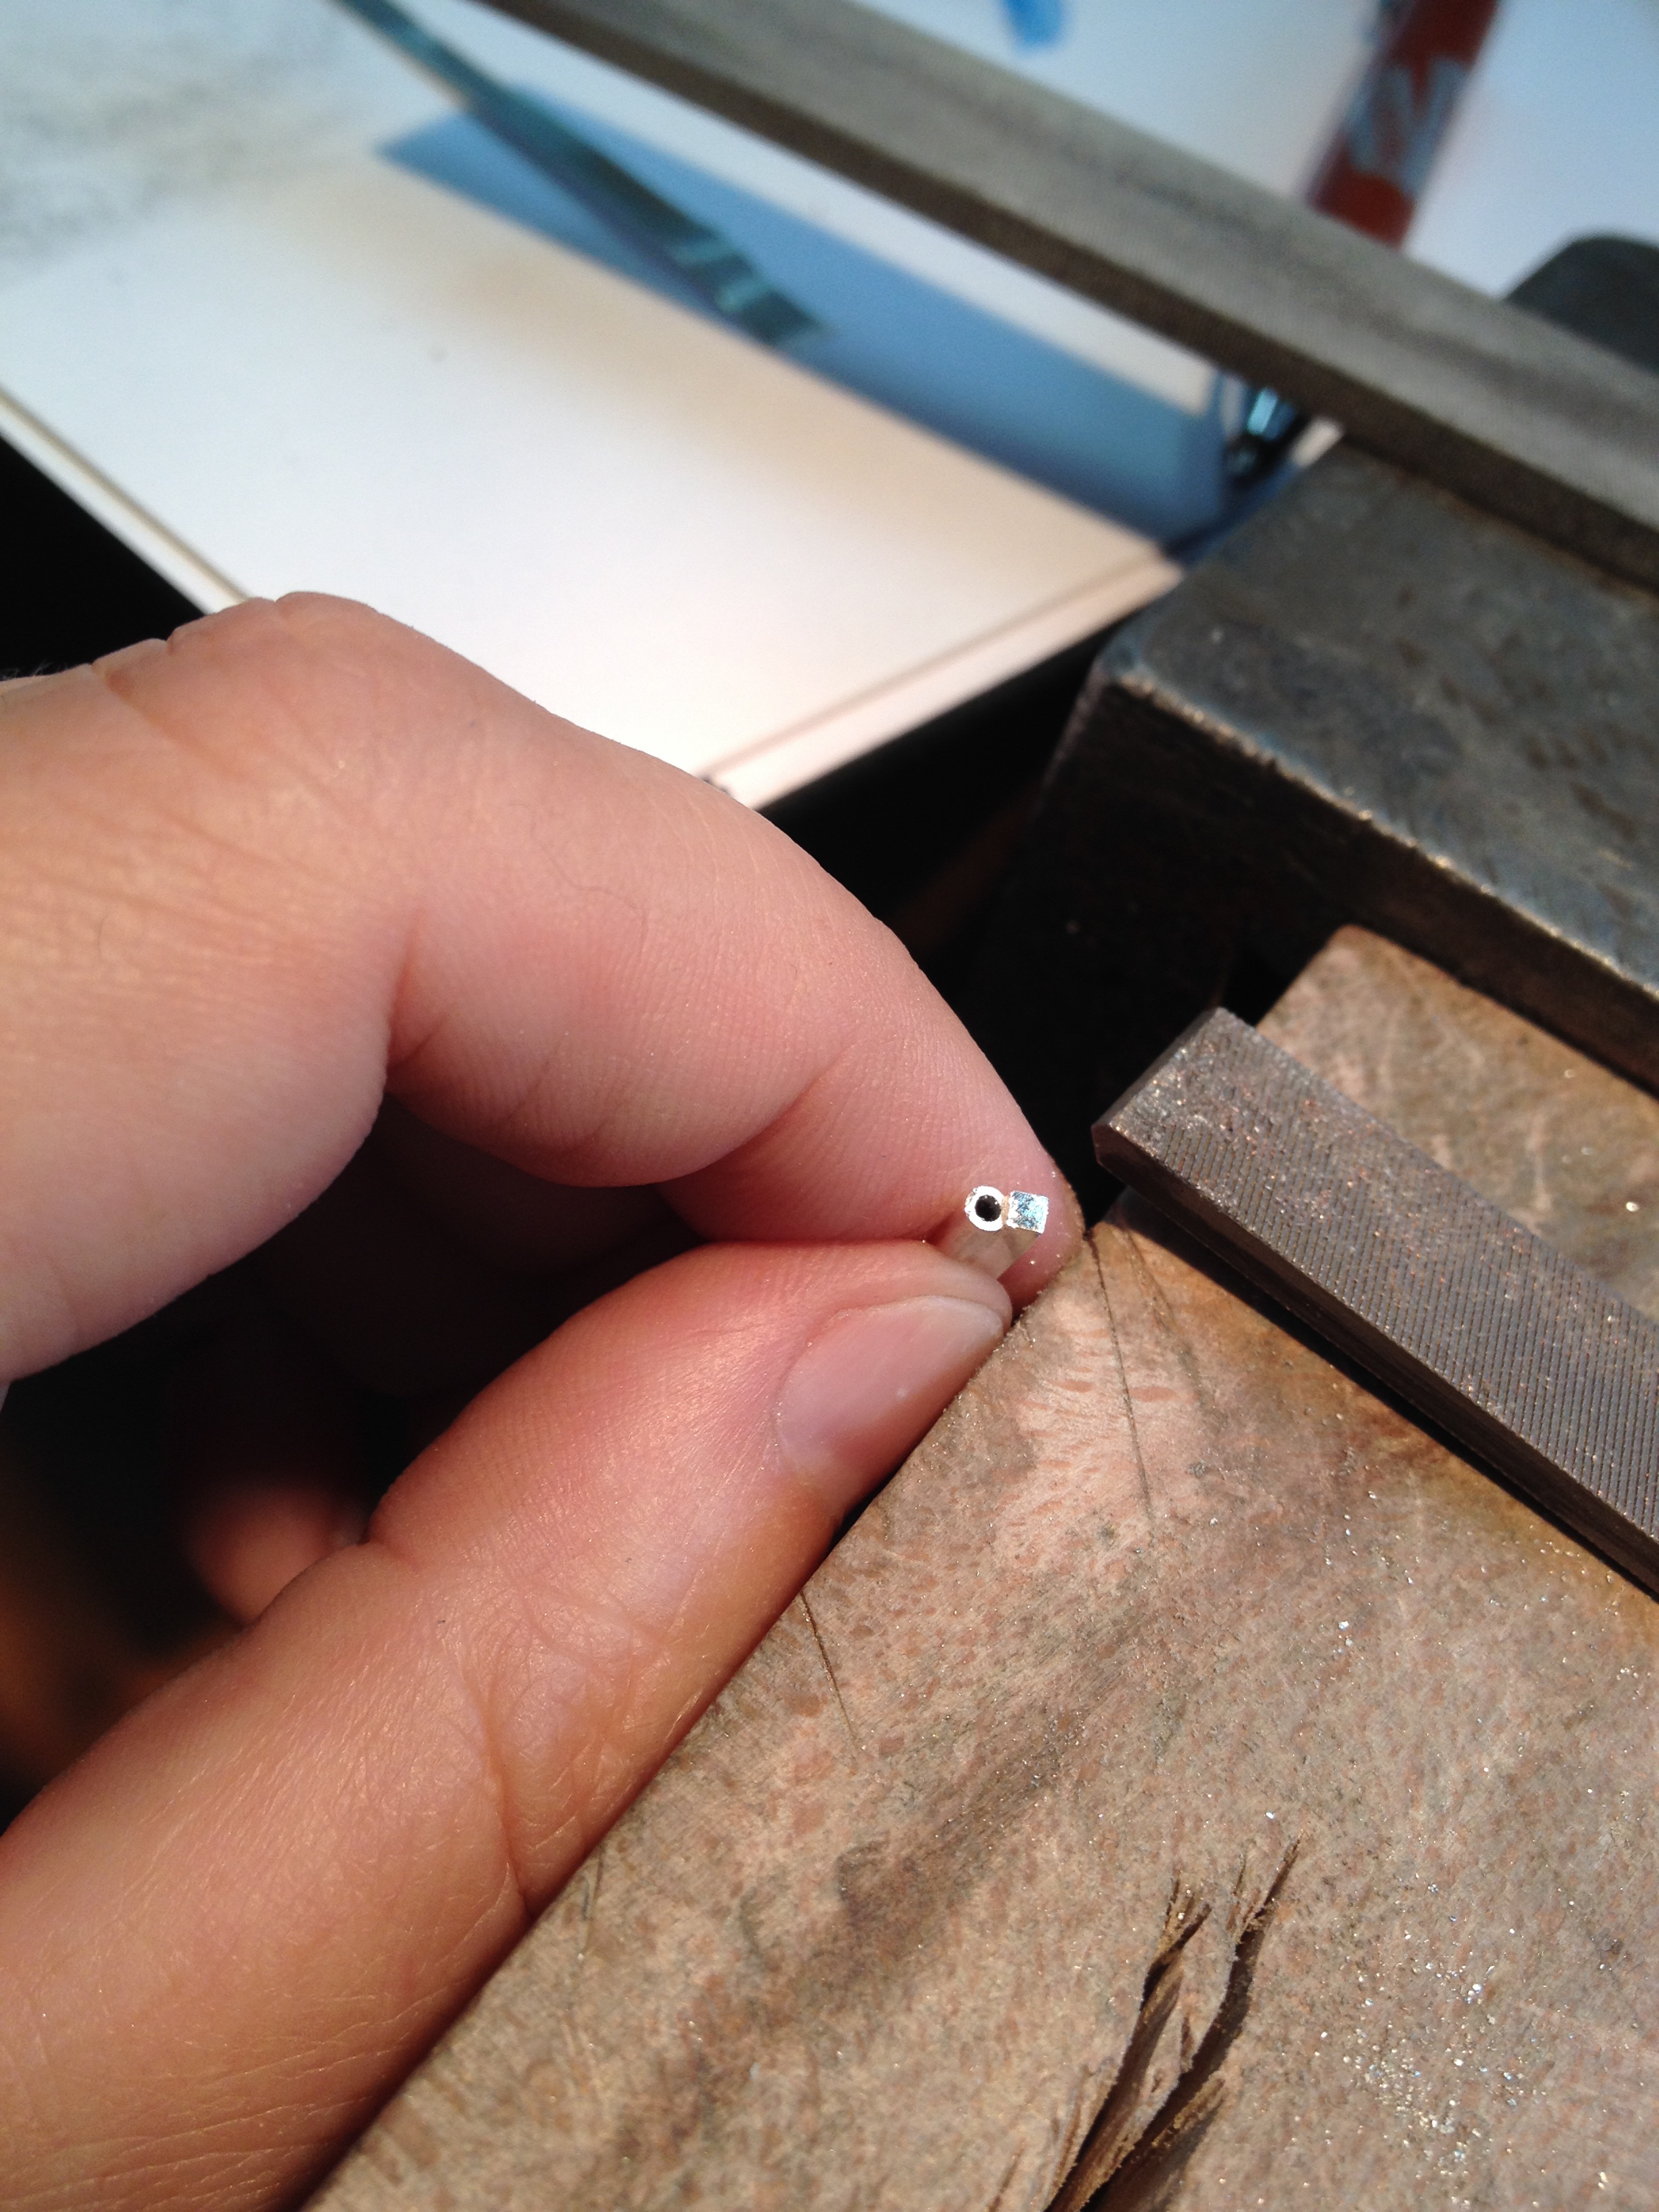
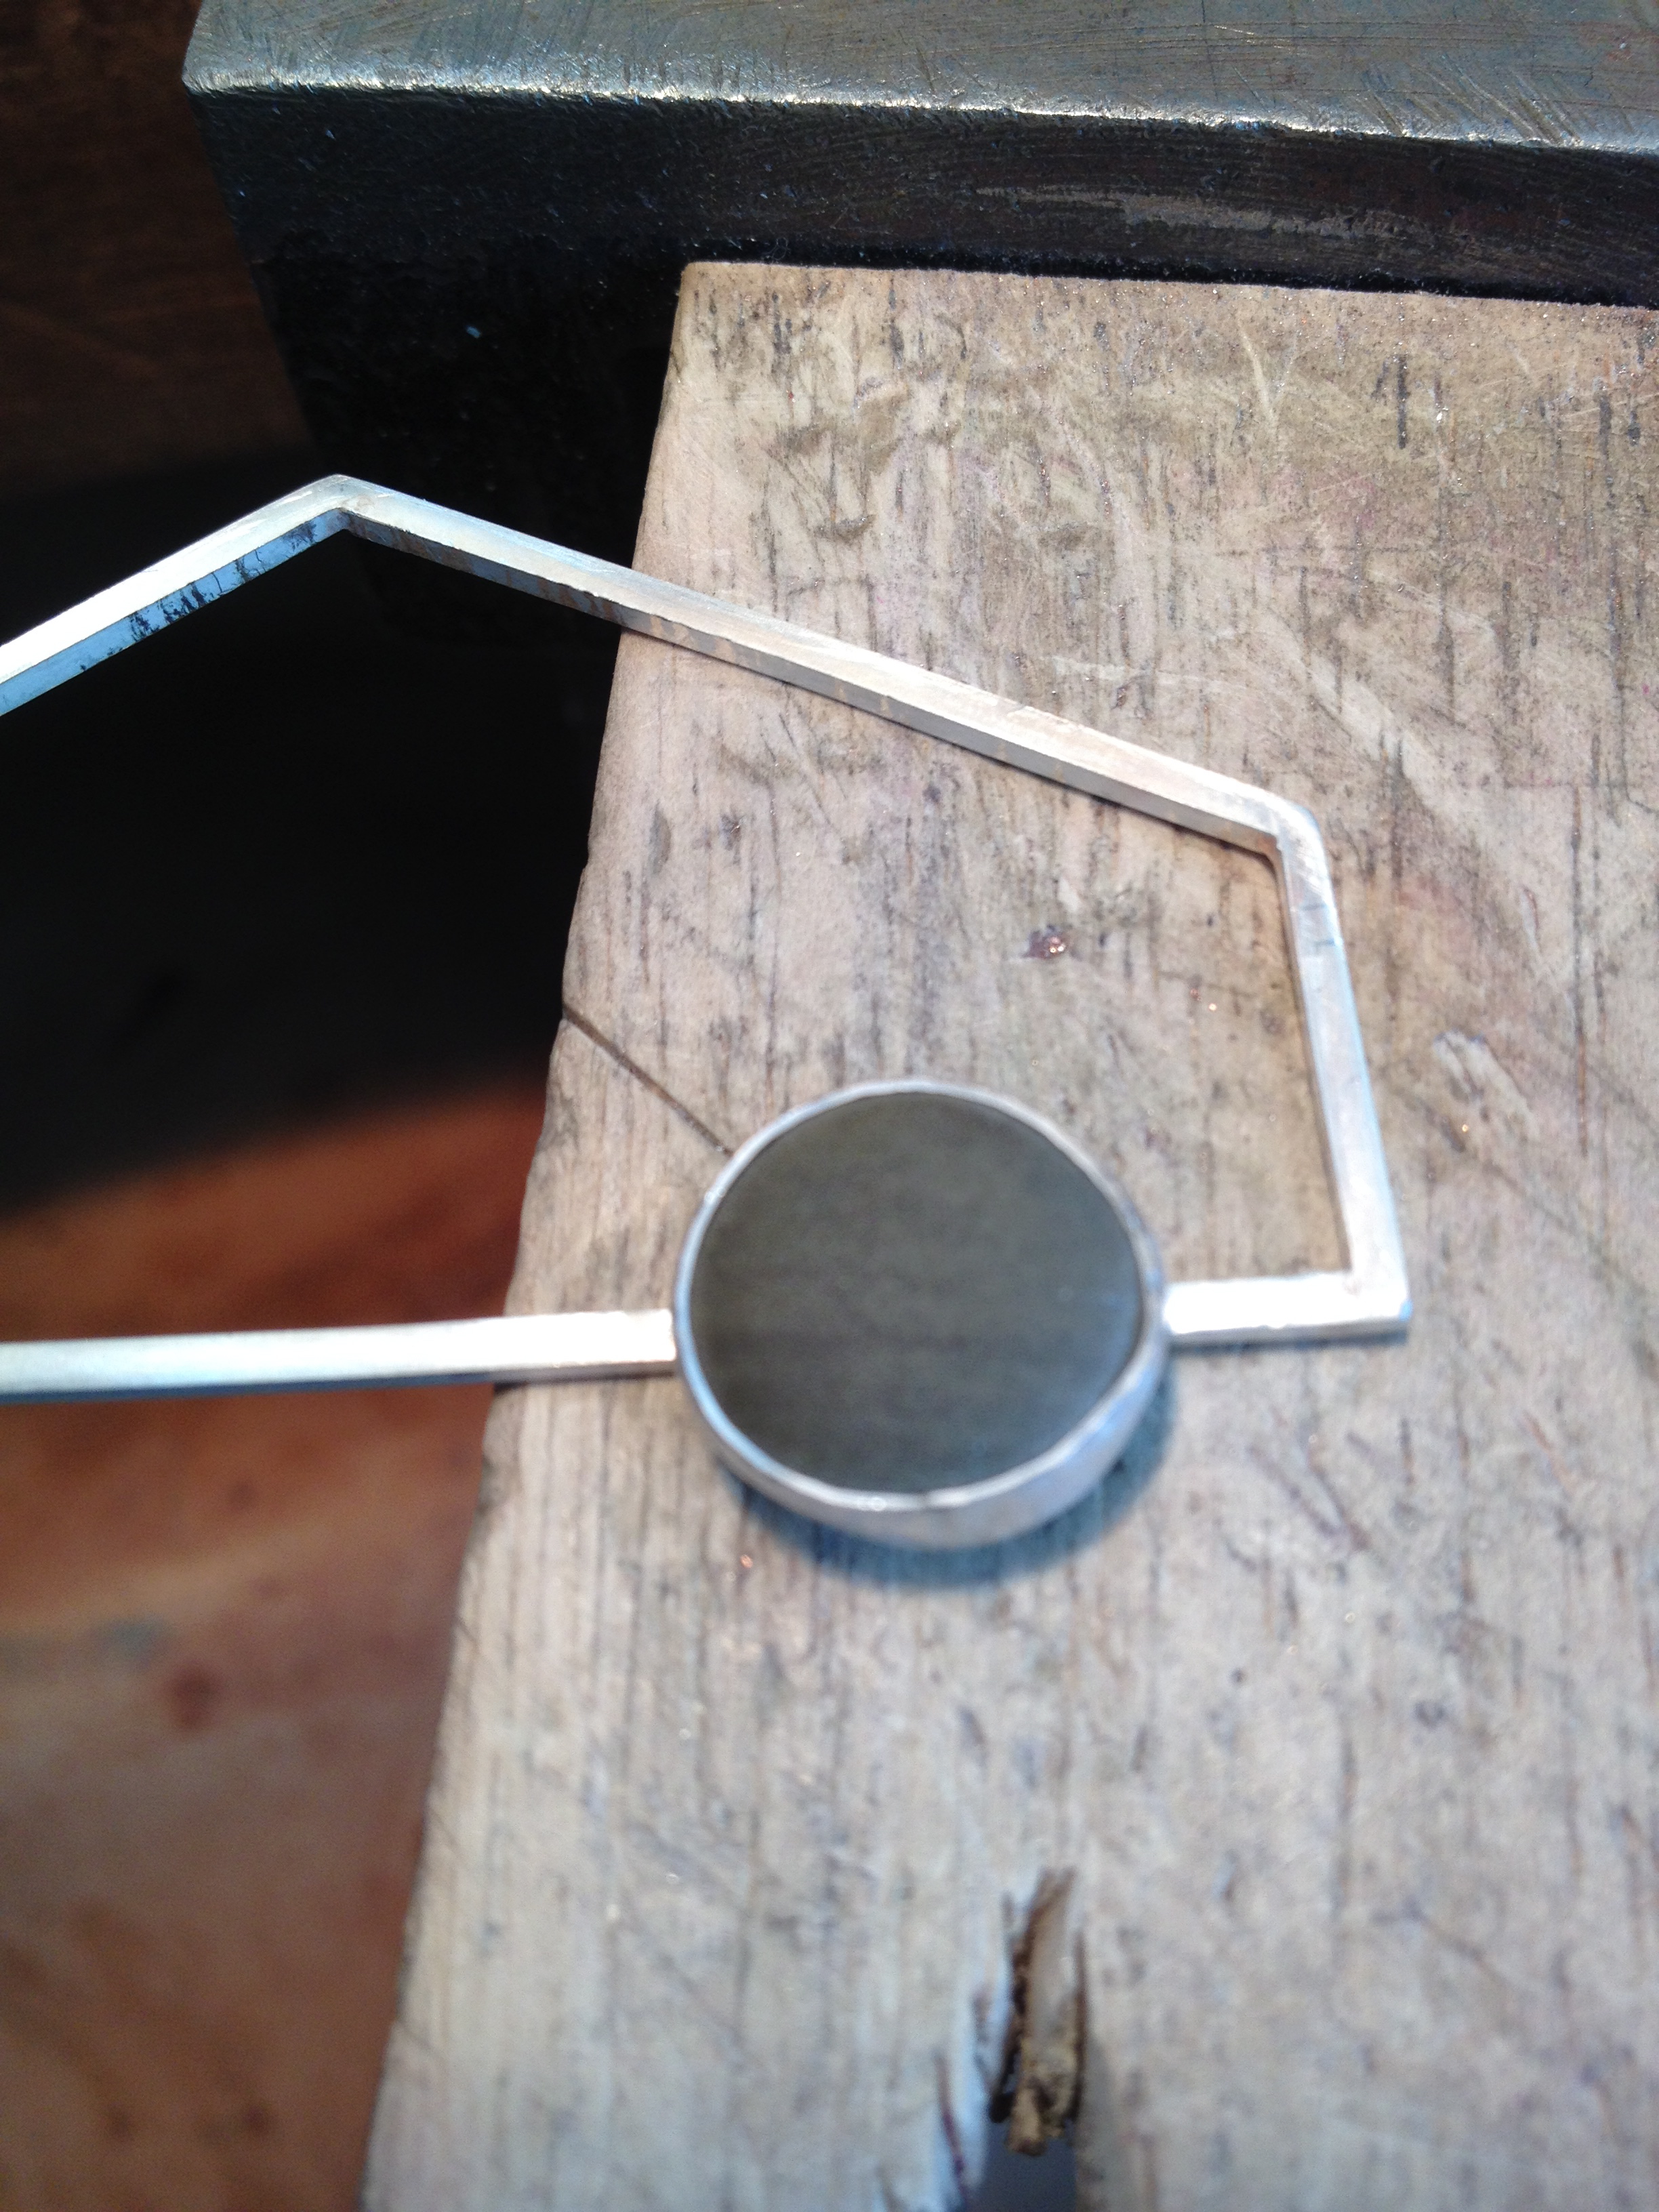
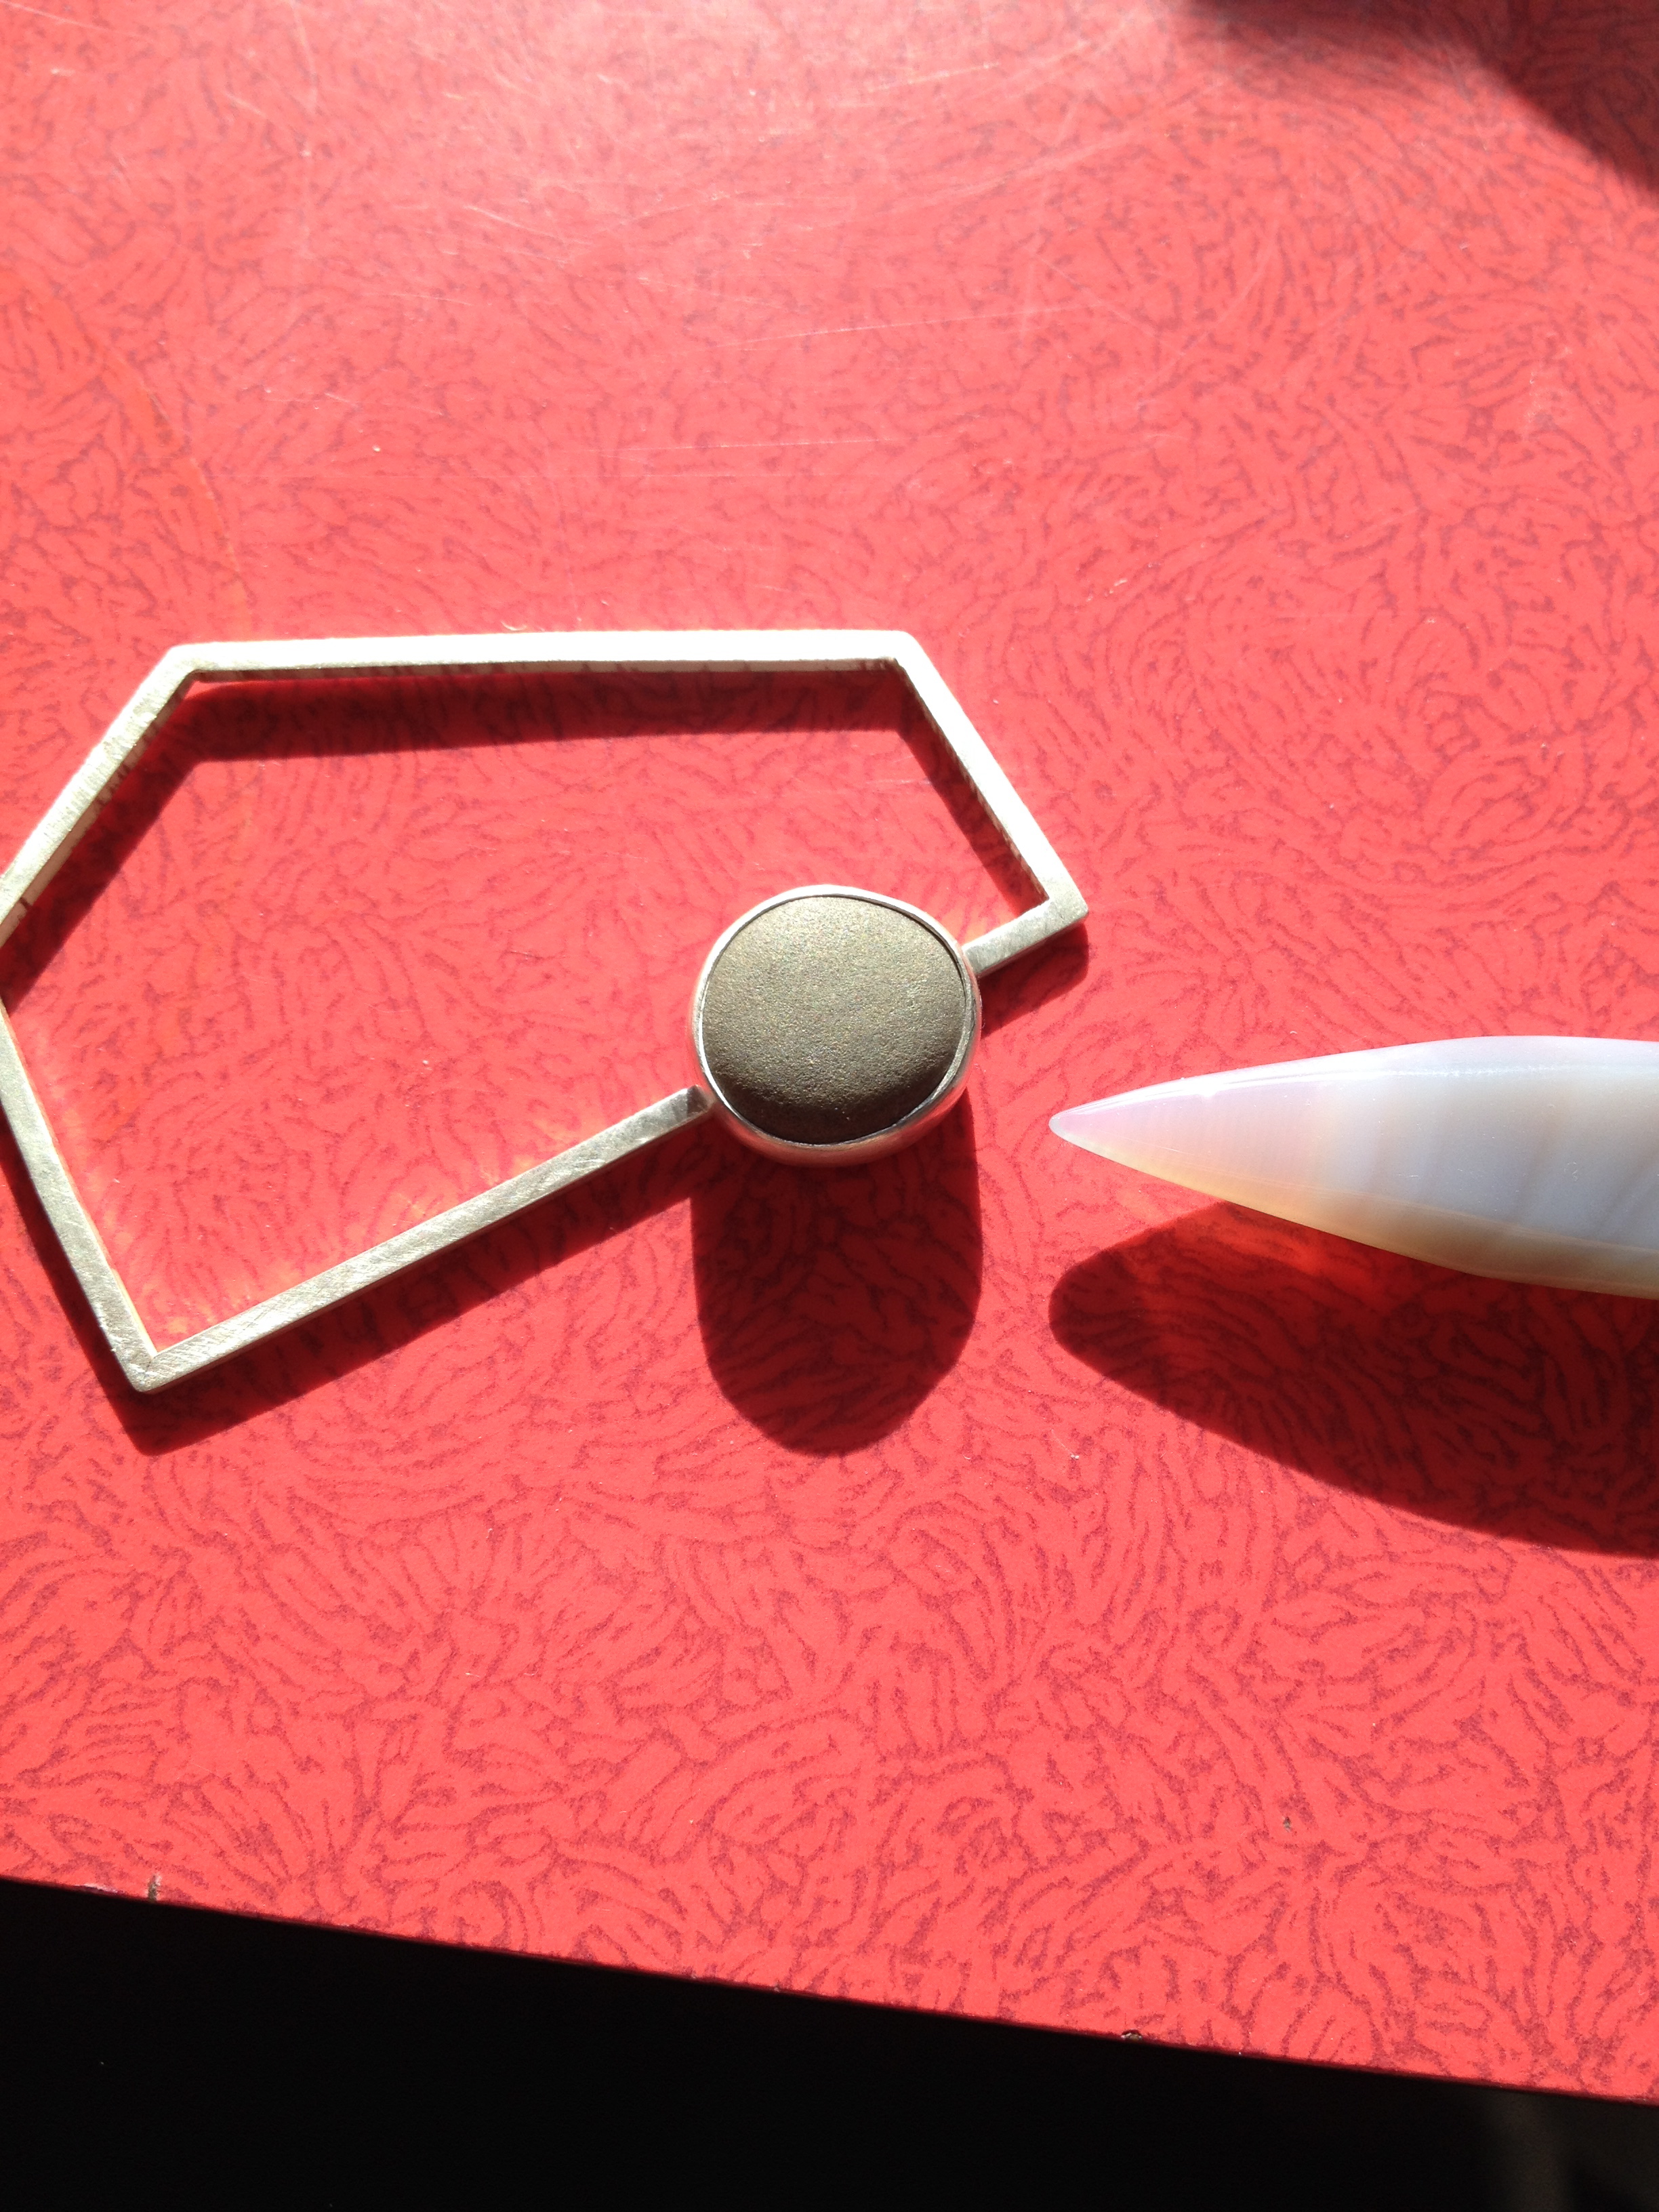
 First things first, solder the bezel to the frame *don’t melt, don’t melt, don’t melt*
 Then set the stone…
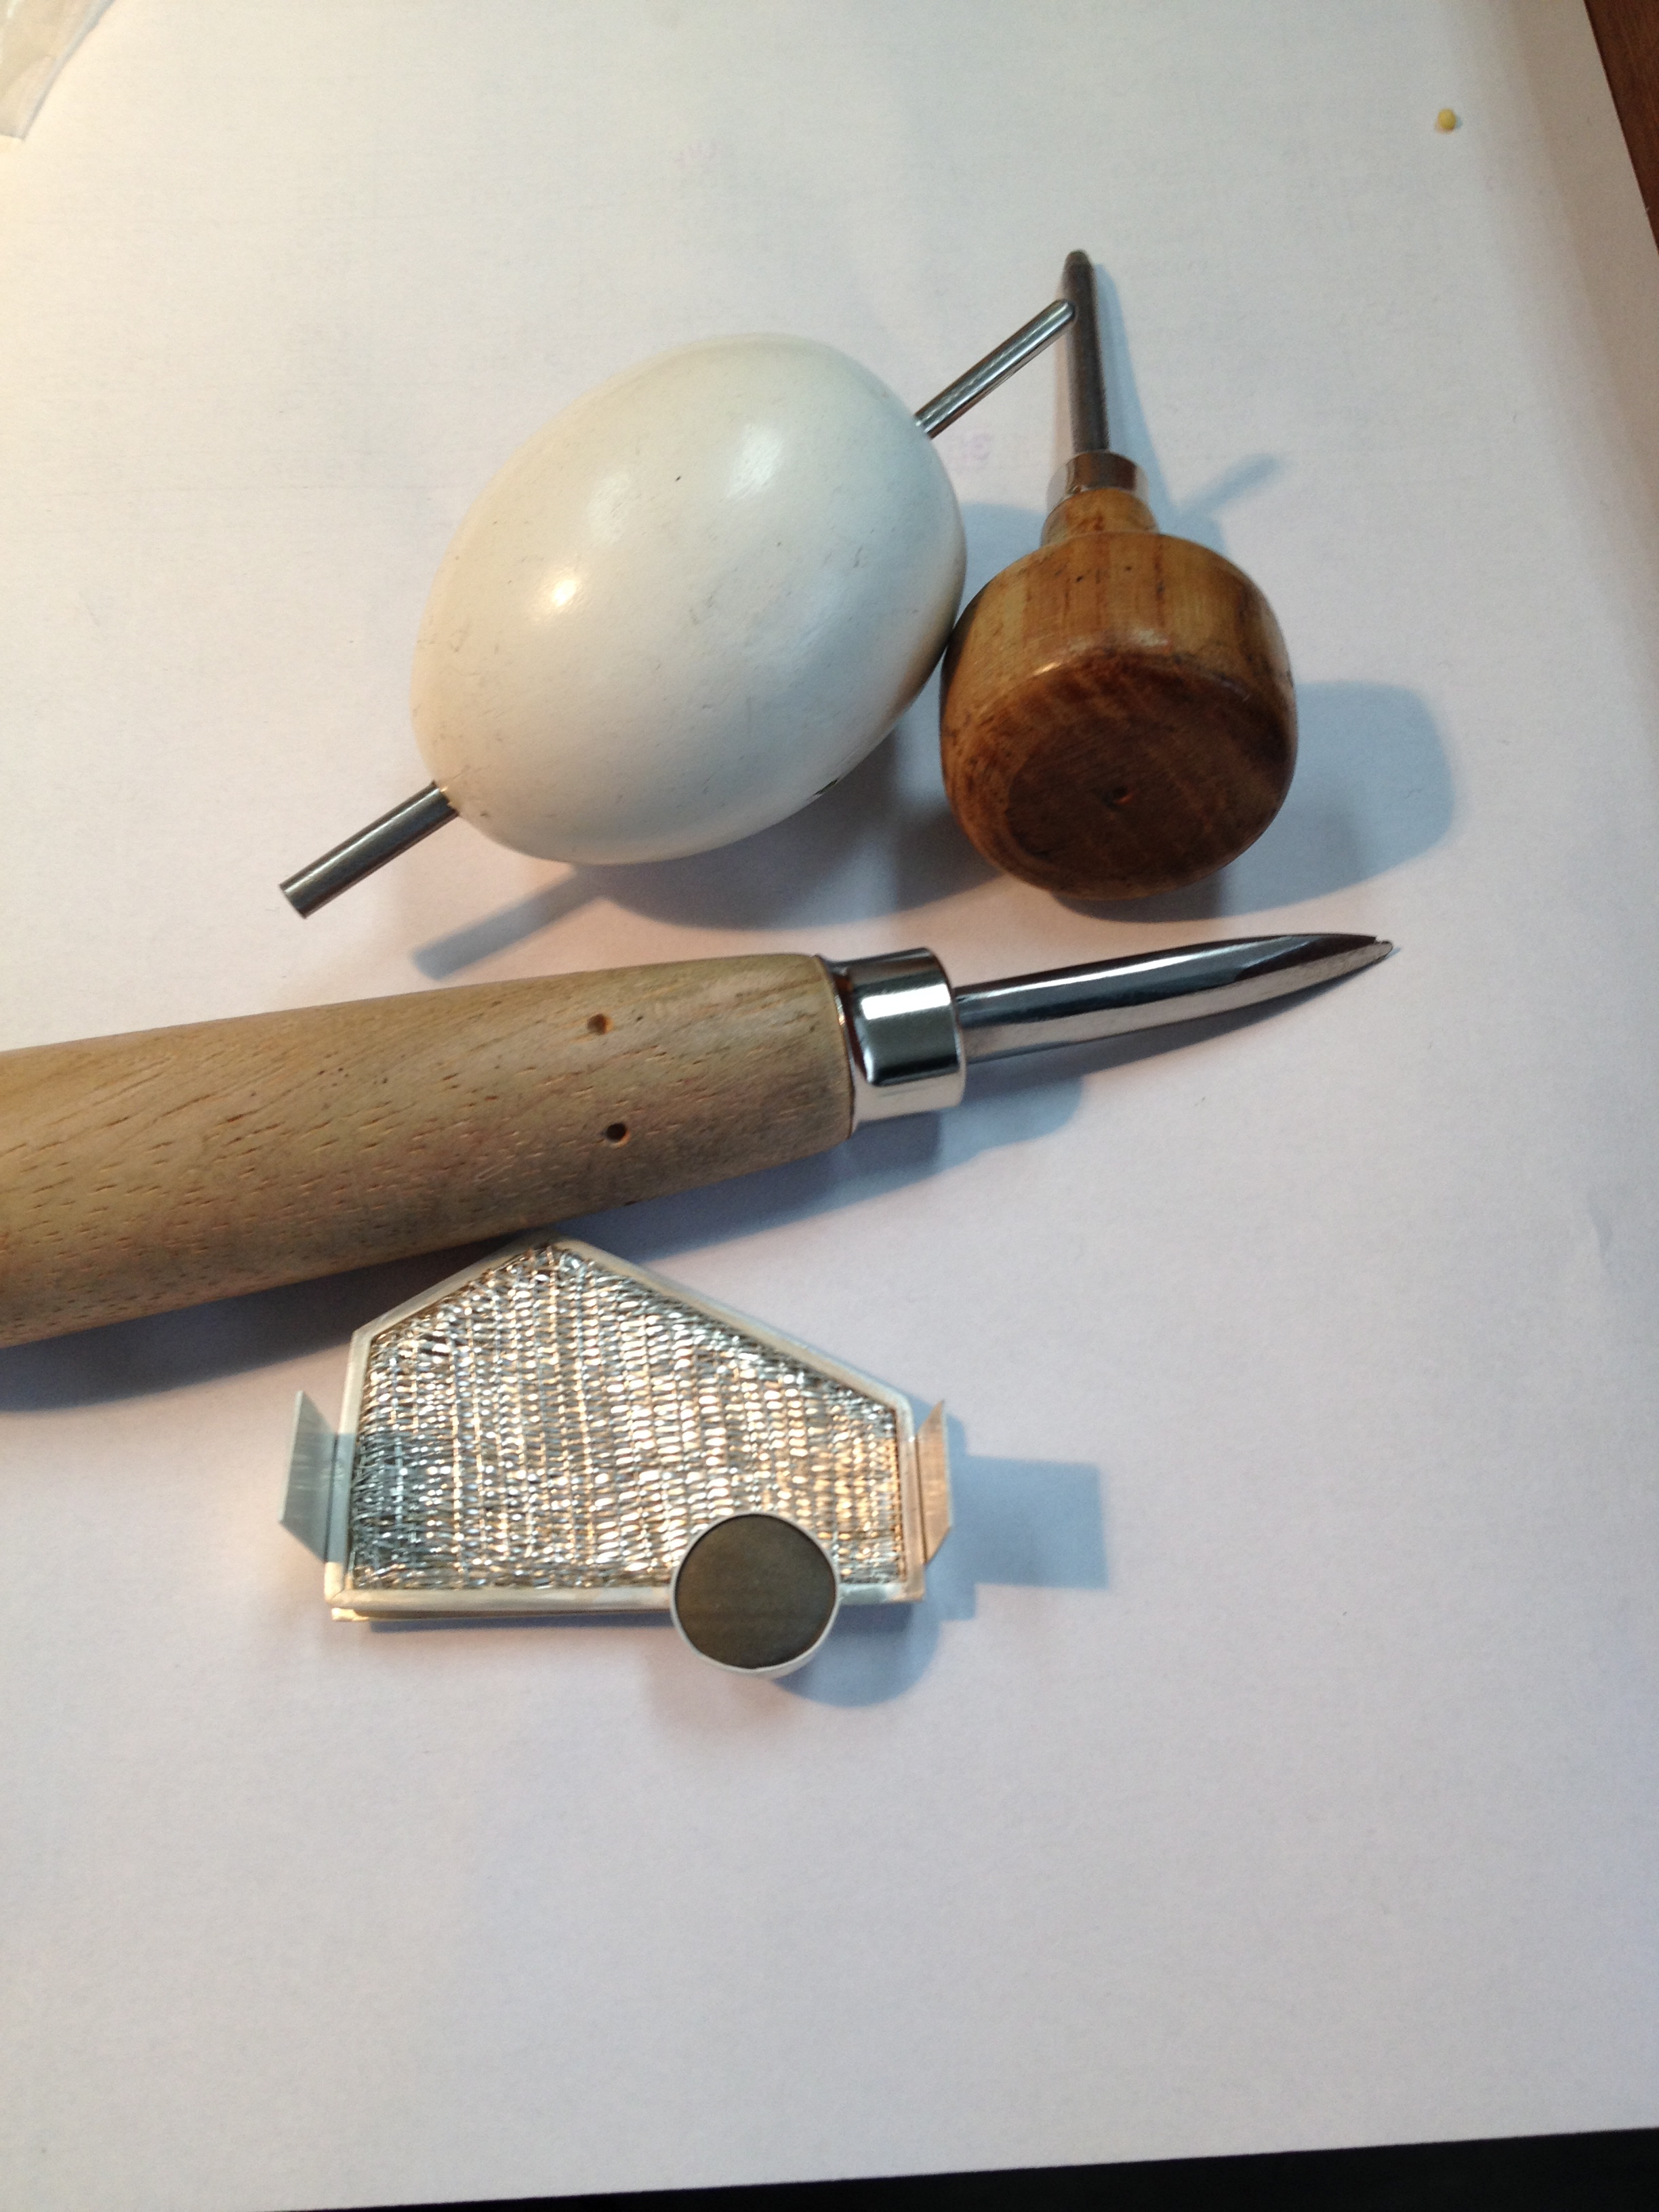 Pushing over the bezel…
 bit by bit…
 by bit…
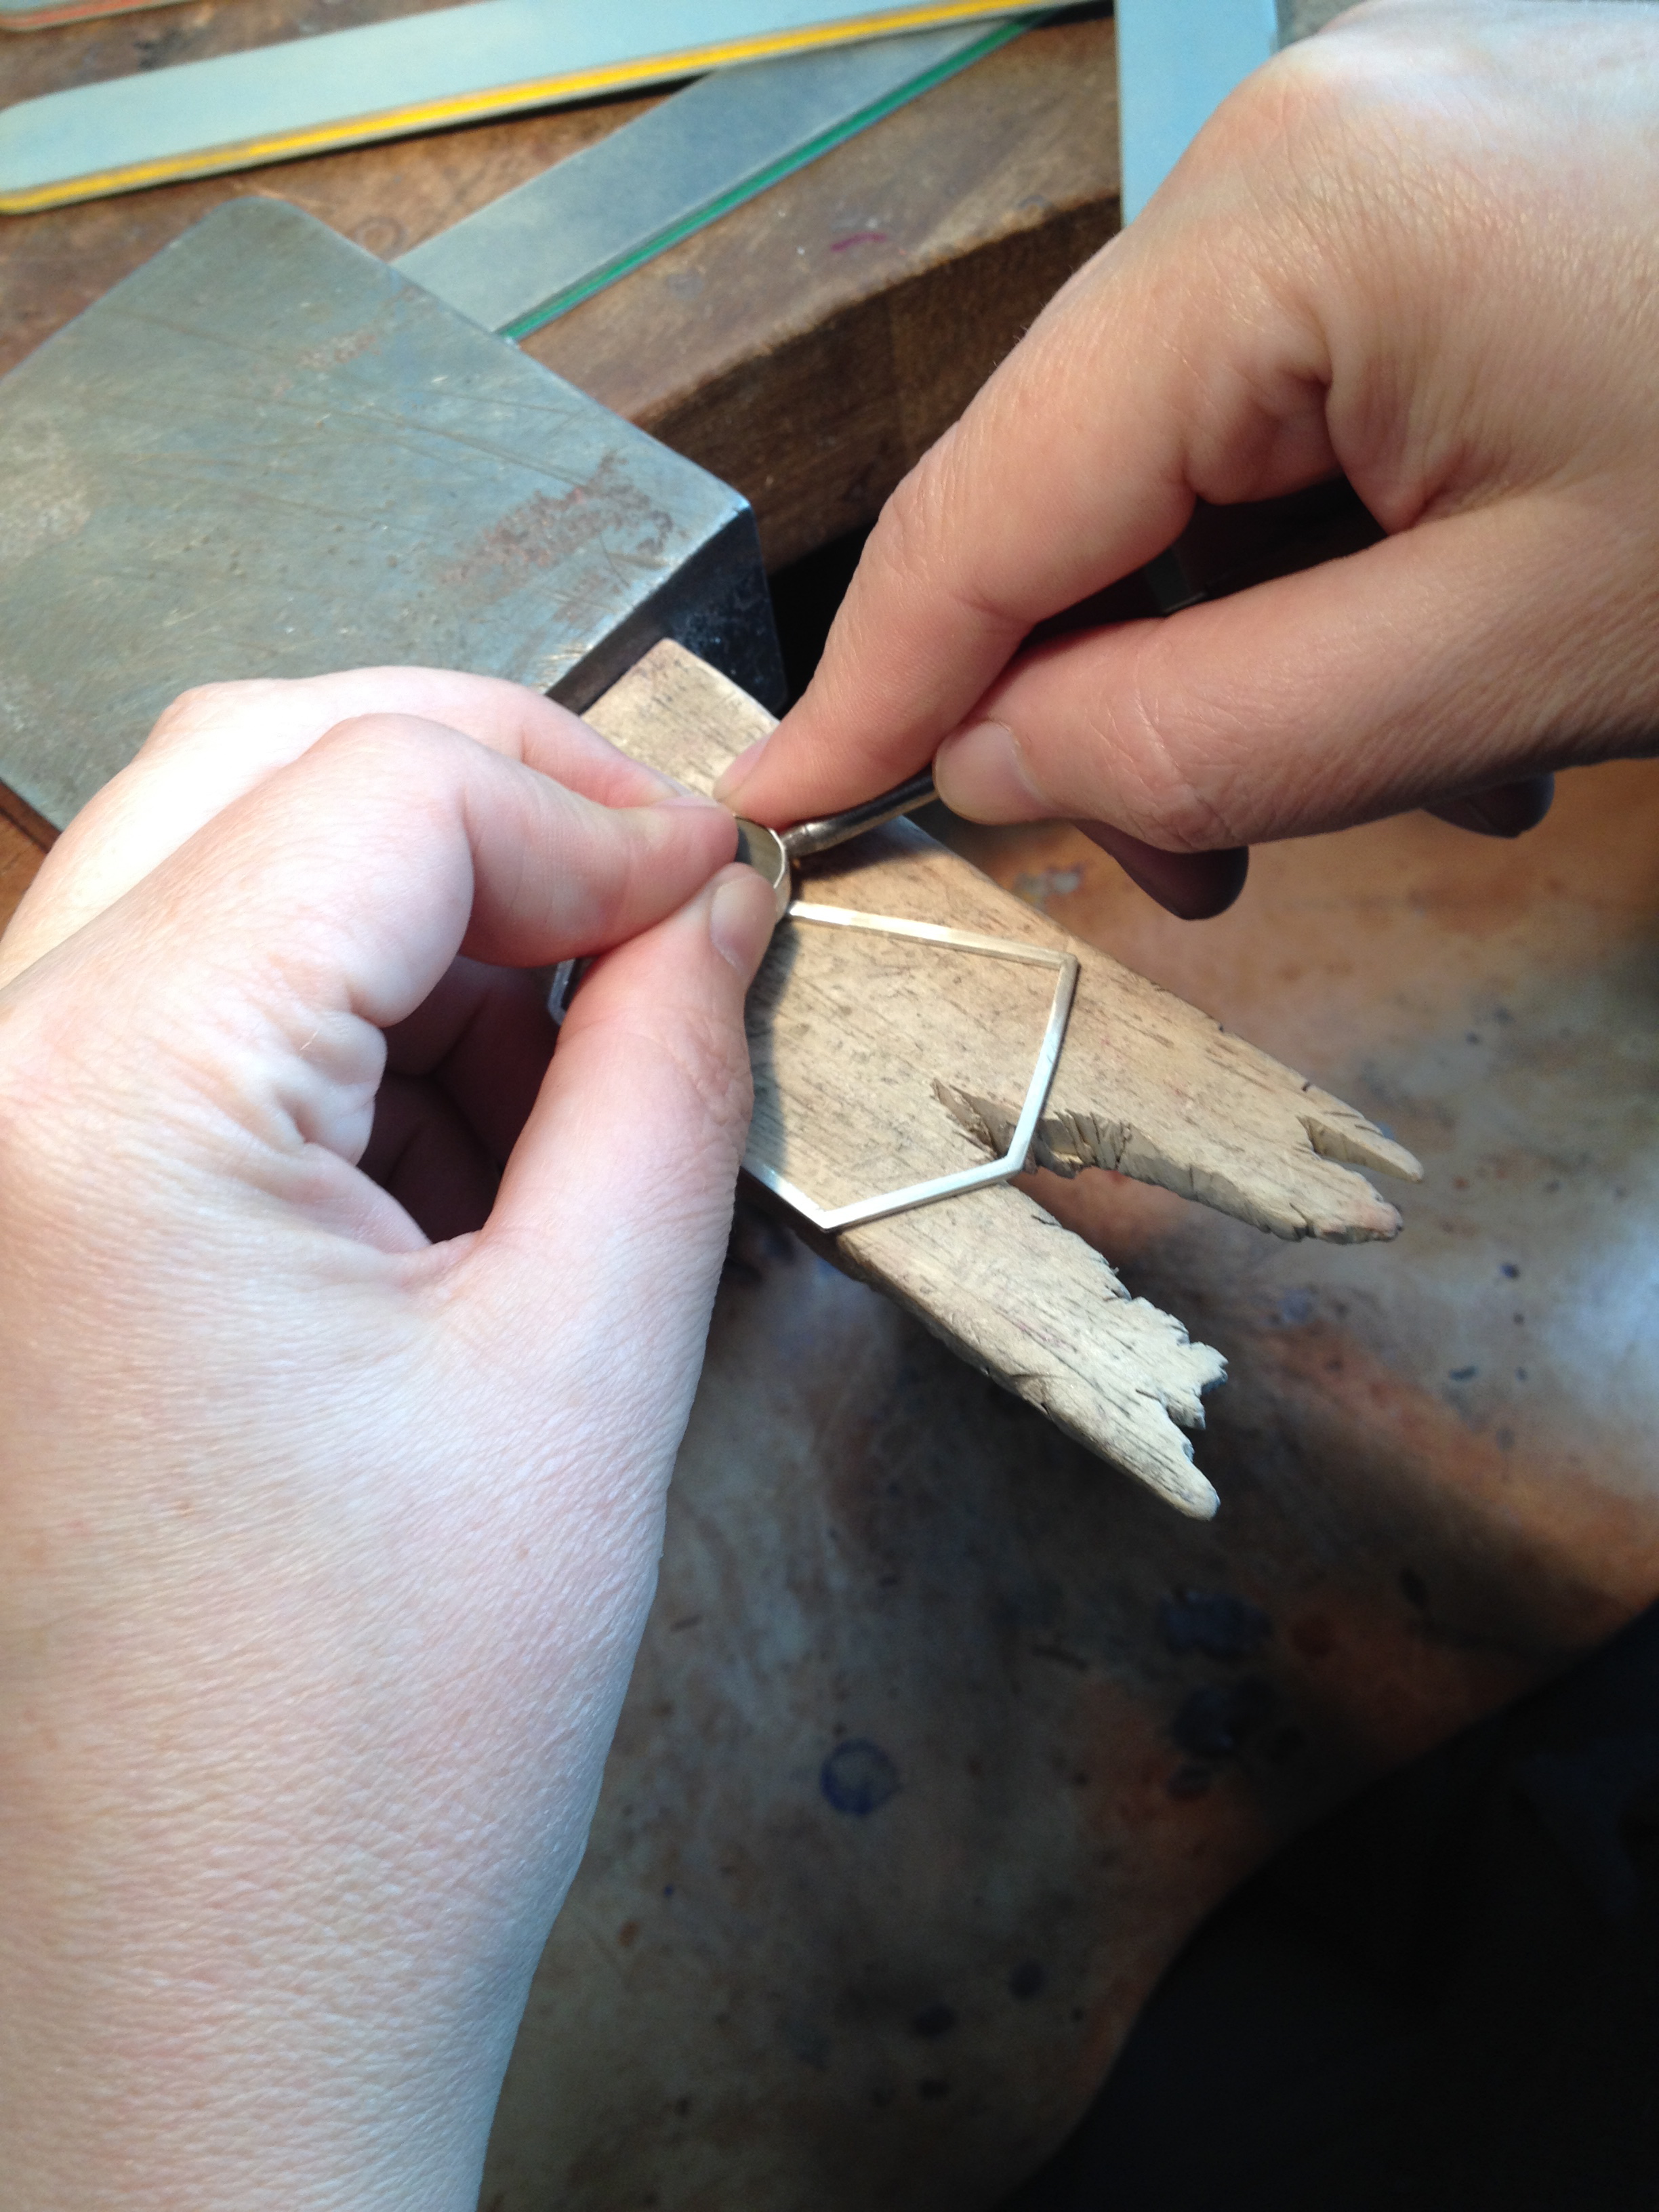
 Burnishing the bezel


