

orkney
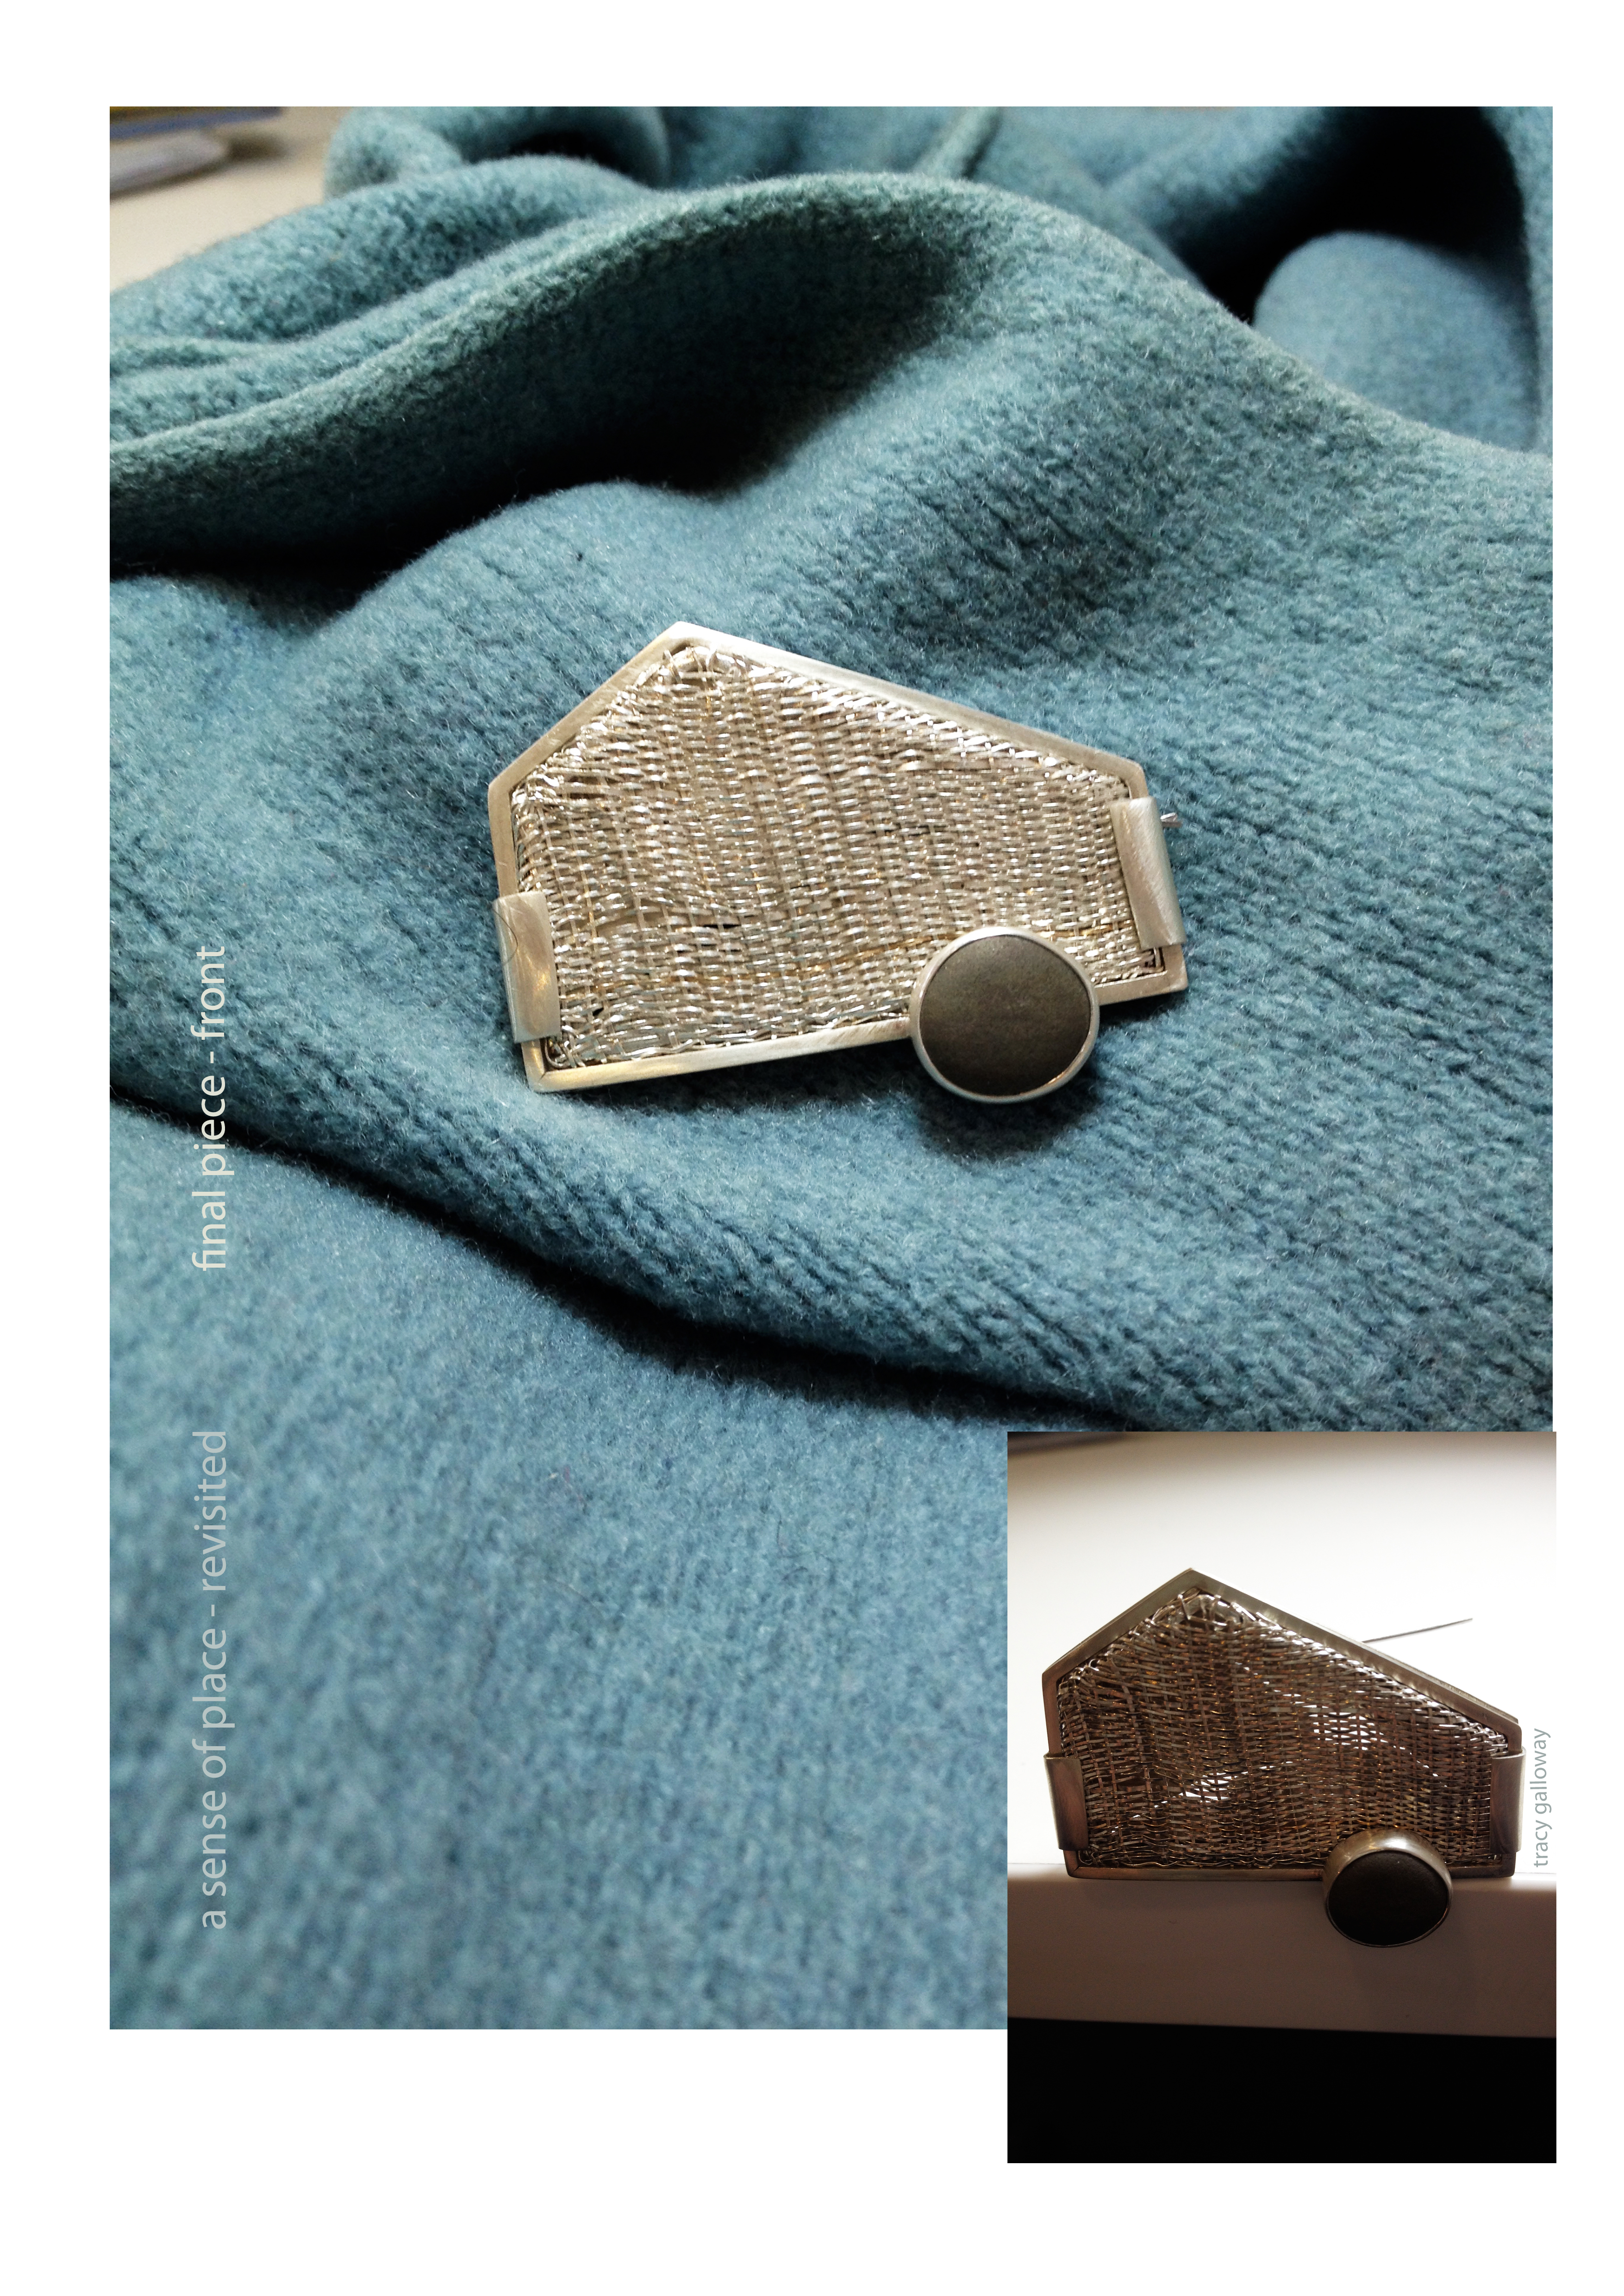
The graded unit piece is (finally) finished! hurrah! (3/3)
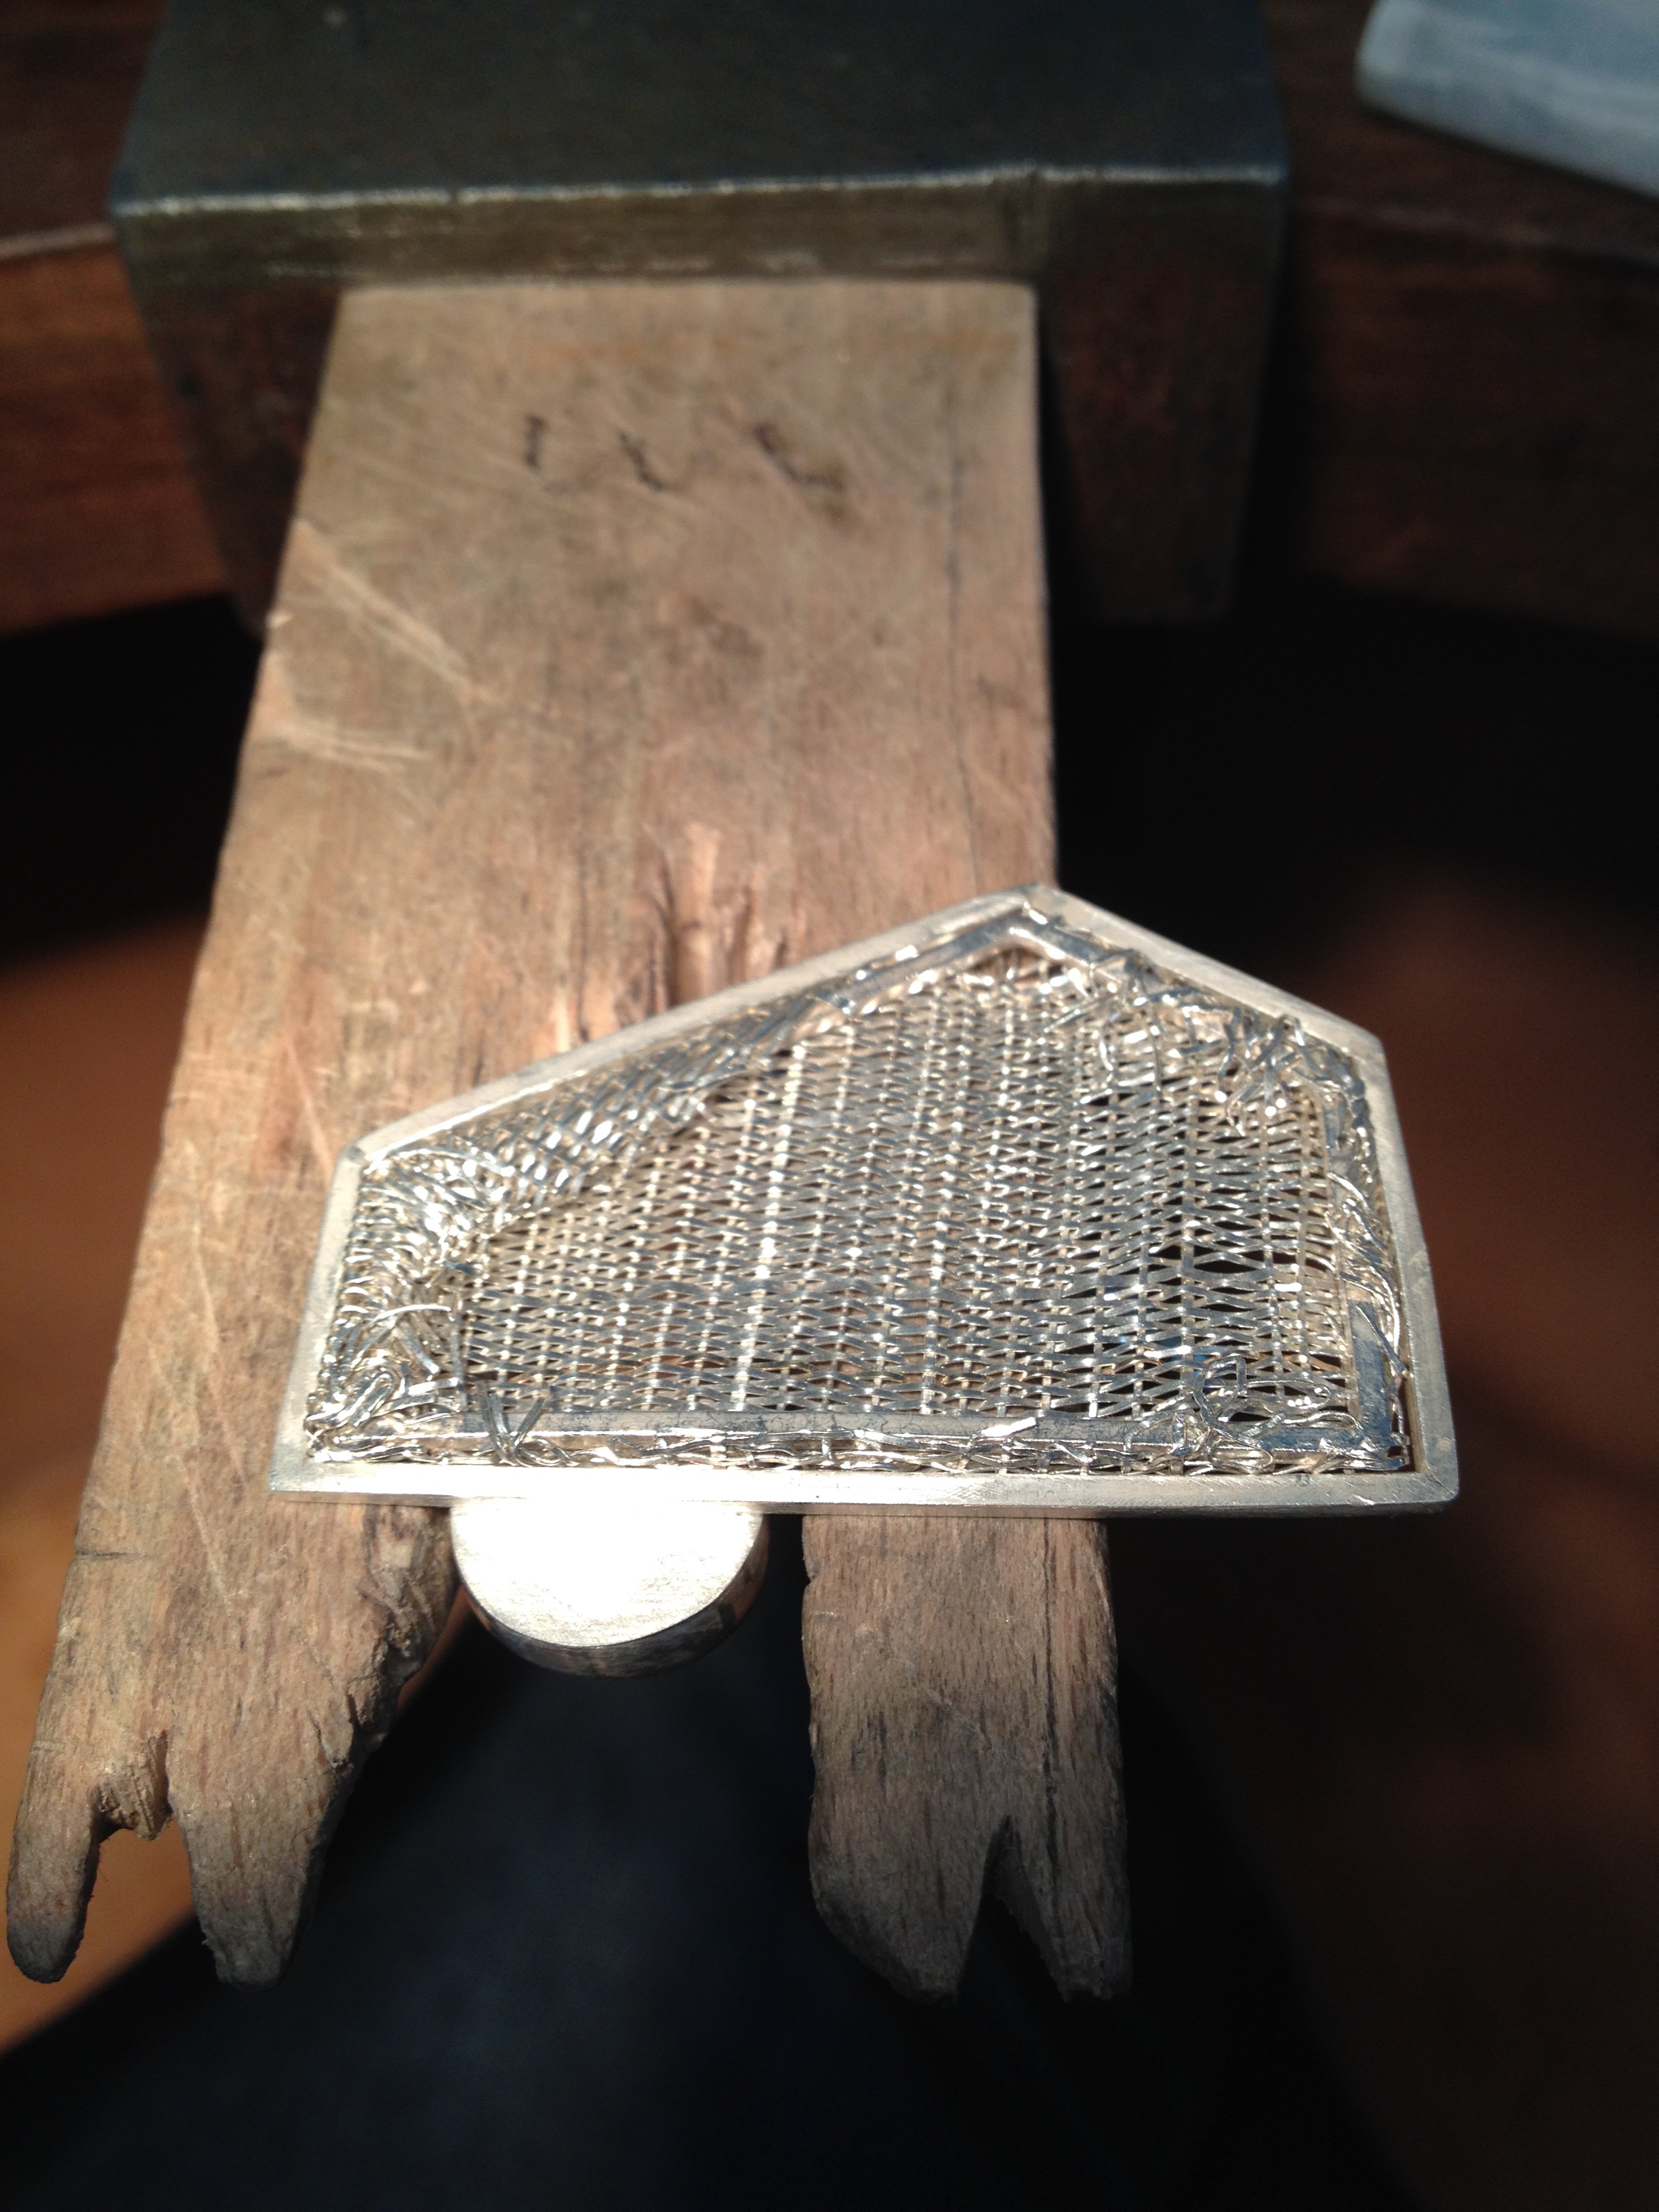
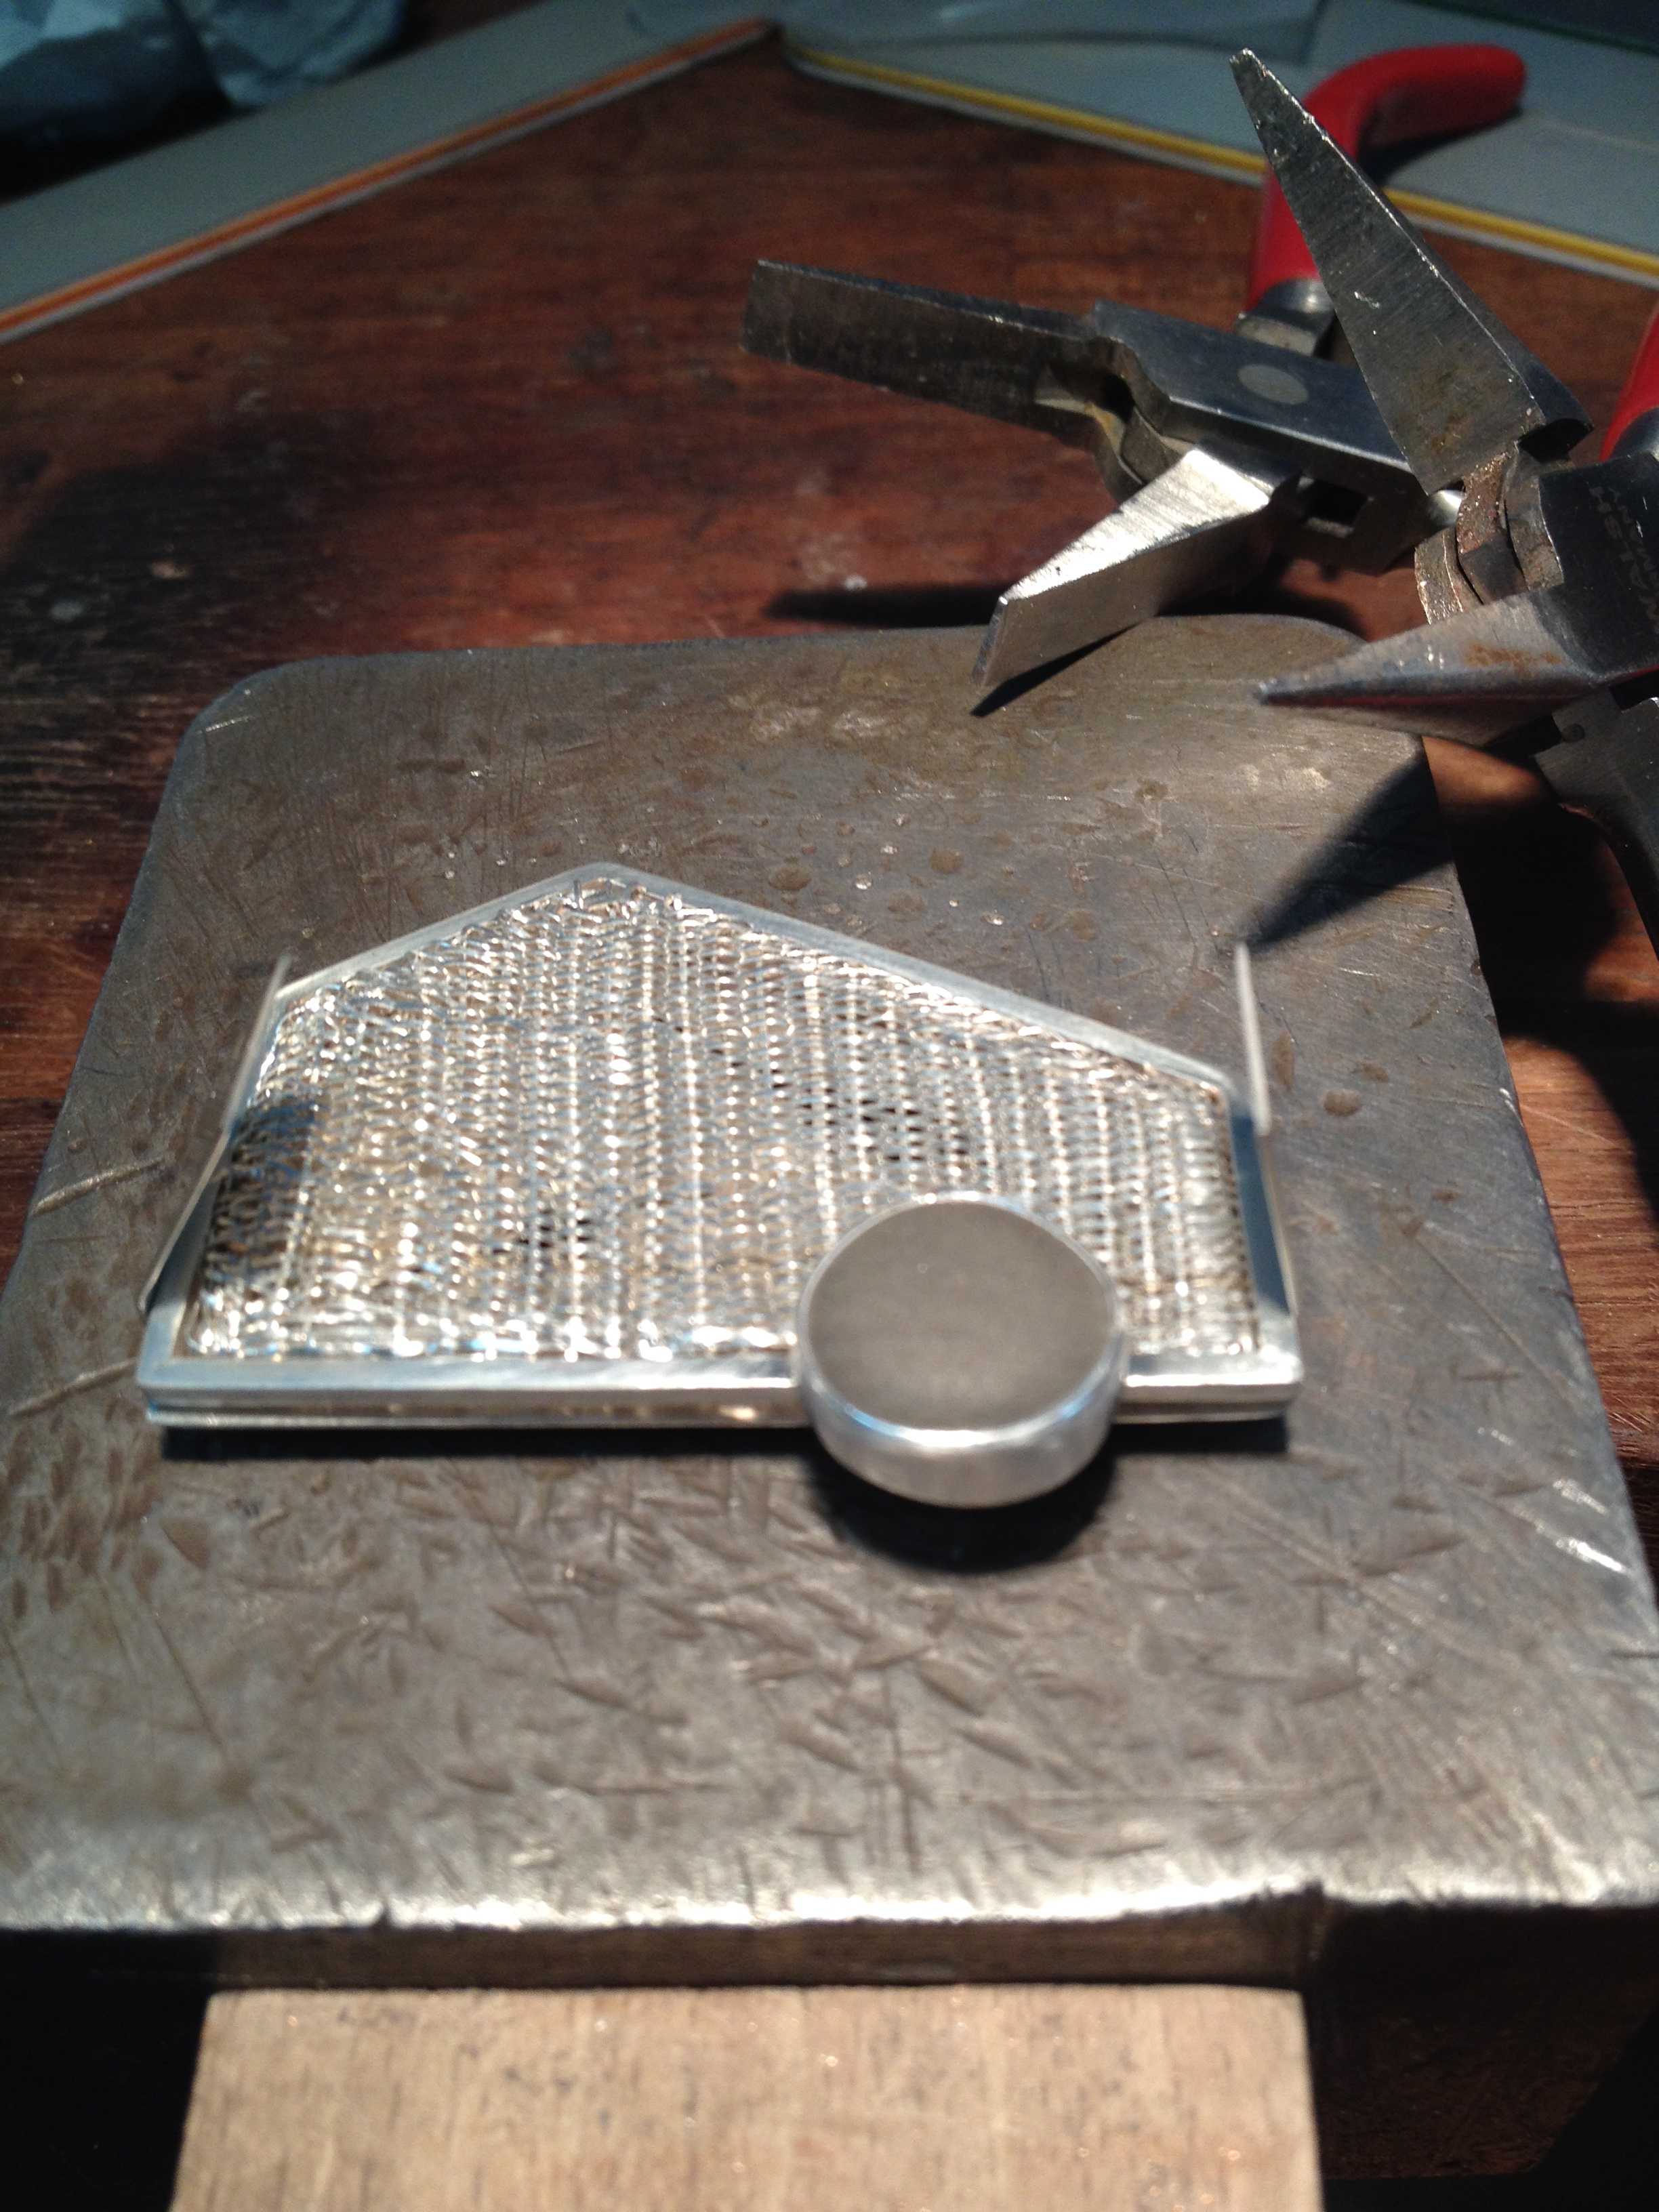
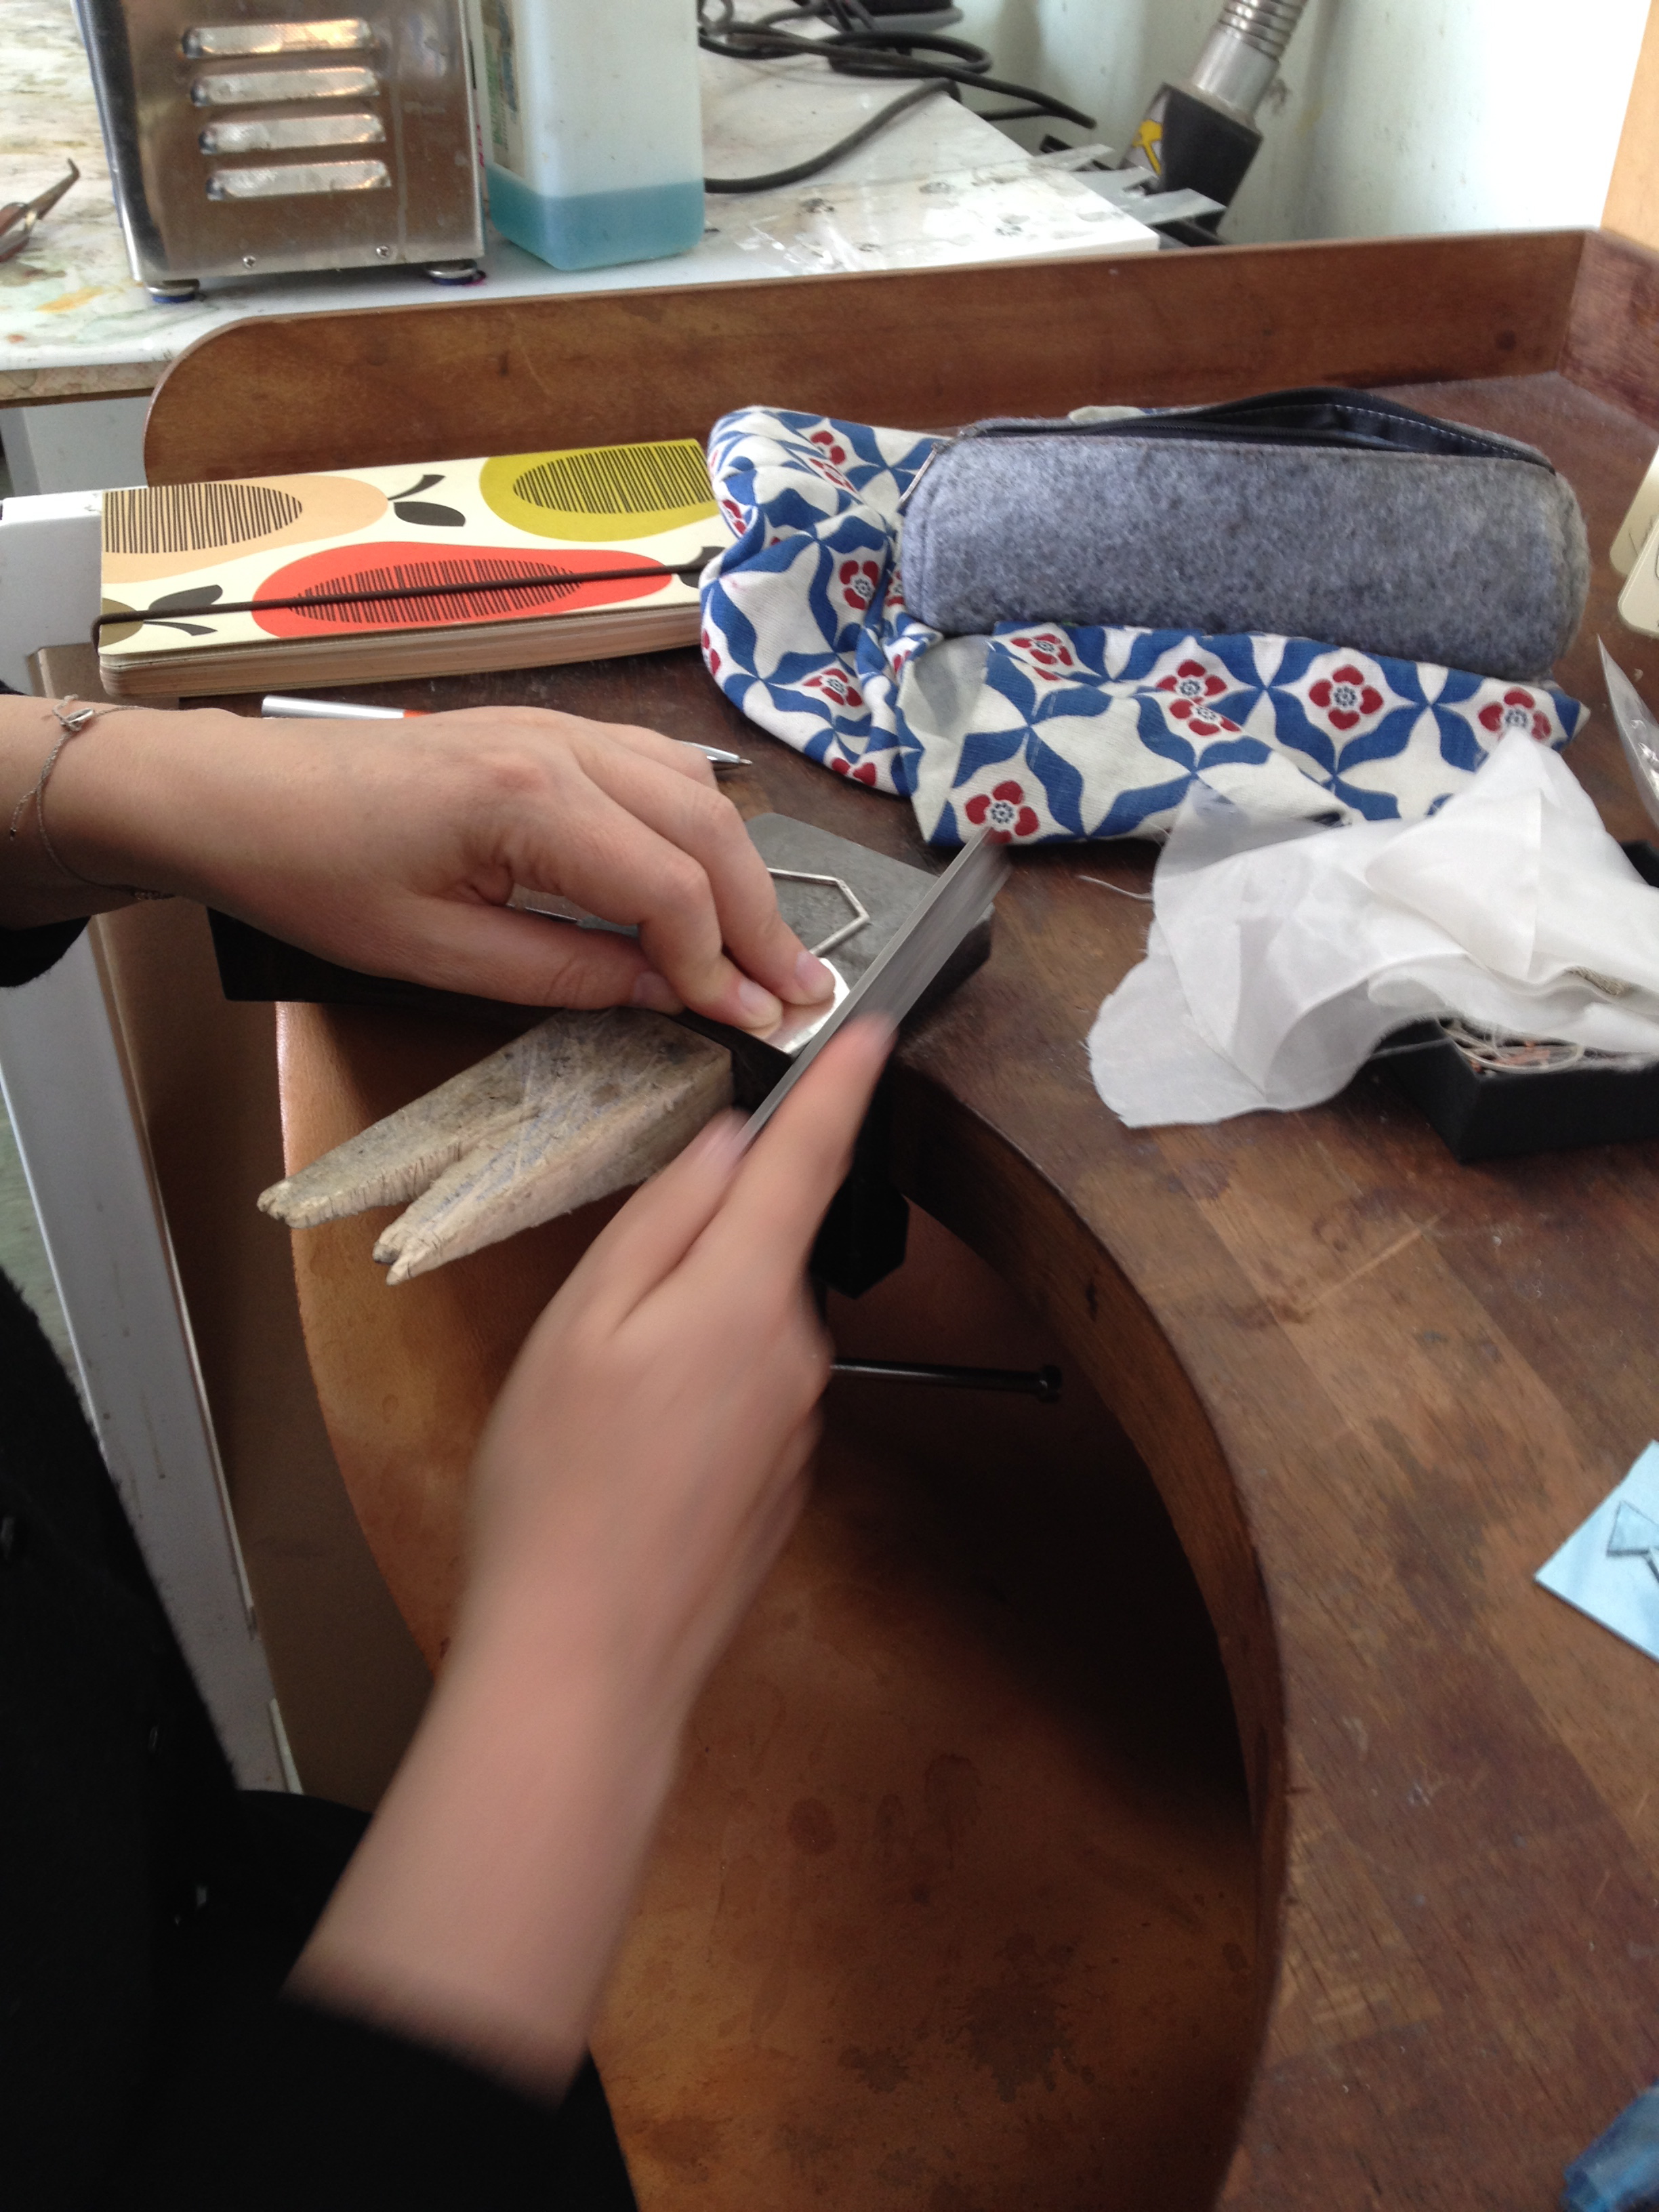
 First things first, solder the bezel to the frame *don’t melt, don’t melt, don’t melt*
 Then set the stone…
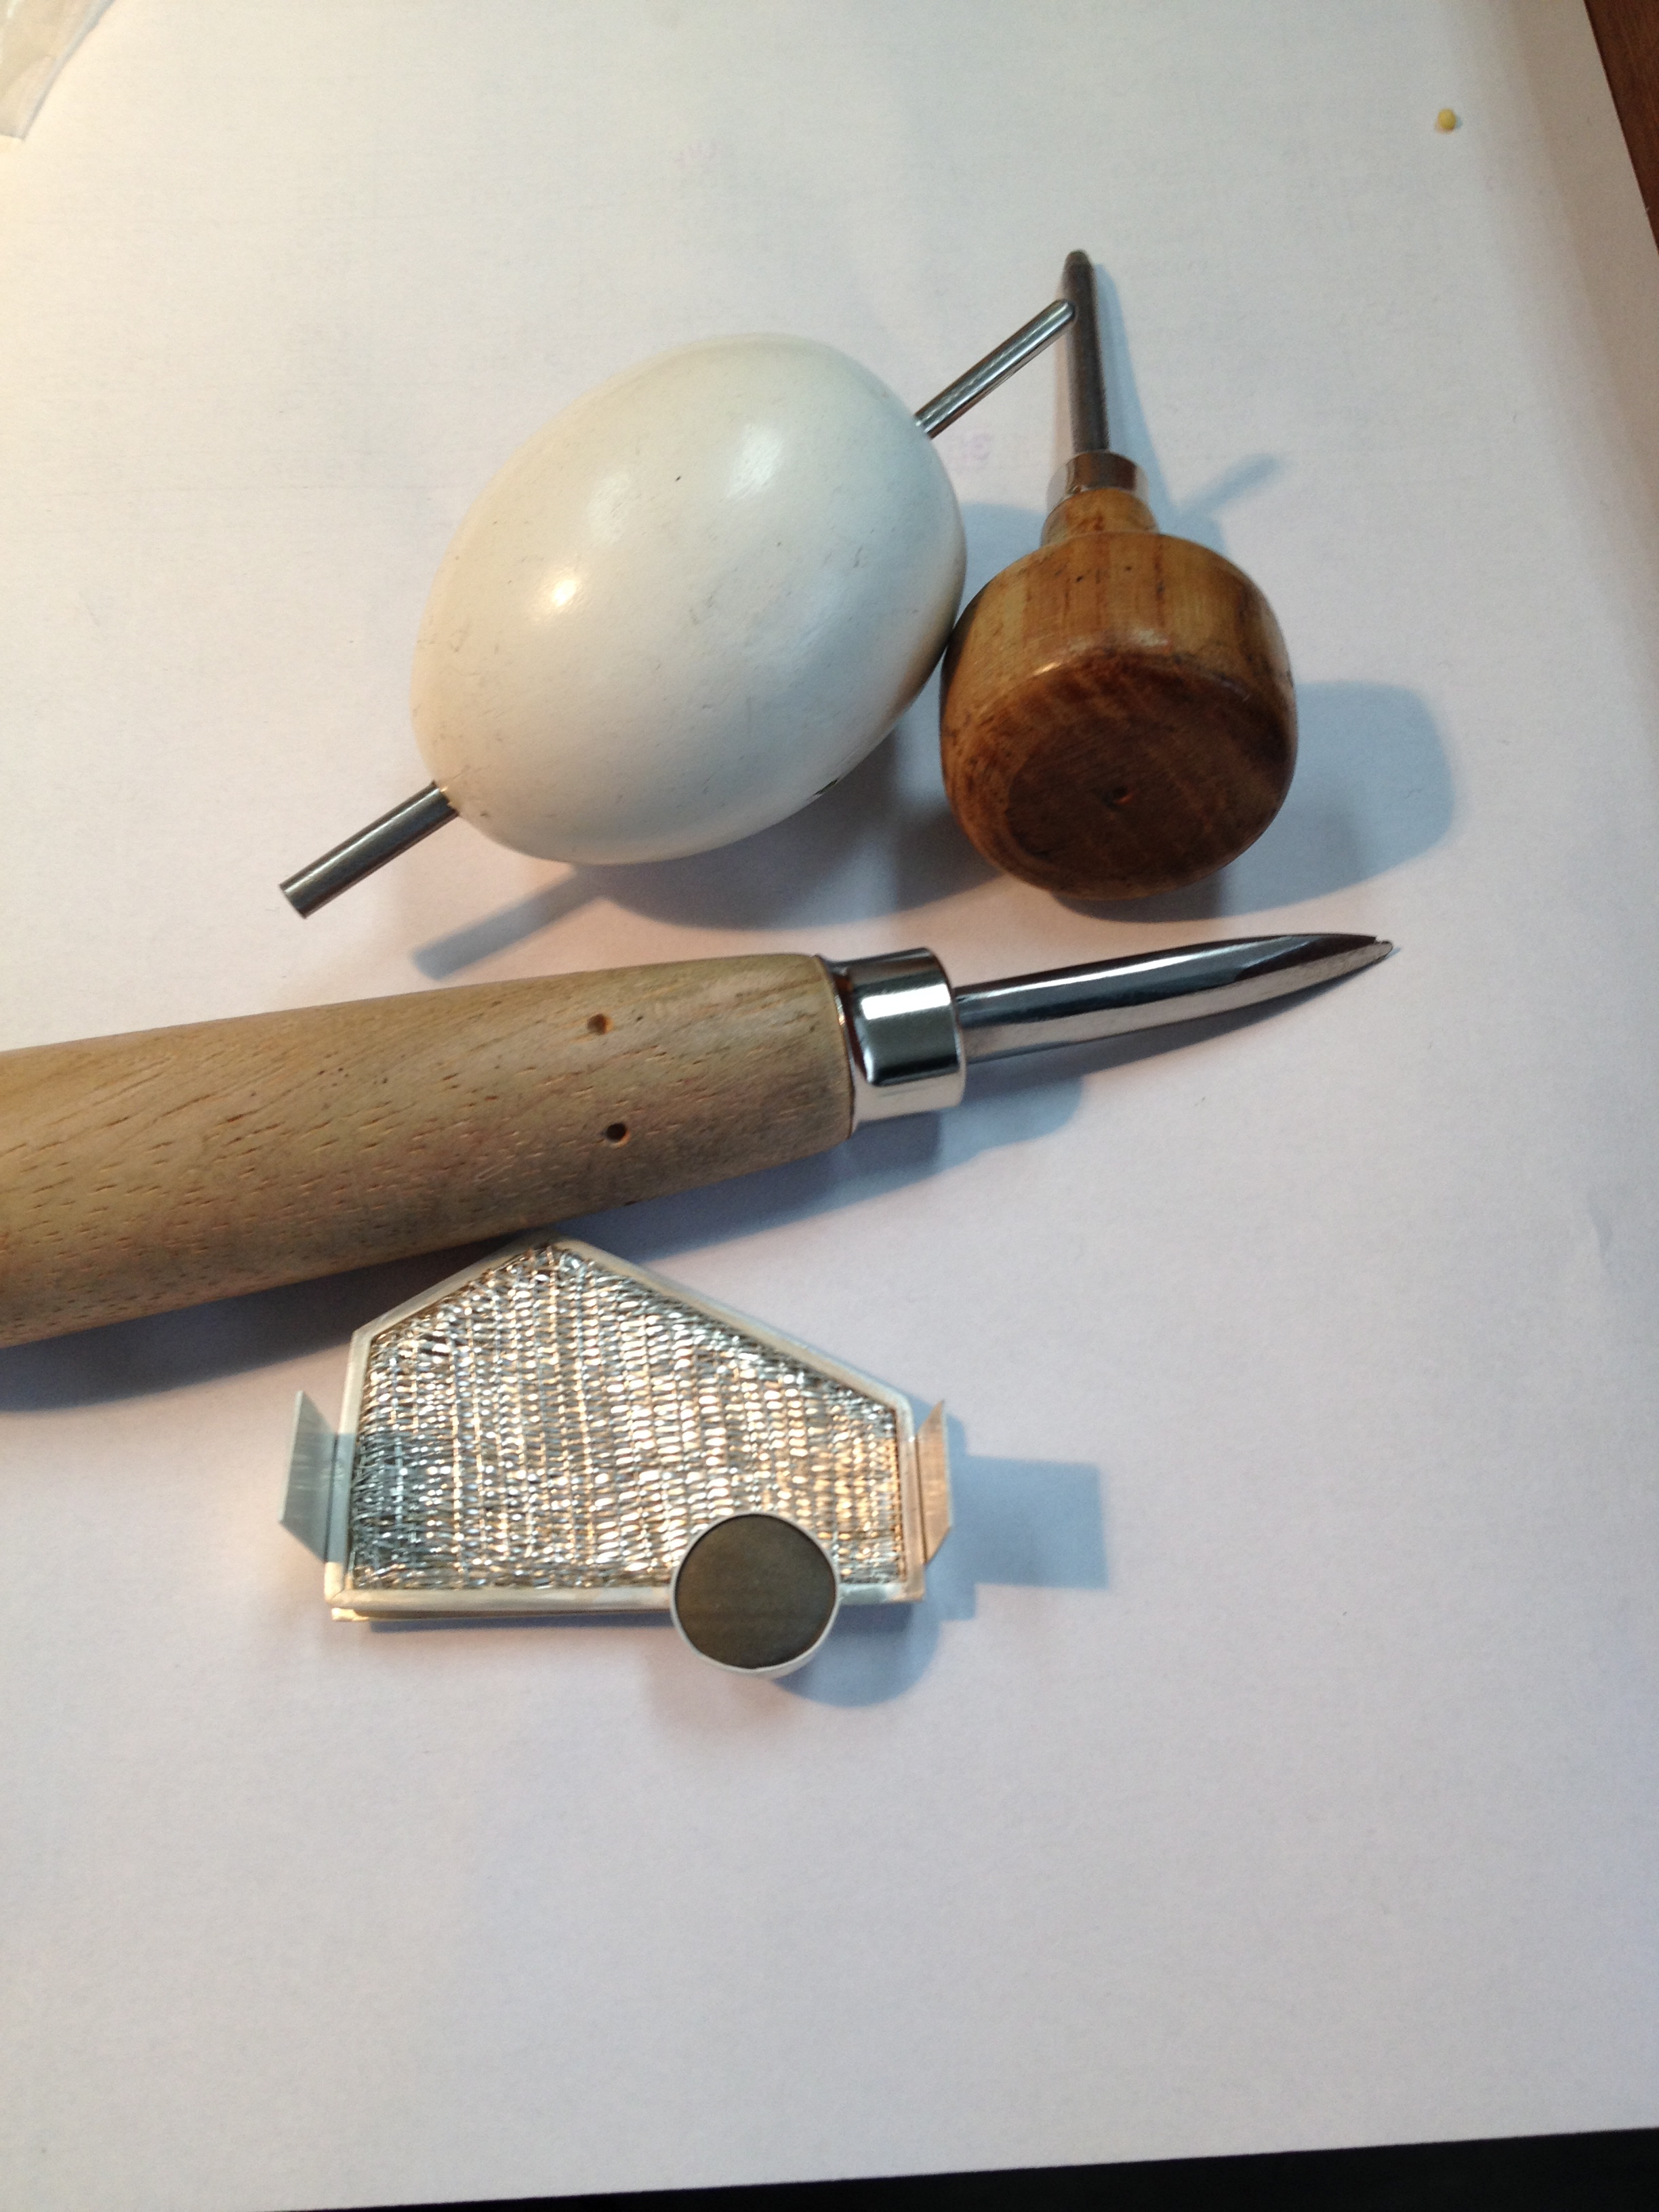 Pushing over the bezel…
 bit by bit…
 by bit…
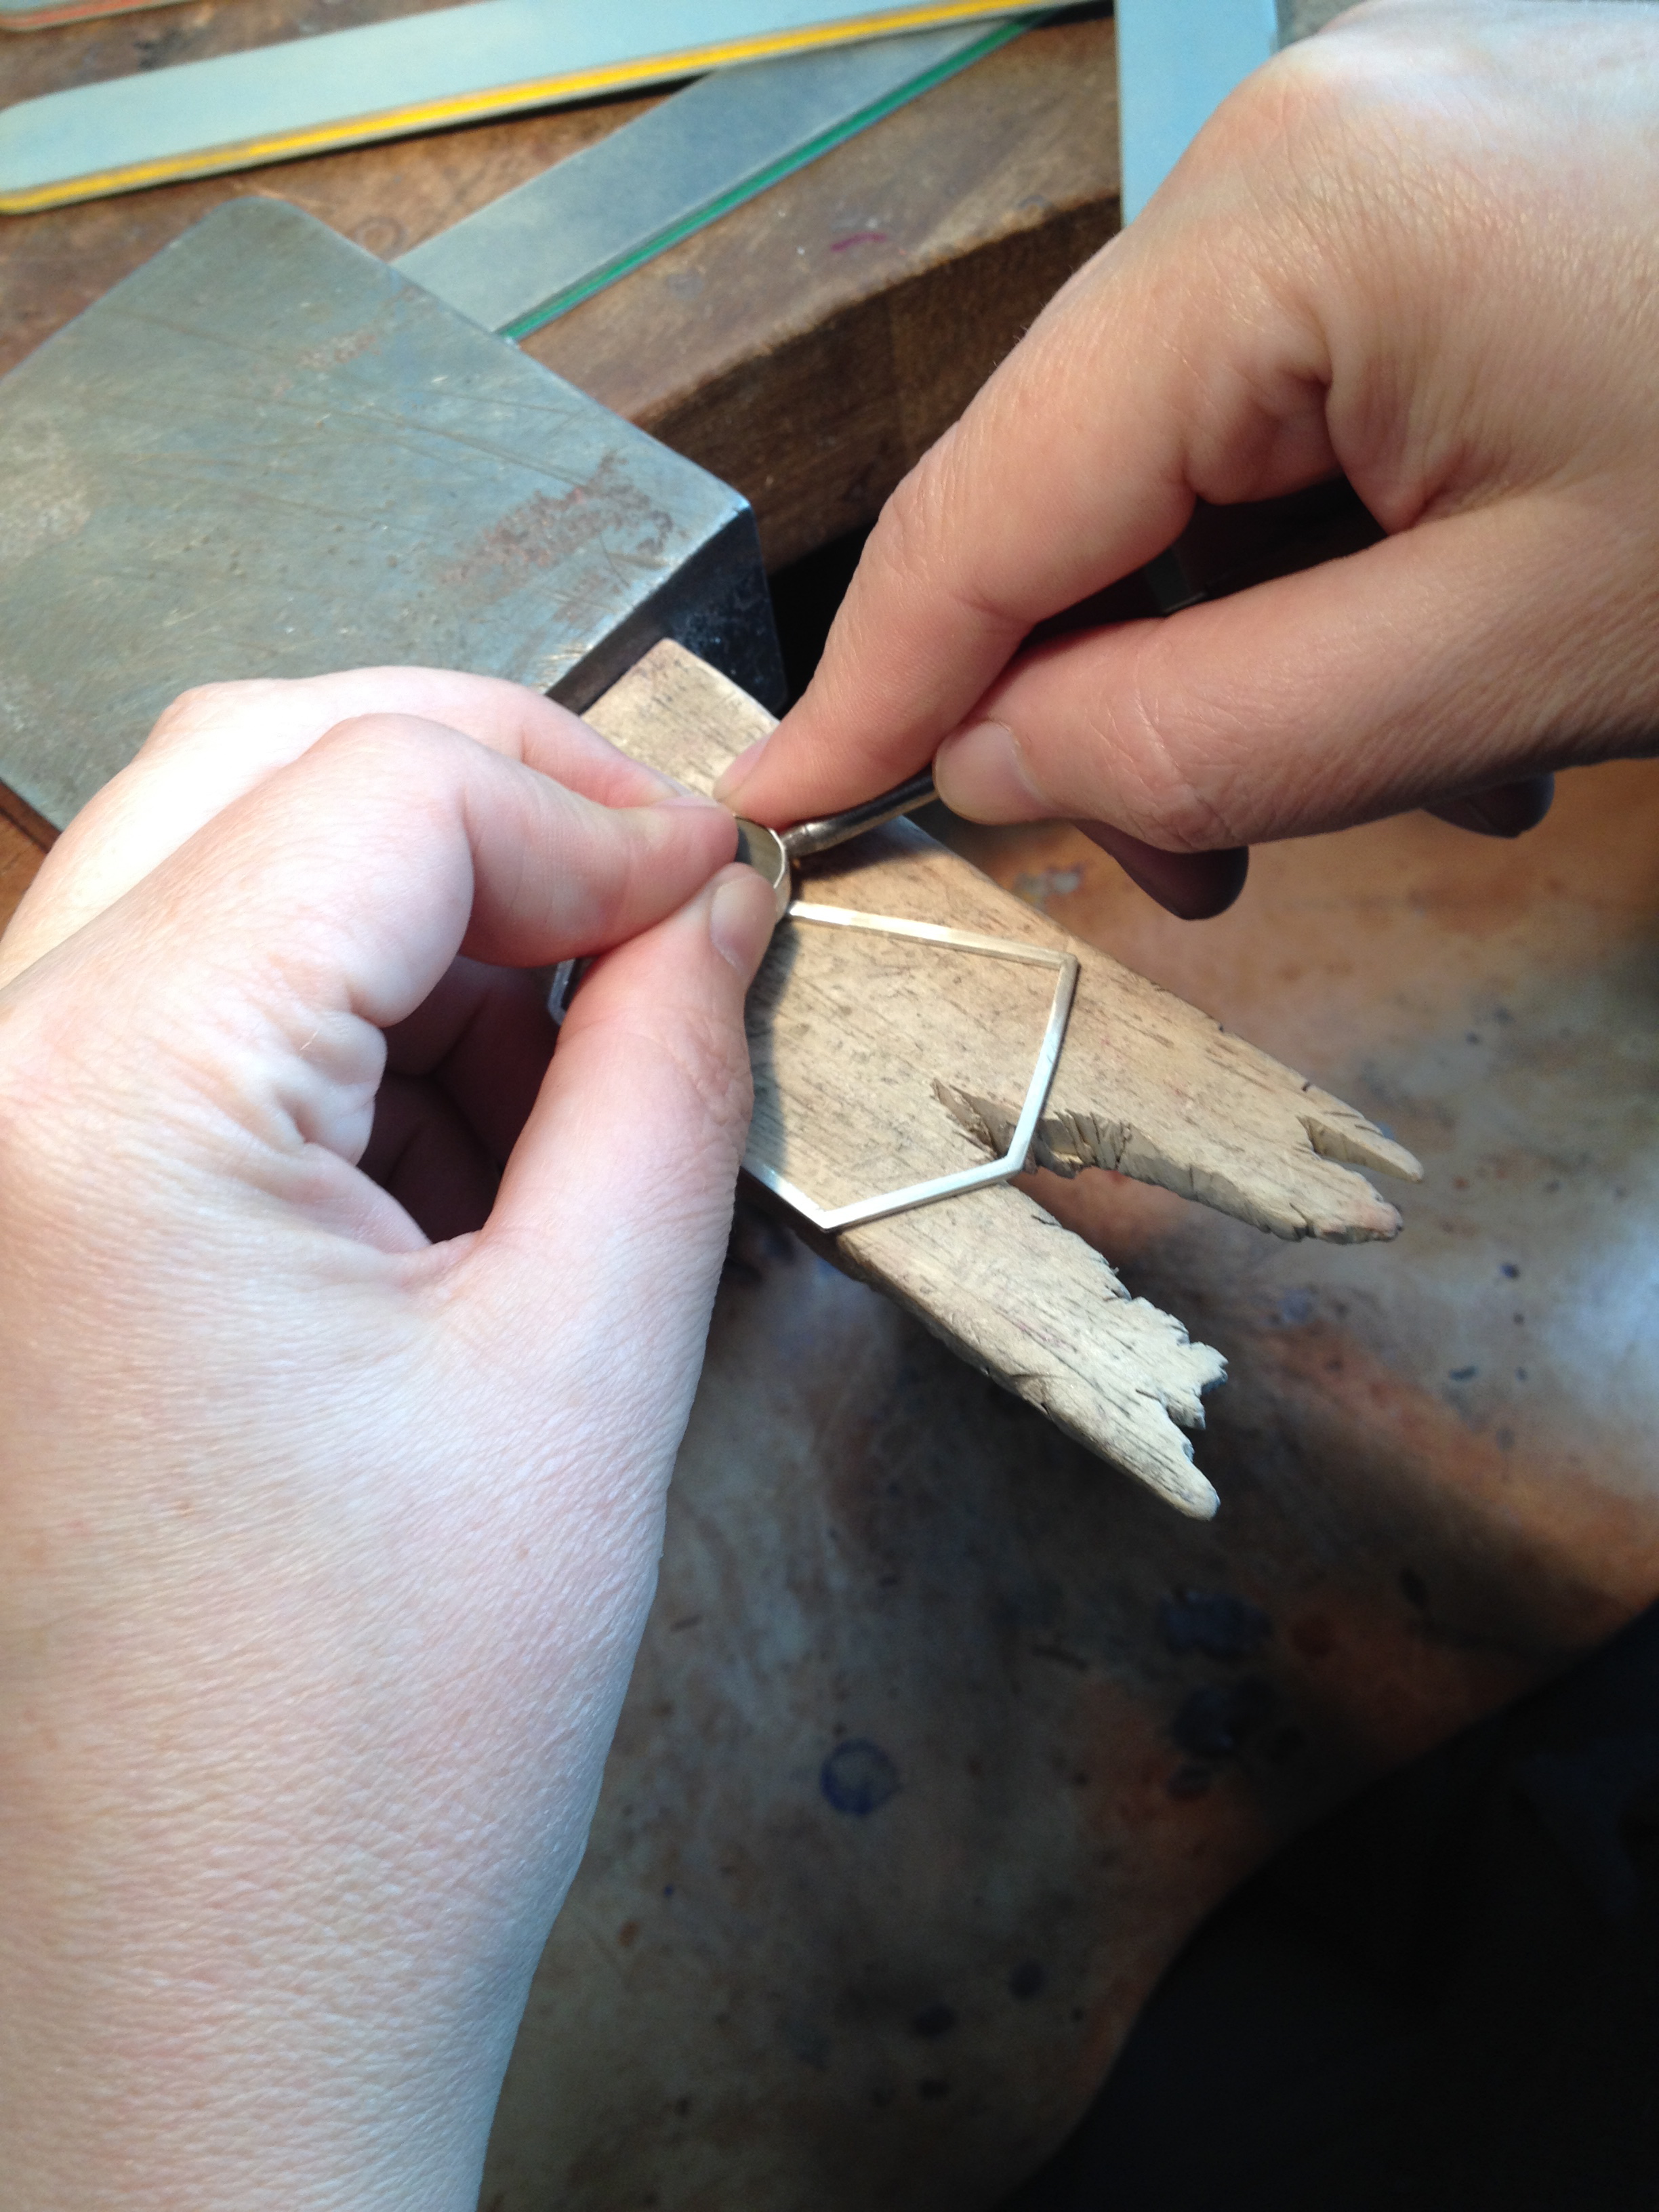
 Burnishing the bezel


Graded Unit Continues, Design Boards Begin… Part One…
This weekend is officially dedicated to putting my Design Boards together!! No more time left to procrastinate, though I’m sure I’ll still manage ;)) Listening to KC – And the Racket They Made – to set me off on the right atmospheric track ;)) https://www.youtube.com/watch?v=BQaFxPeI1Vg&list=RDBQaFxPeI1Vg May have to put The Magnetic North on a loop later to really feel that Orkney spirit – the whole album mind, not just this one track – that would be a wee bit obsessive, even by my standards ;)) https://www.youtube.com/watch?v=1tb2Ebf0gYI
In other news, this week has been full of making! The Graded Unit brooch continues unabated, despite my best efforts to melt bezels and completely forget how to saw in a straight line…
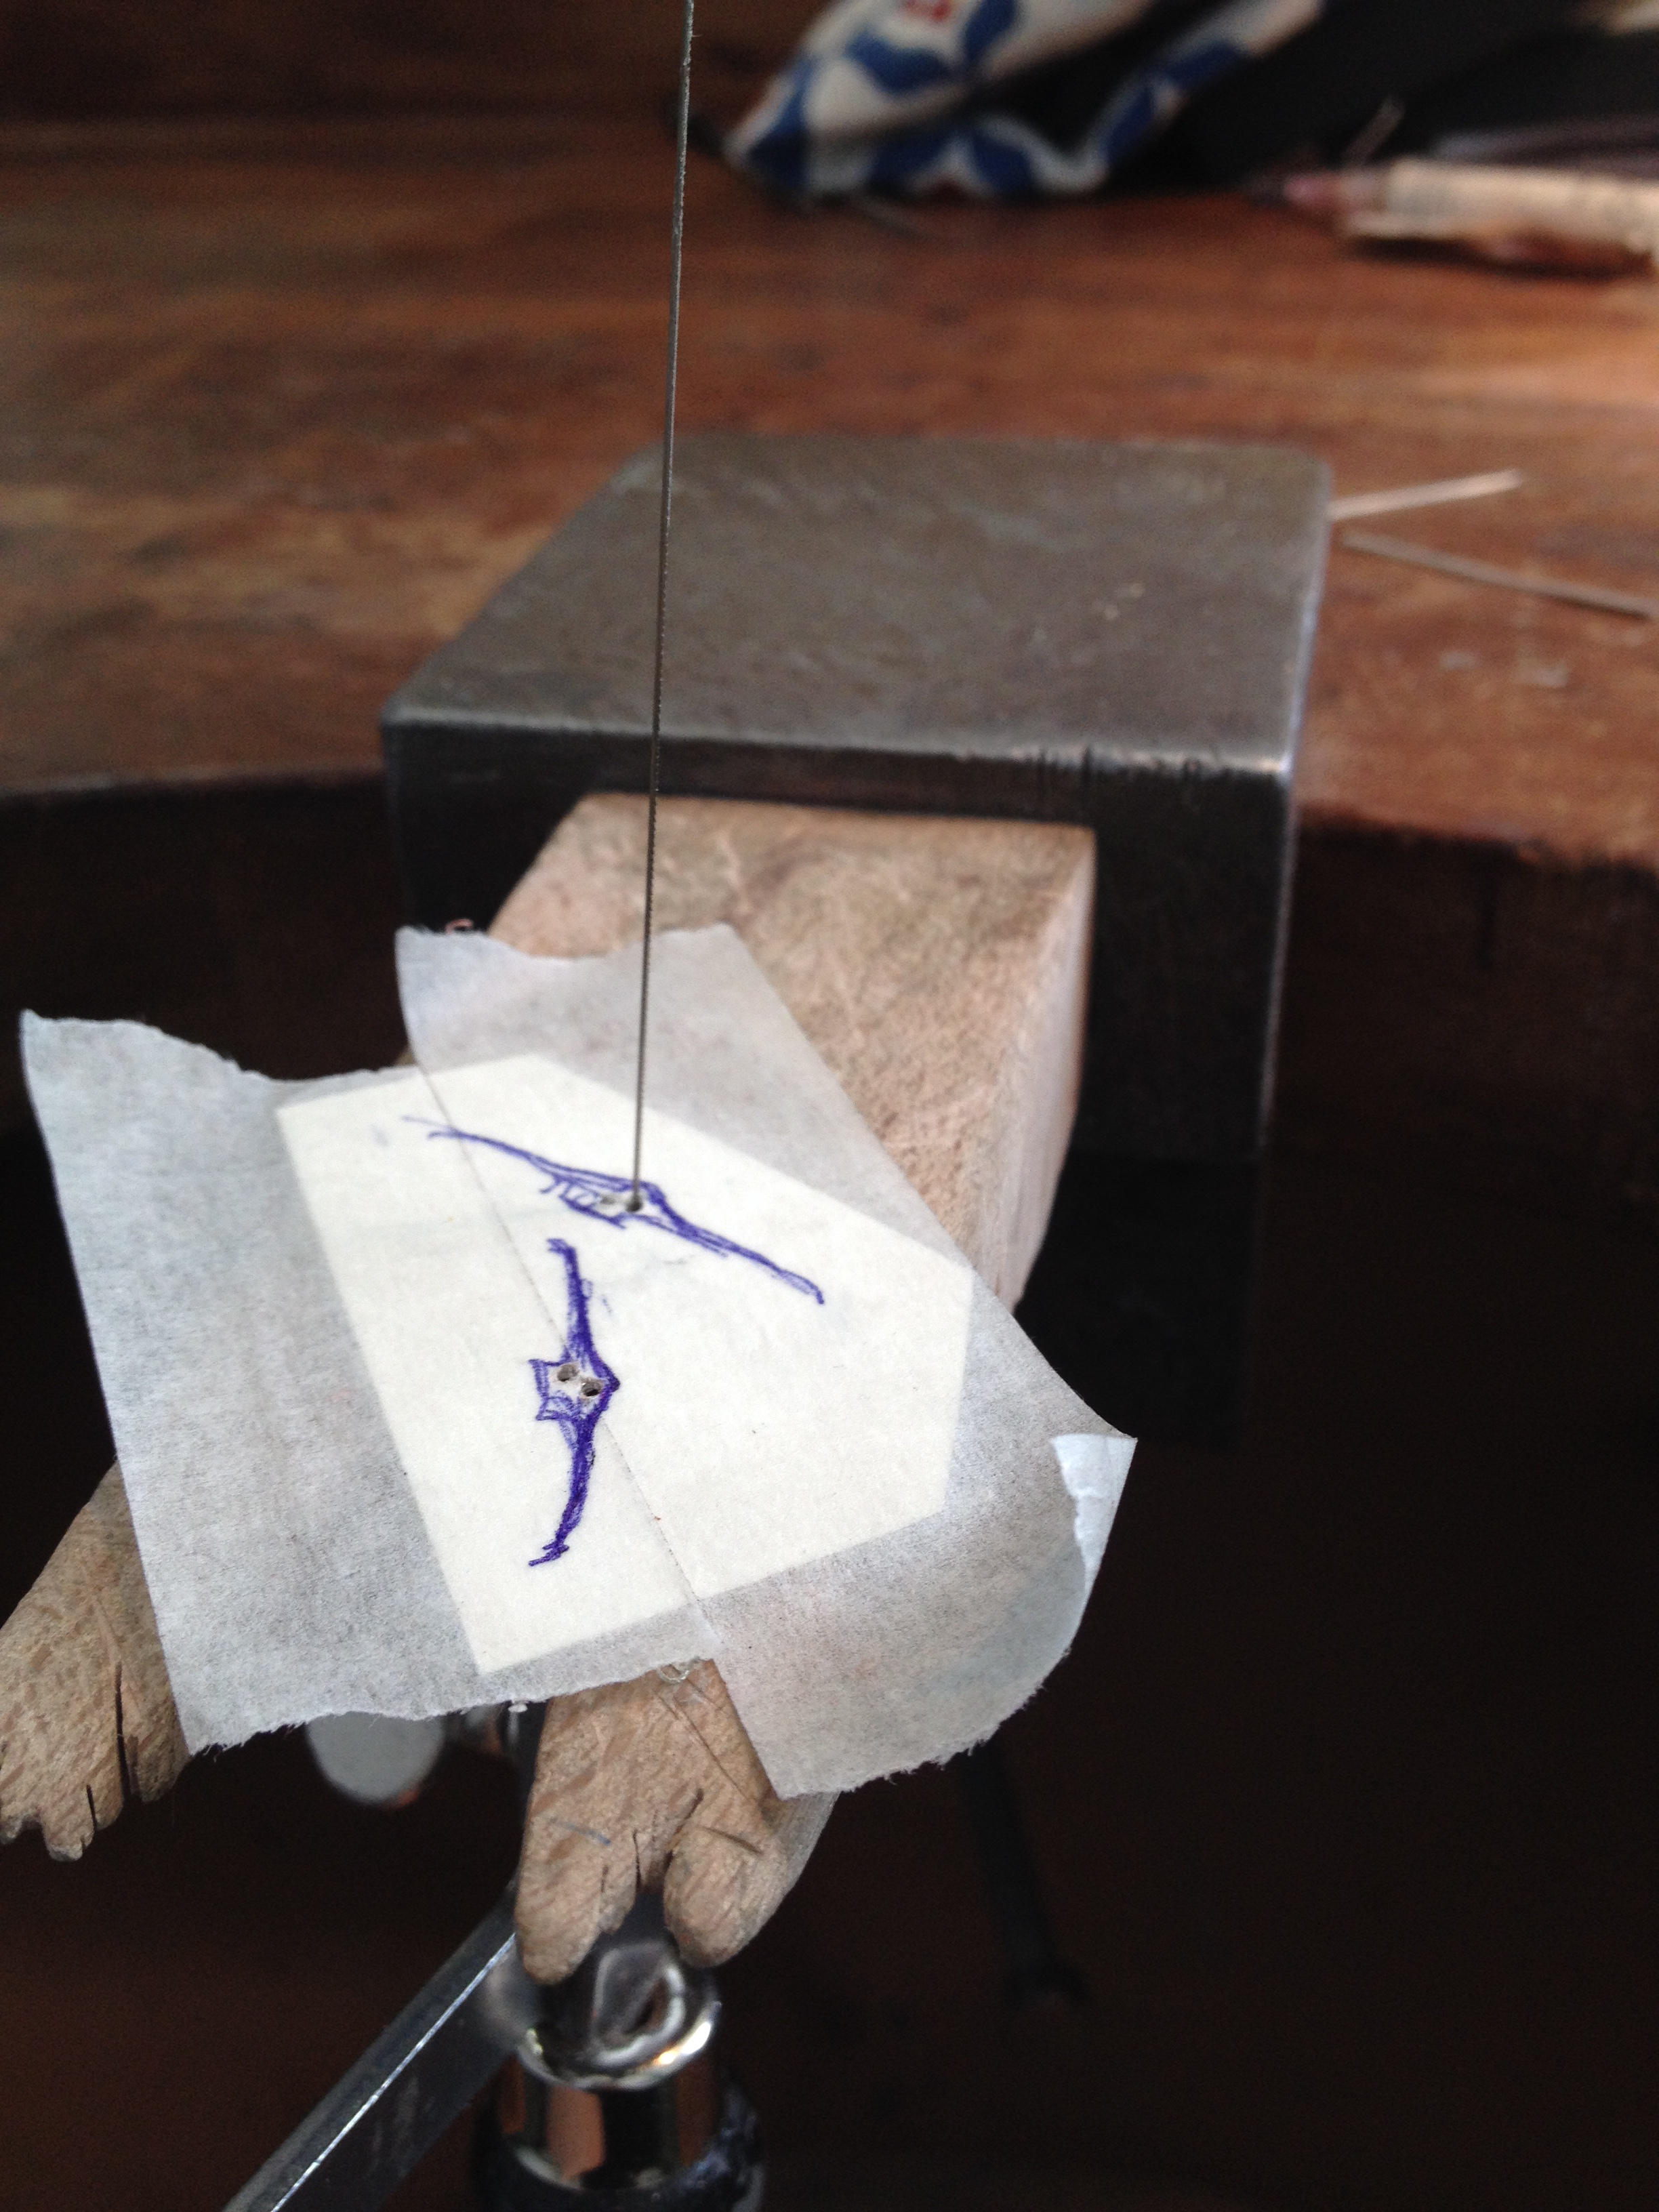
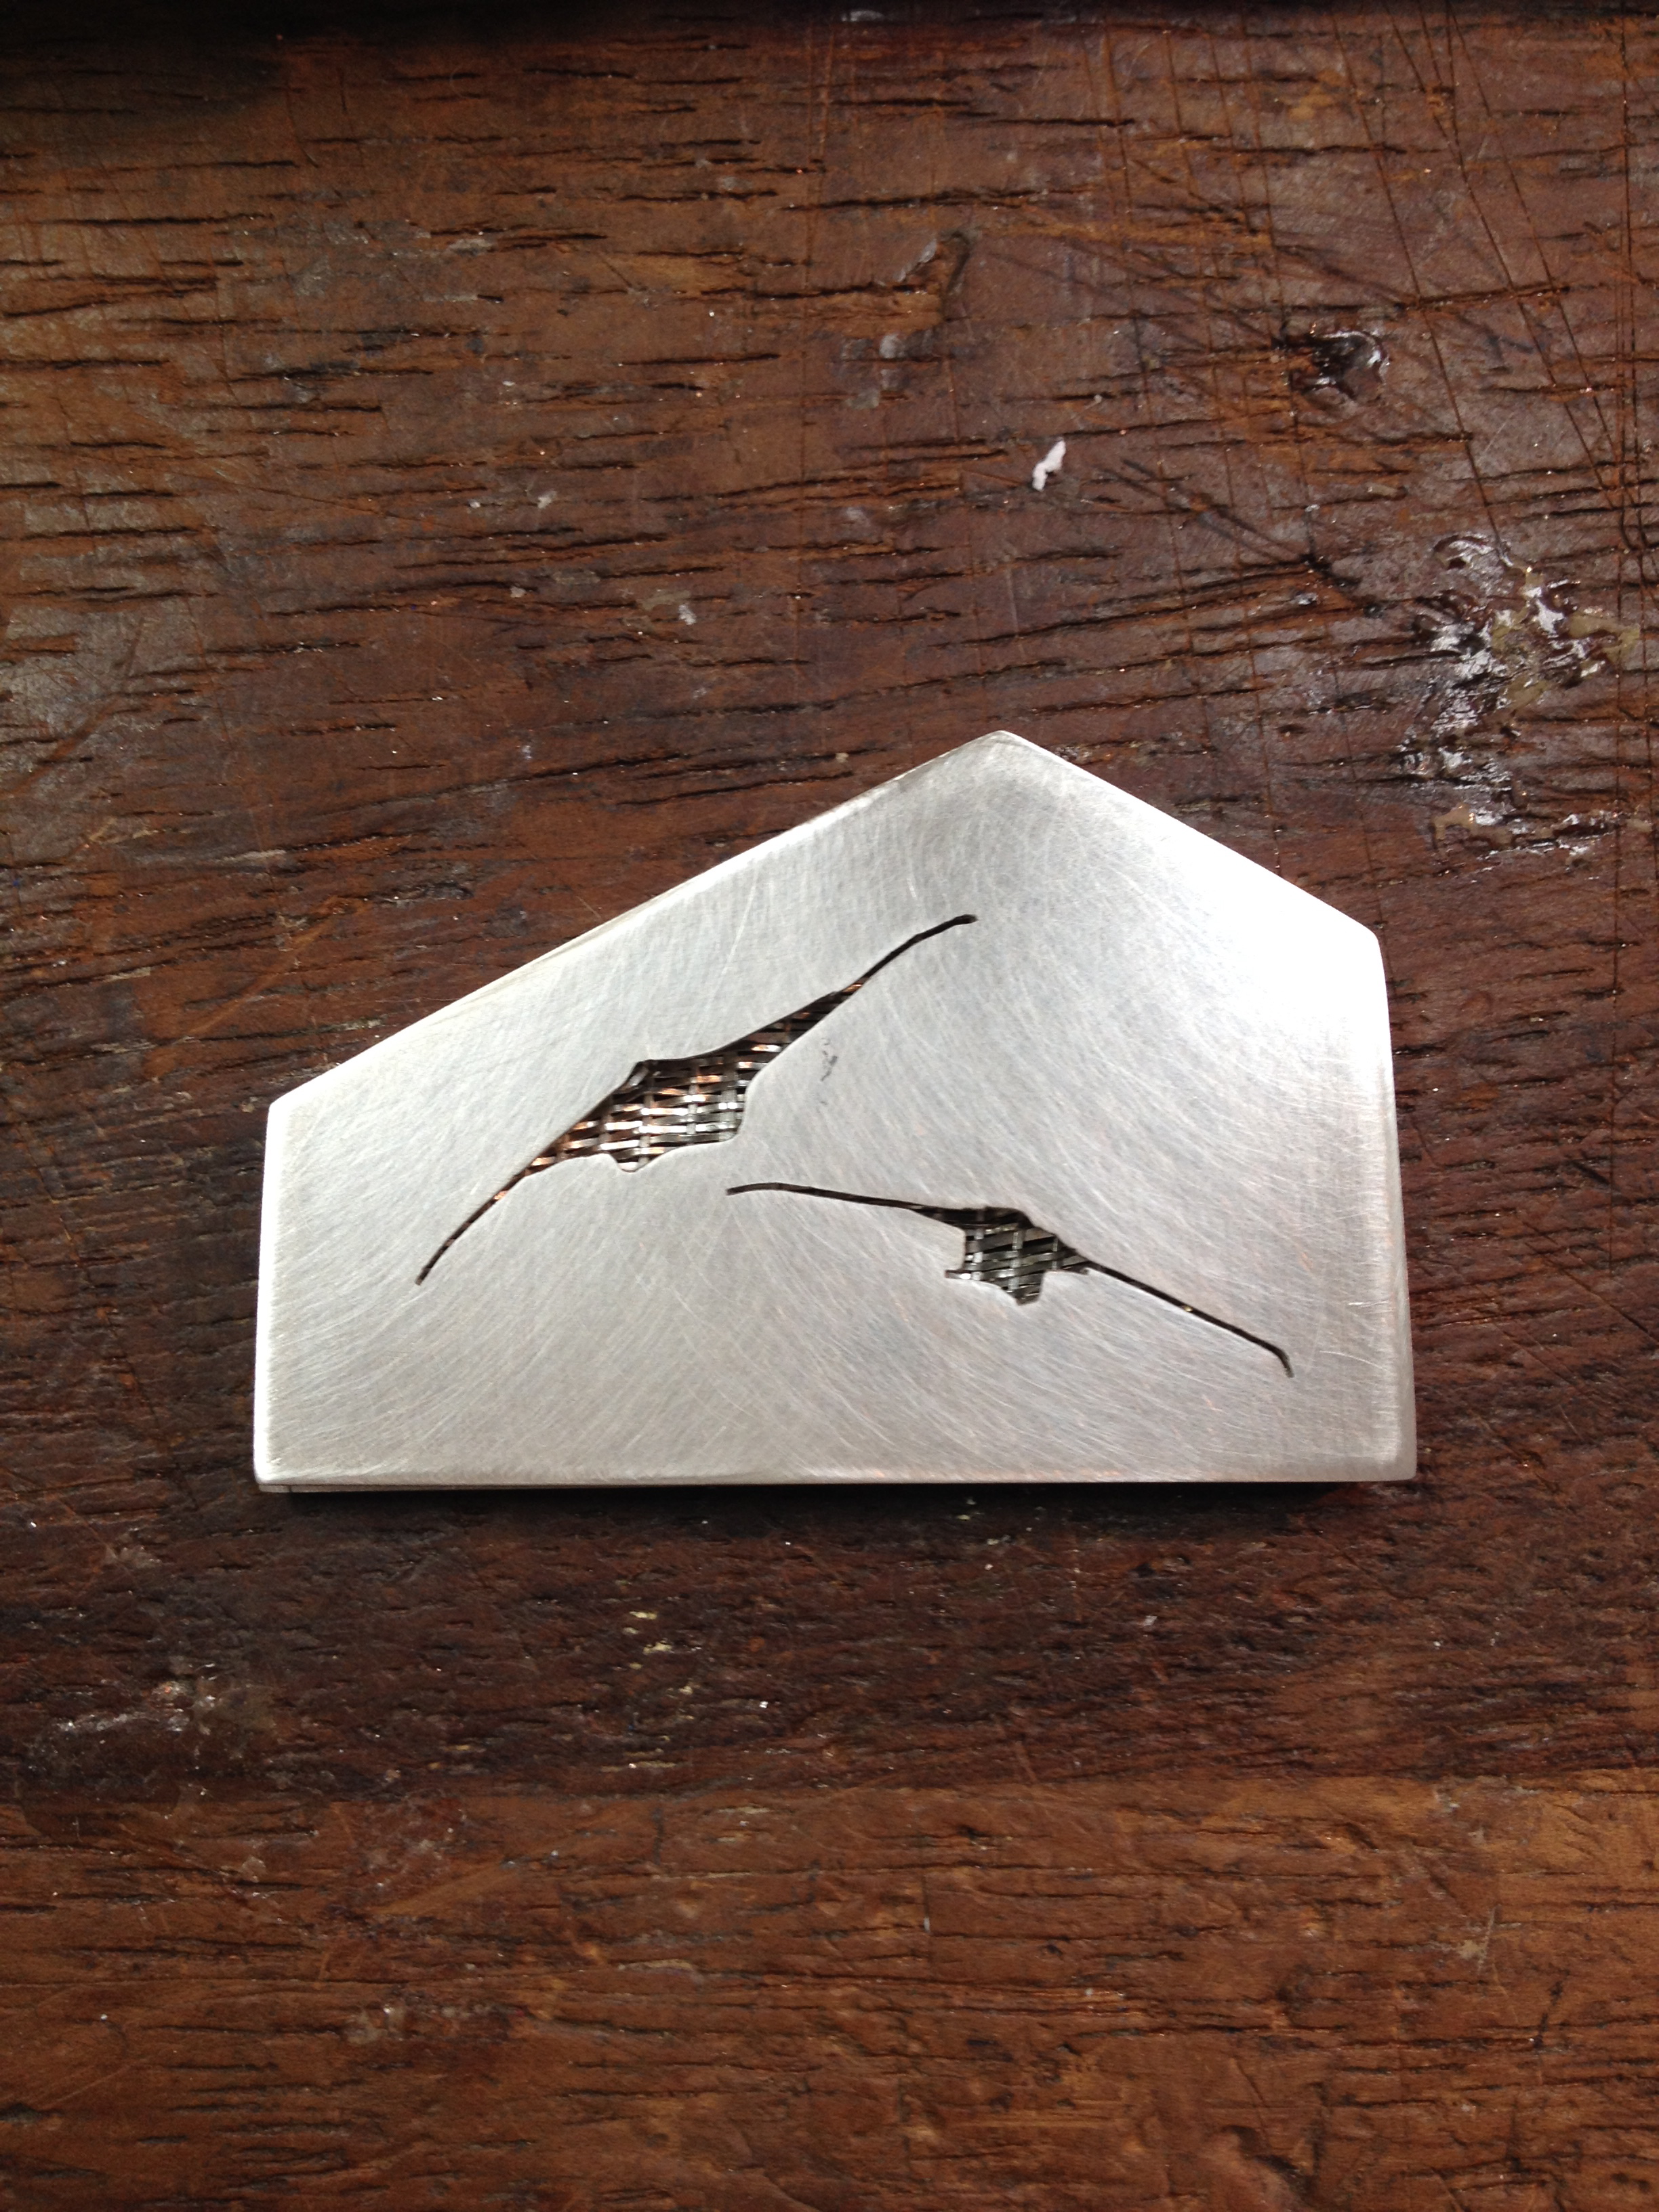
Wednesday and Thursday: Cutting and Piercing the Brooch Back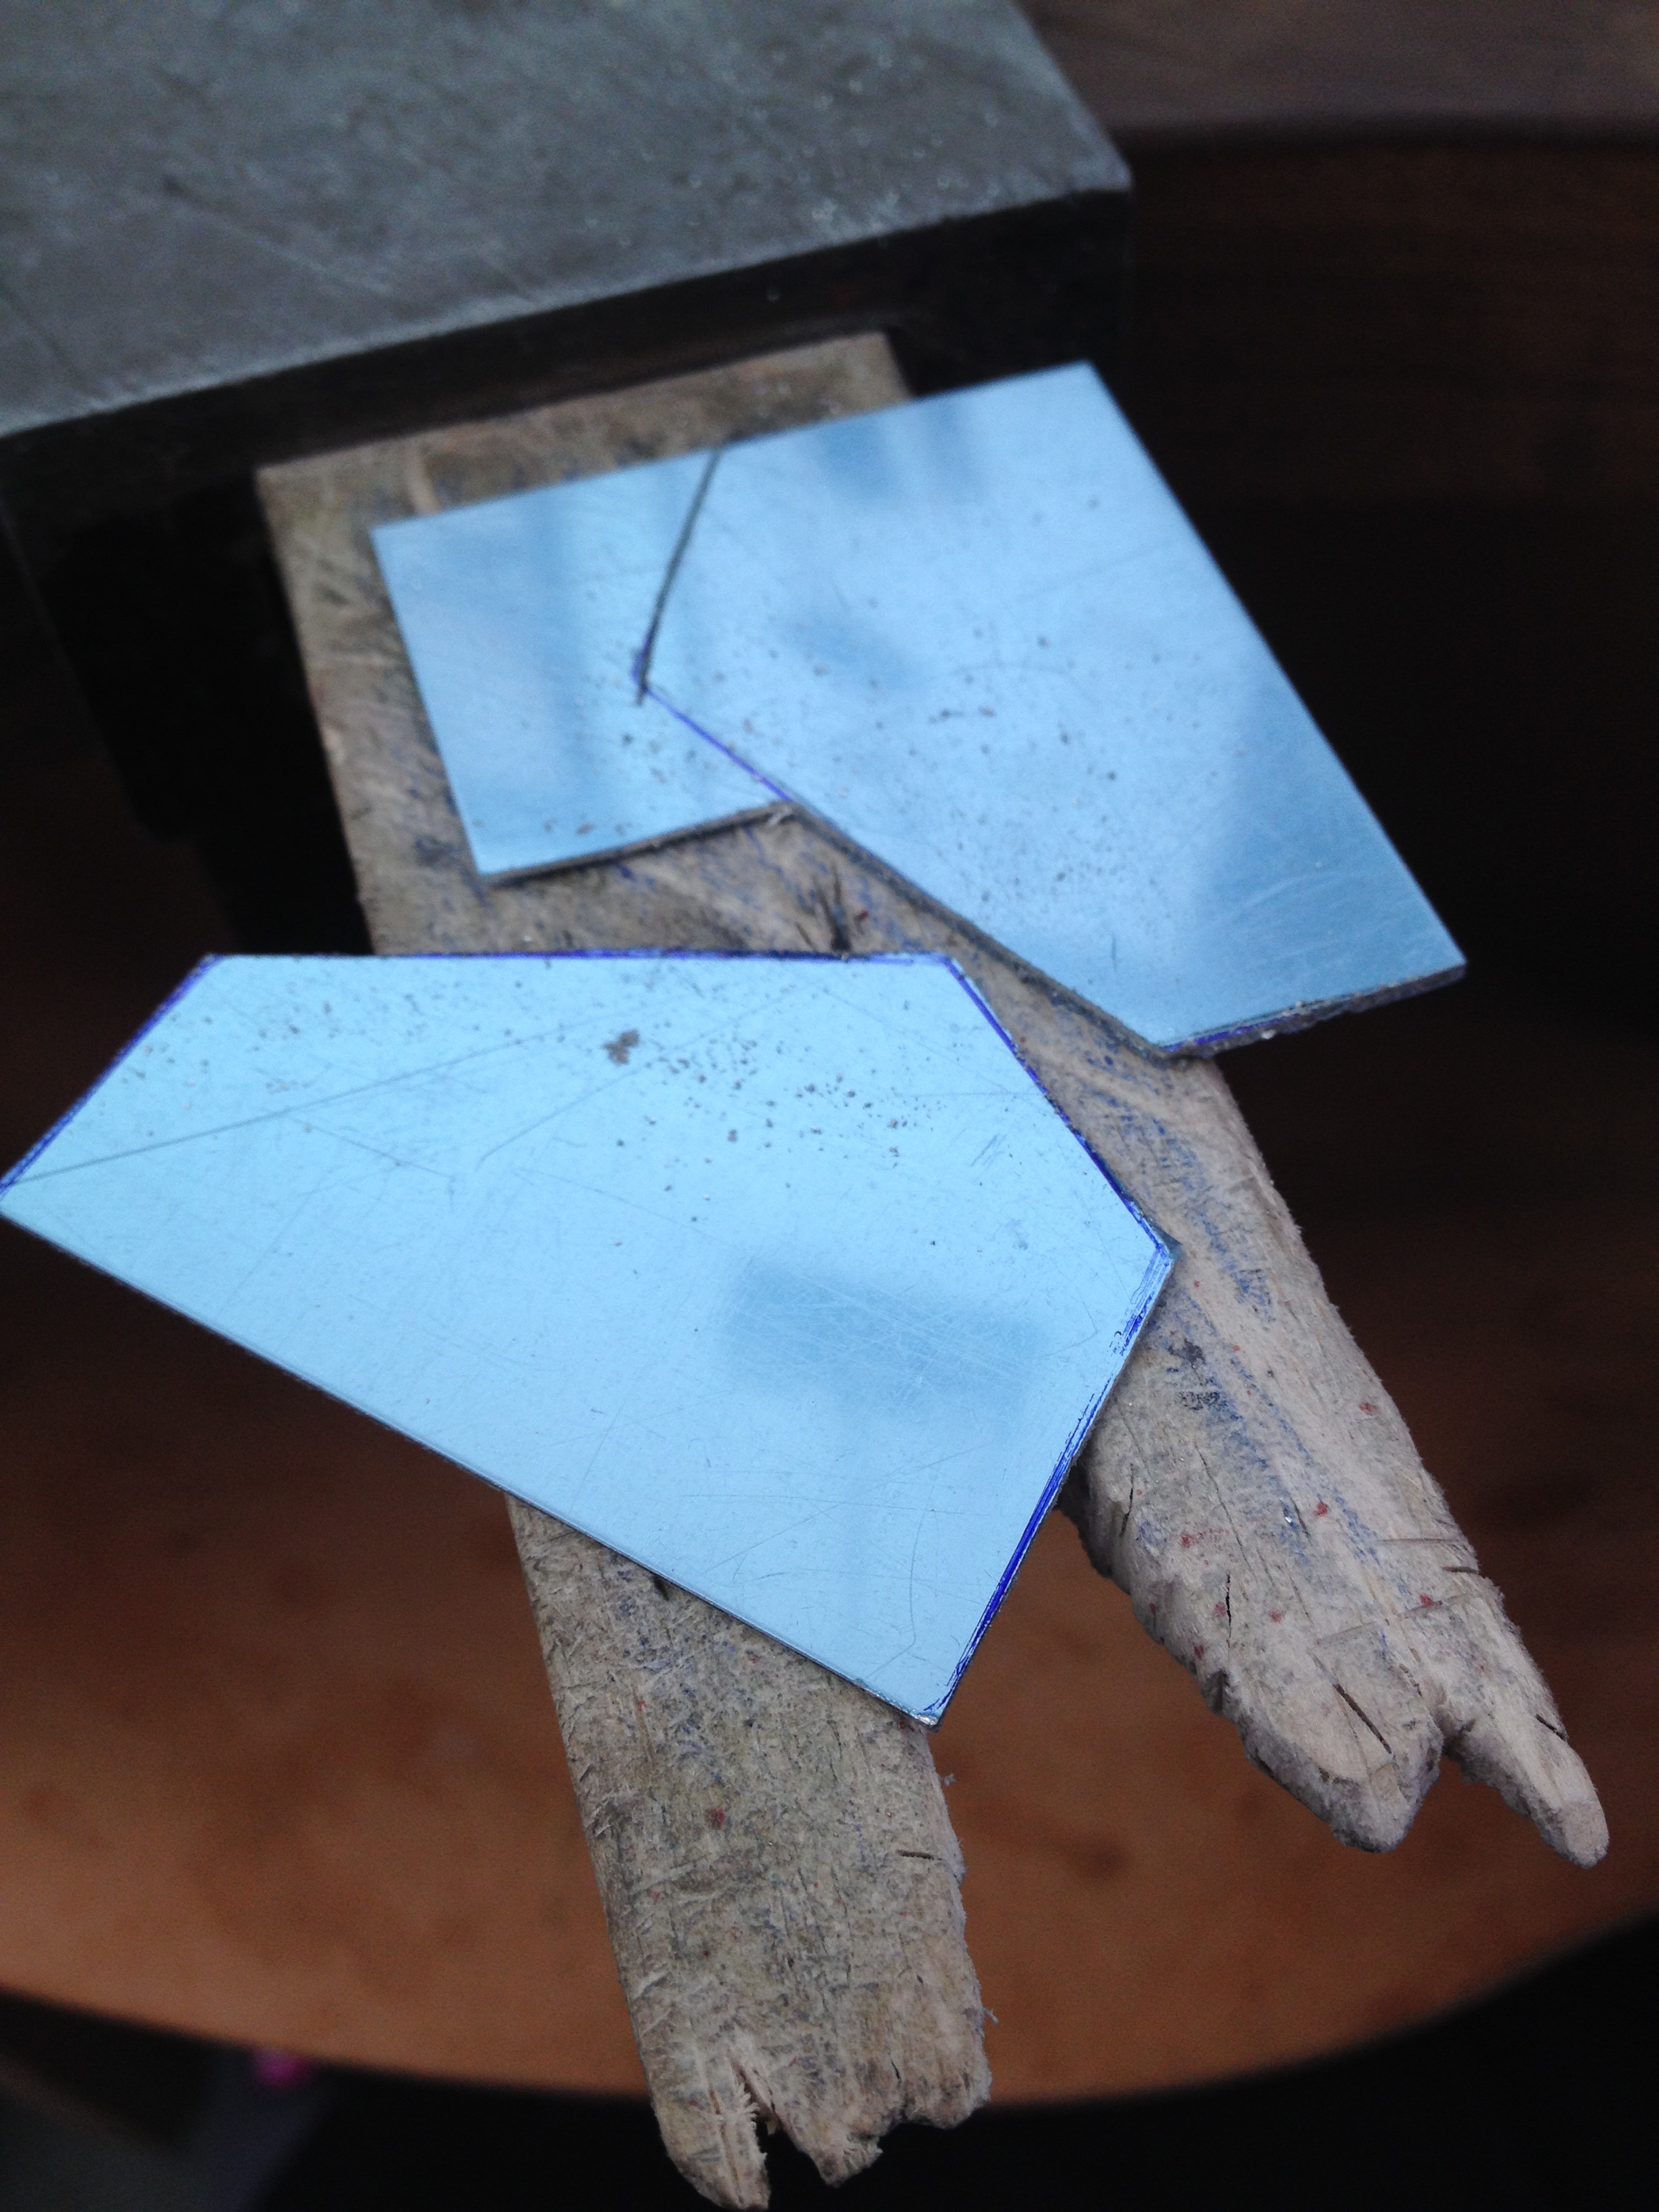
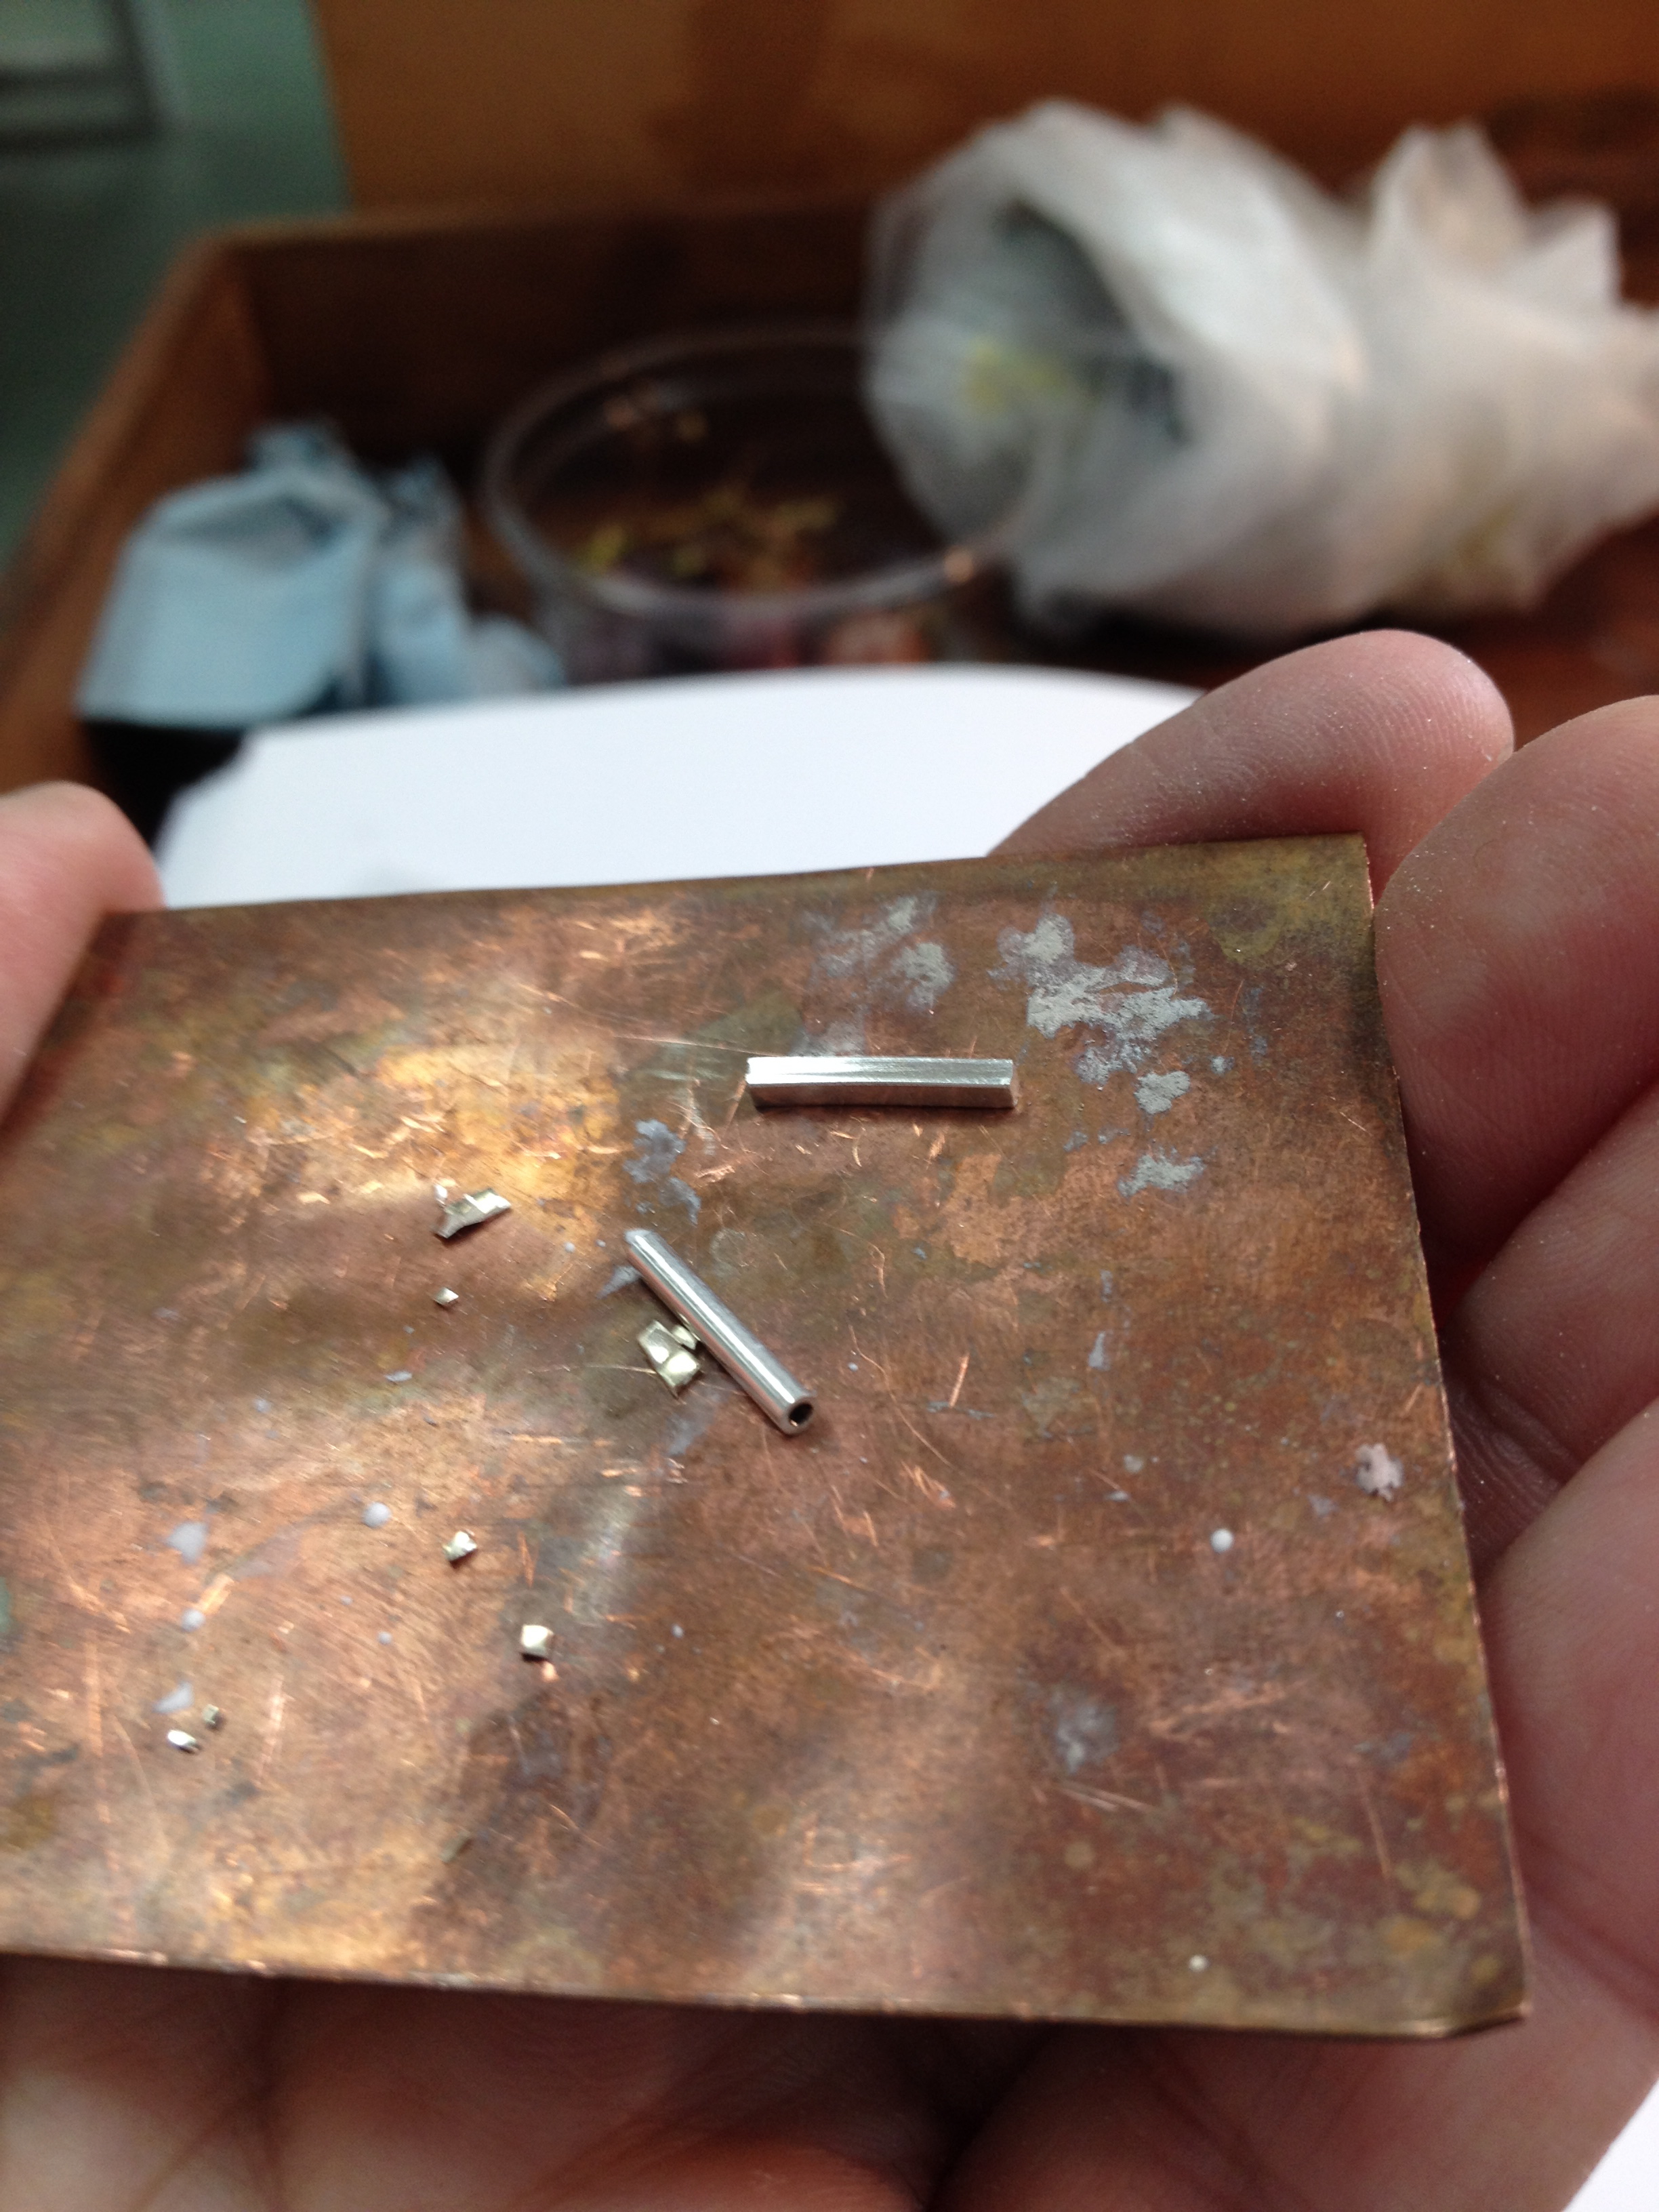
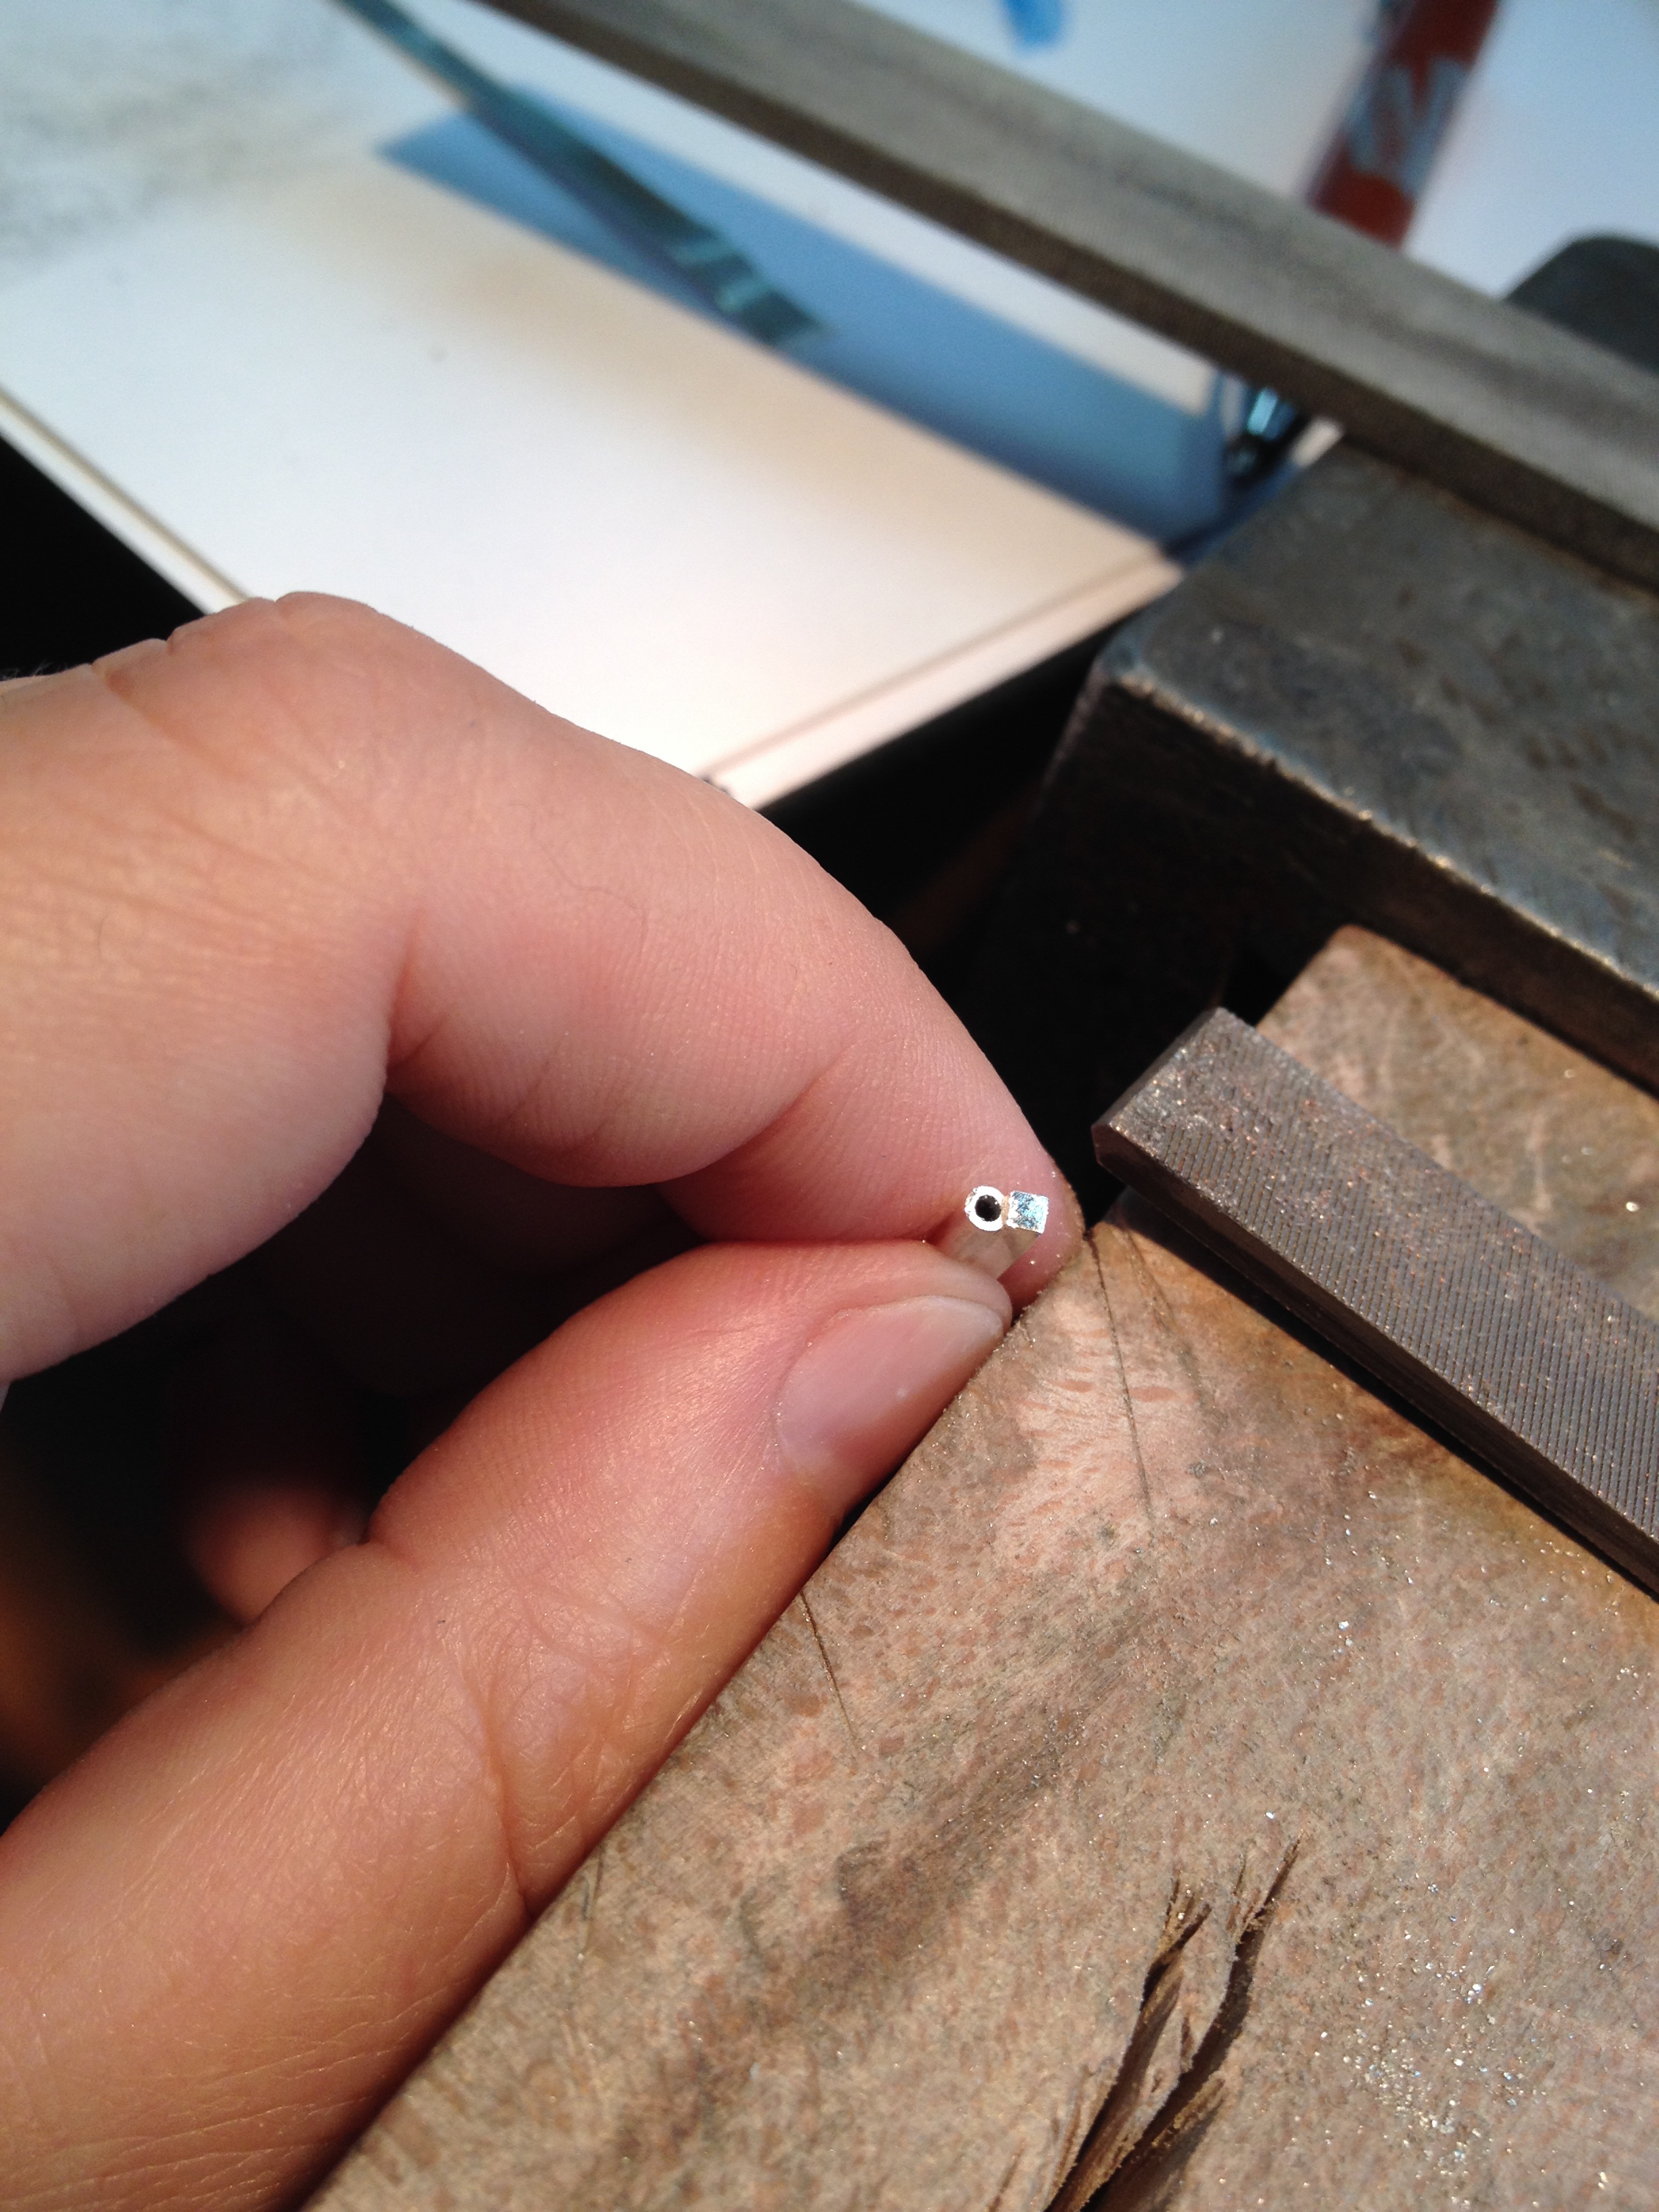
 Friday: Findings, Bezel Settings and Choosing the perfect ‘stone’
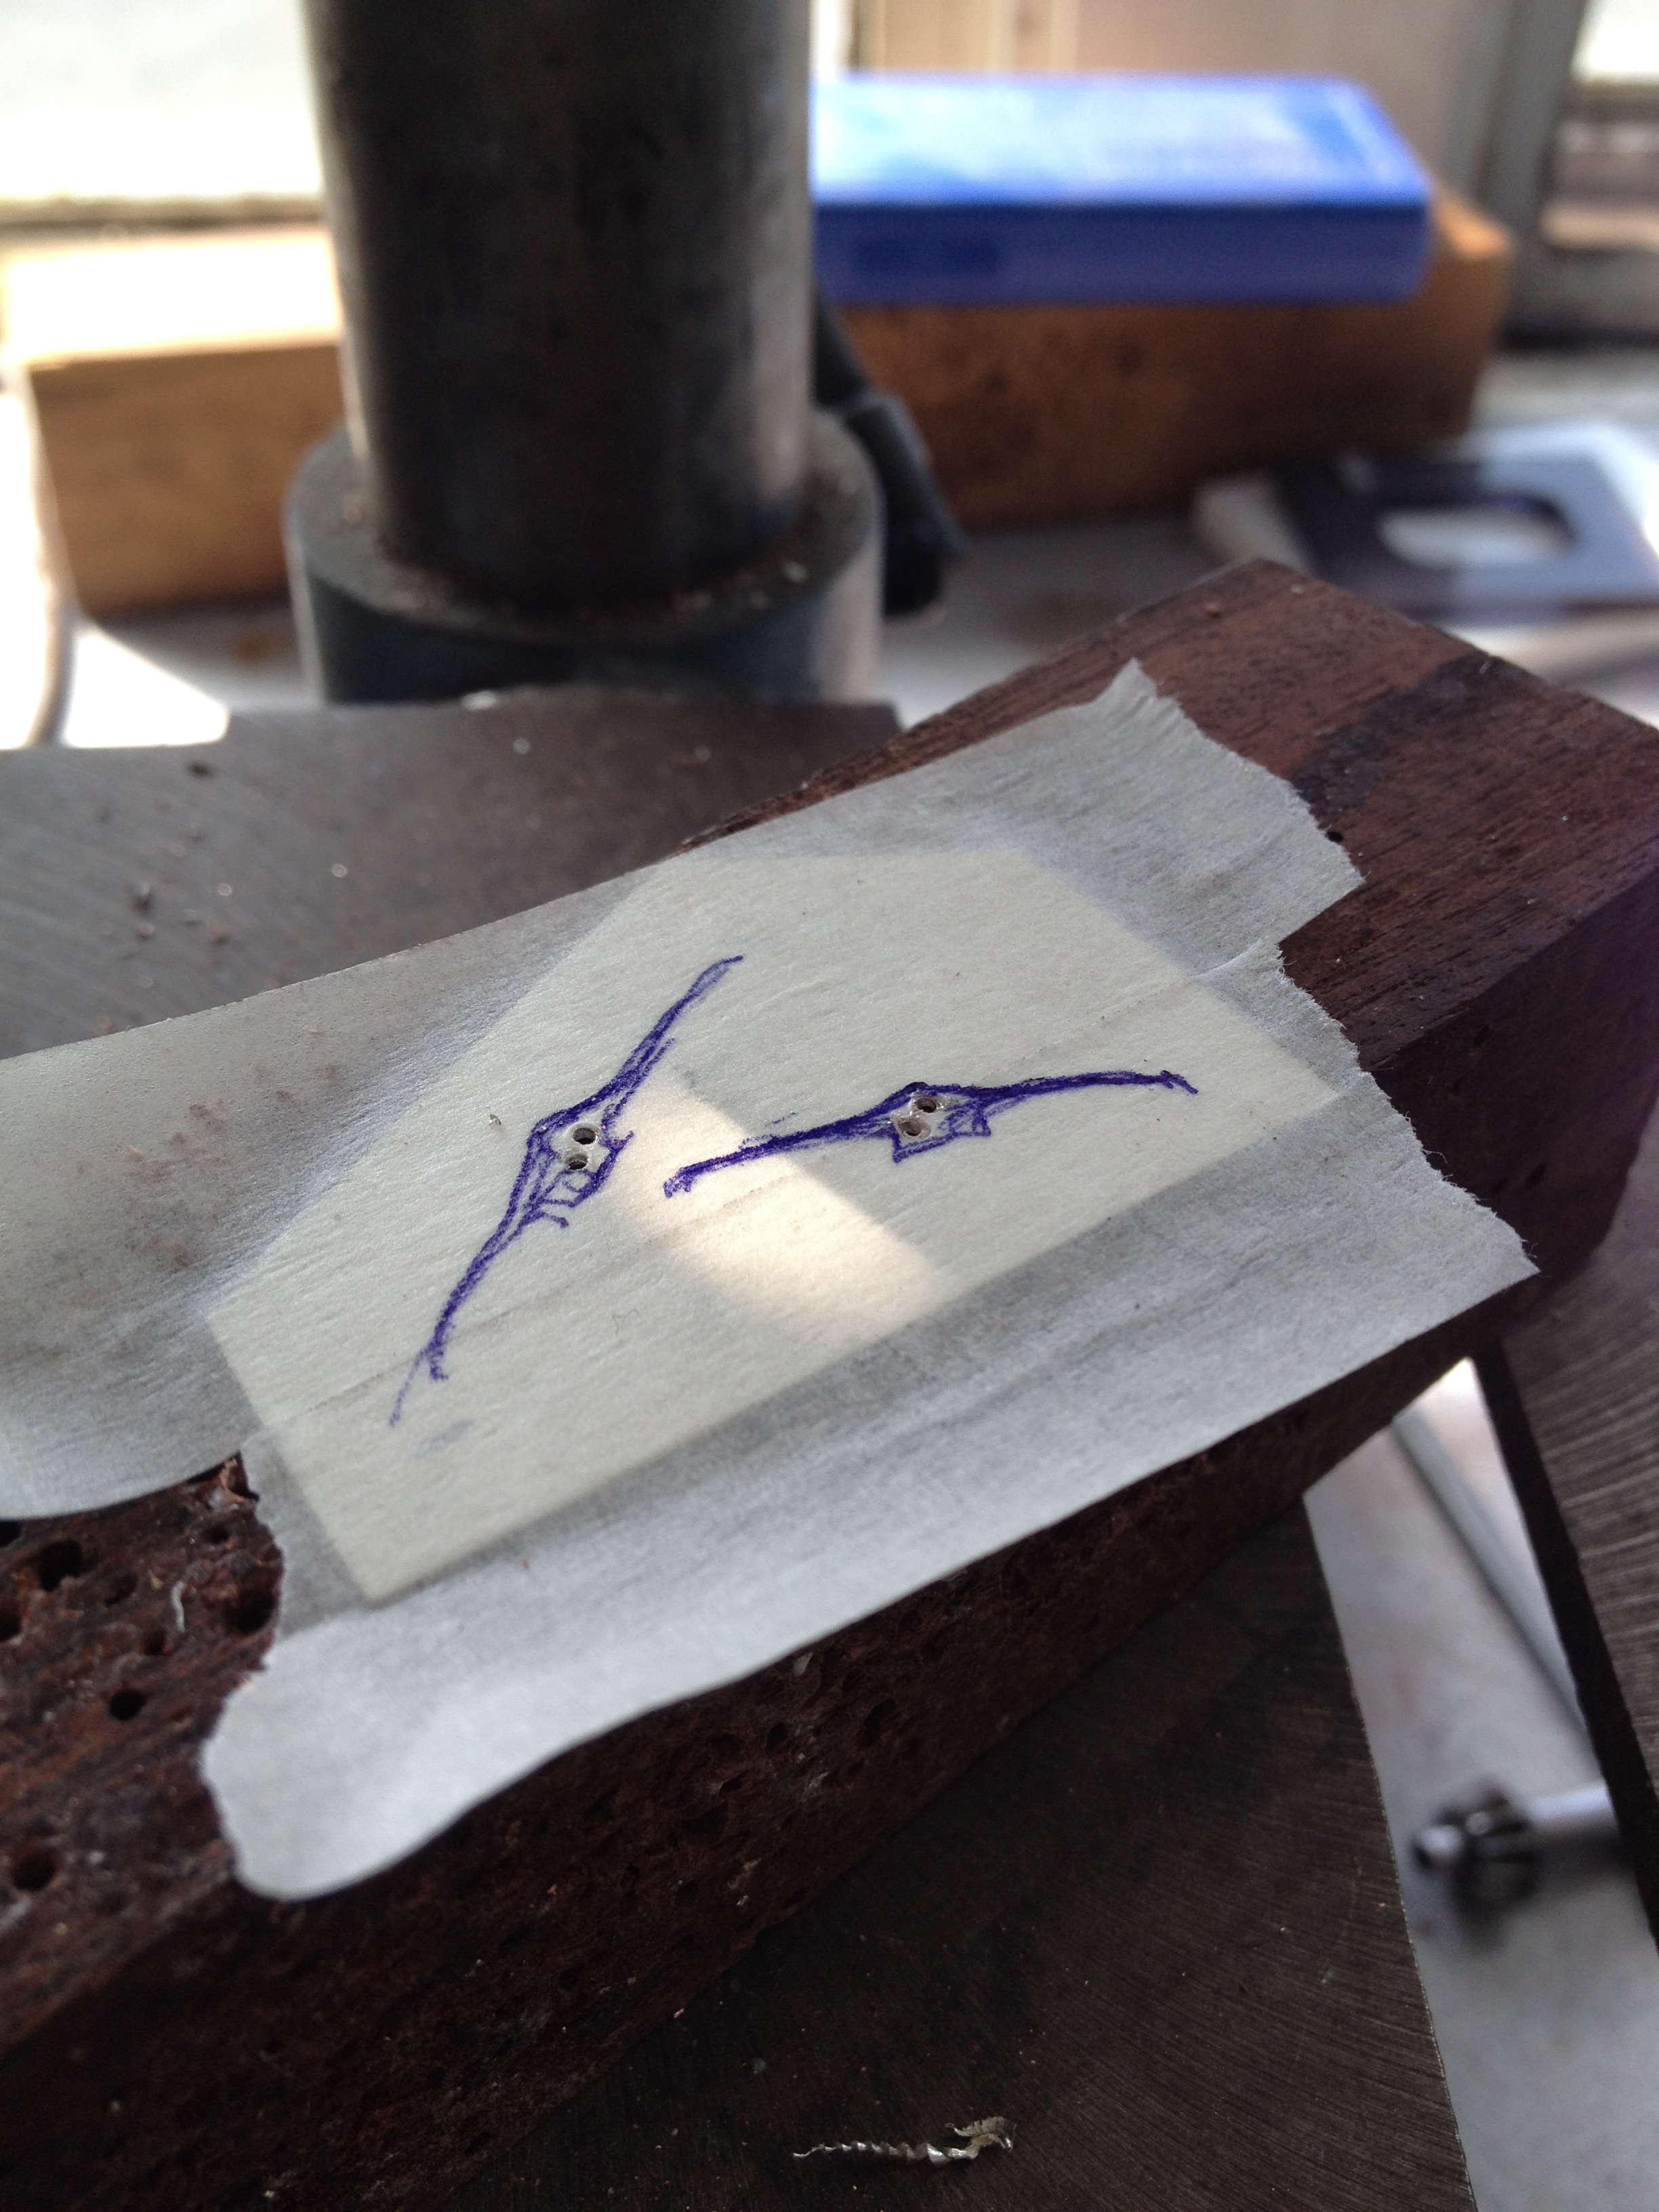
Step One: Findings (and finding that the ones I’d made earlier now seem just a little too small!) The remedy, in four easy steps…
1. Making the (difficult) decision that the brooch findings are just too dainty (difficult, because I now have to make a new set!) 2. Soldering the new (less dainty) findings together 3. Soldering new findings to brooch back (slathered with Argotect – to try to prevent too much firestain *crosses fingers*) 4. Cleaning up brooch back and admiring new elegant just-the-right-size findings ;))


to be continued…
Kildonan Beach Shoot – Preview
The last few weeks haven’t been all about the Graded Unit (thankfully!). On my recent trip to Arran, I took some pieces from my current collection along with me, and had loads of fun shooting new images on a gloriously sunny beach :))
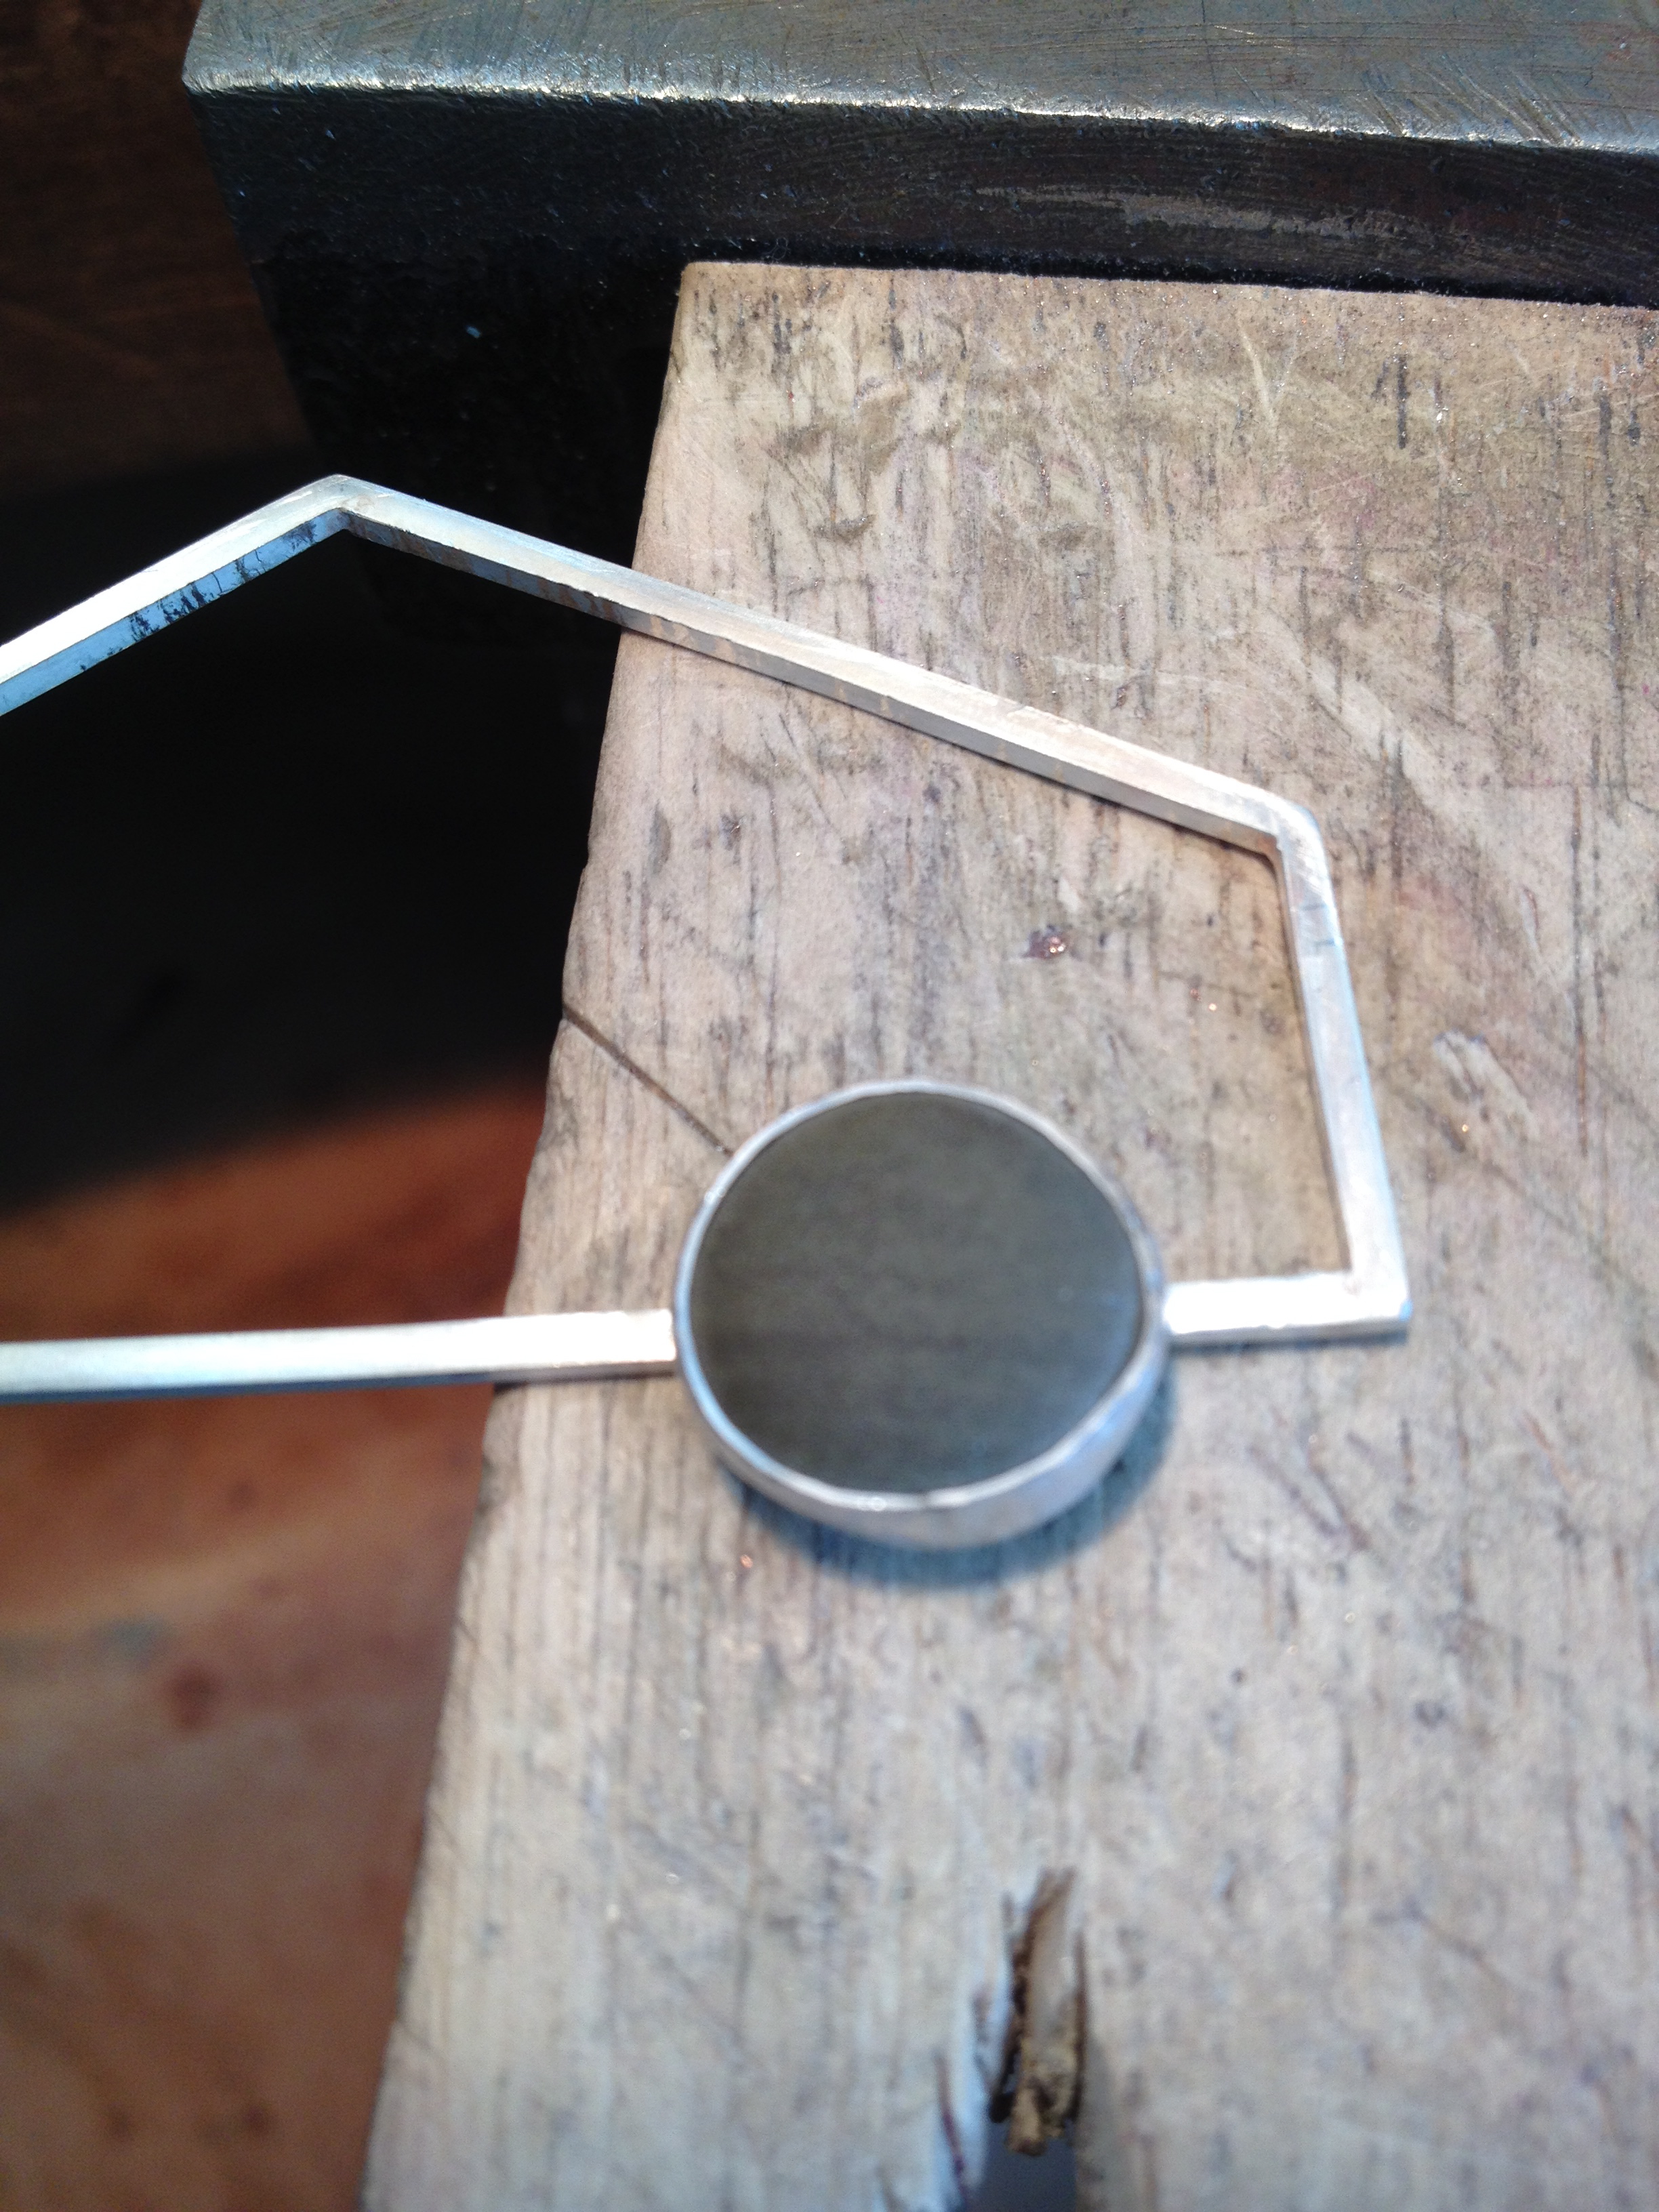
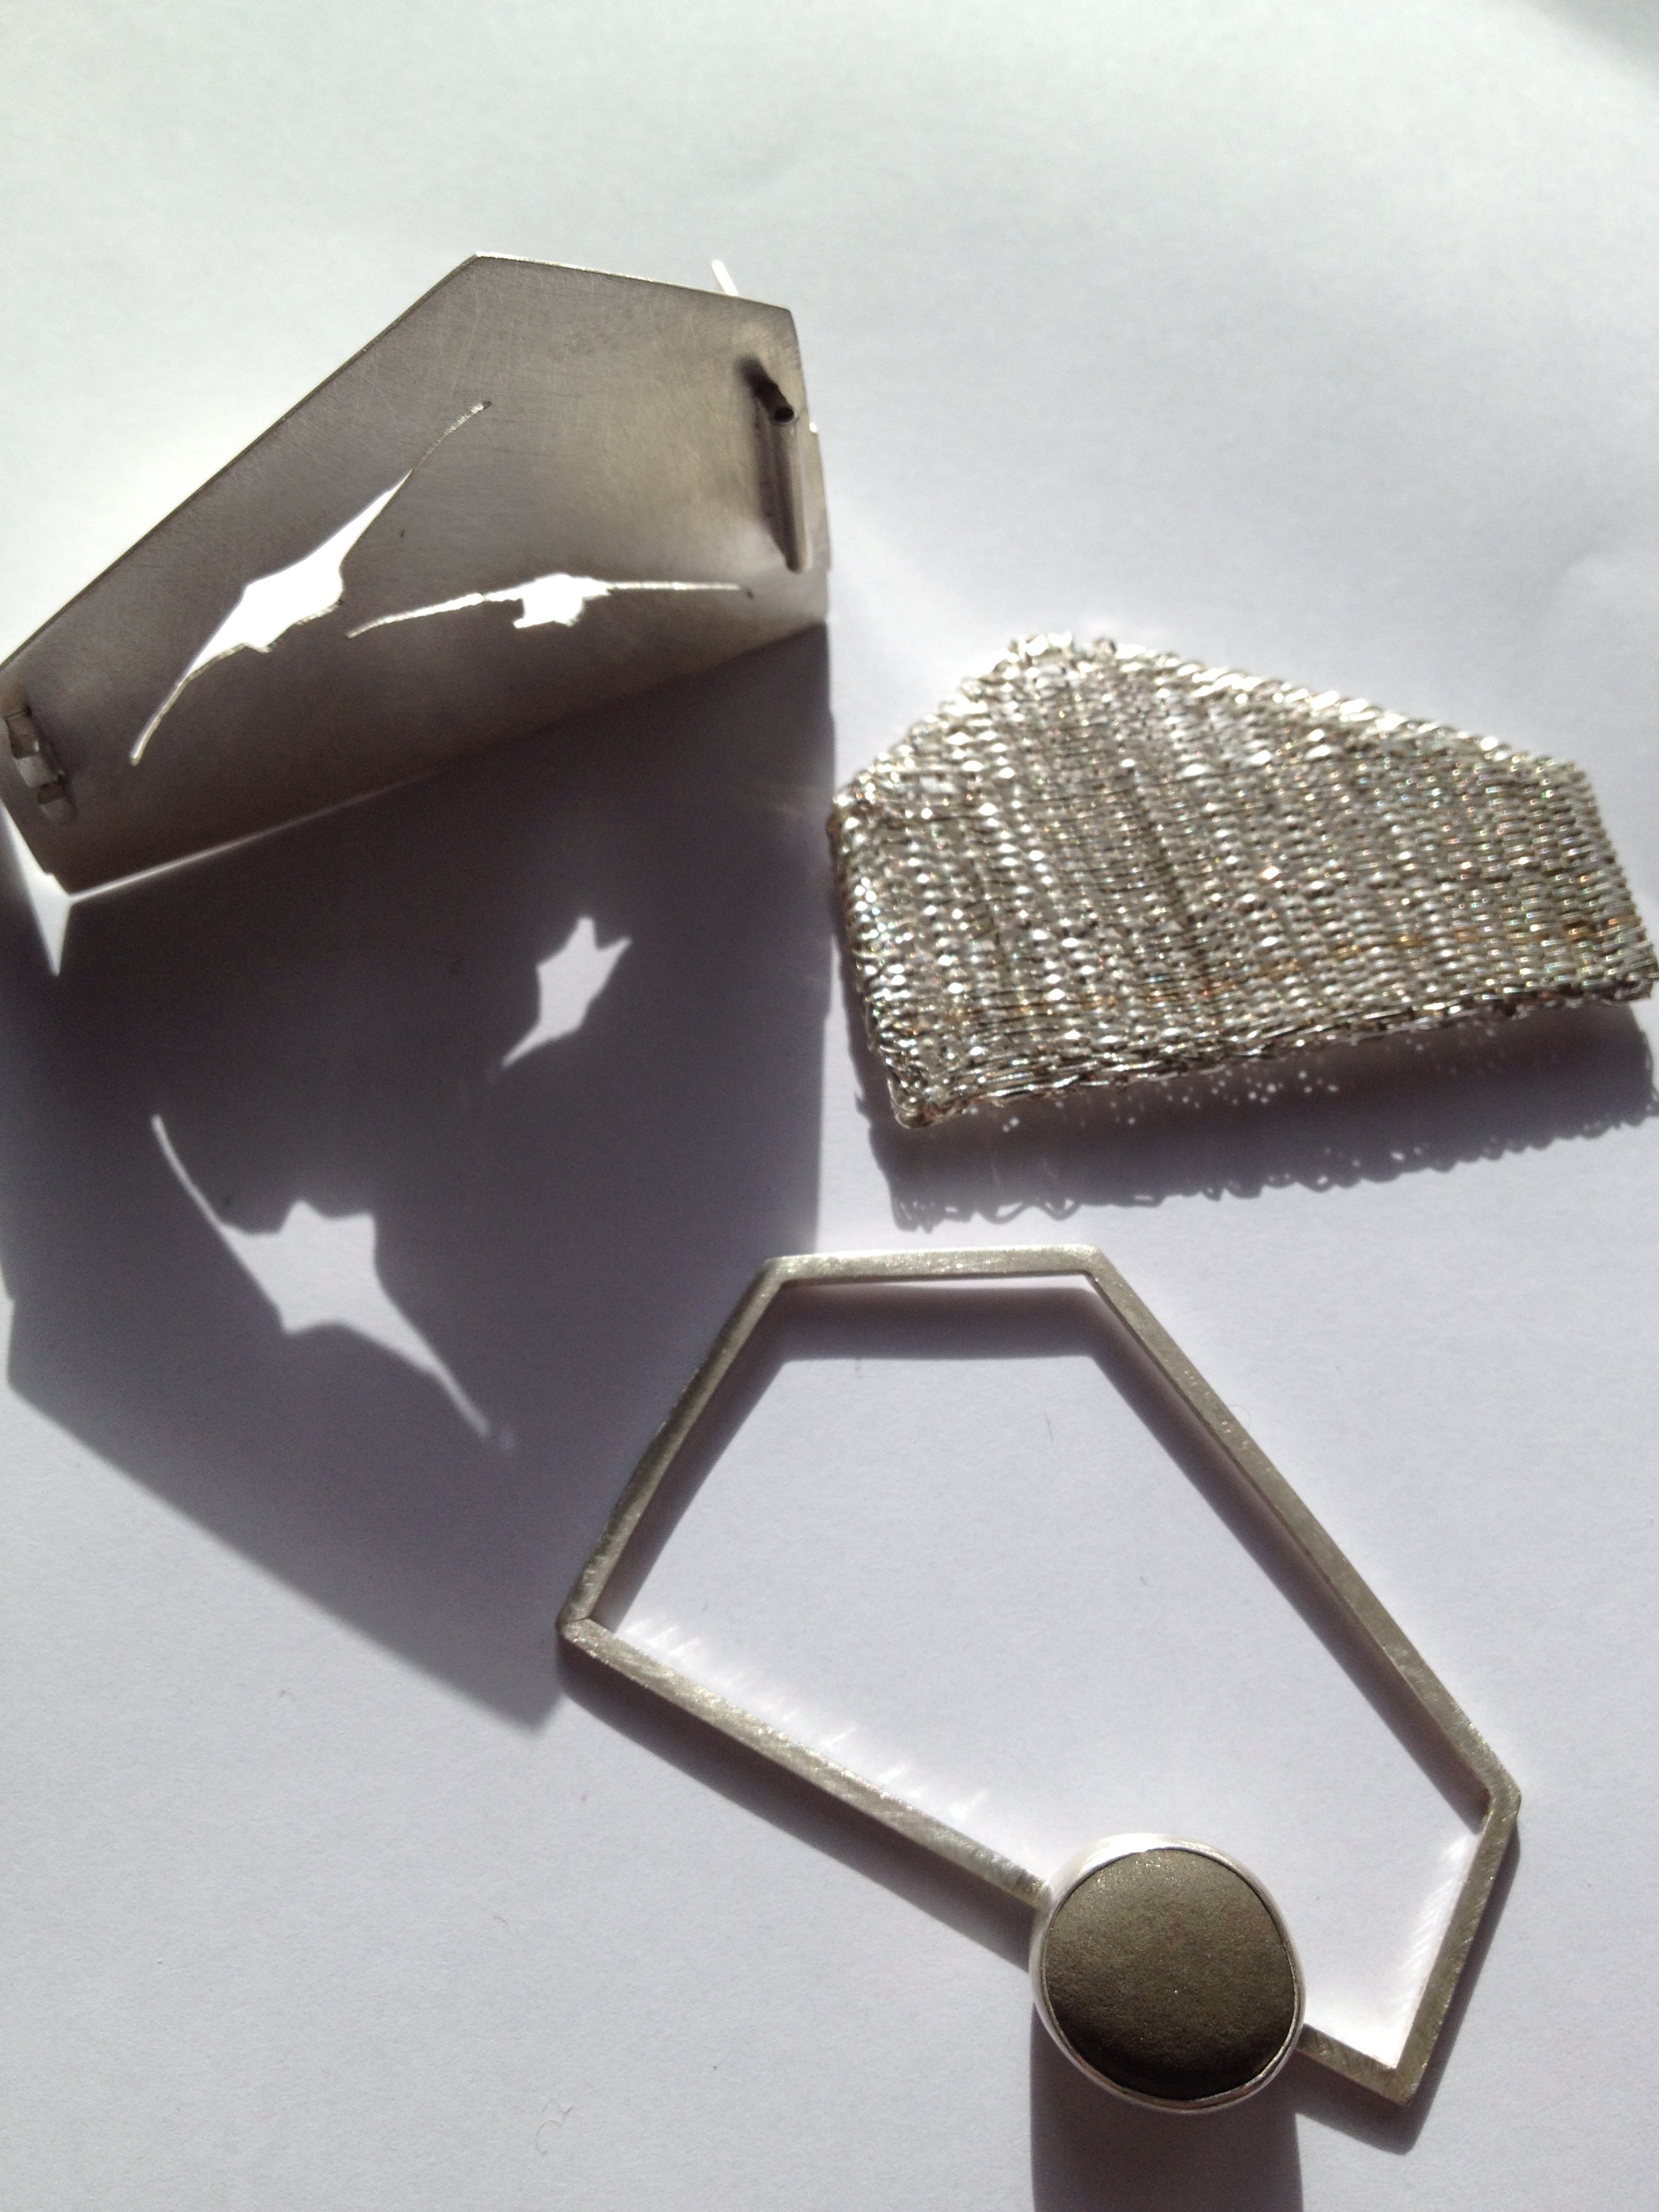
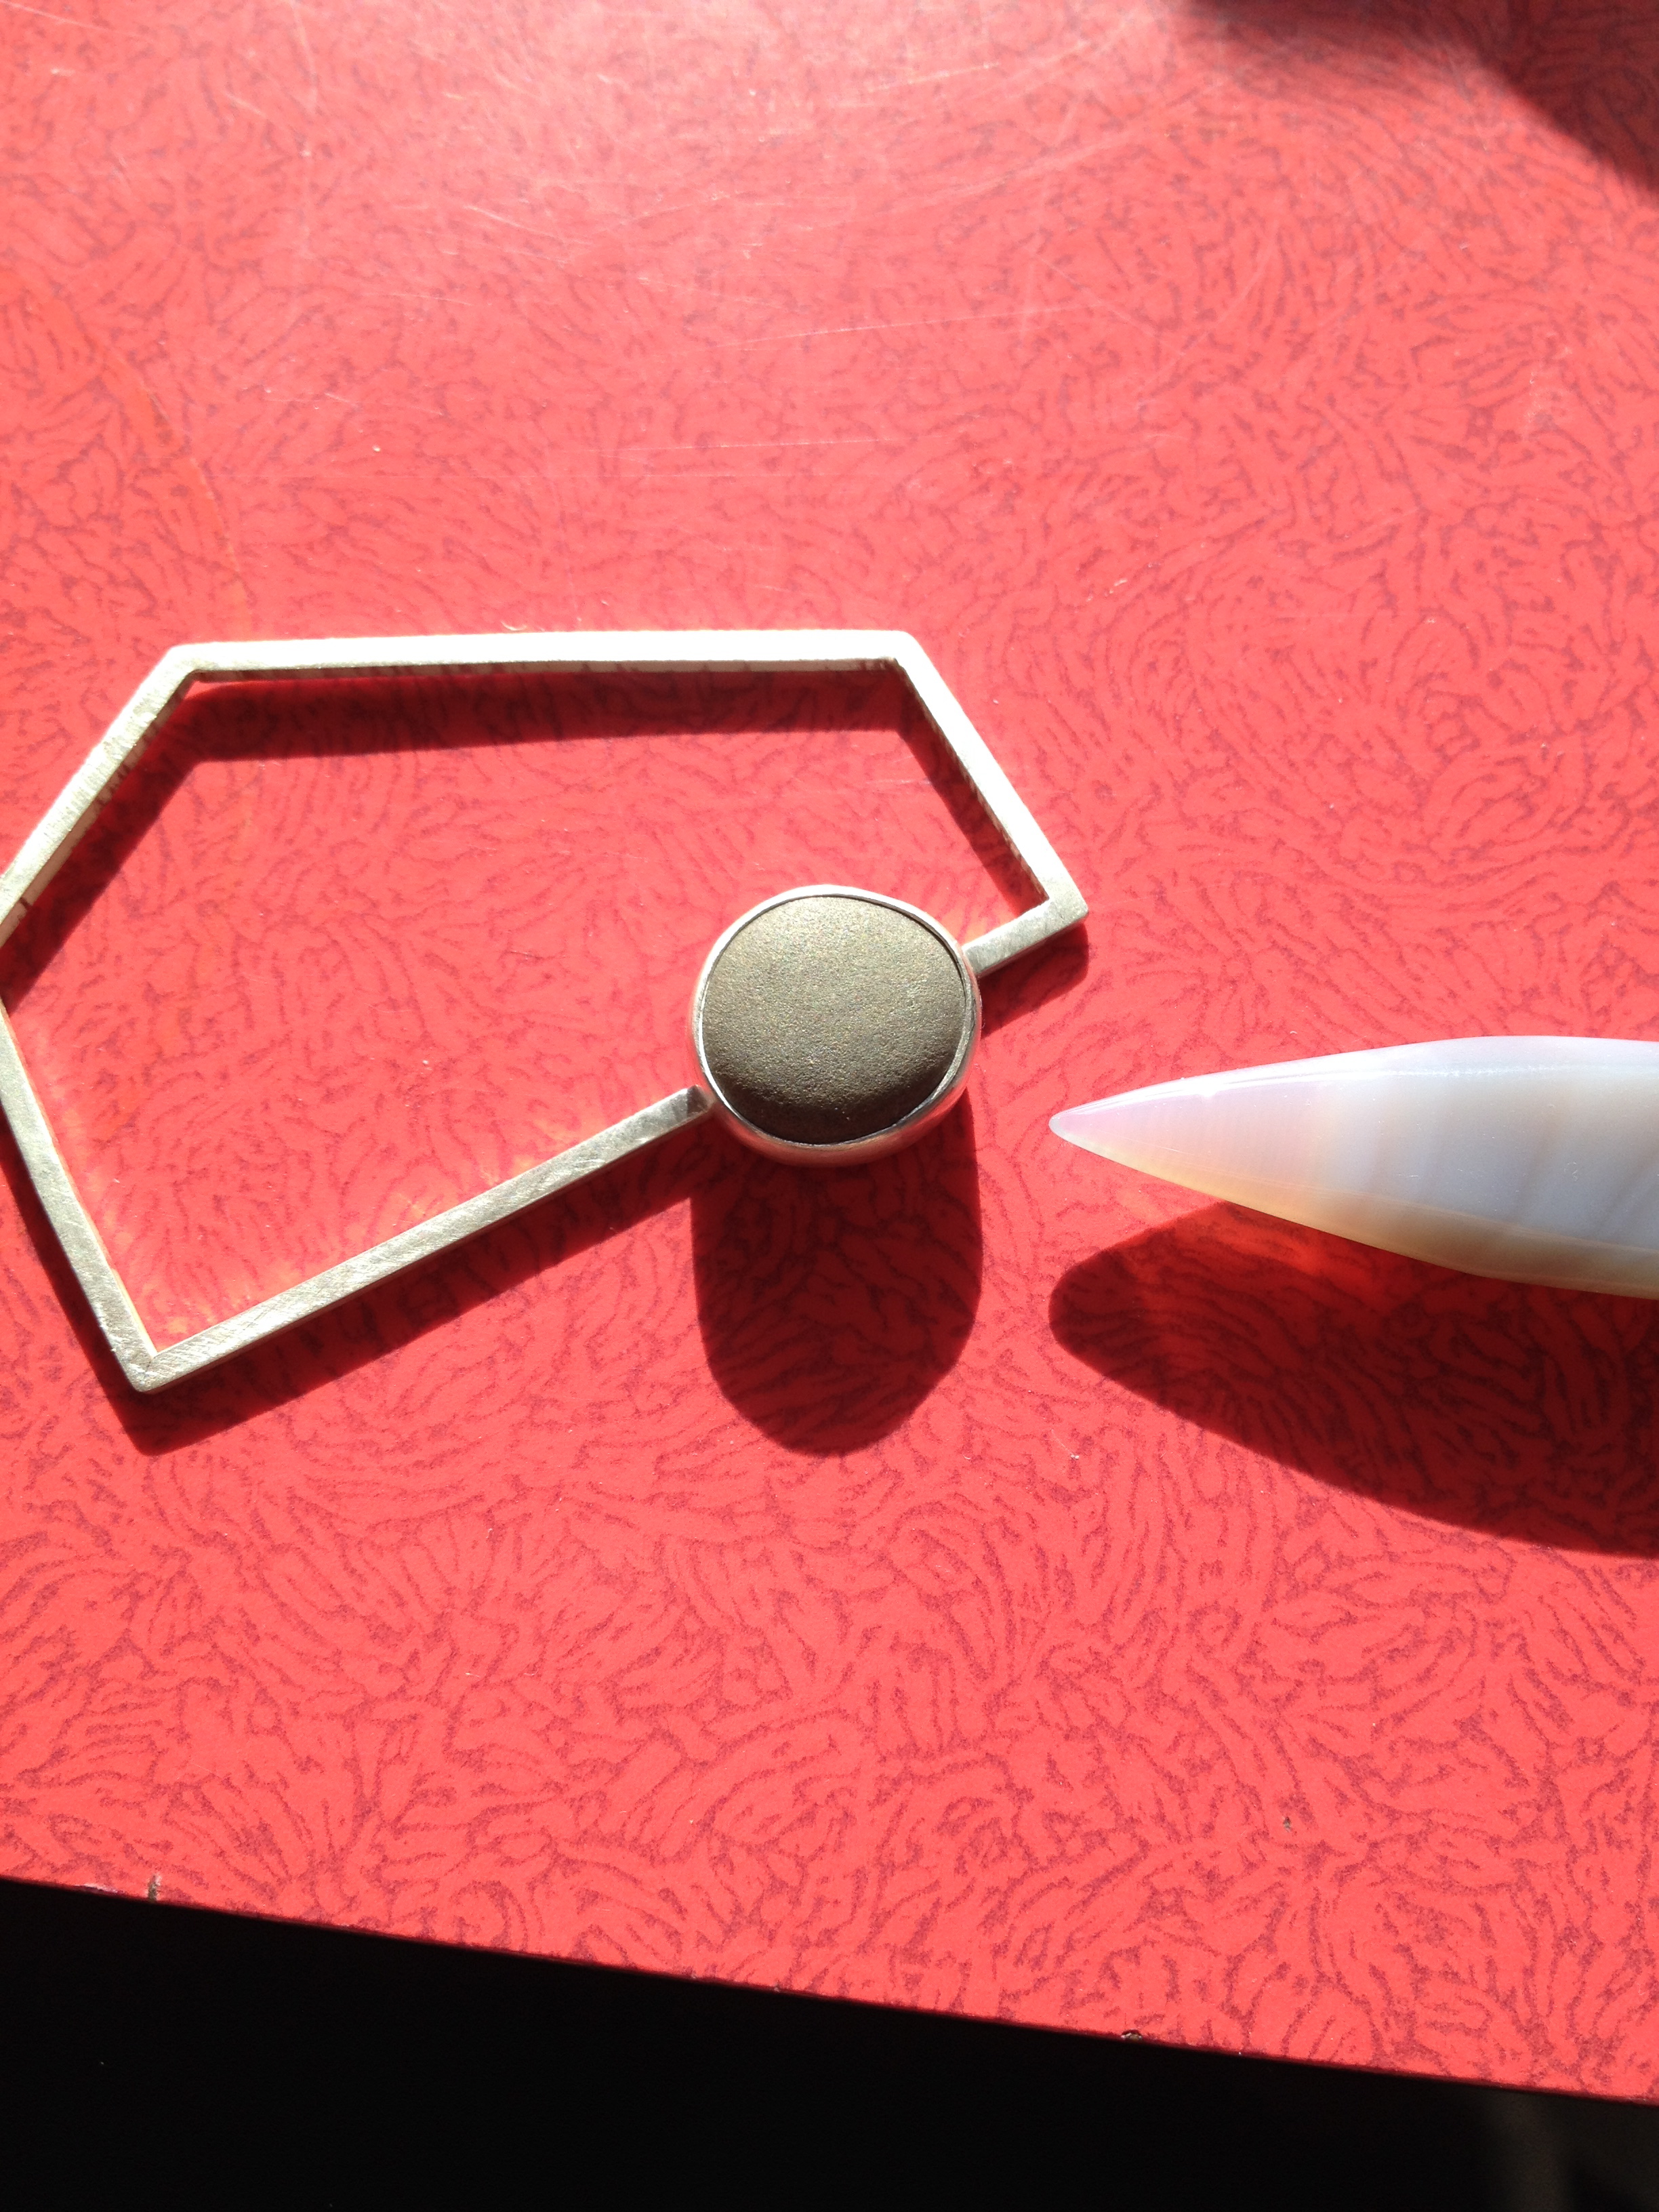
Here’s a tiny sneak preview – with added bonus image of my (as yet unfinished) graded unit brooch… posing as a ring for the occasion!
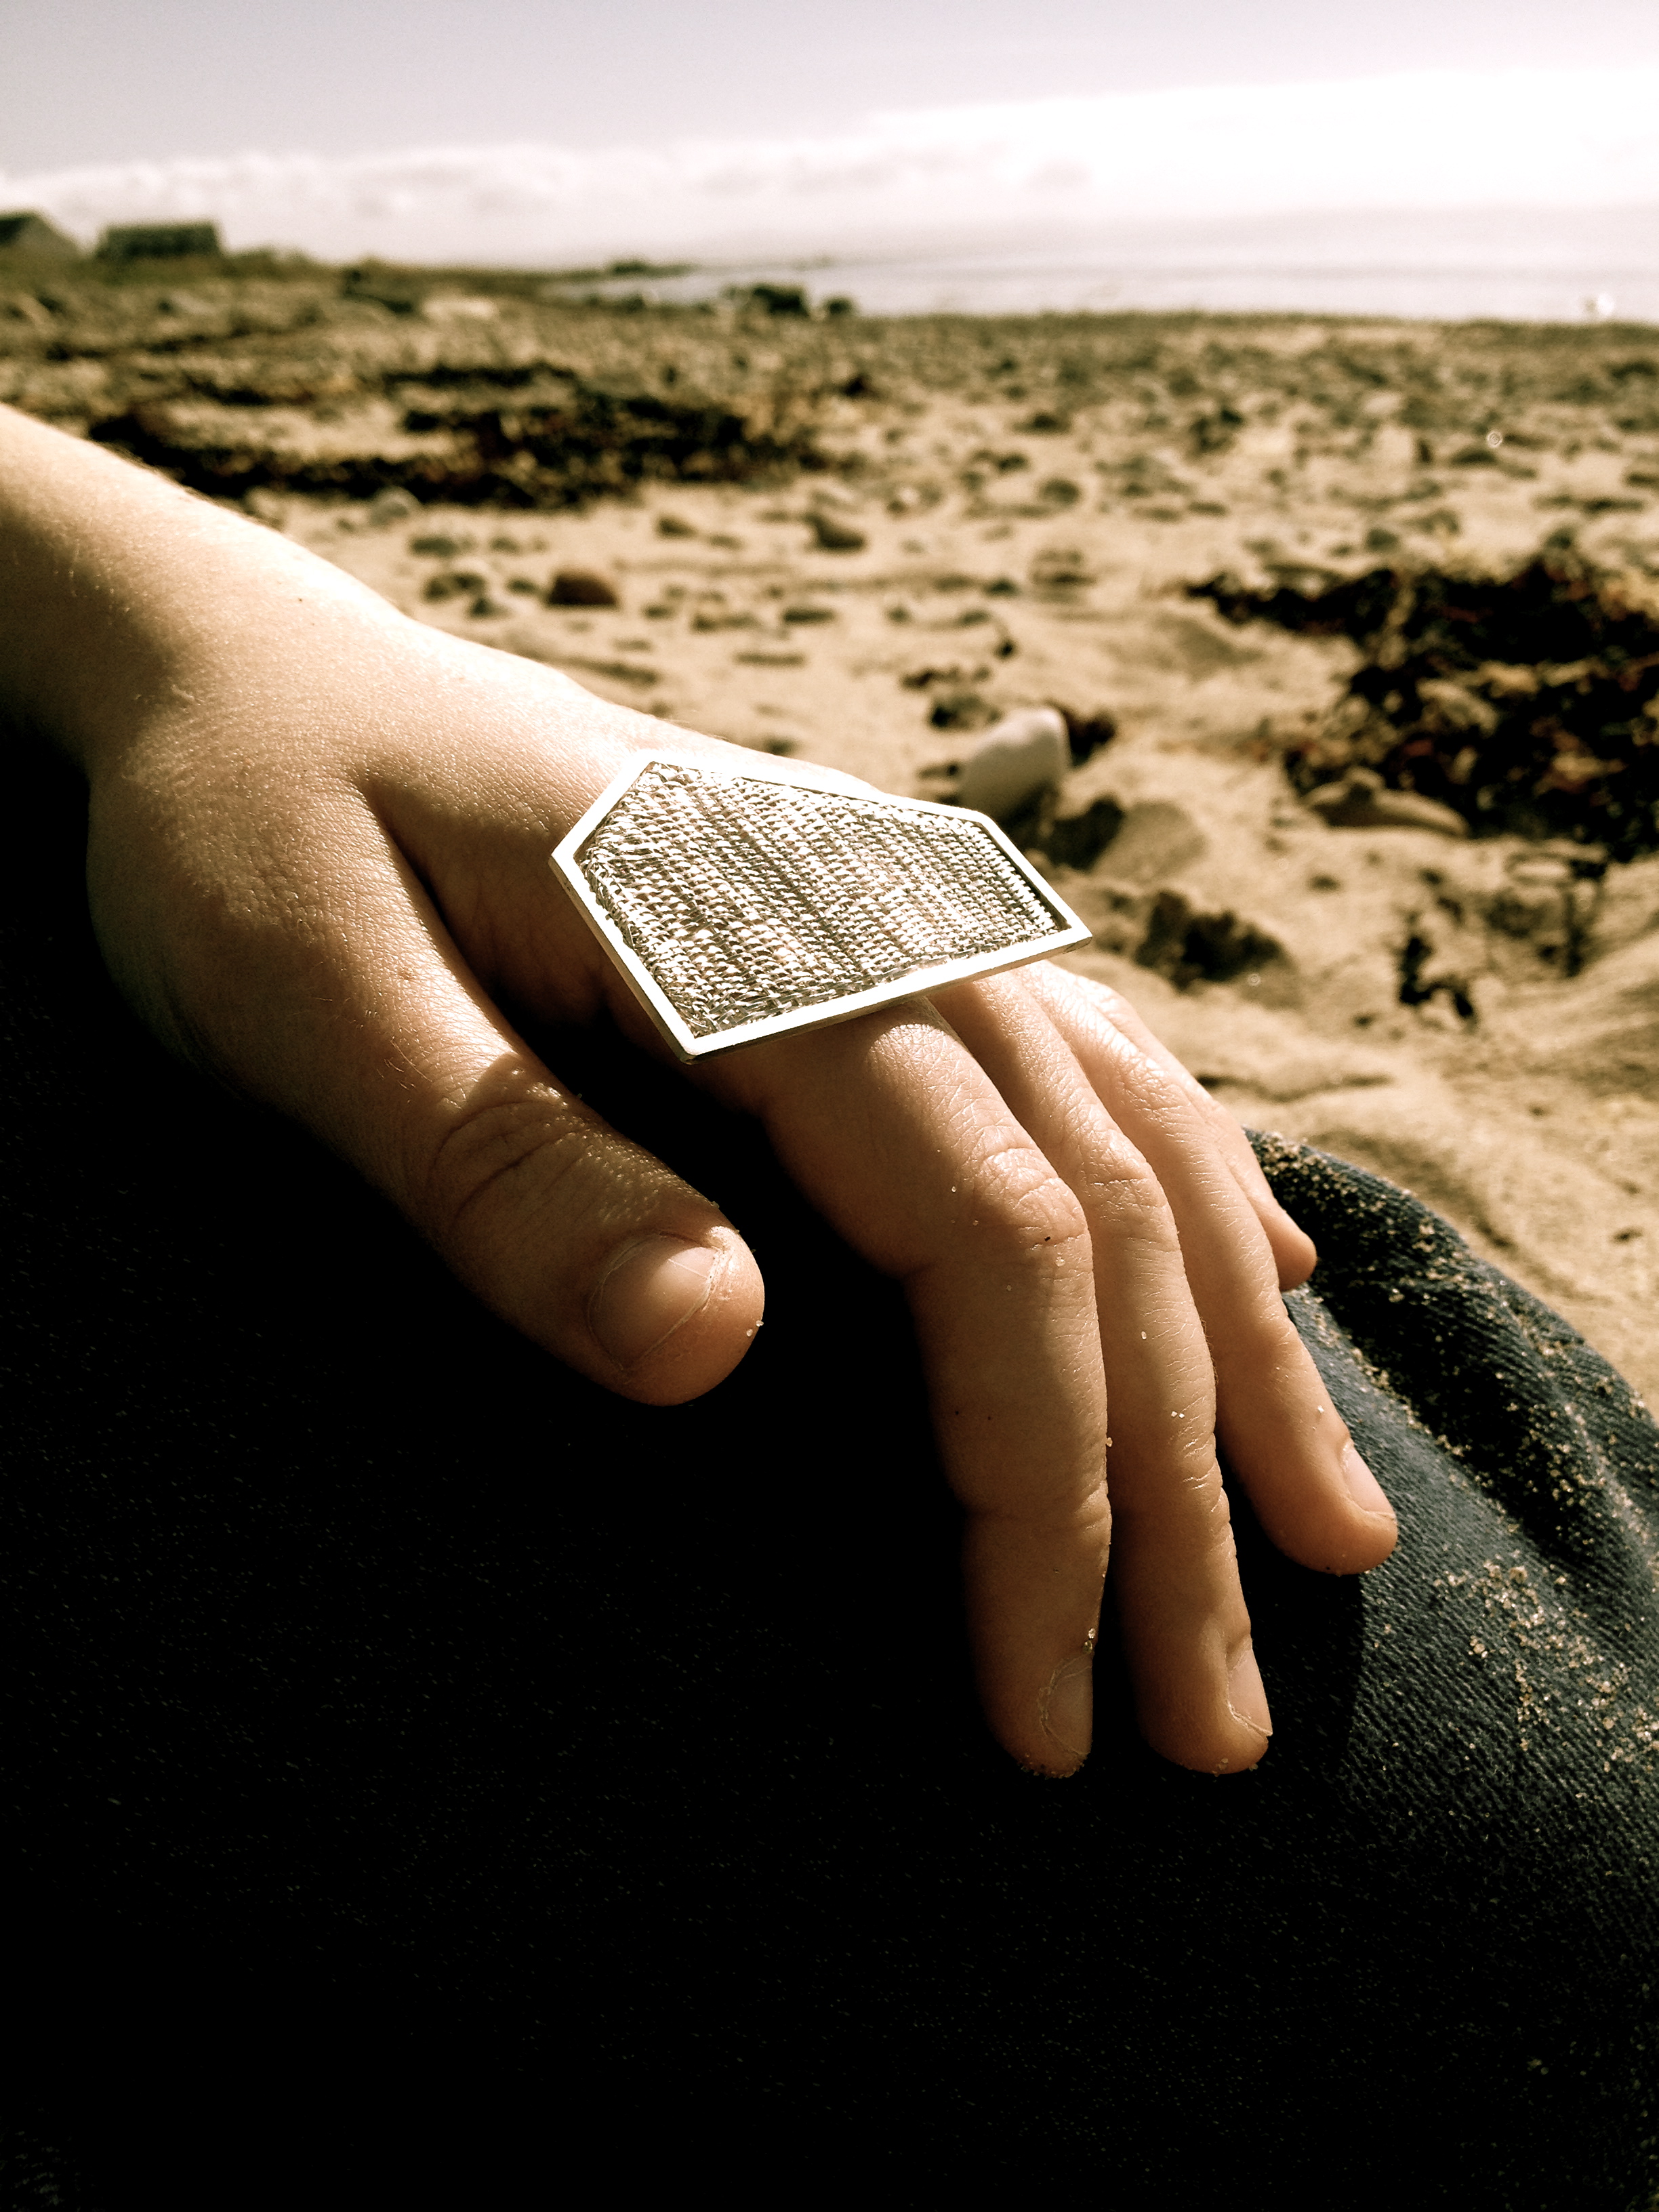 With special thanks to my first-rate location team and models (without whom, none of this would have been possible) ;))

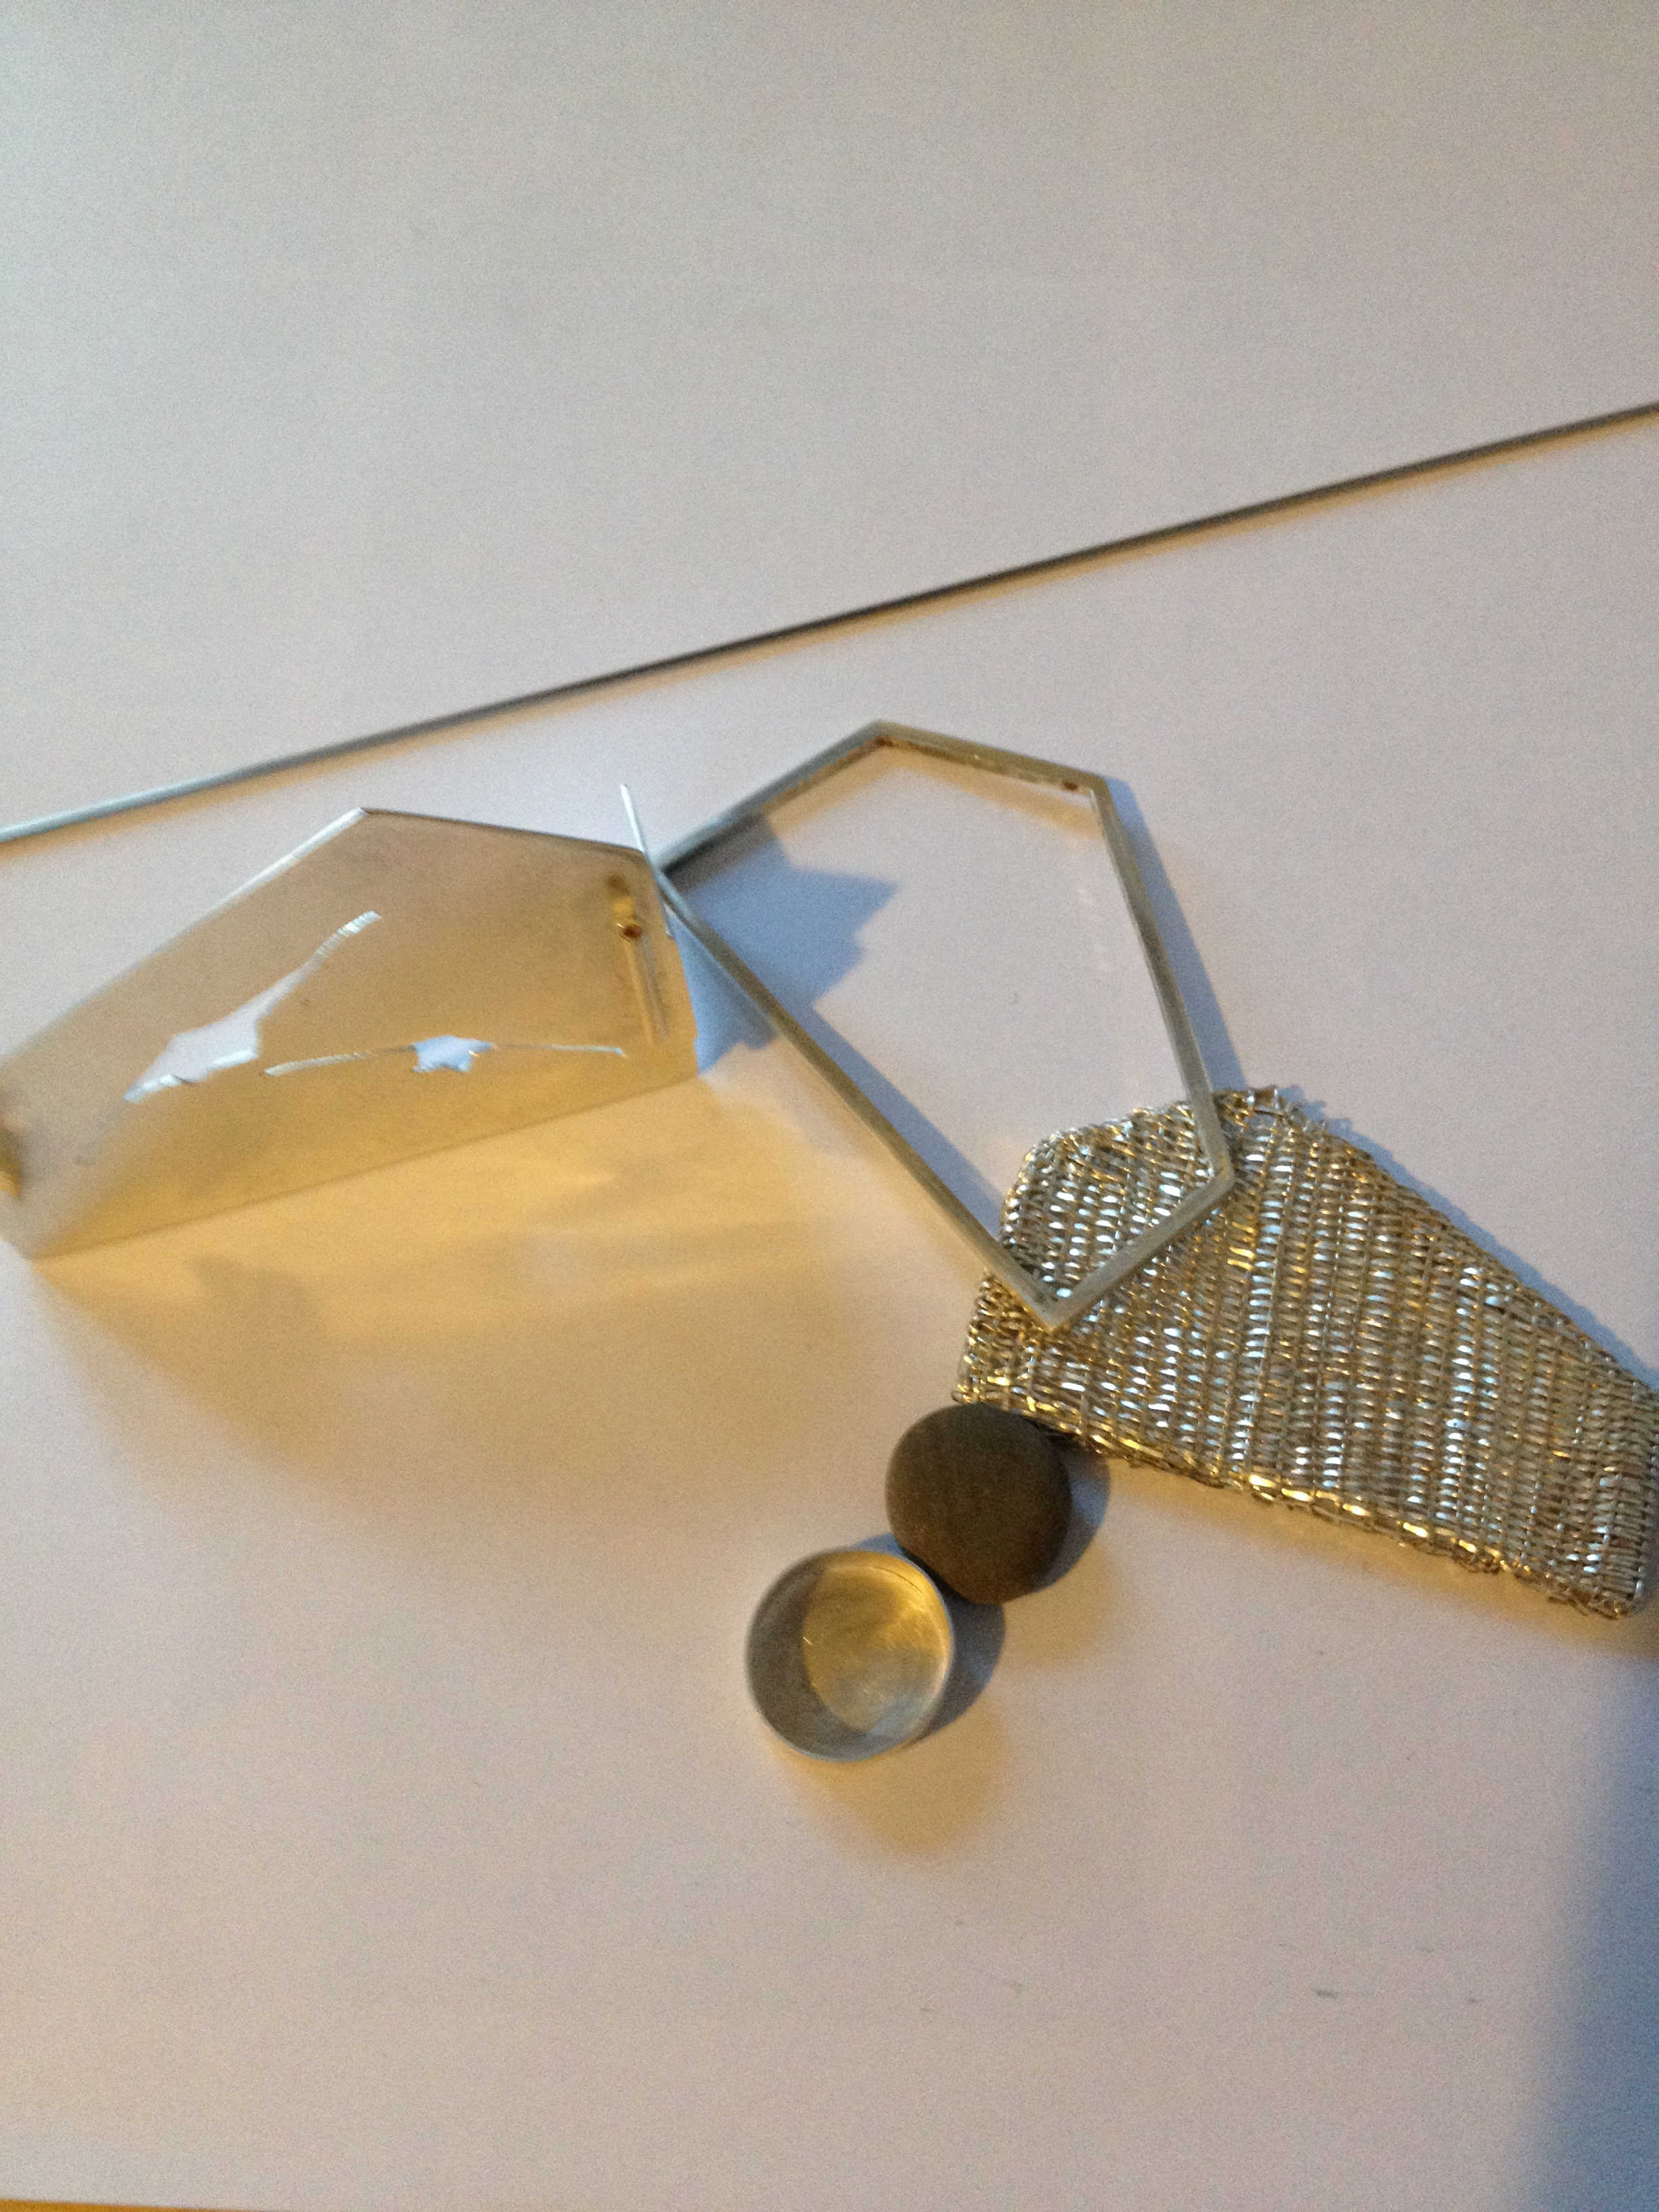
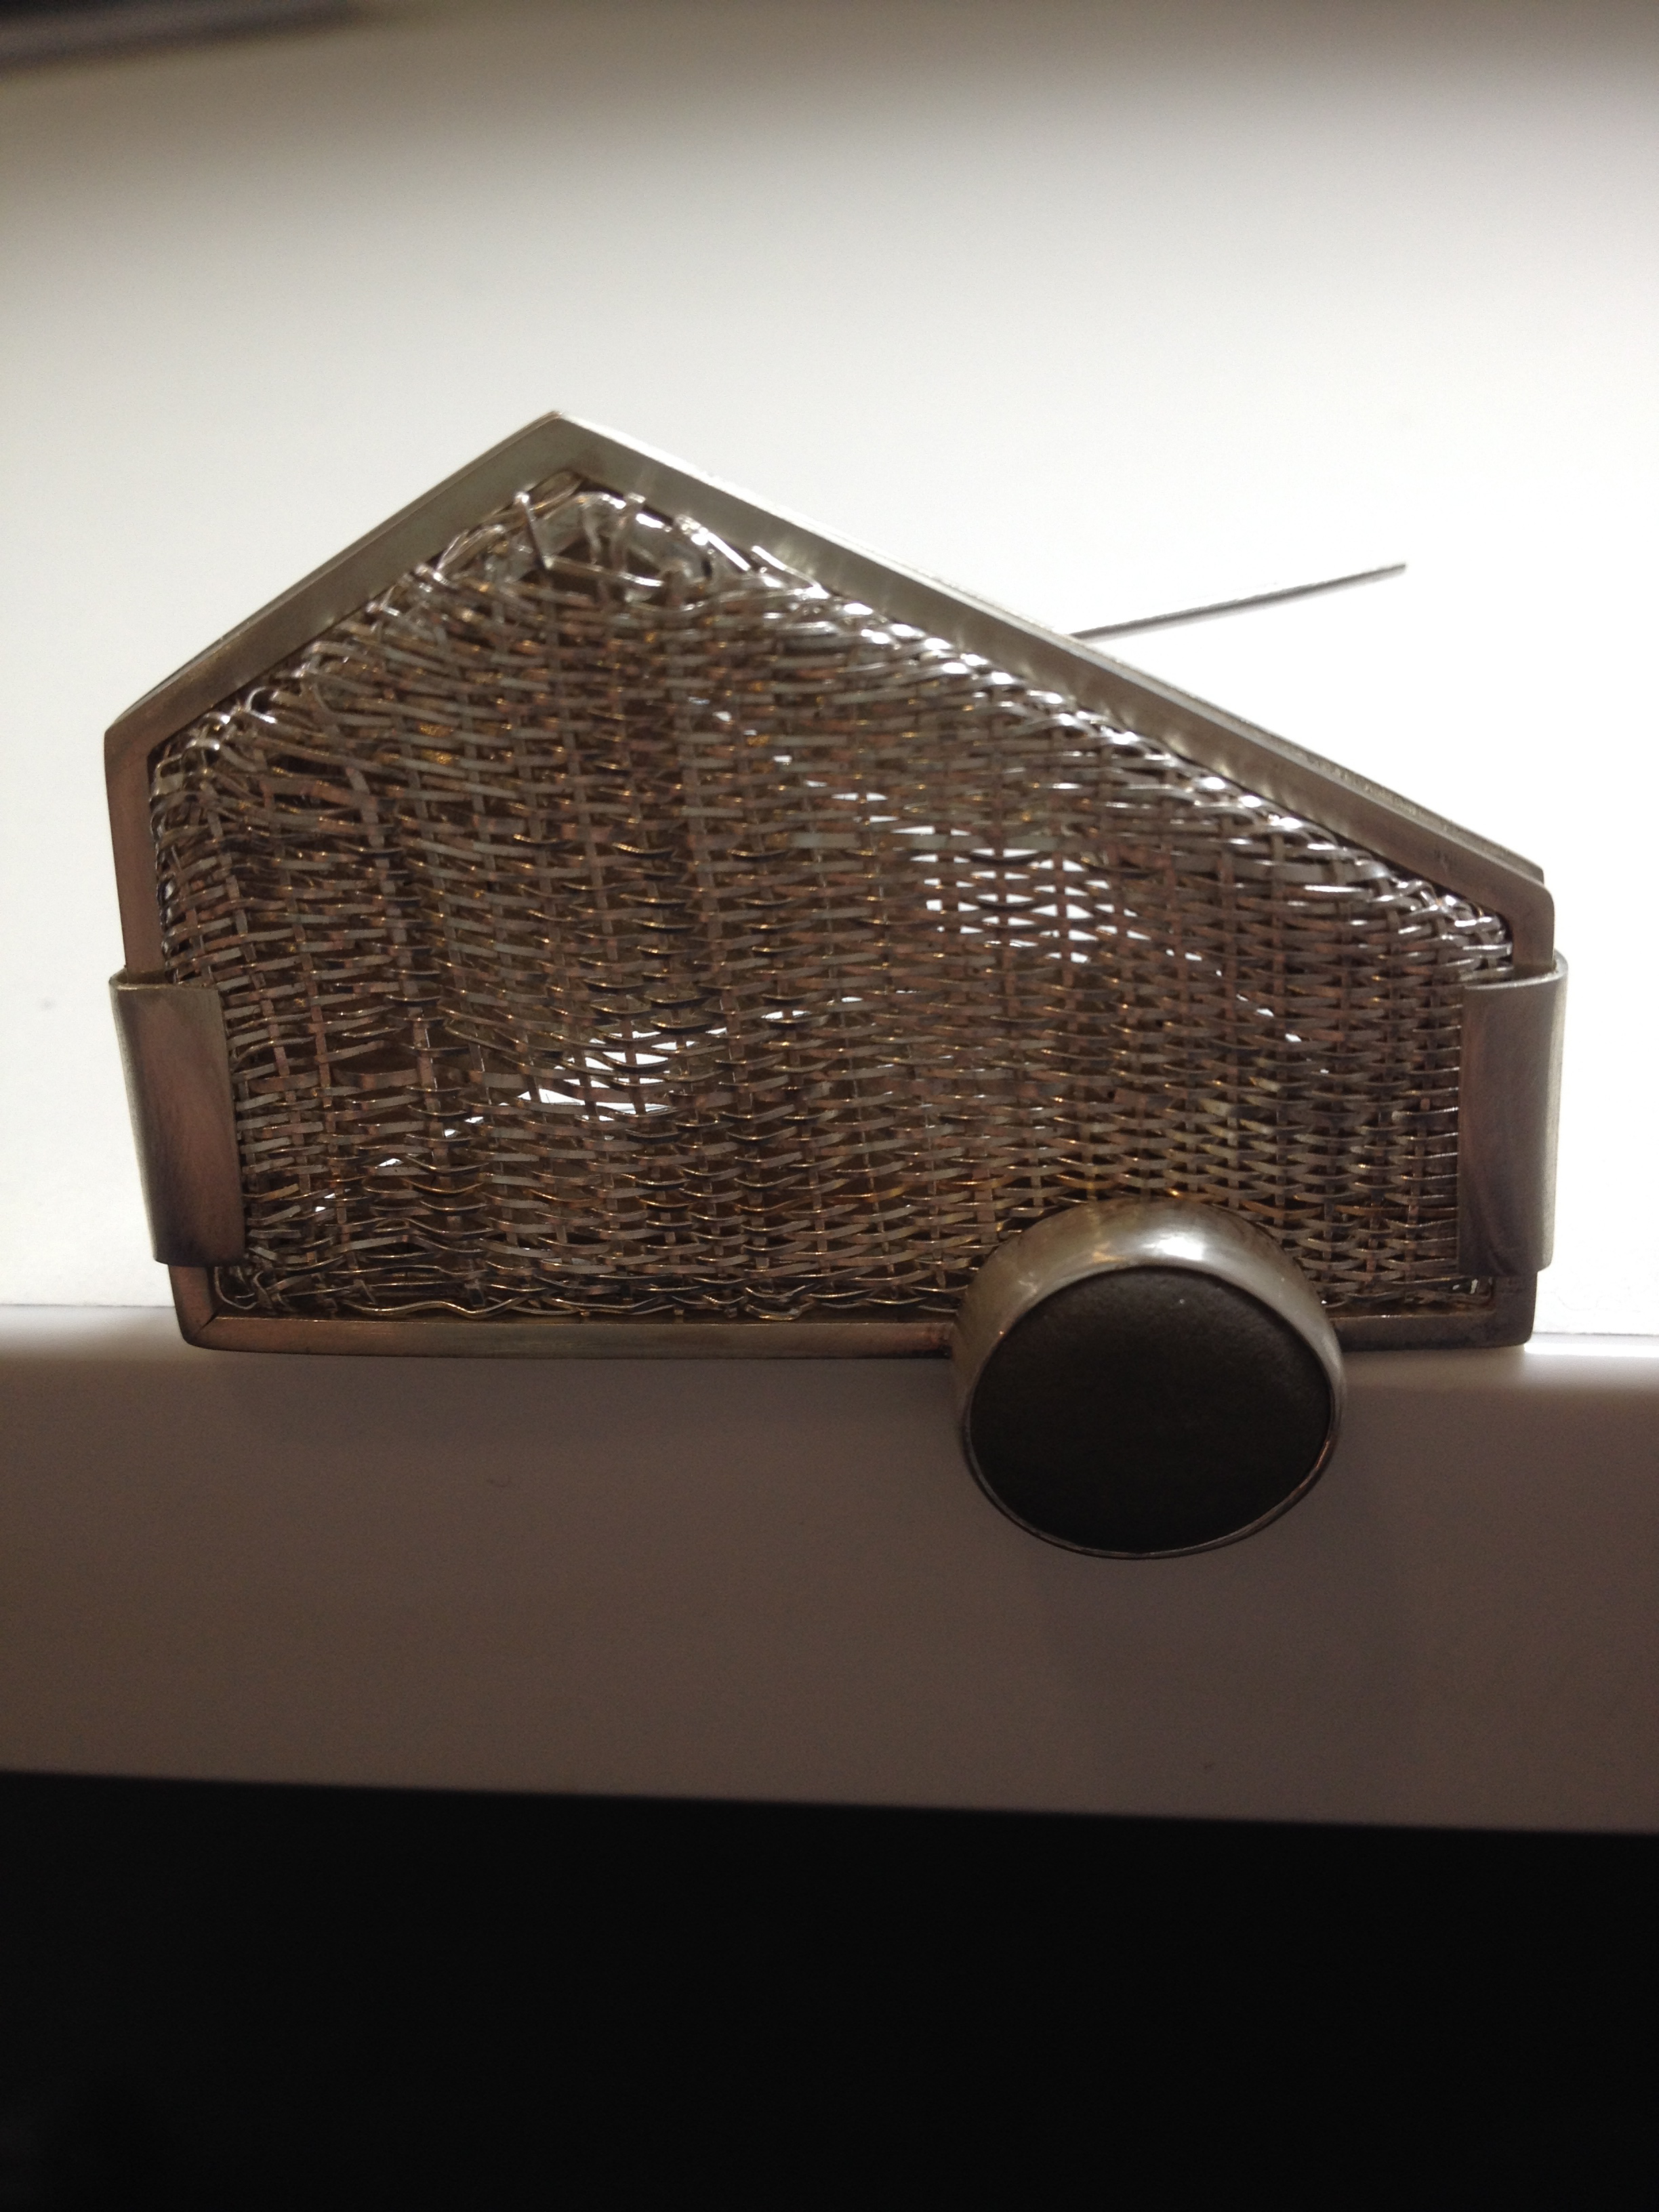
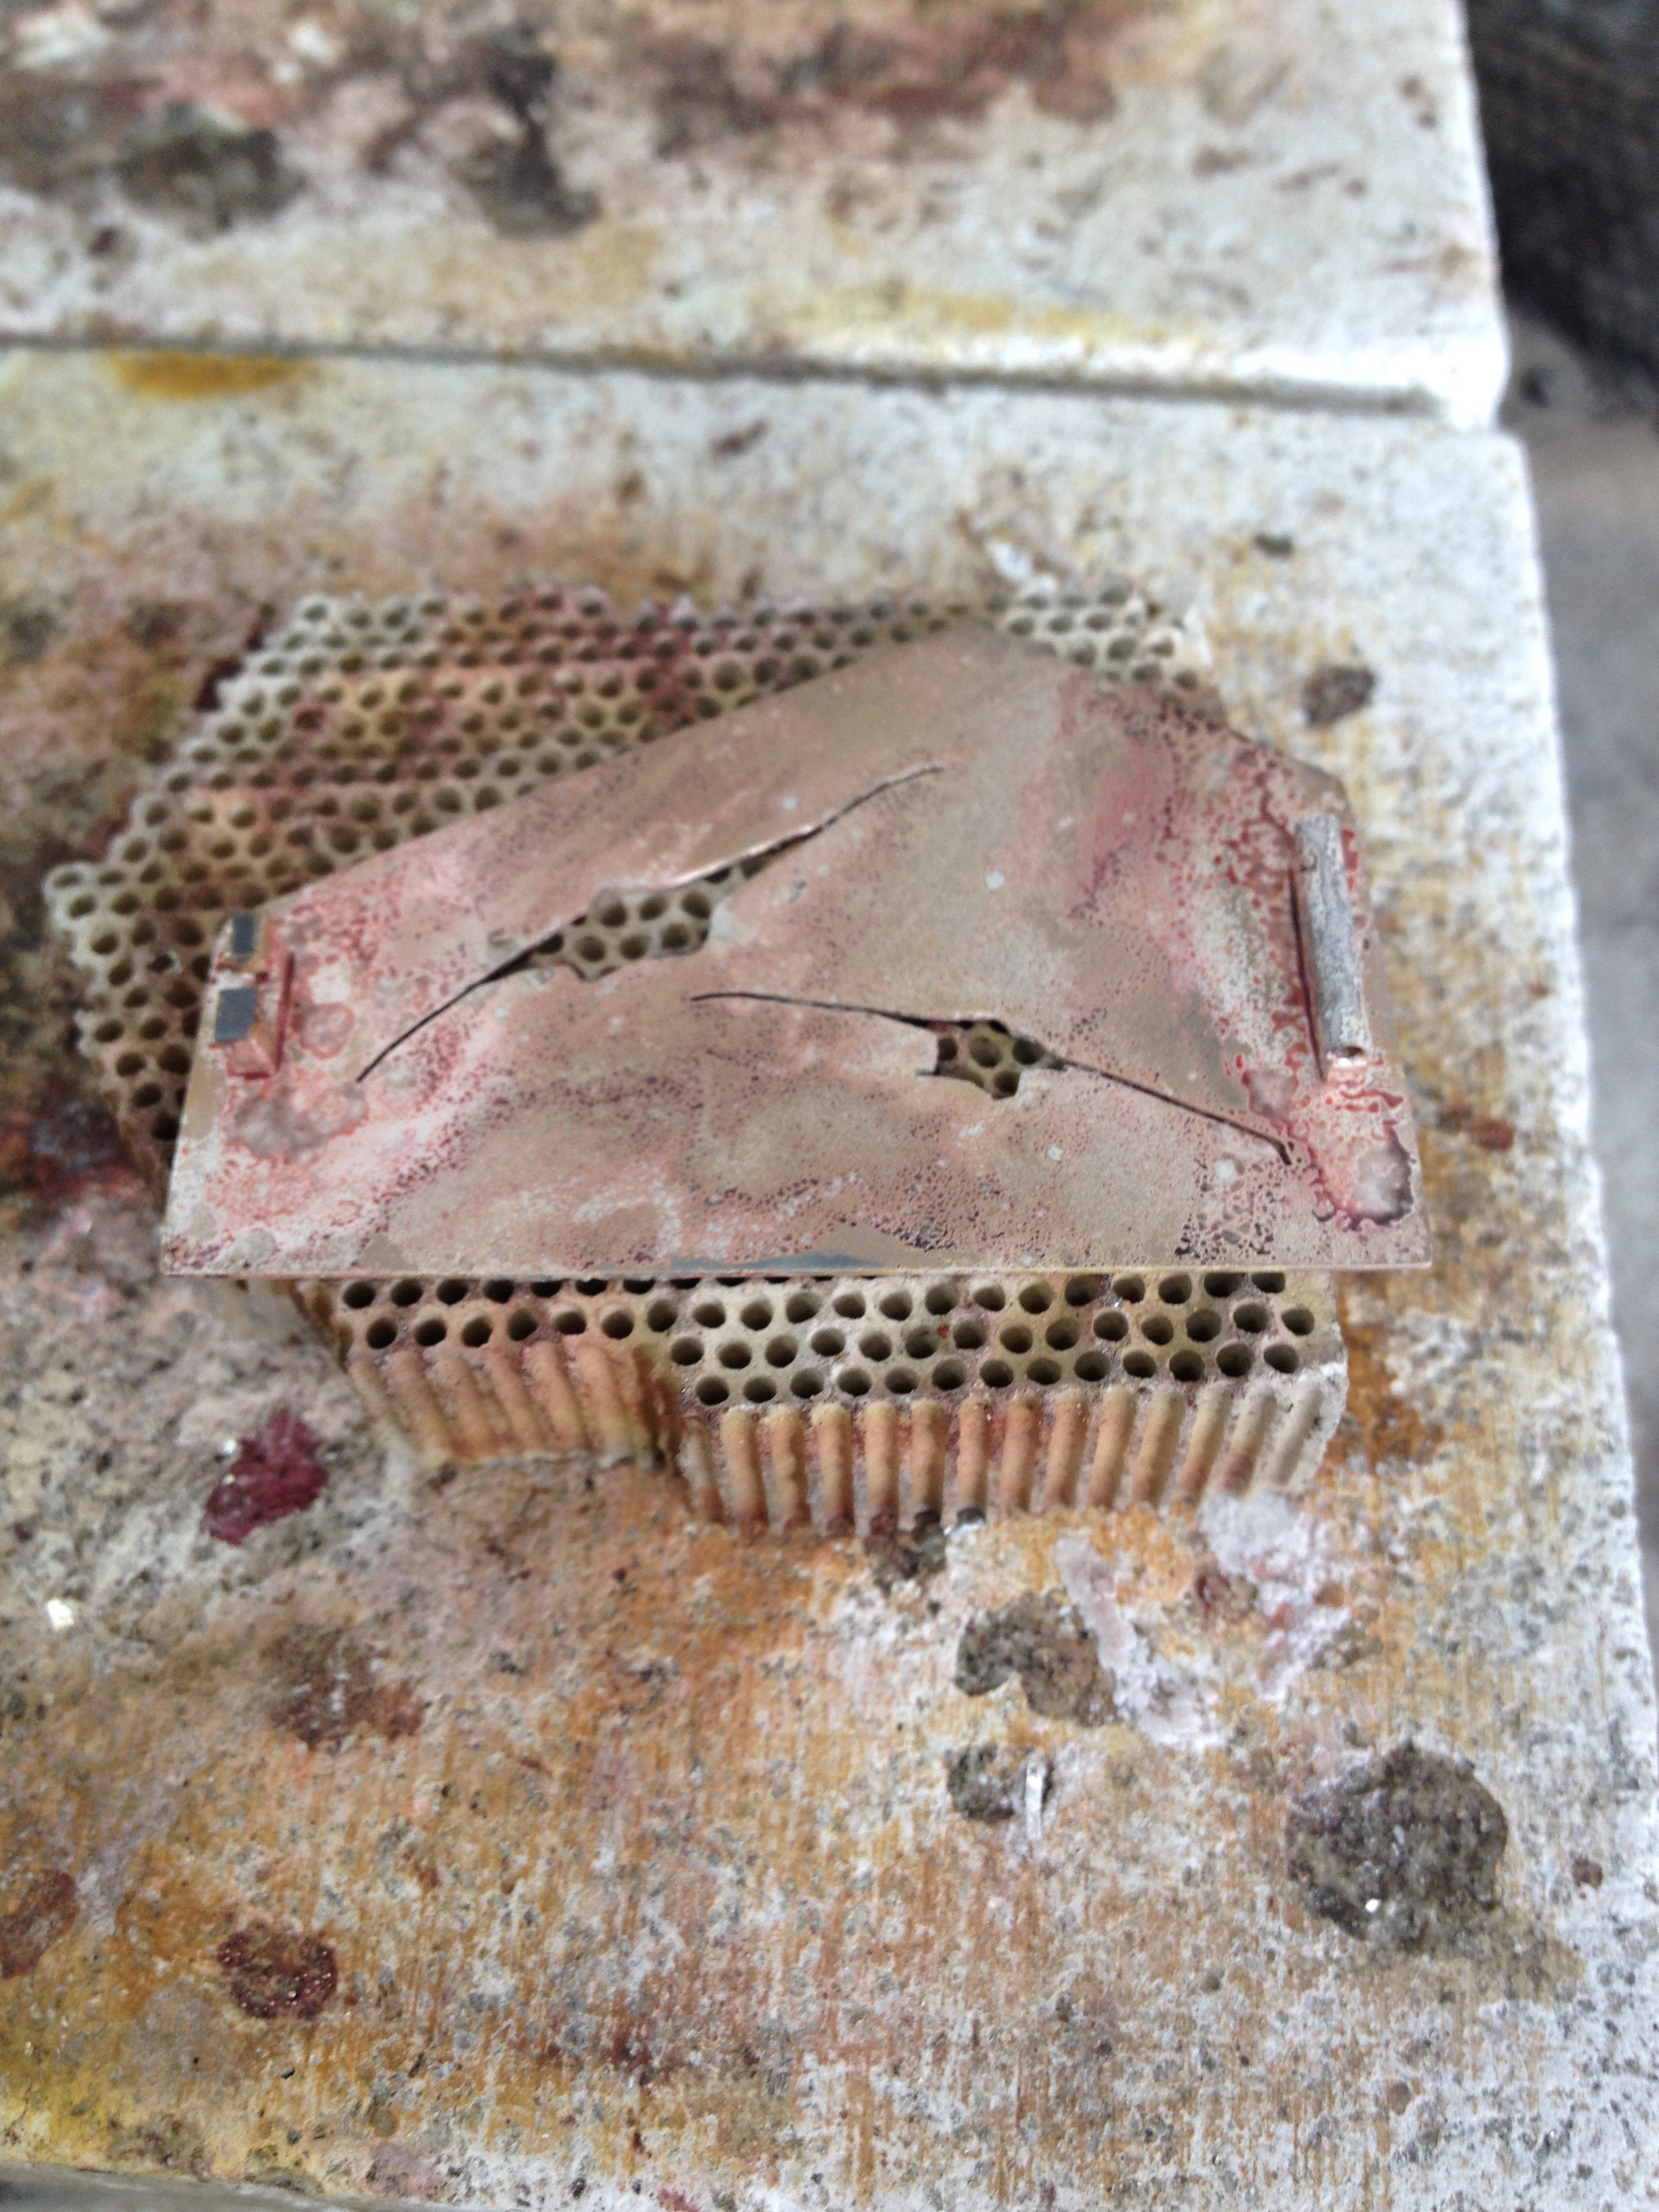
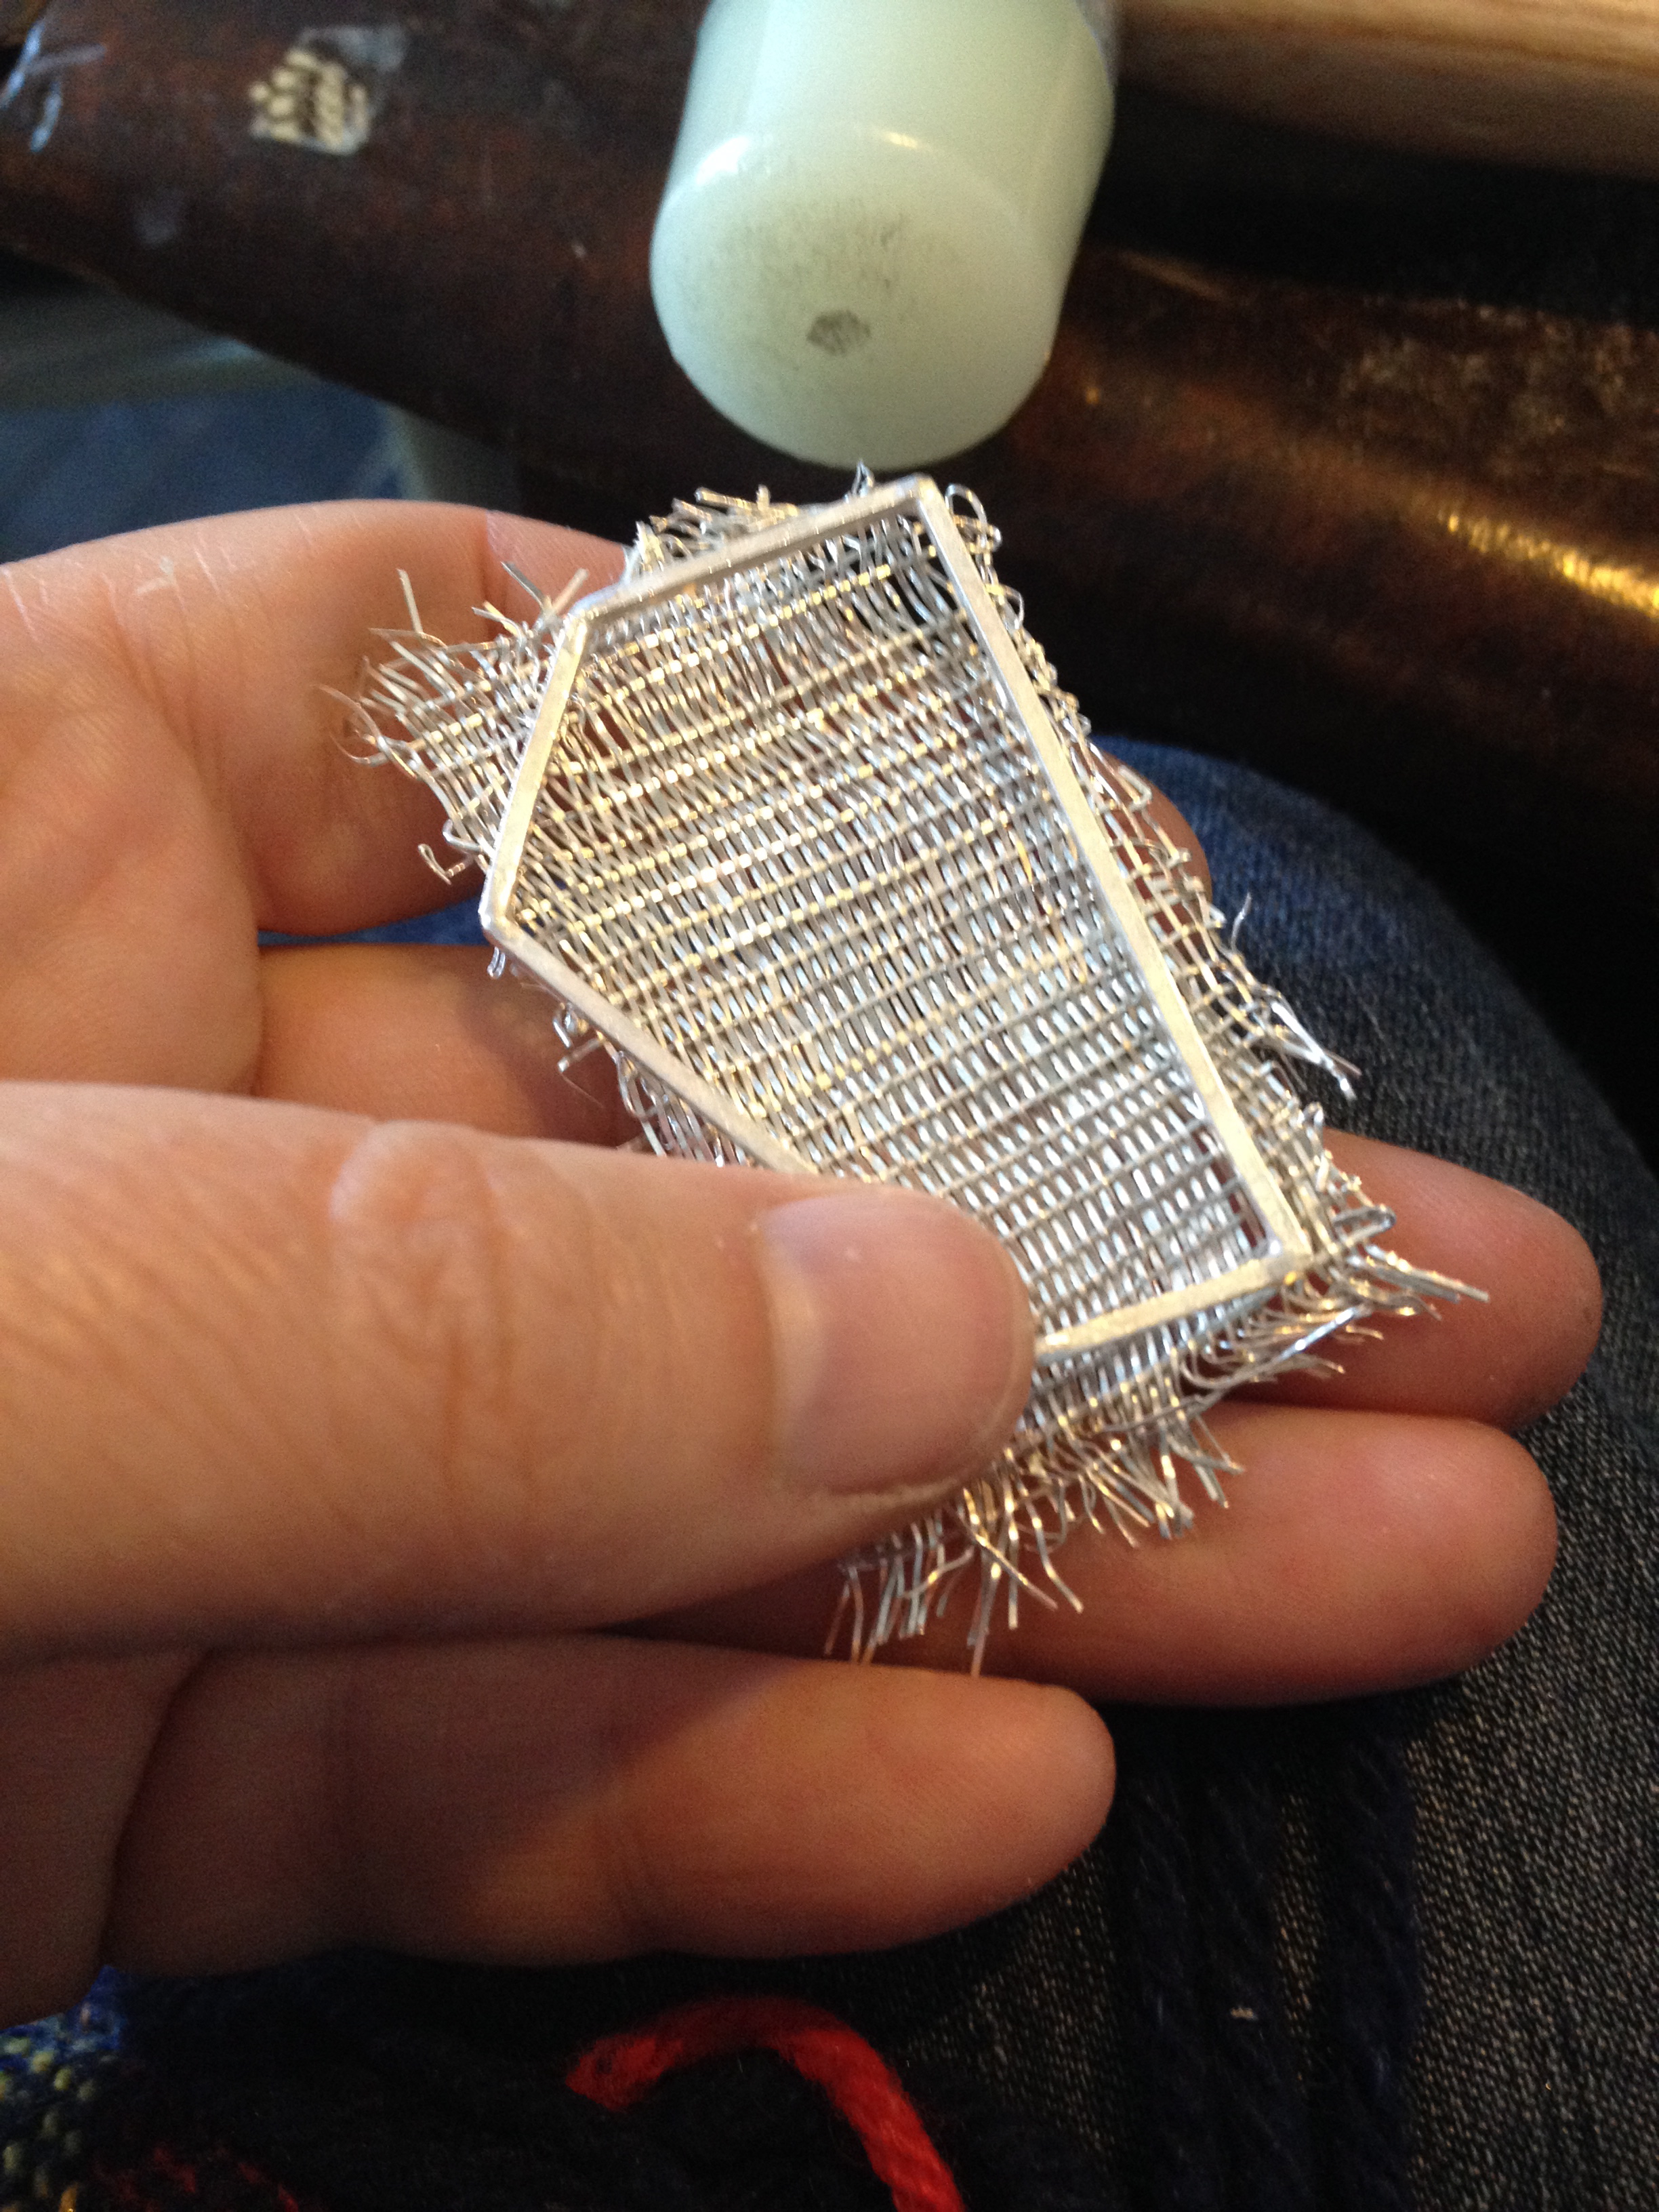
making and fitting a new frame
Tried to fit the old outer frame around the new woven panel… but it no longer seems to fit! no matter how hard I try to hammer ease it into place…!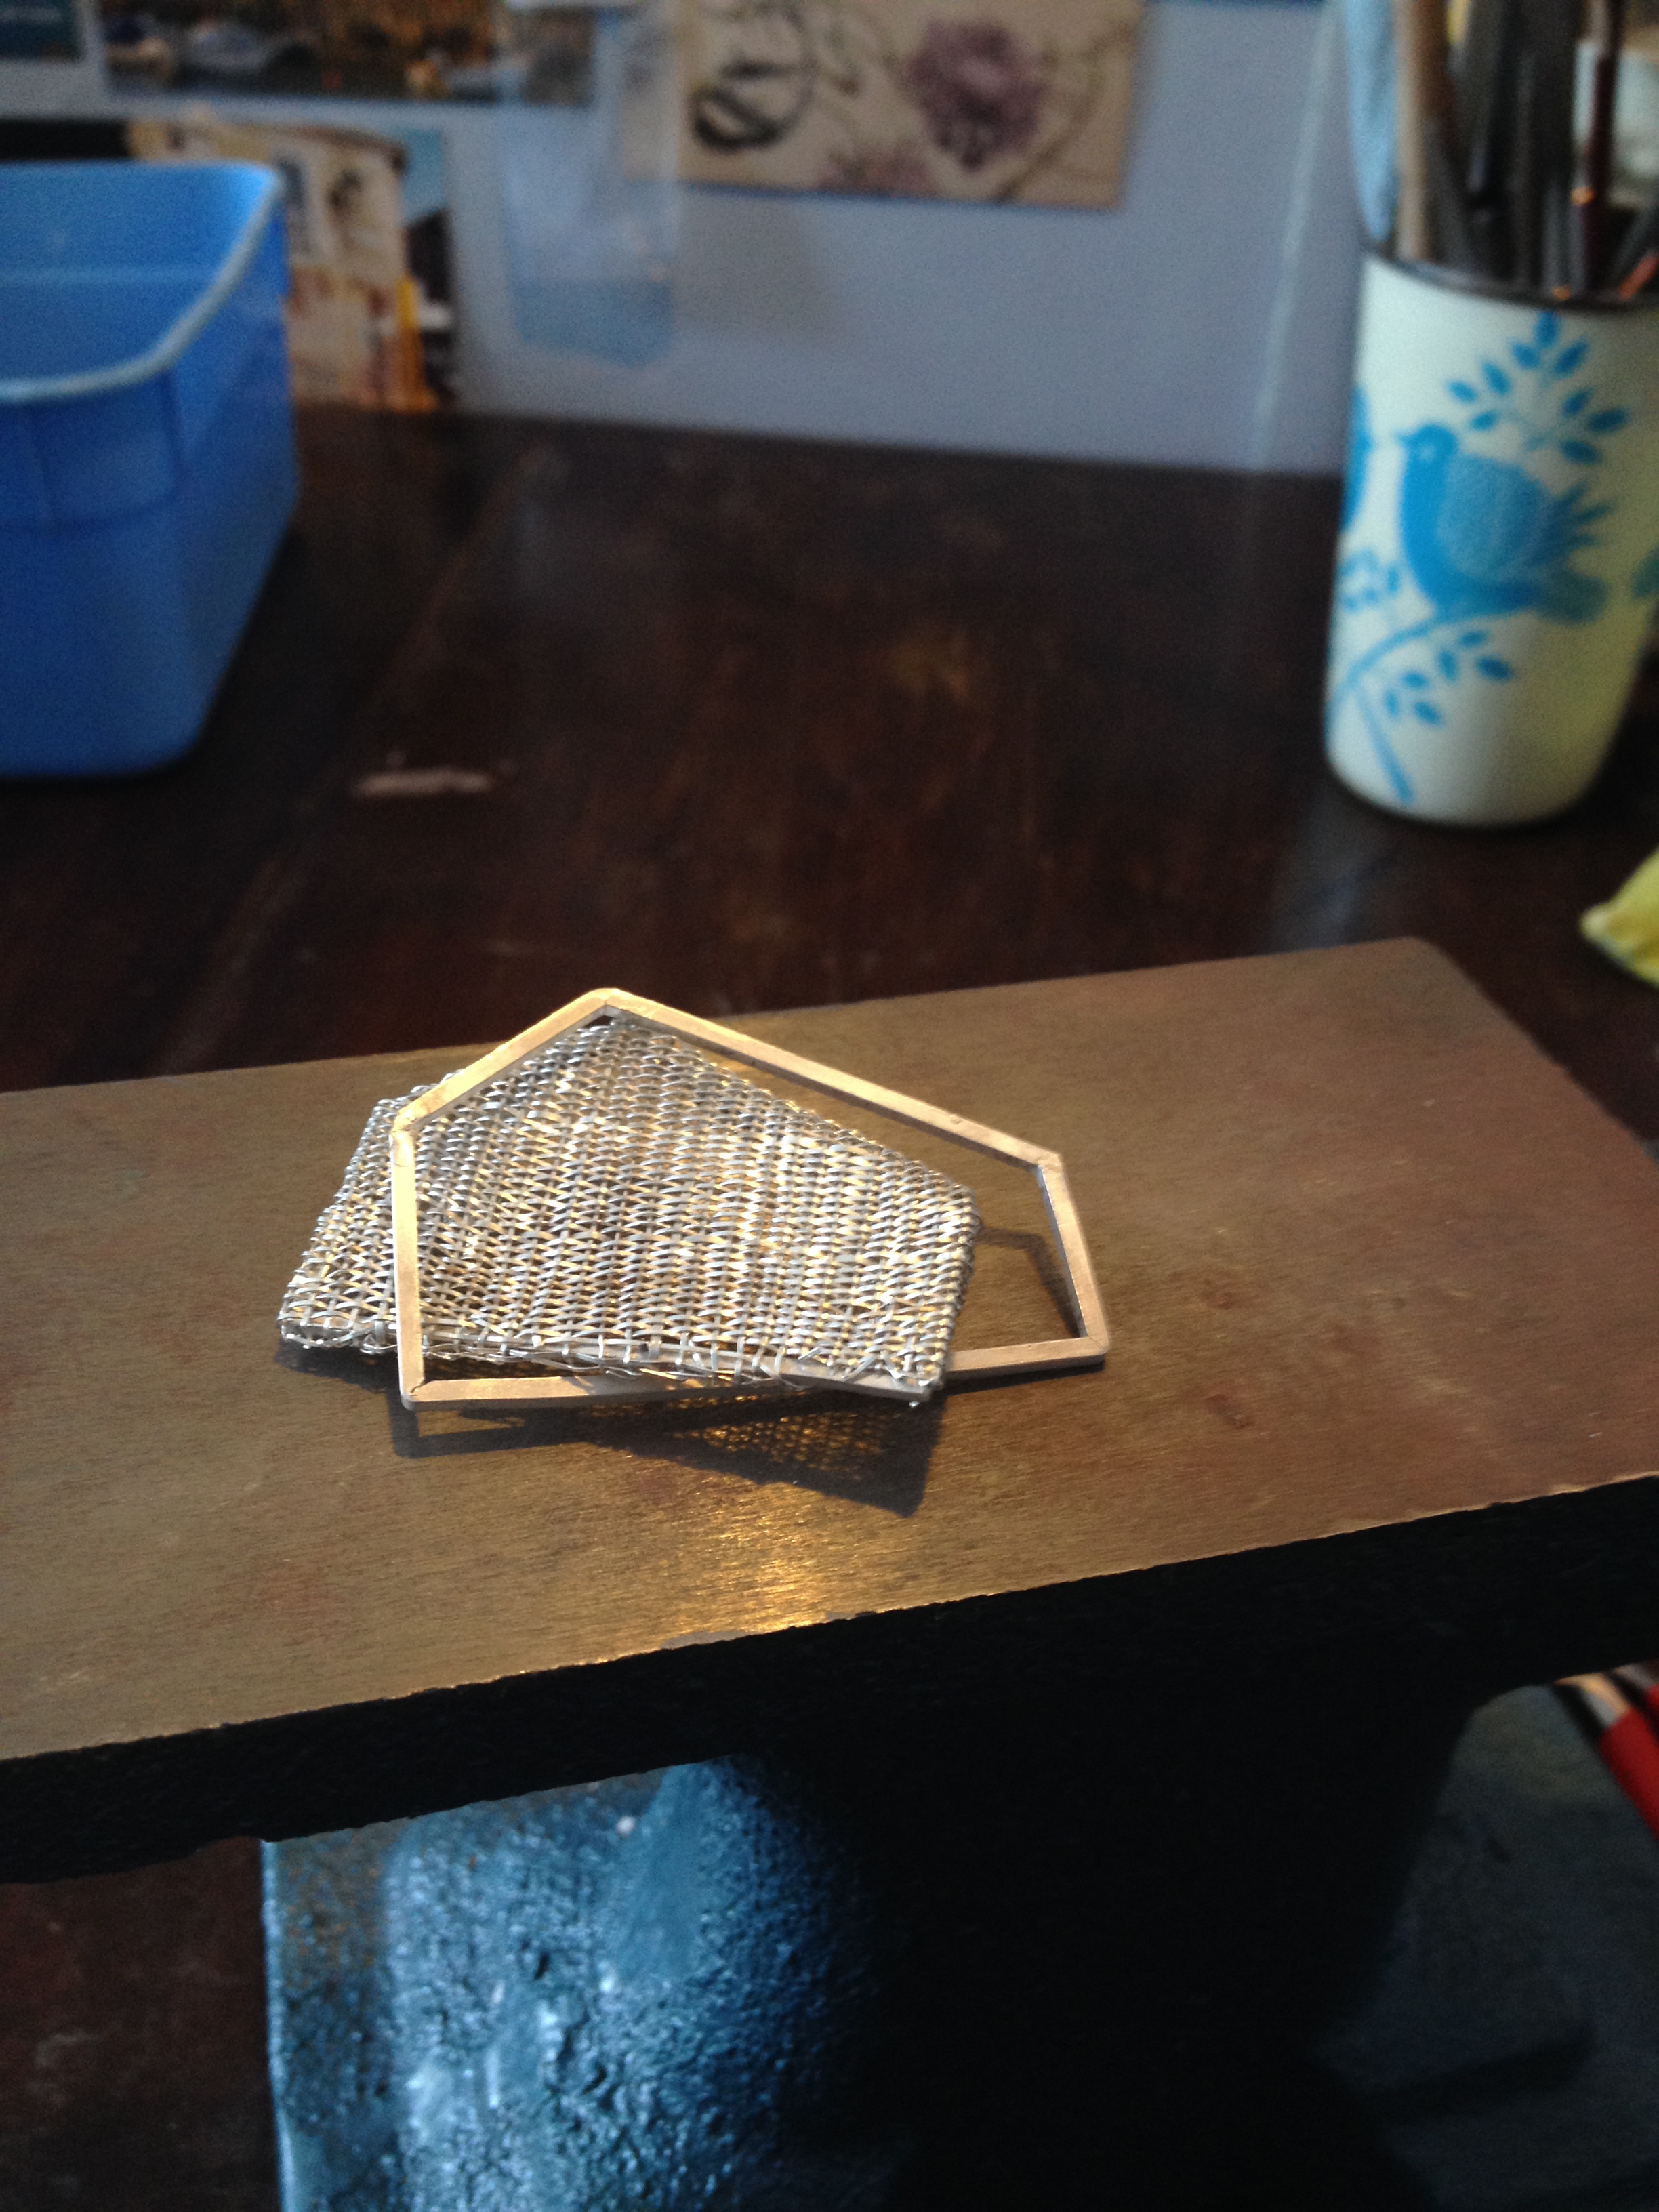 Nothing for it but to make a new frame. Luckily I’m not working to a deadline… O wait… isn’t that the 1st of May fast approaching…! Quick, hand me that torch!
 Making the new frame from an already partially made prototype, hence the random angles…
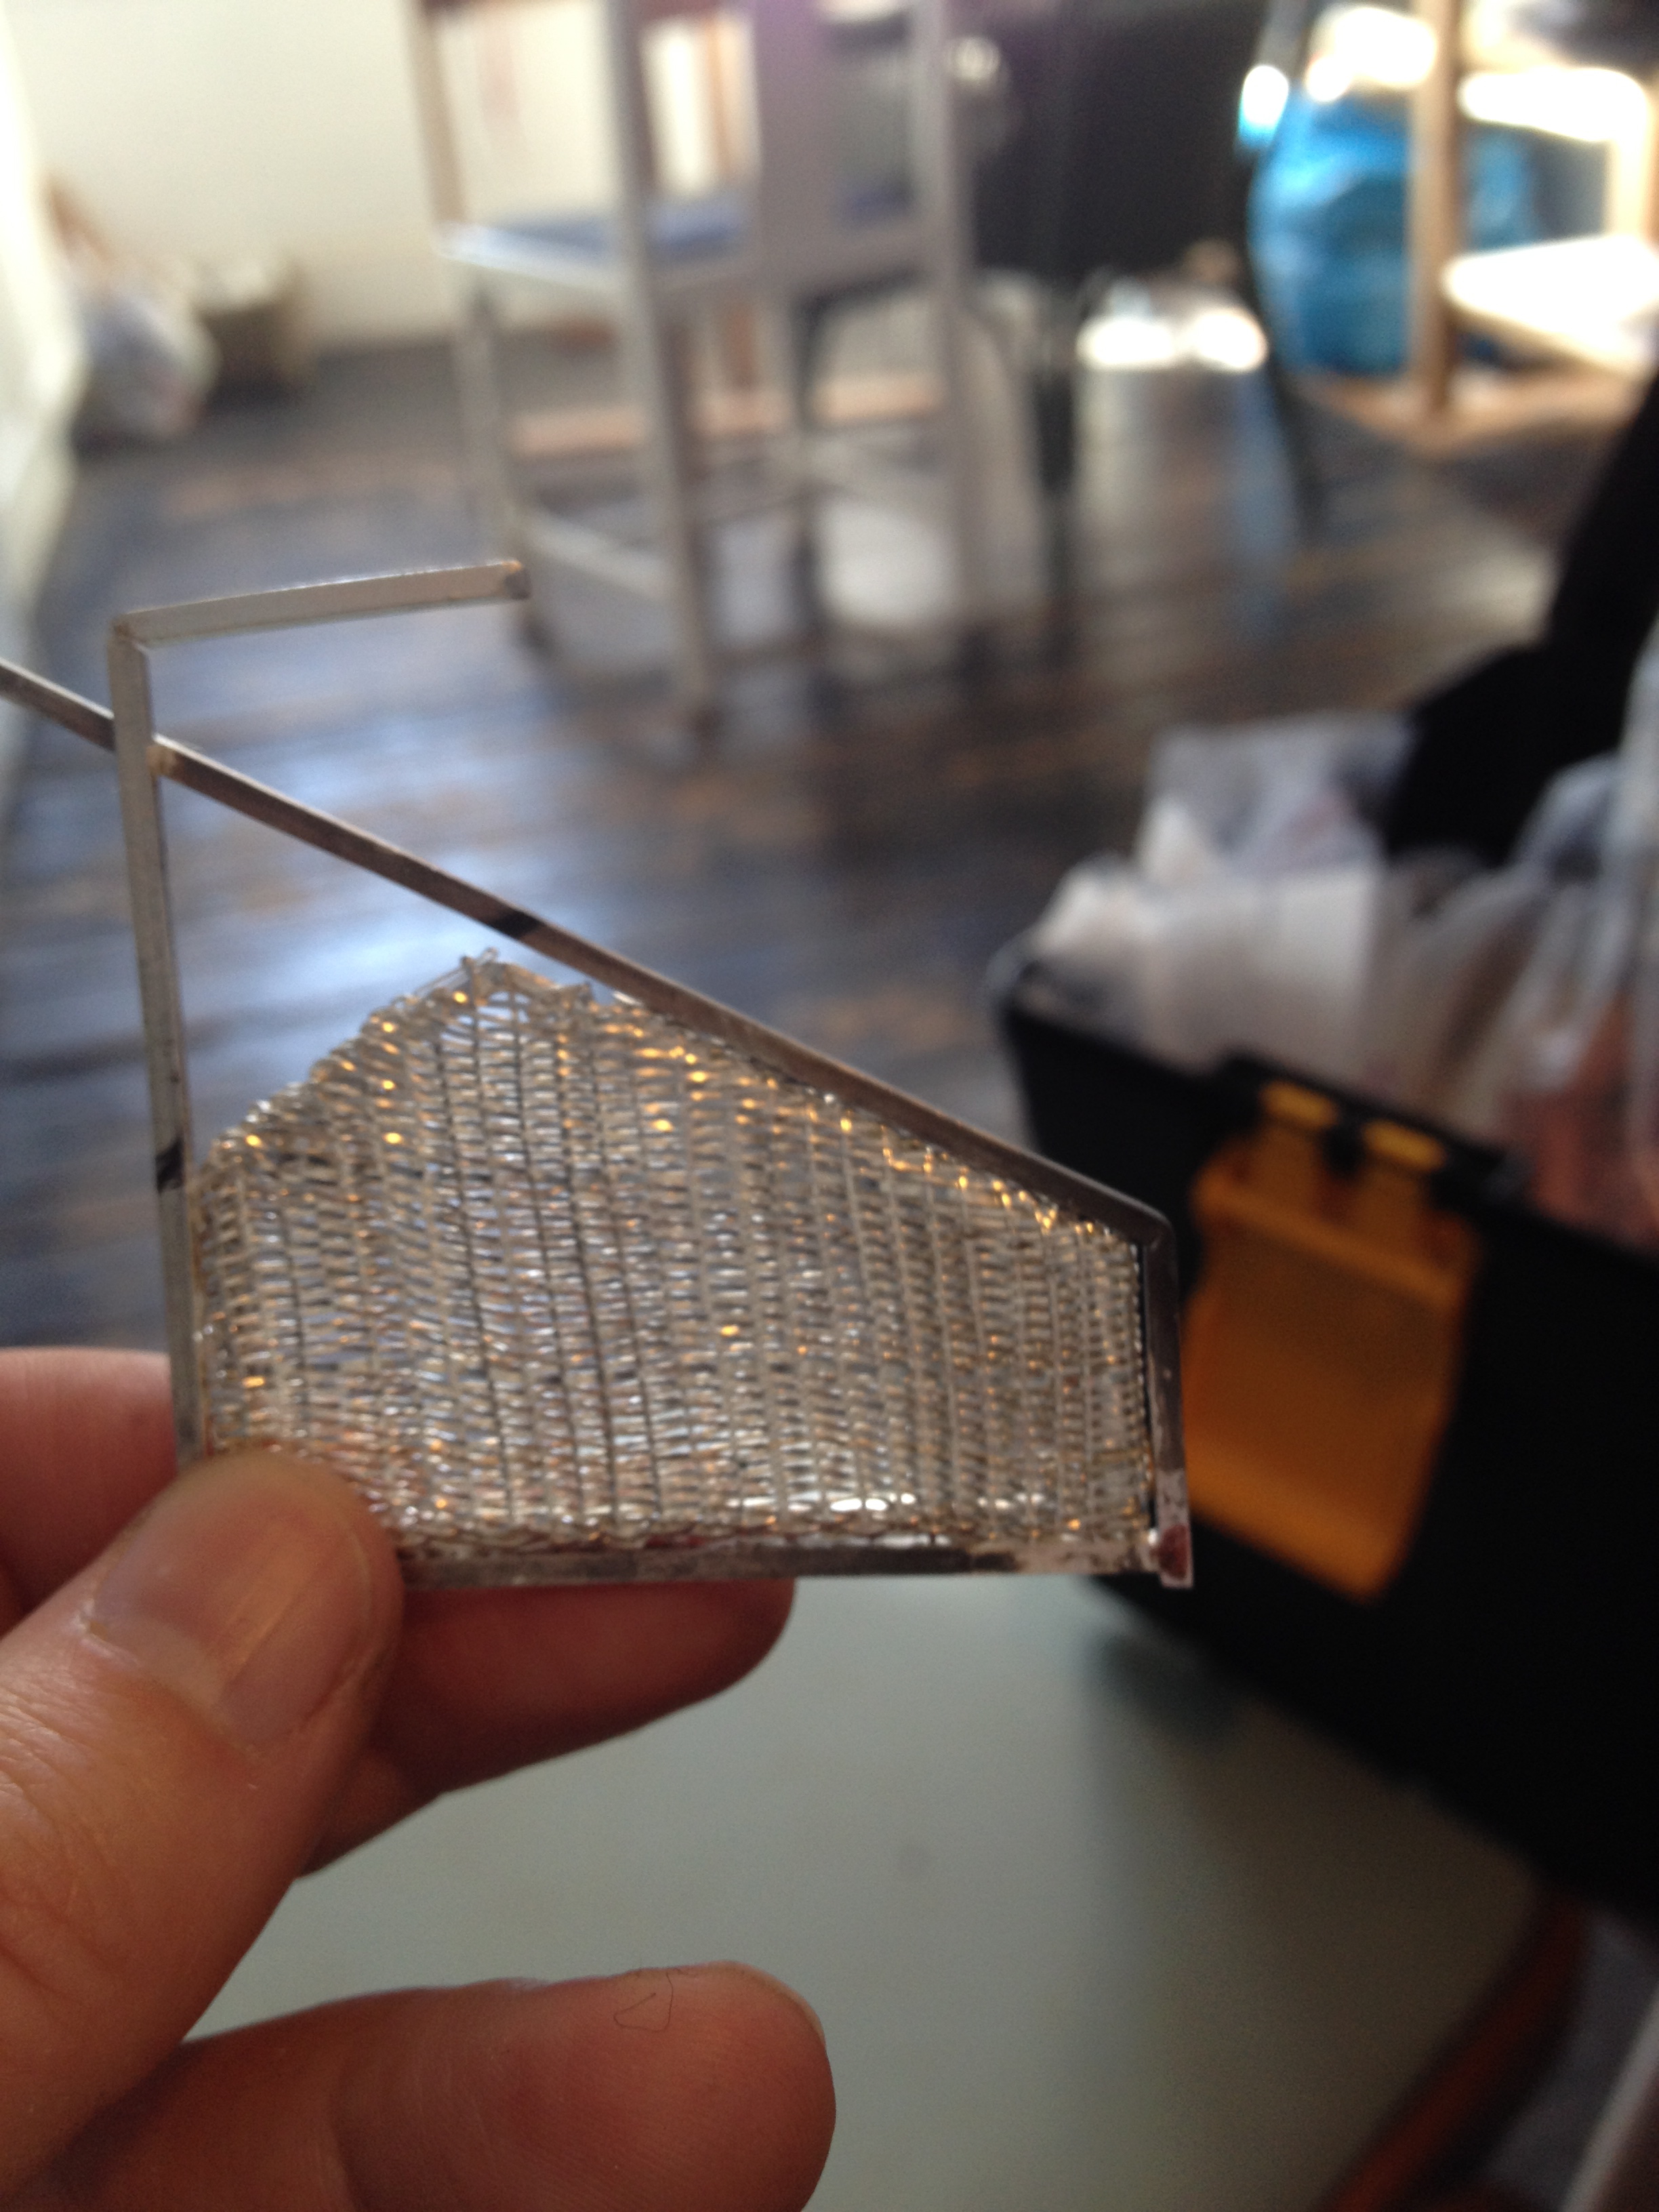 nearly there now…
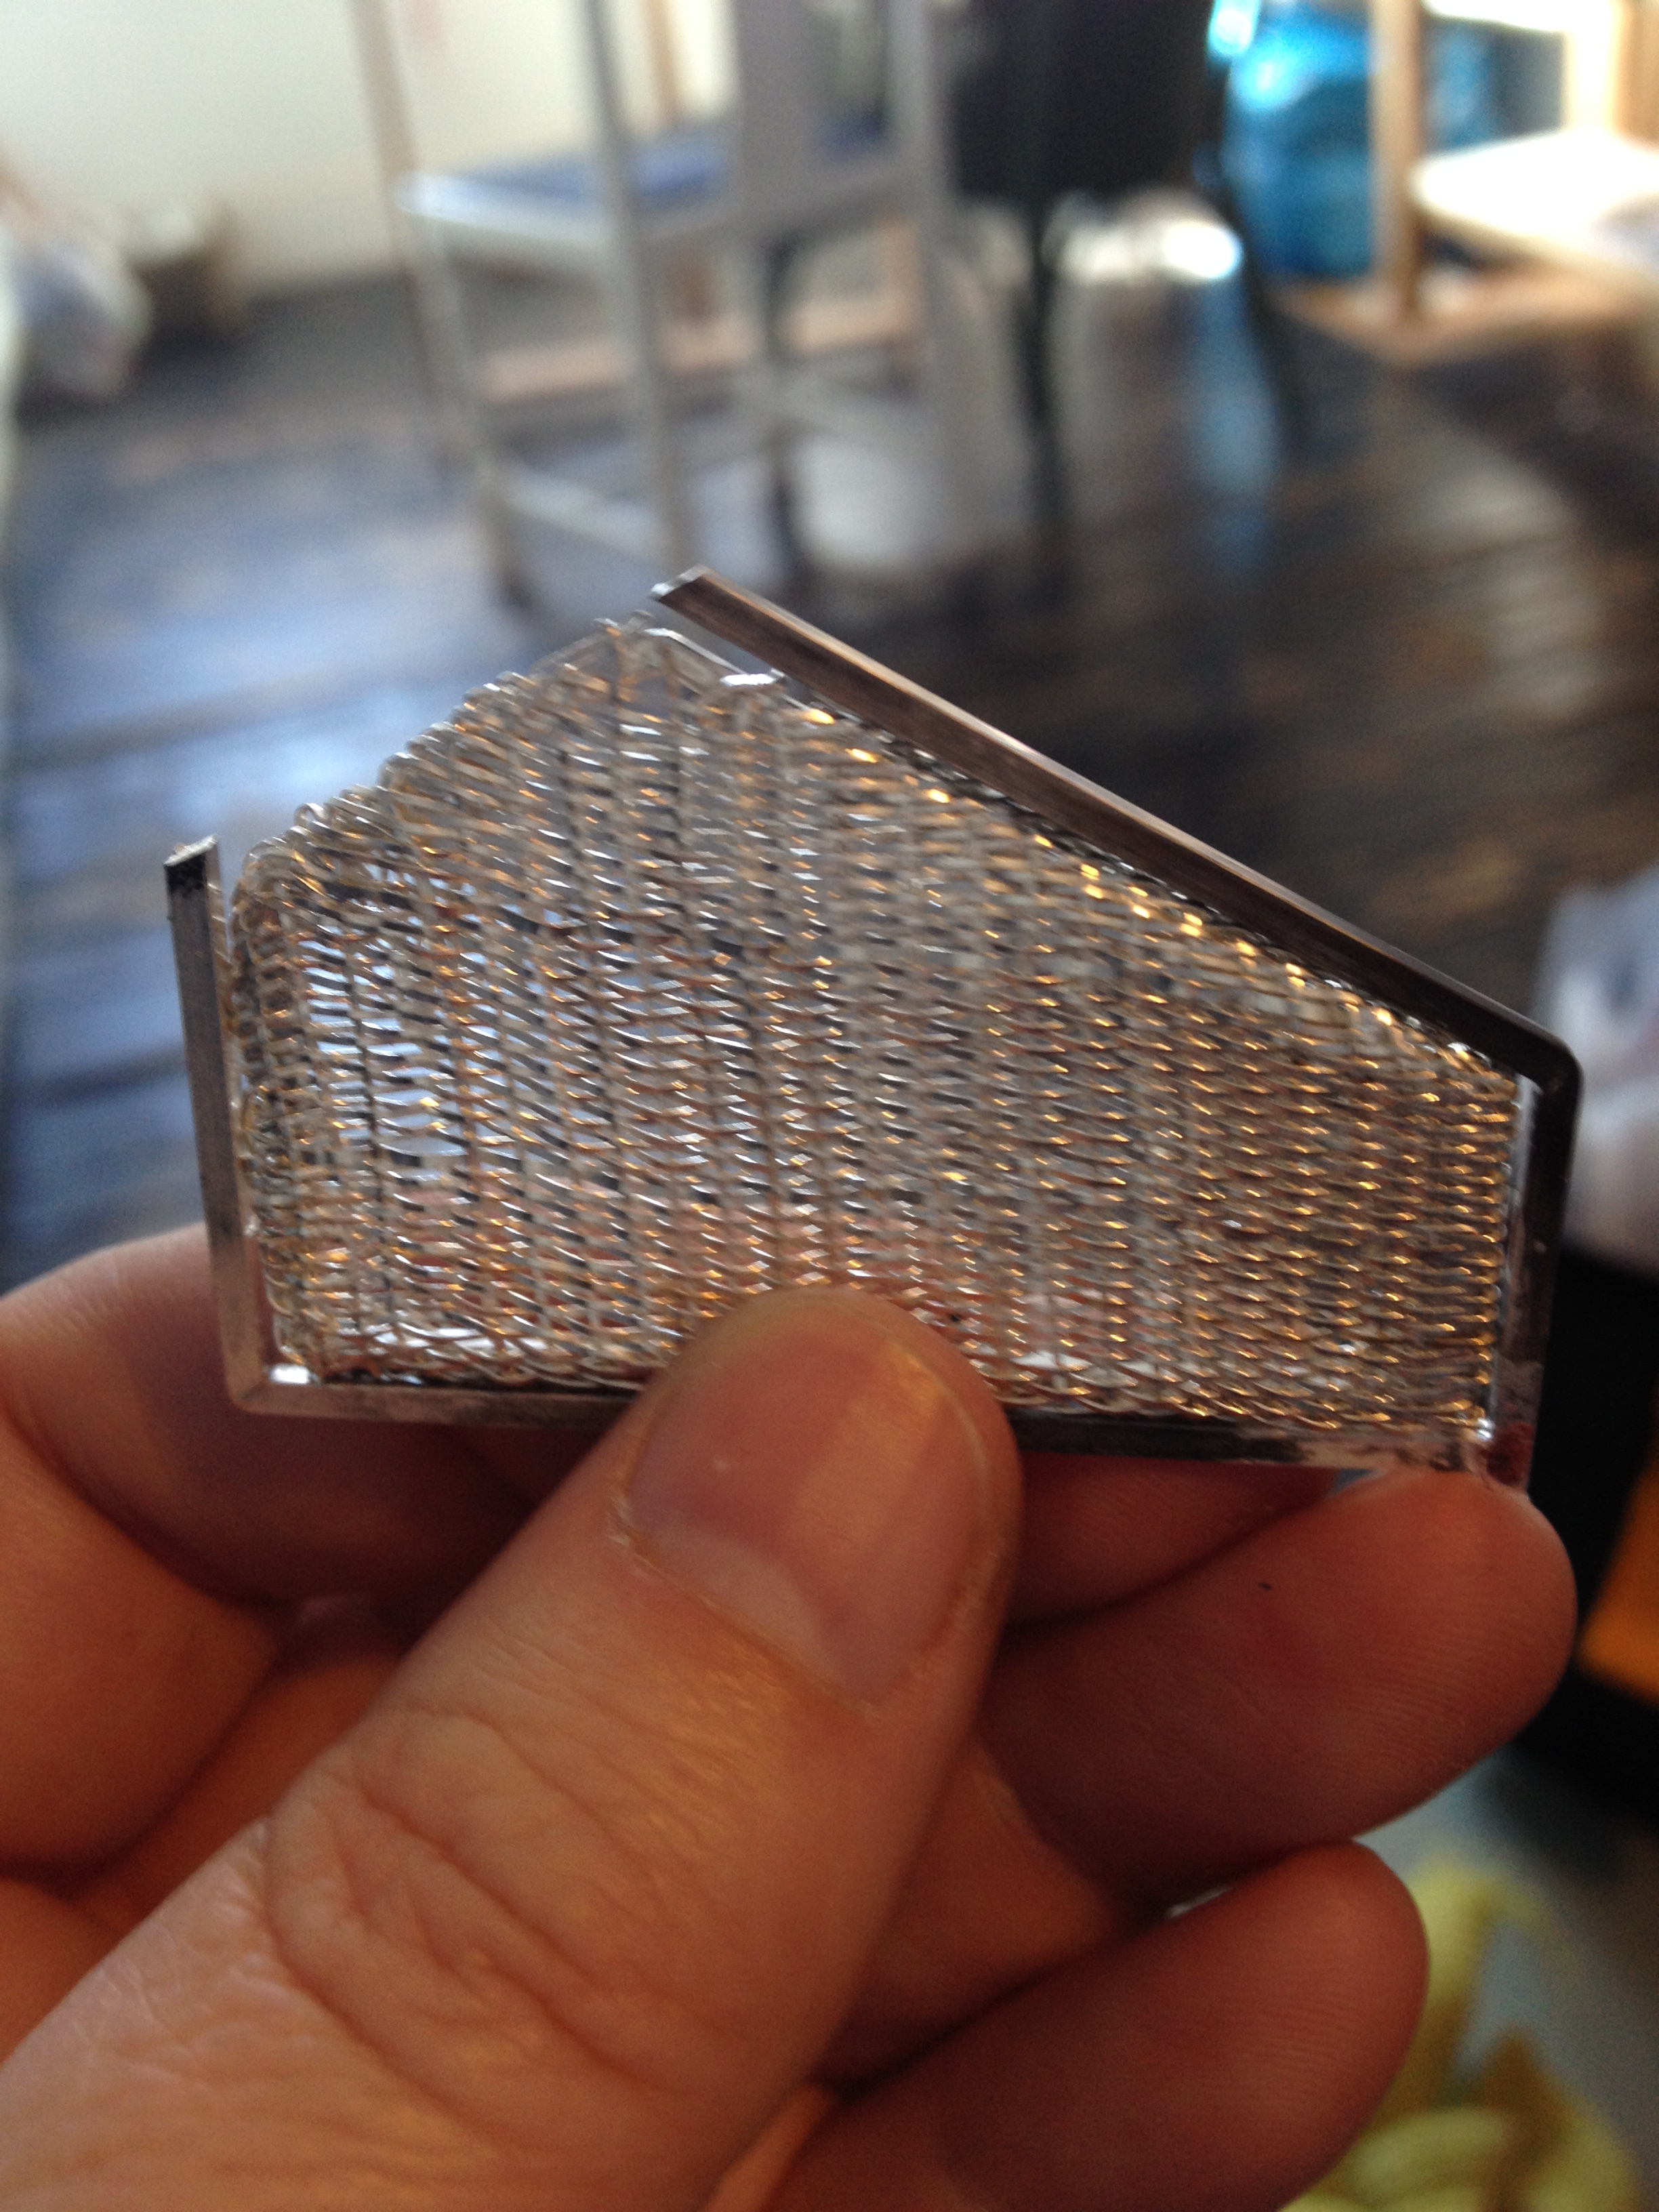 all ready to be cleaned up
and continues…
The woven panel is at last finished, so now I only have to make the piece… ha! I’m off to the lovely isle of Arran for a few days first, with some even lovelier old friends, time to rest my weary fingers (and tired eyes!) ;))
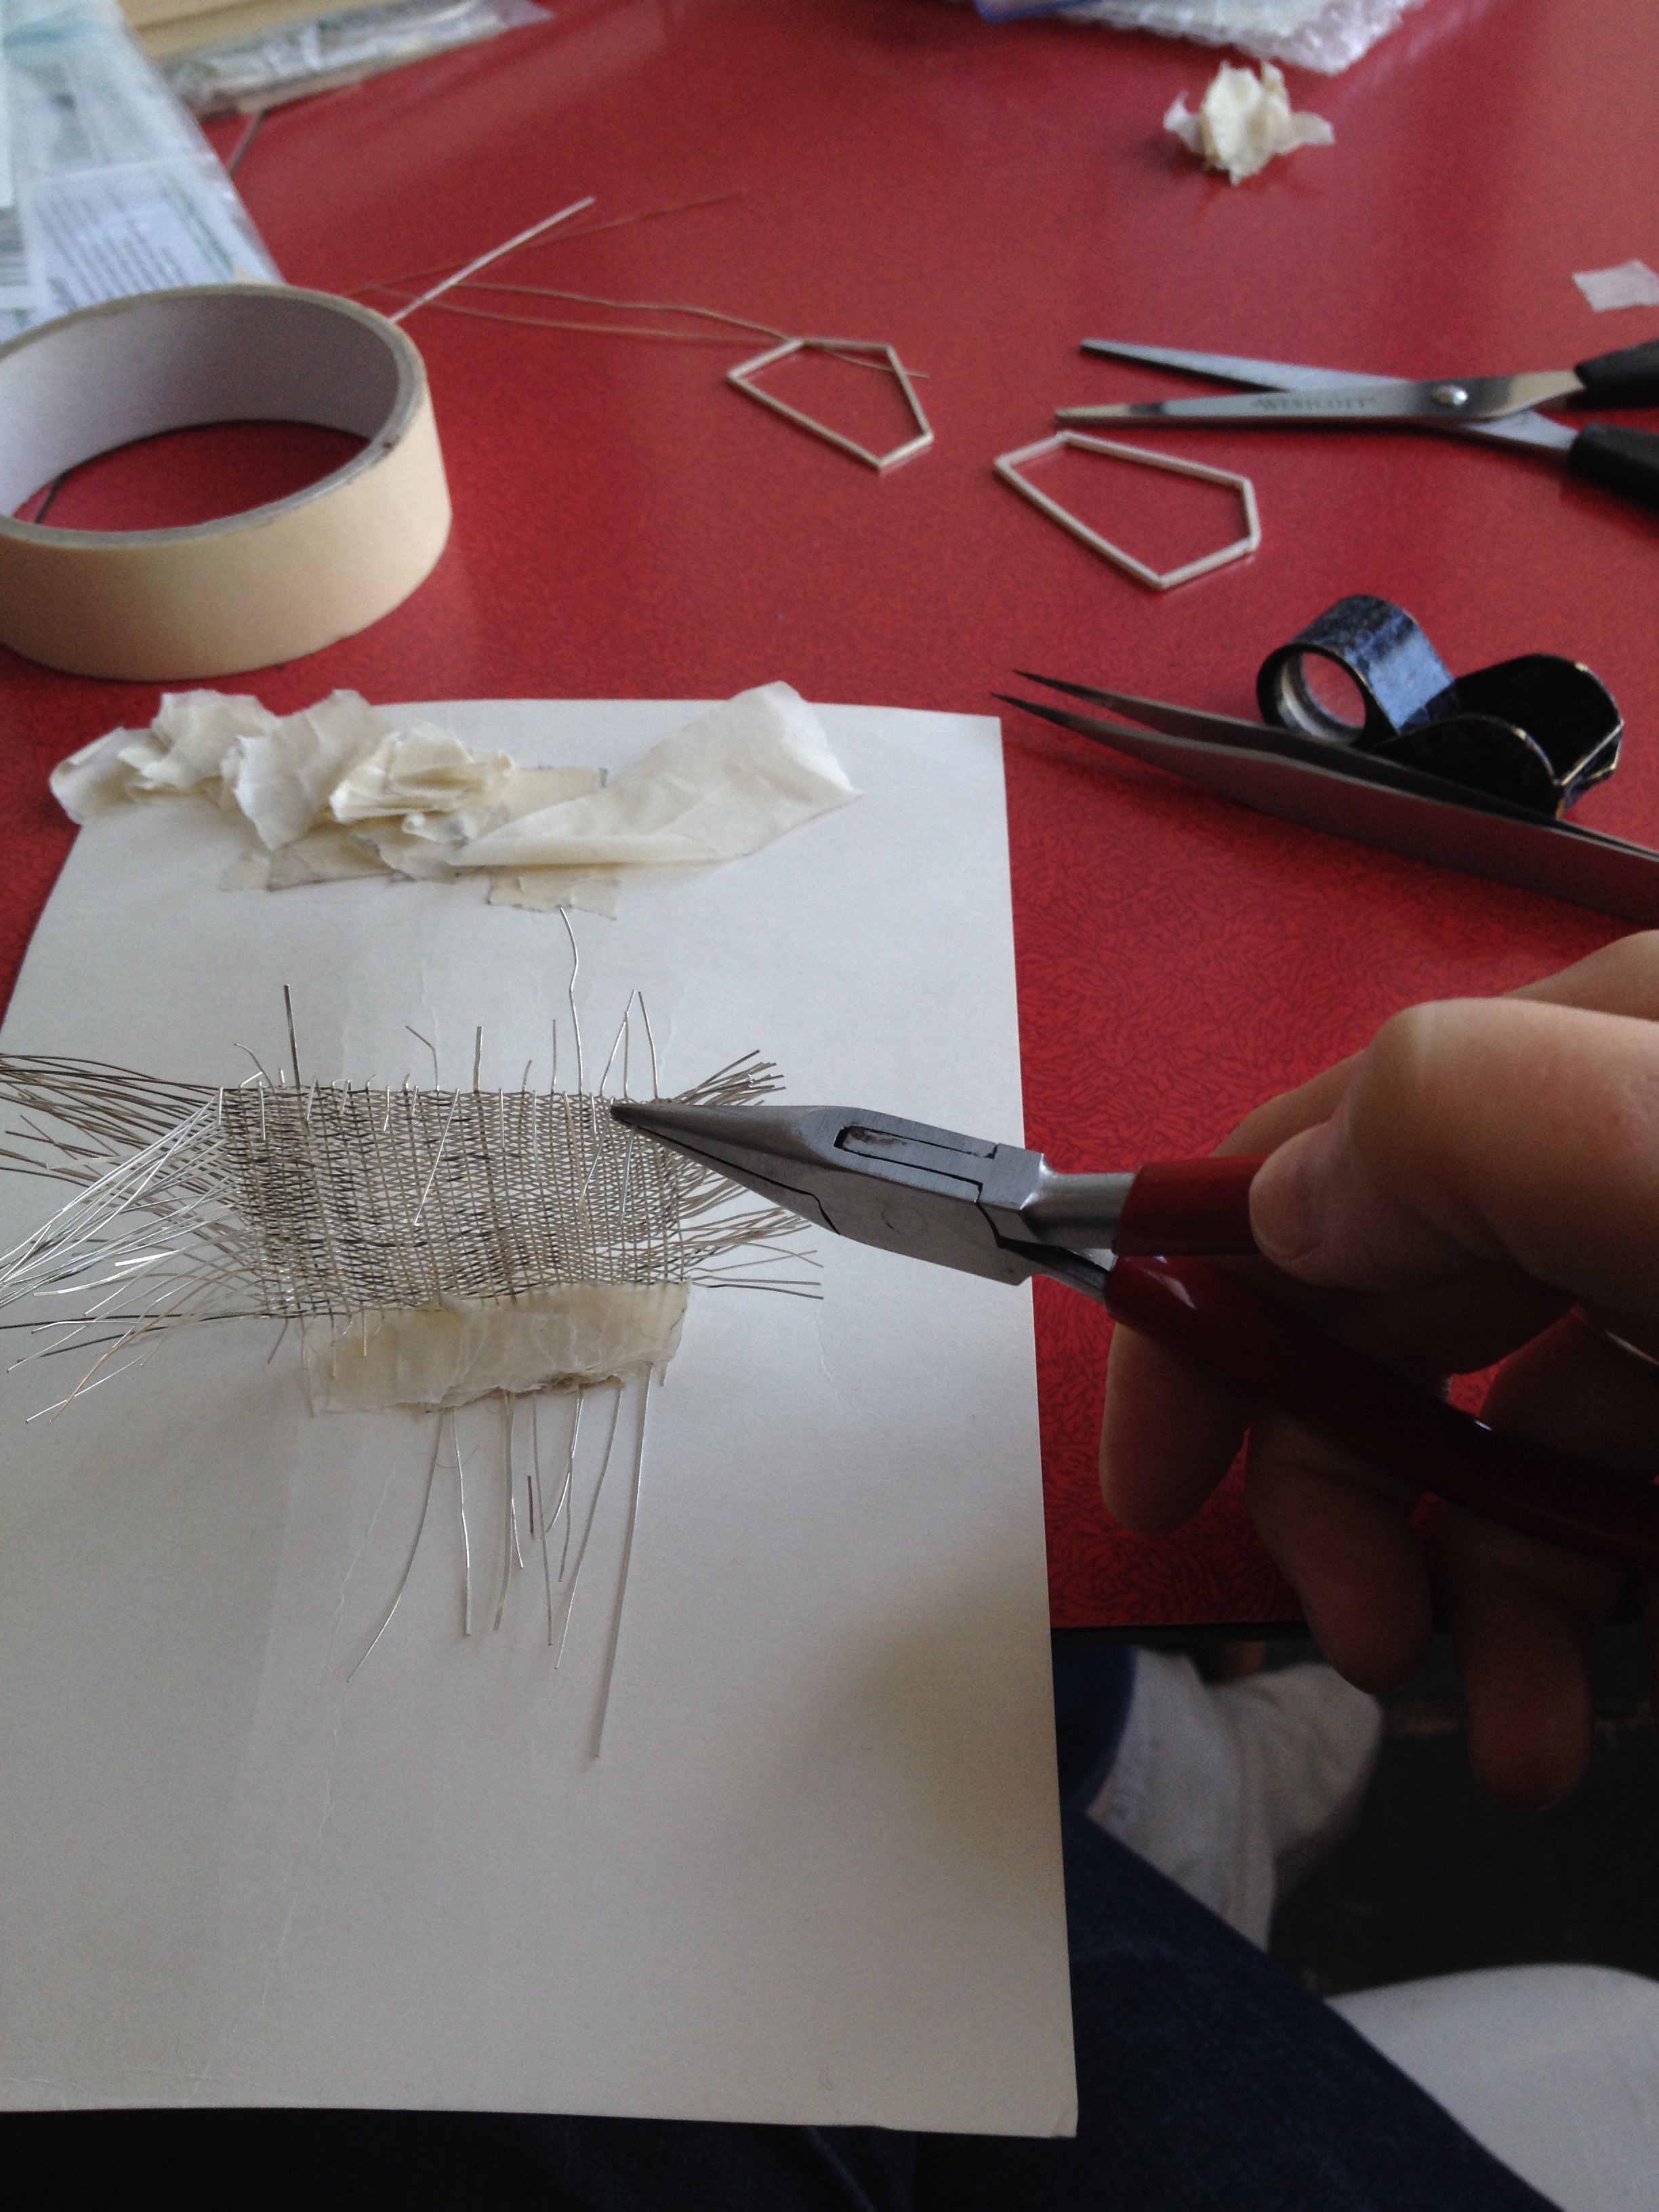

the weaving continues…
and continues…

and continues…
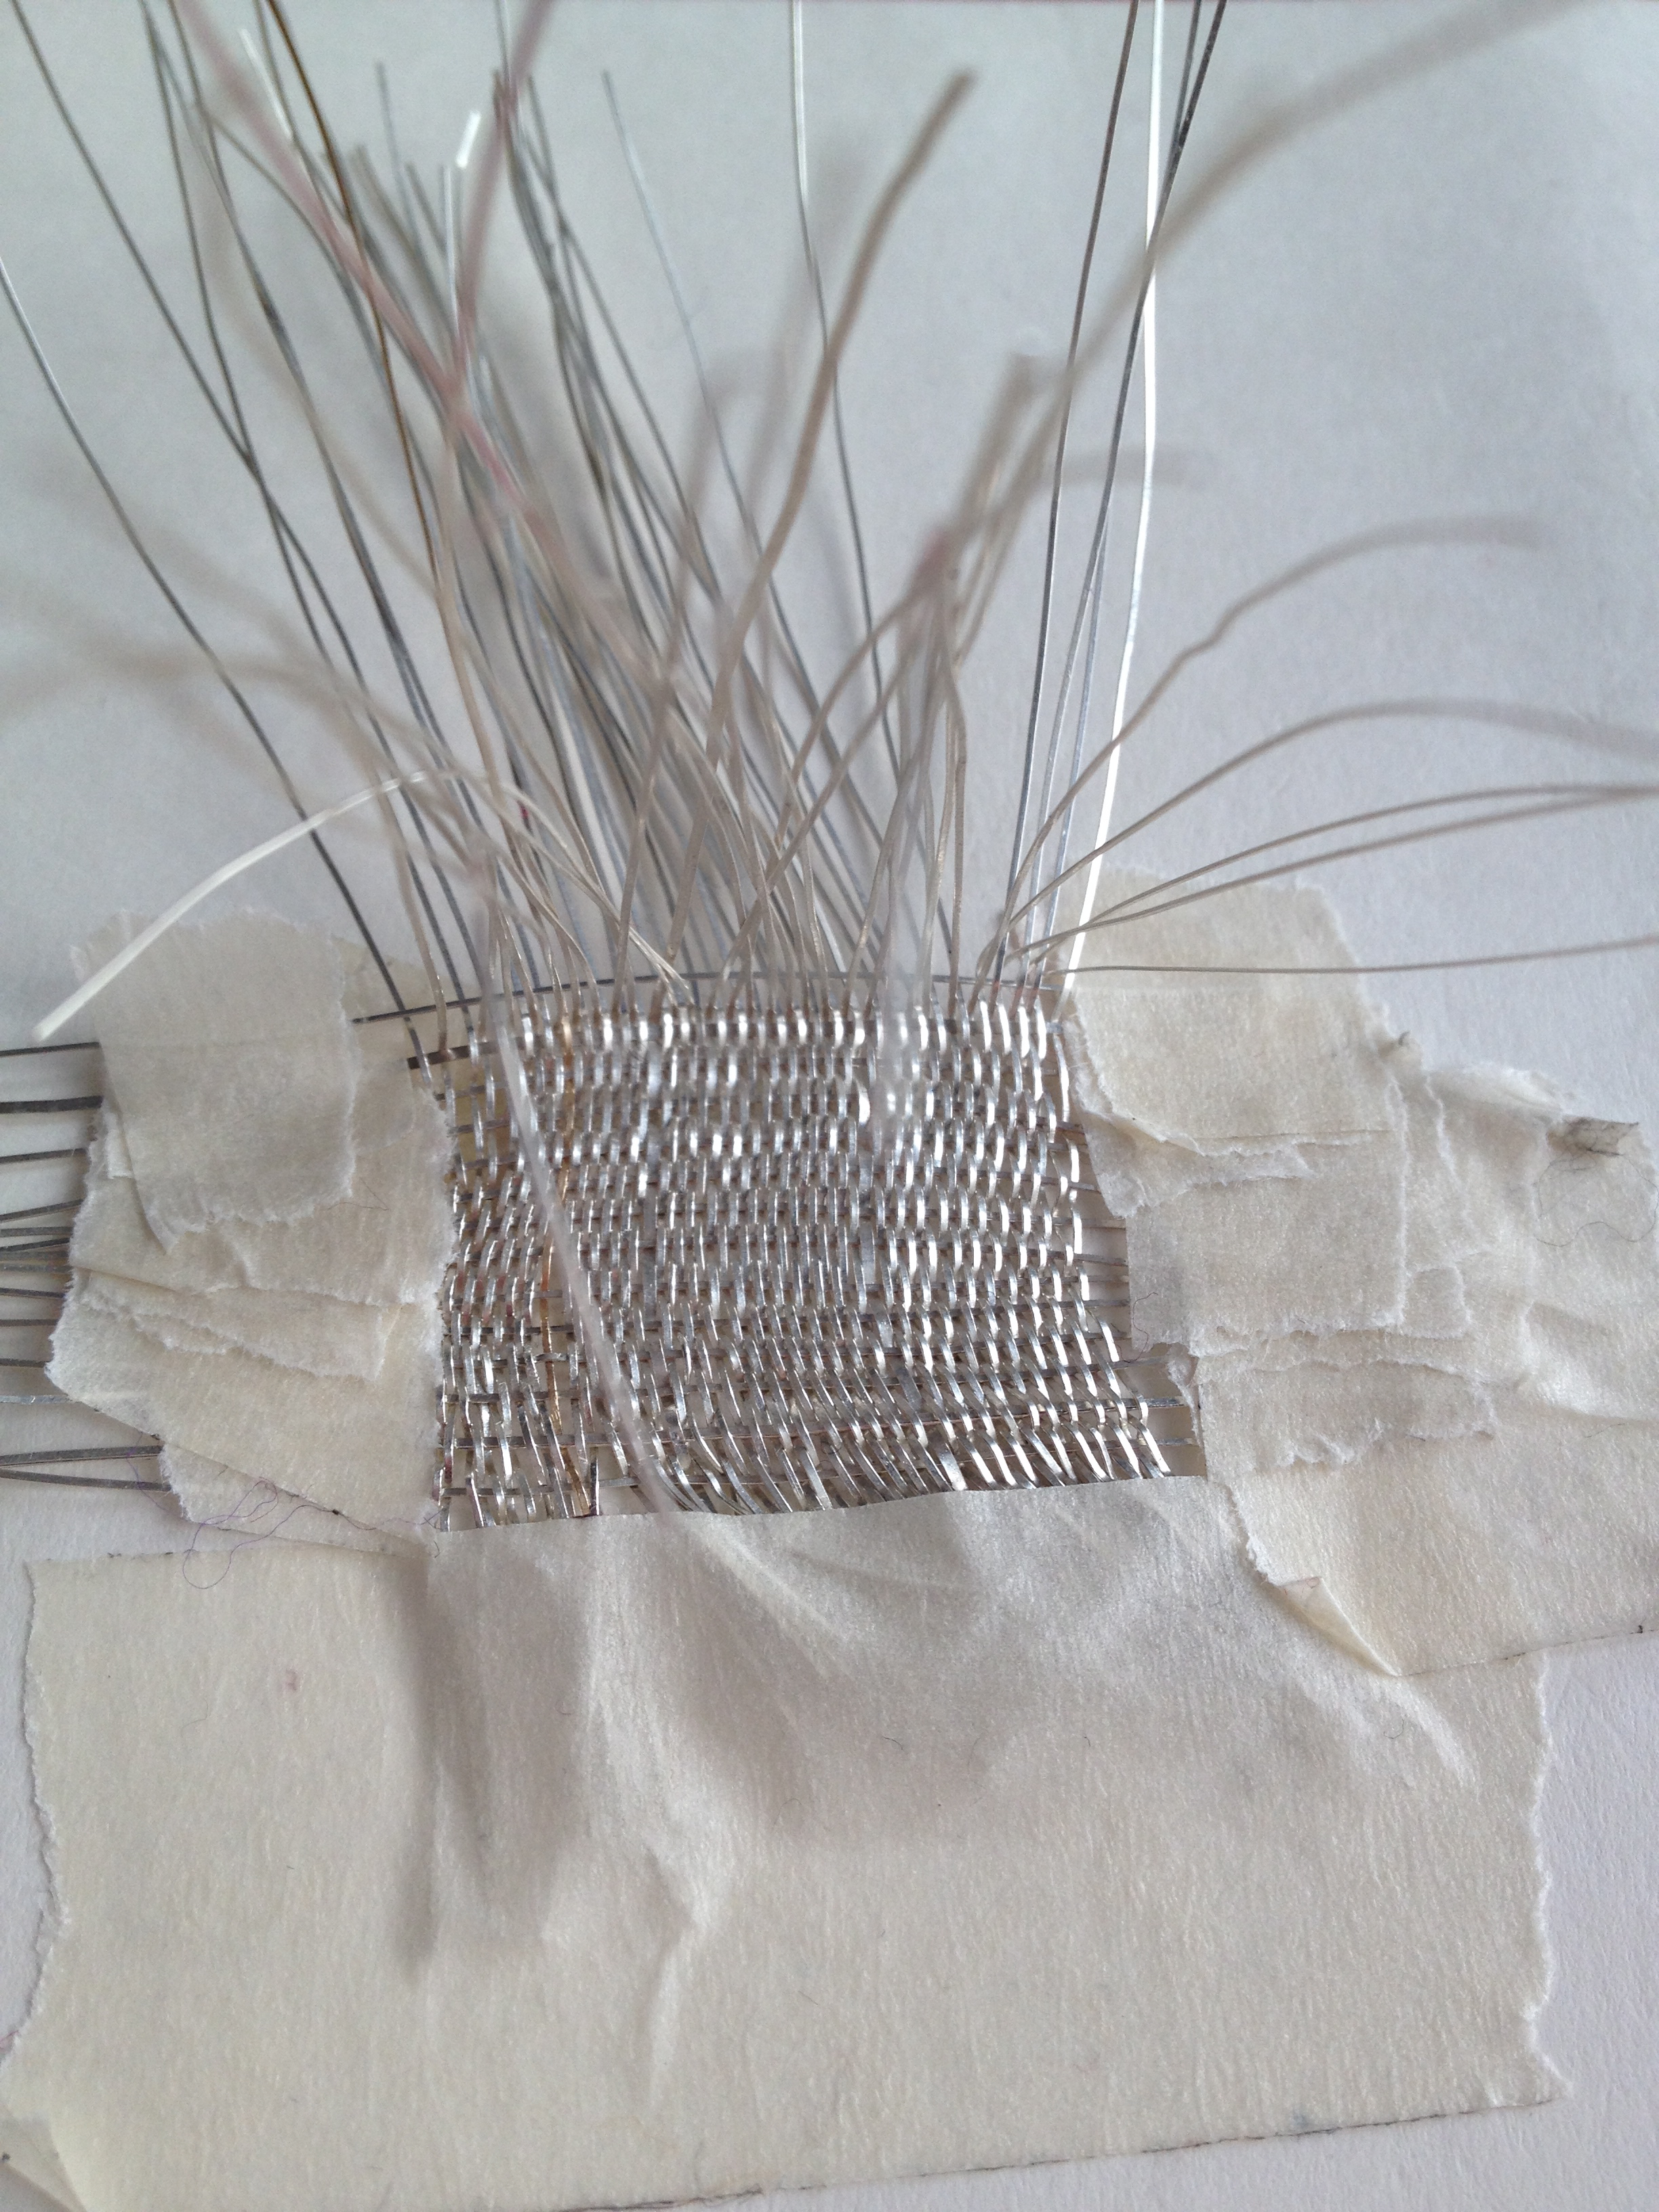

sometimes I even weave one-handed!!* ;))
 (*not true!)
Eventually I had to down tools for the day as I find it almost impossible to weave on this tiny scale in artificial light. Nearly there now though…

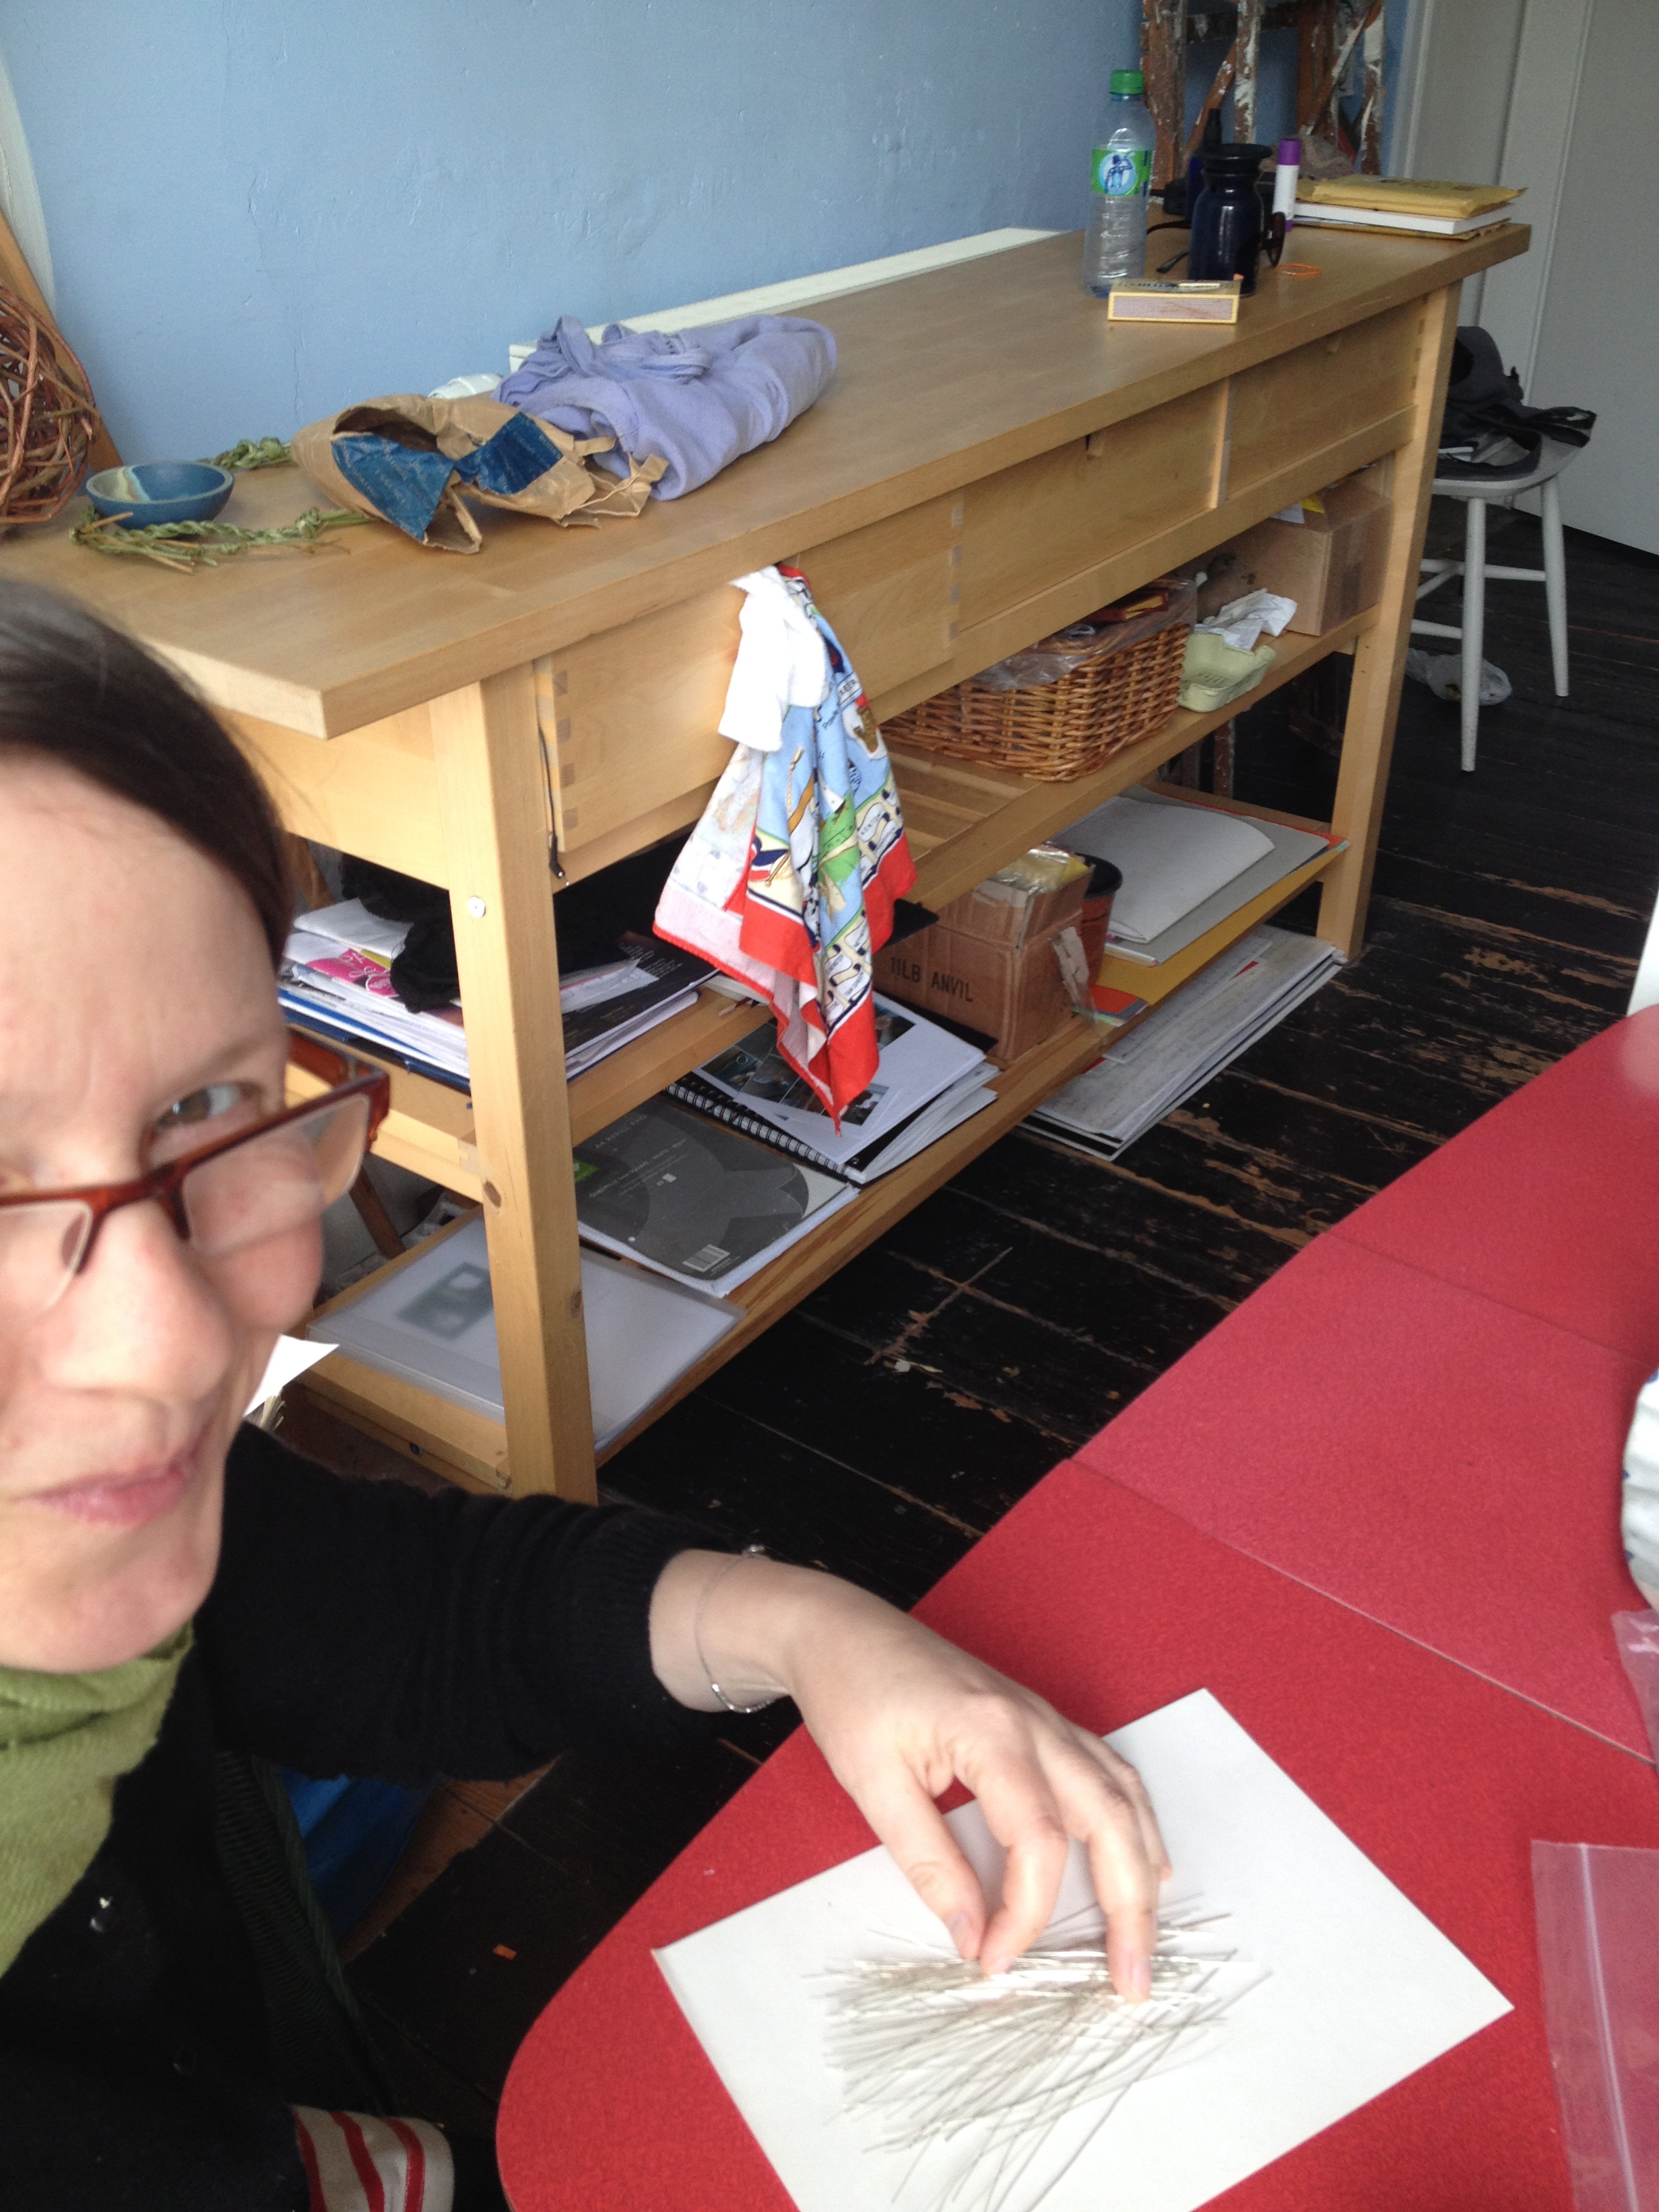
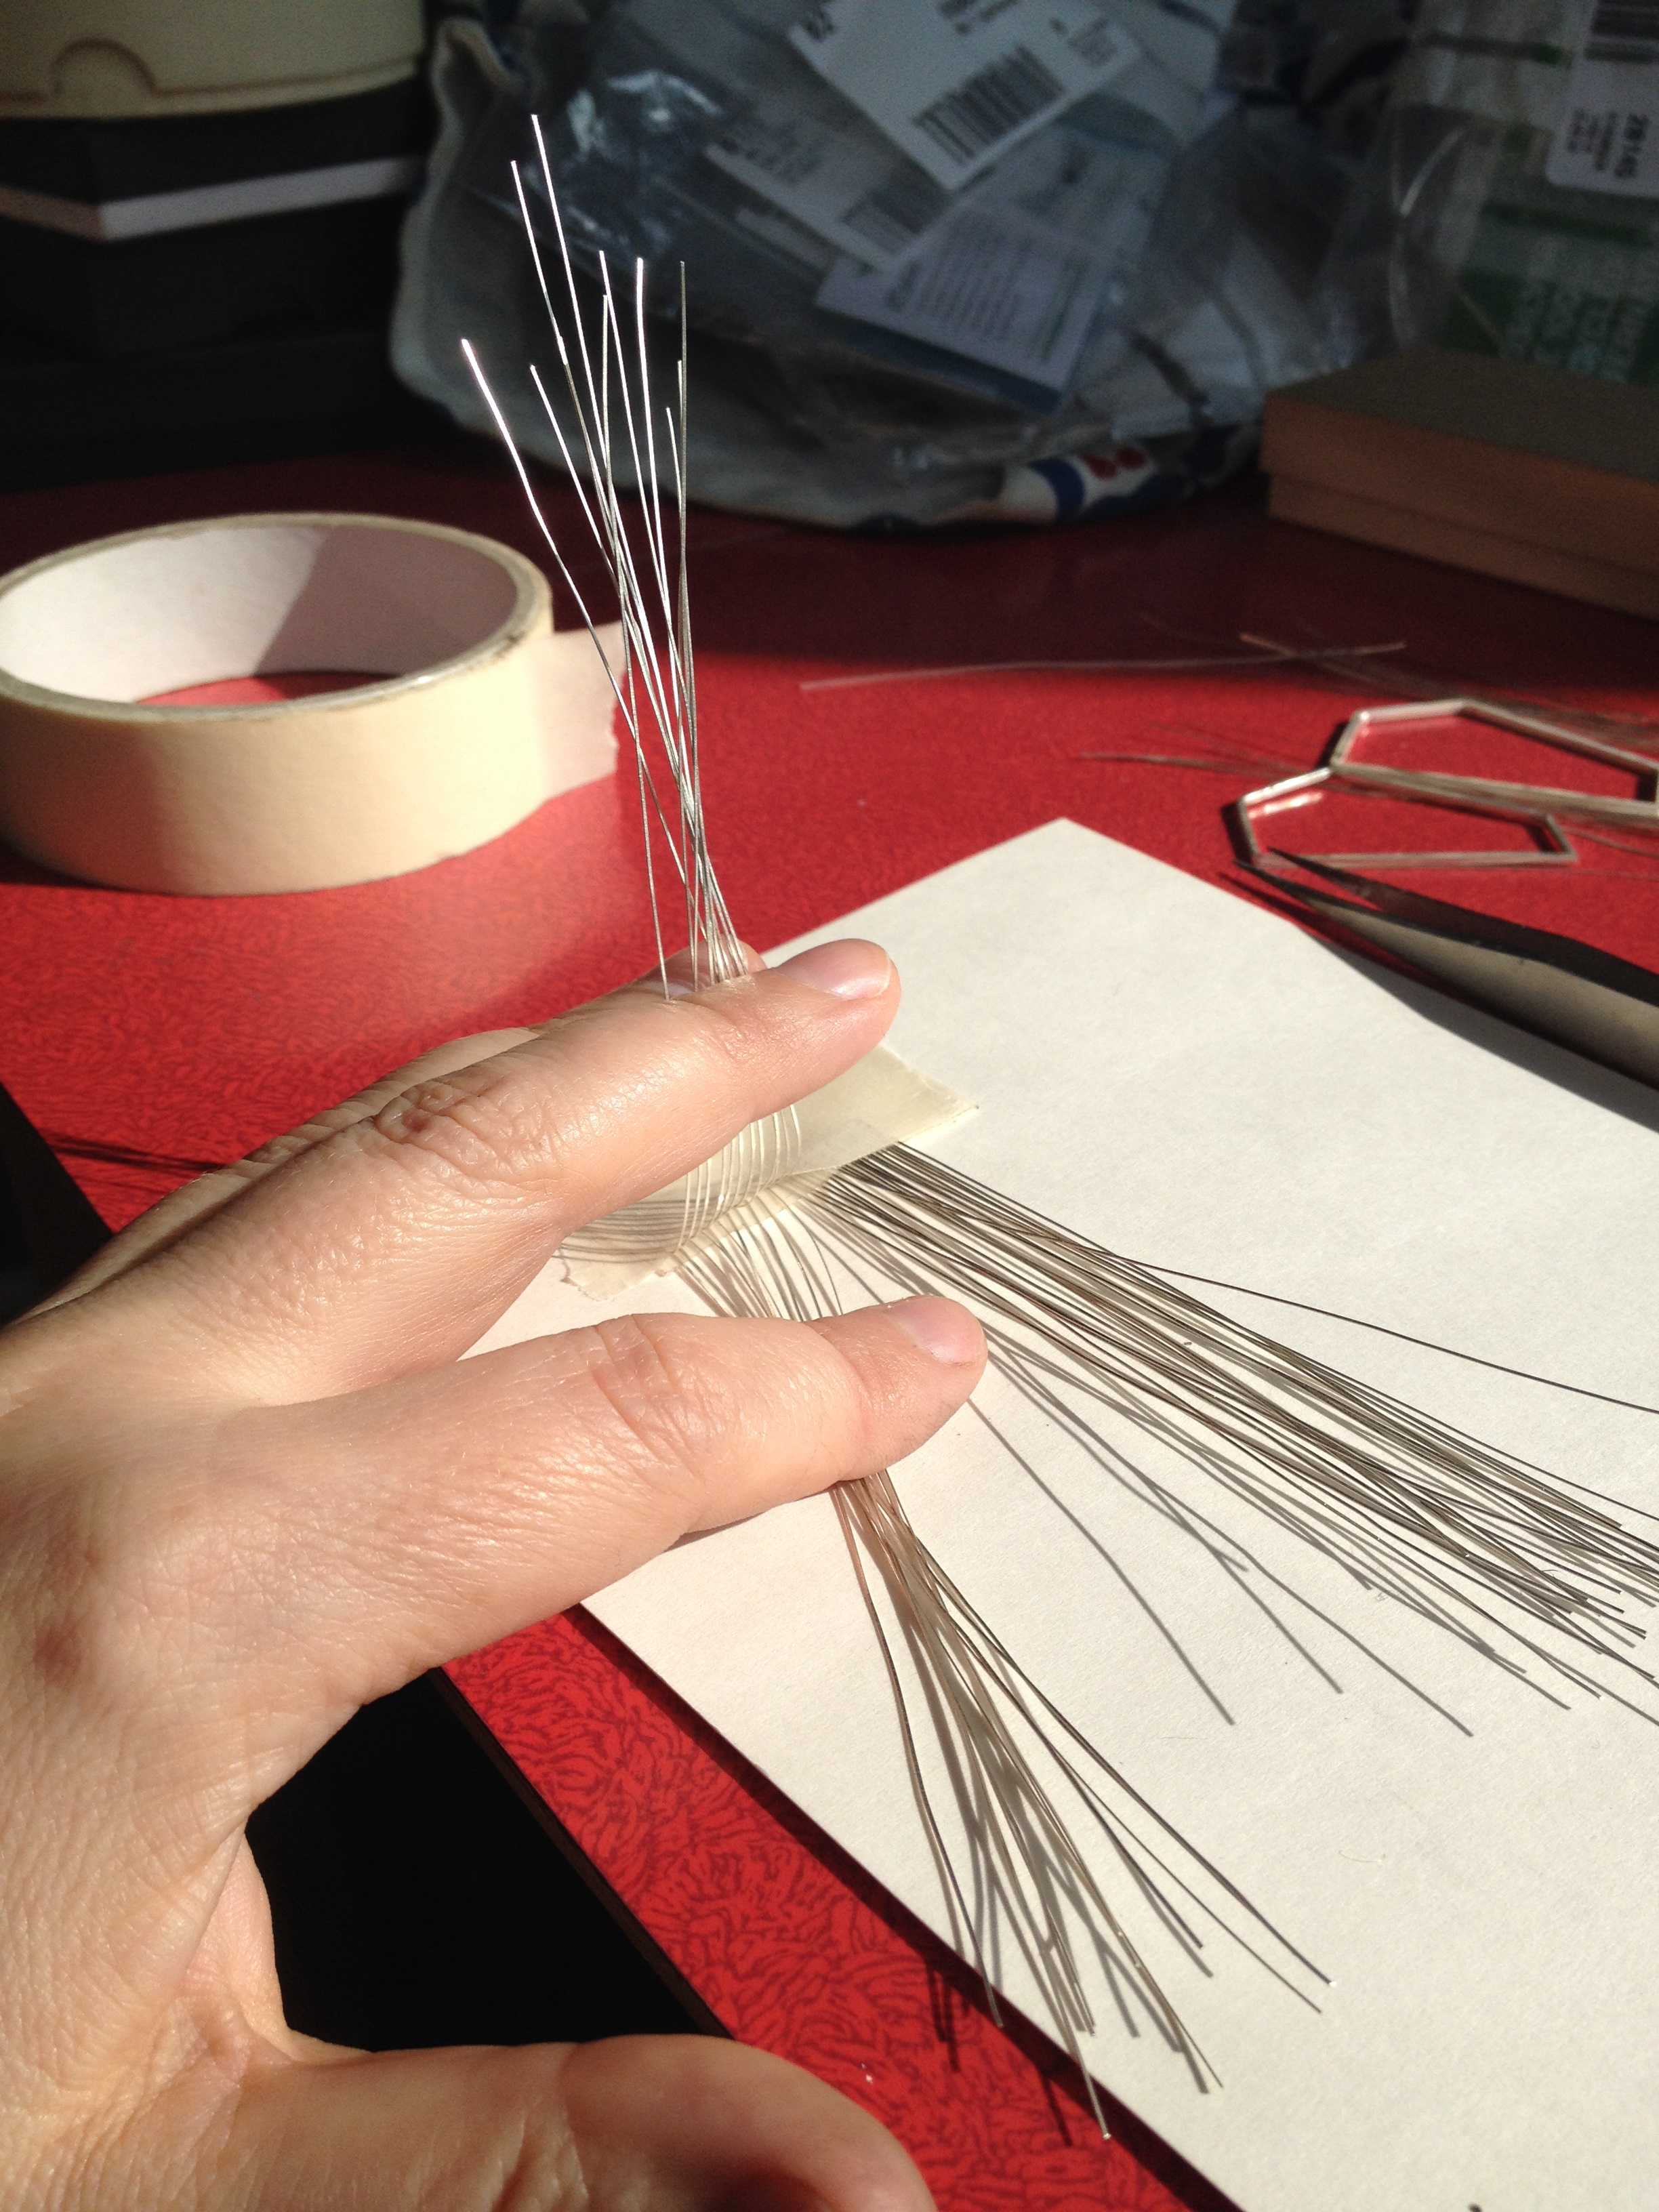
the woven panel begins…
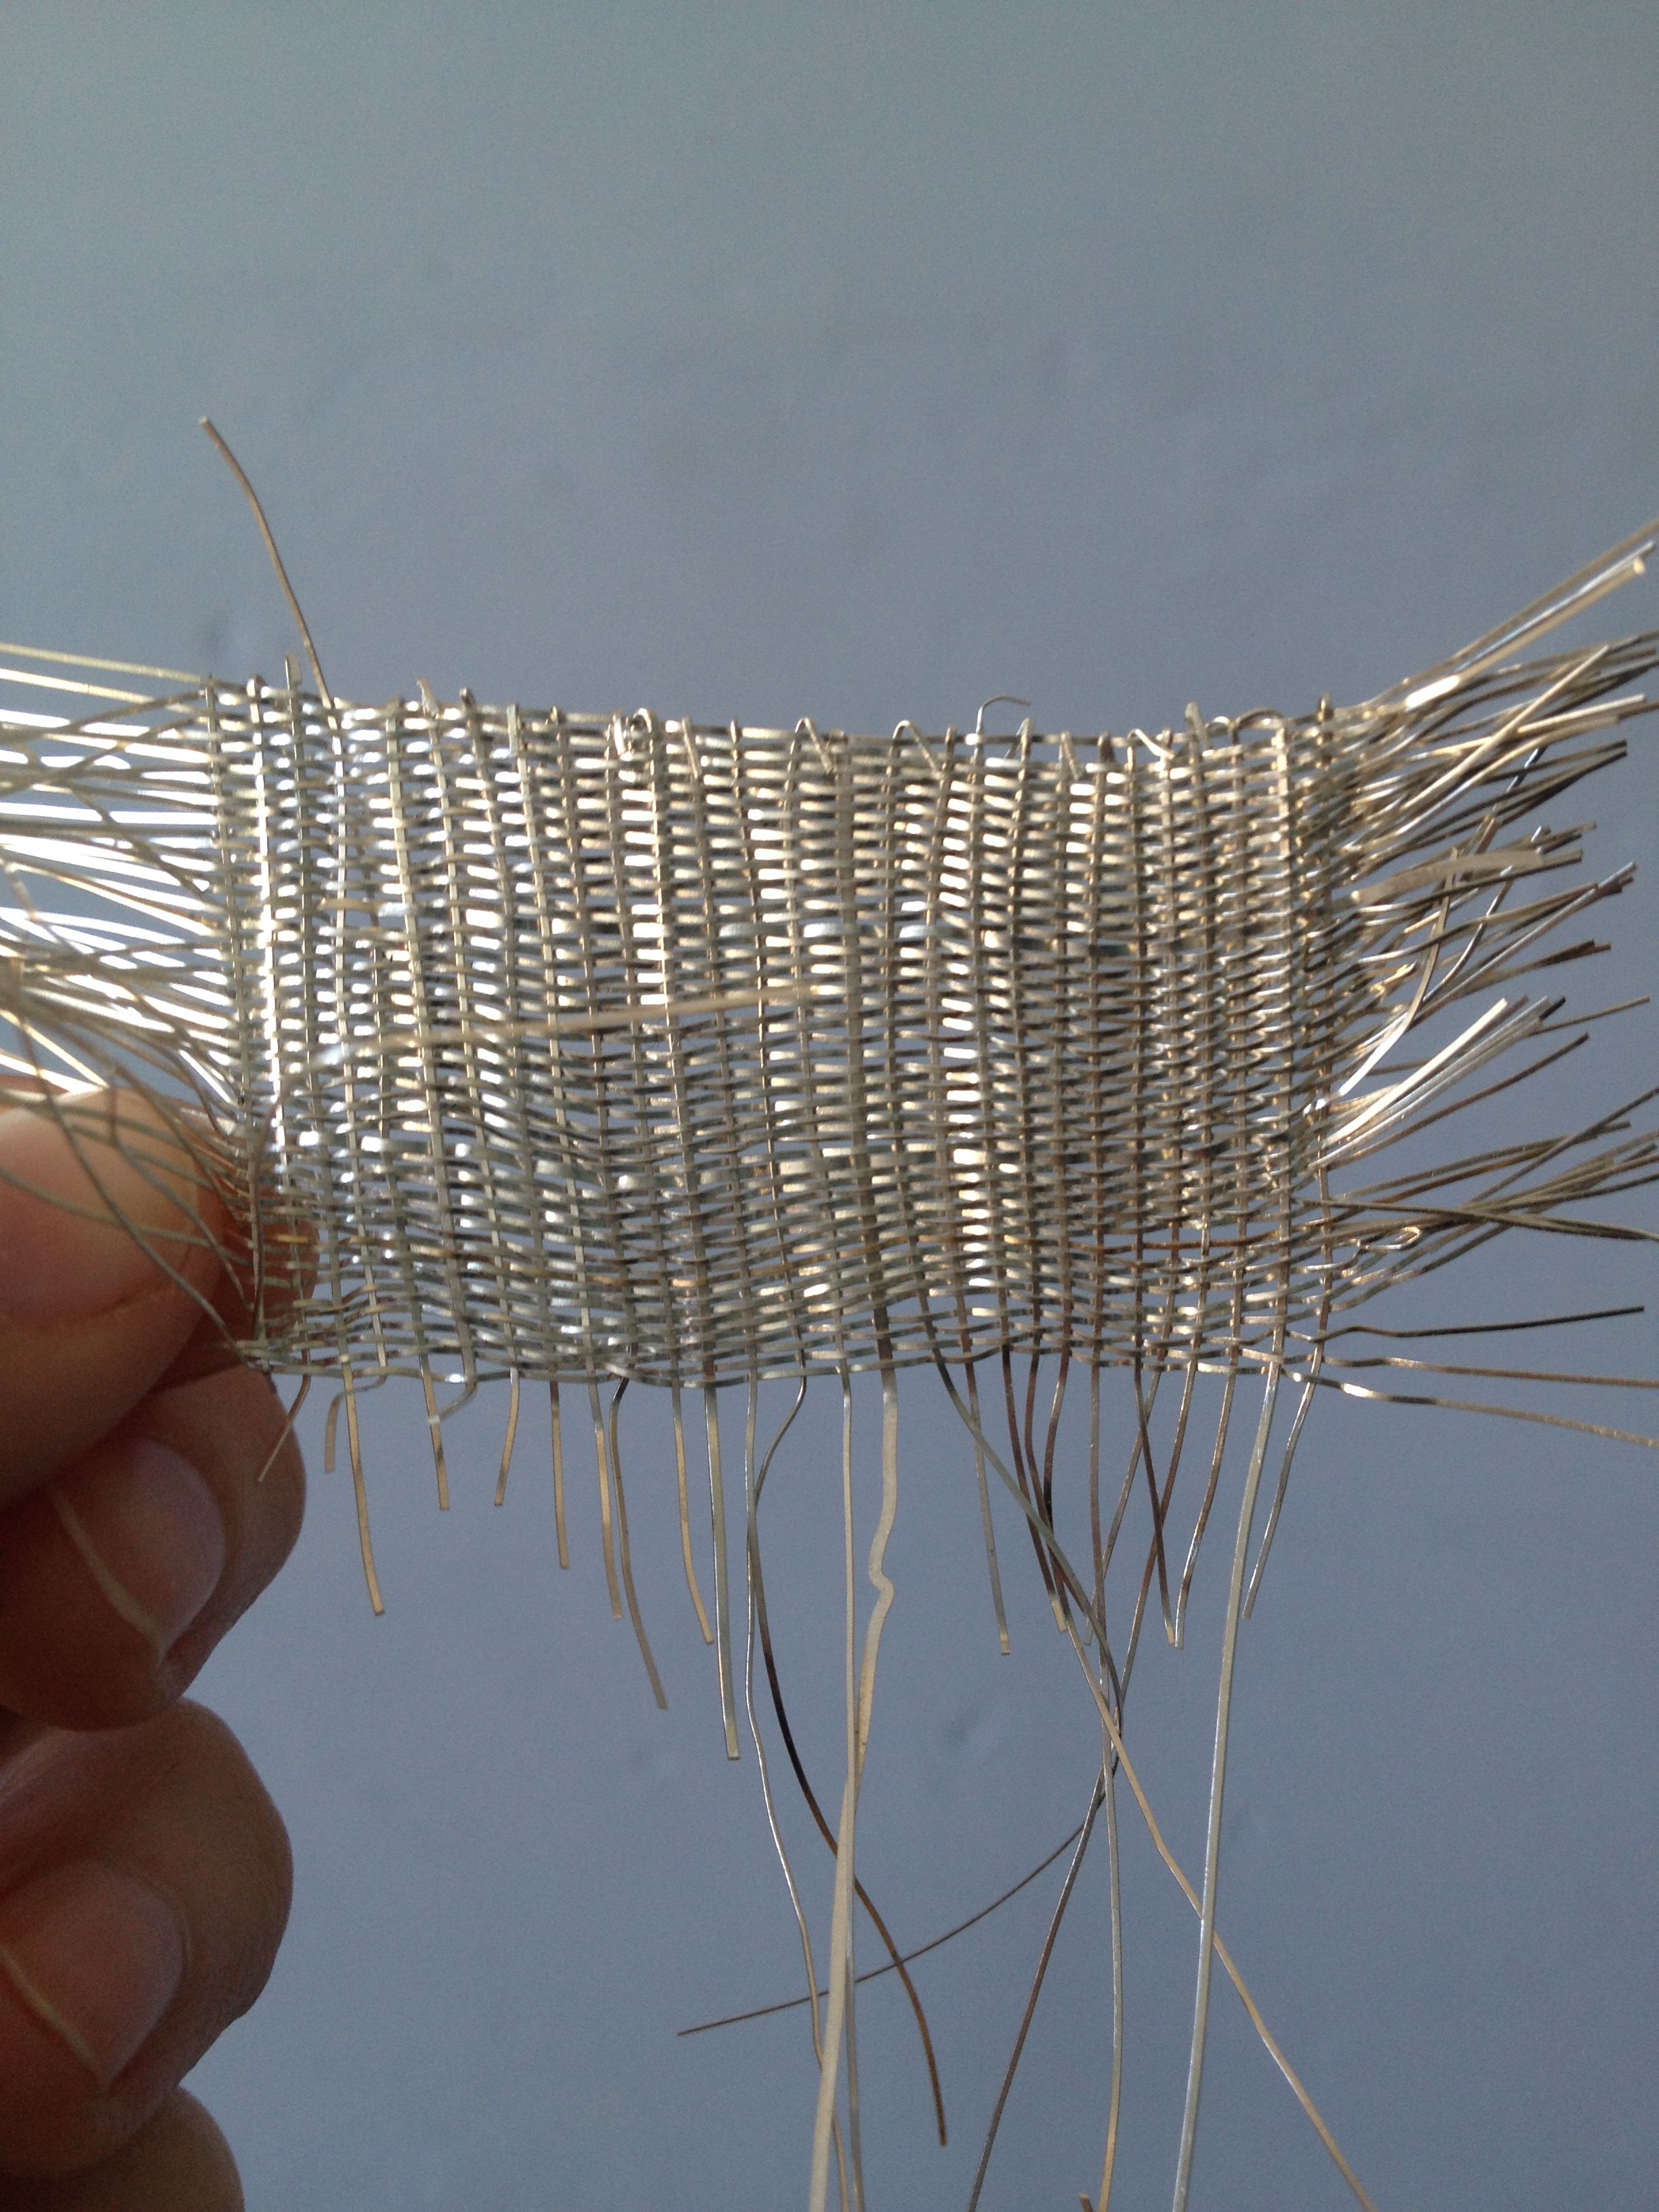
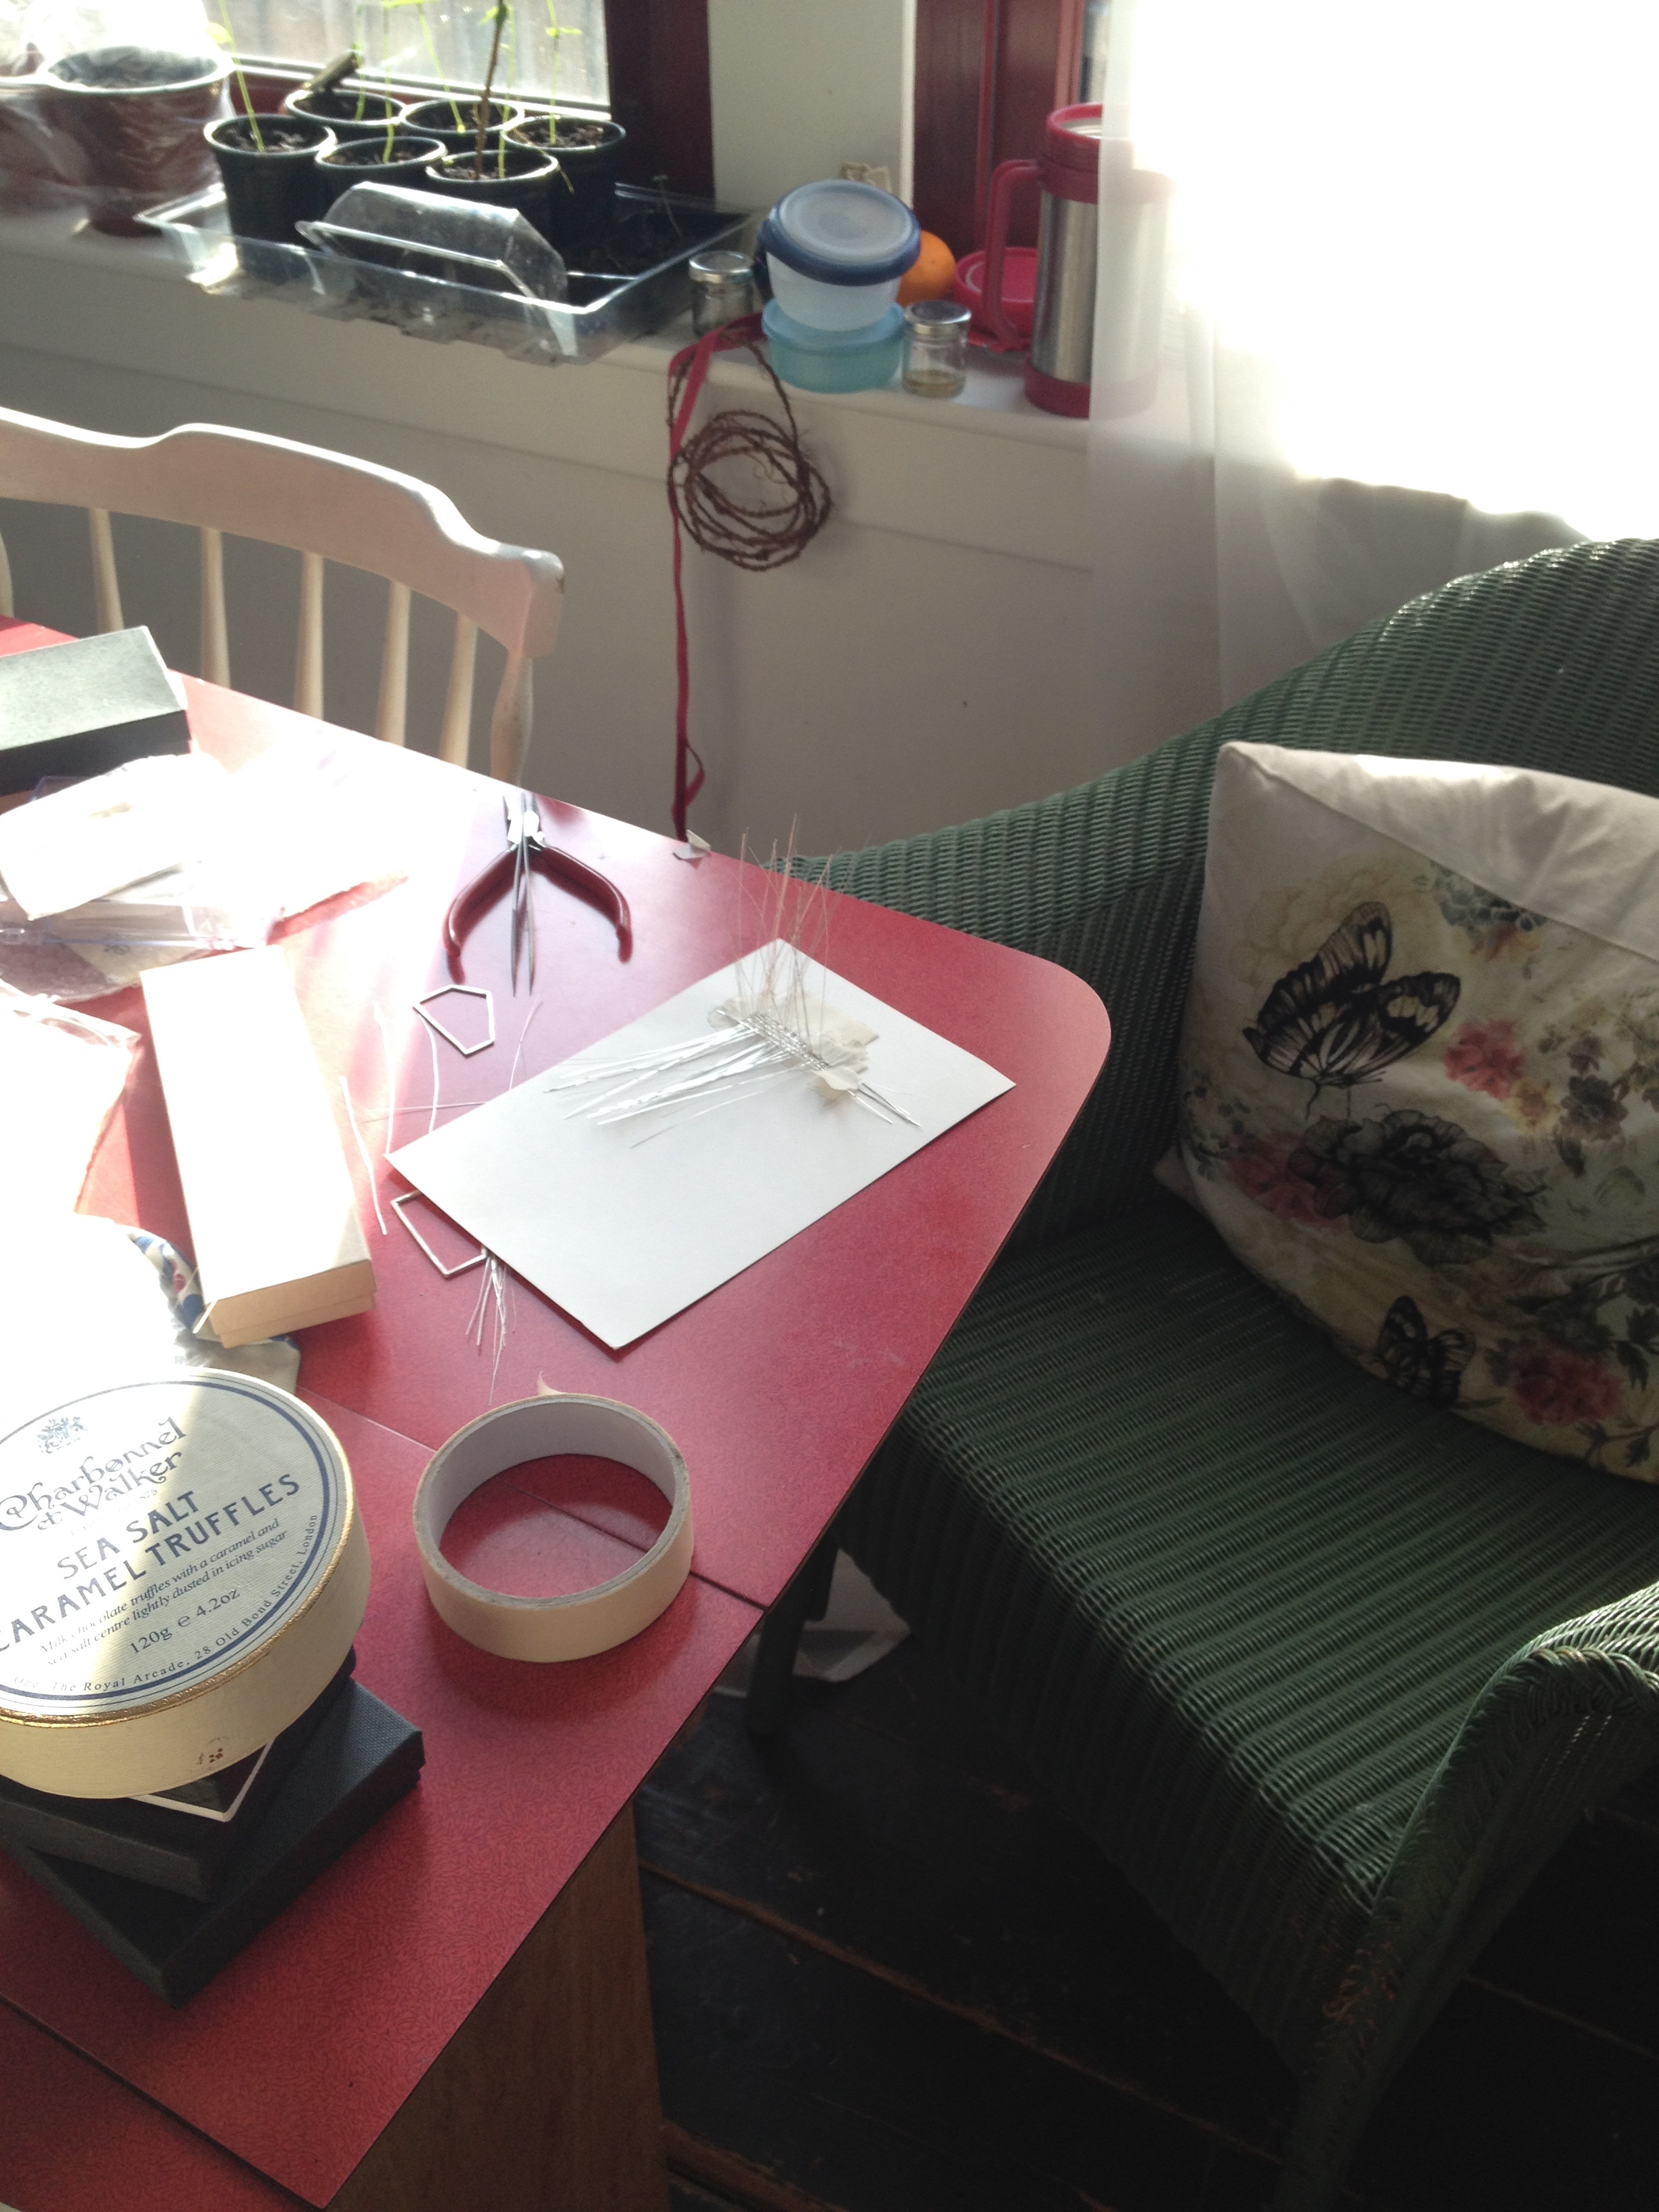
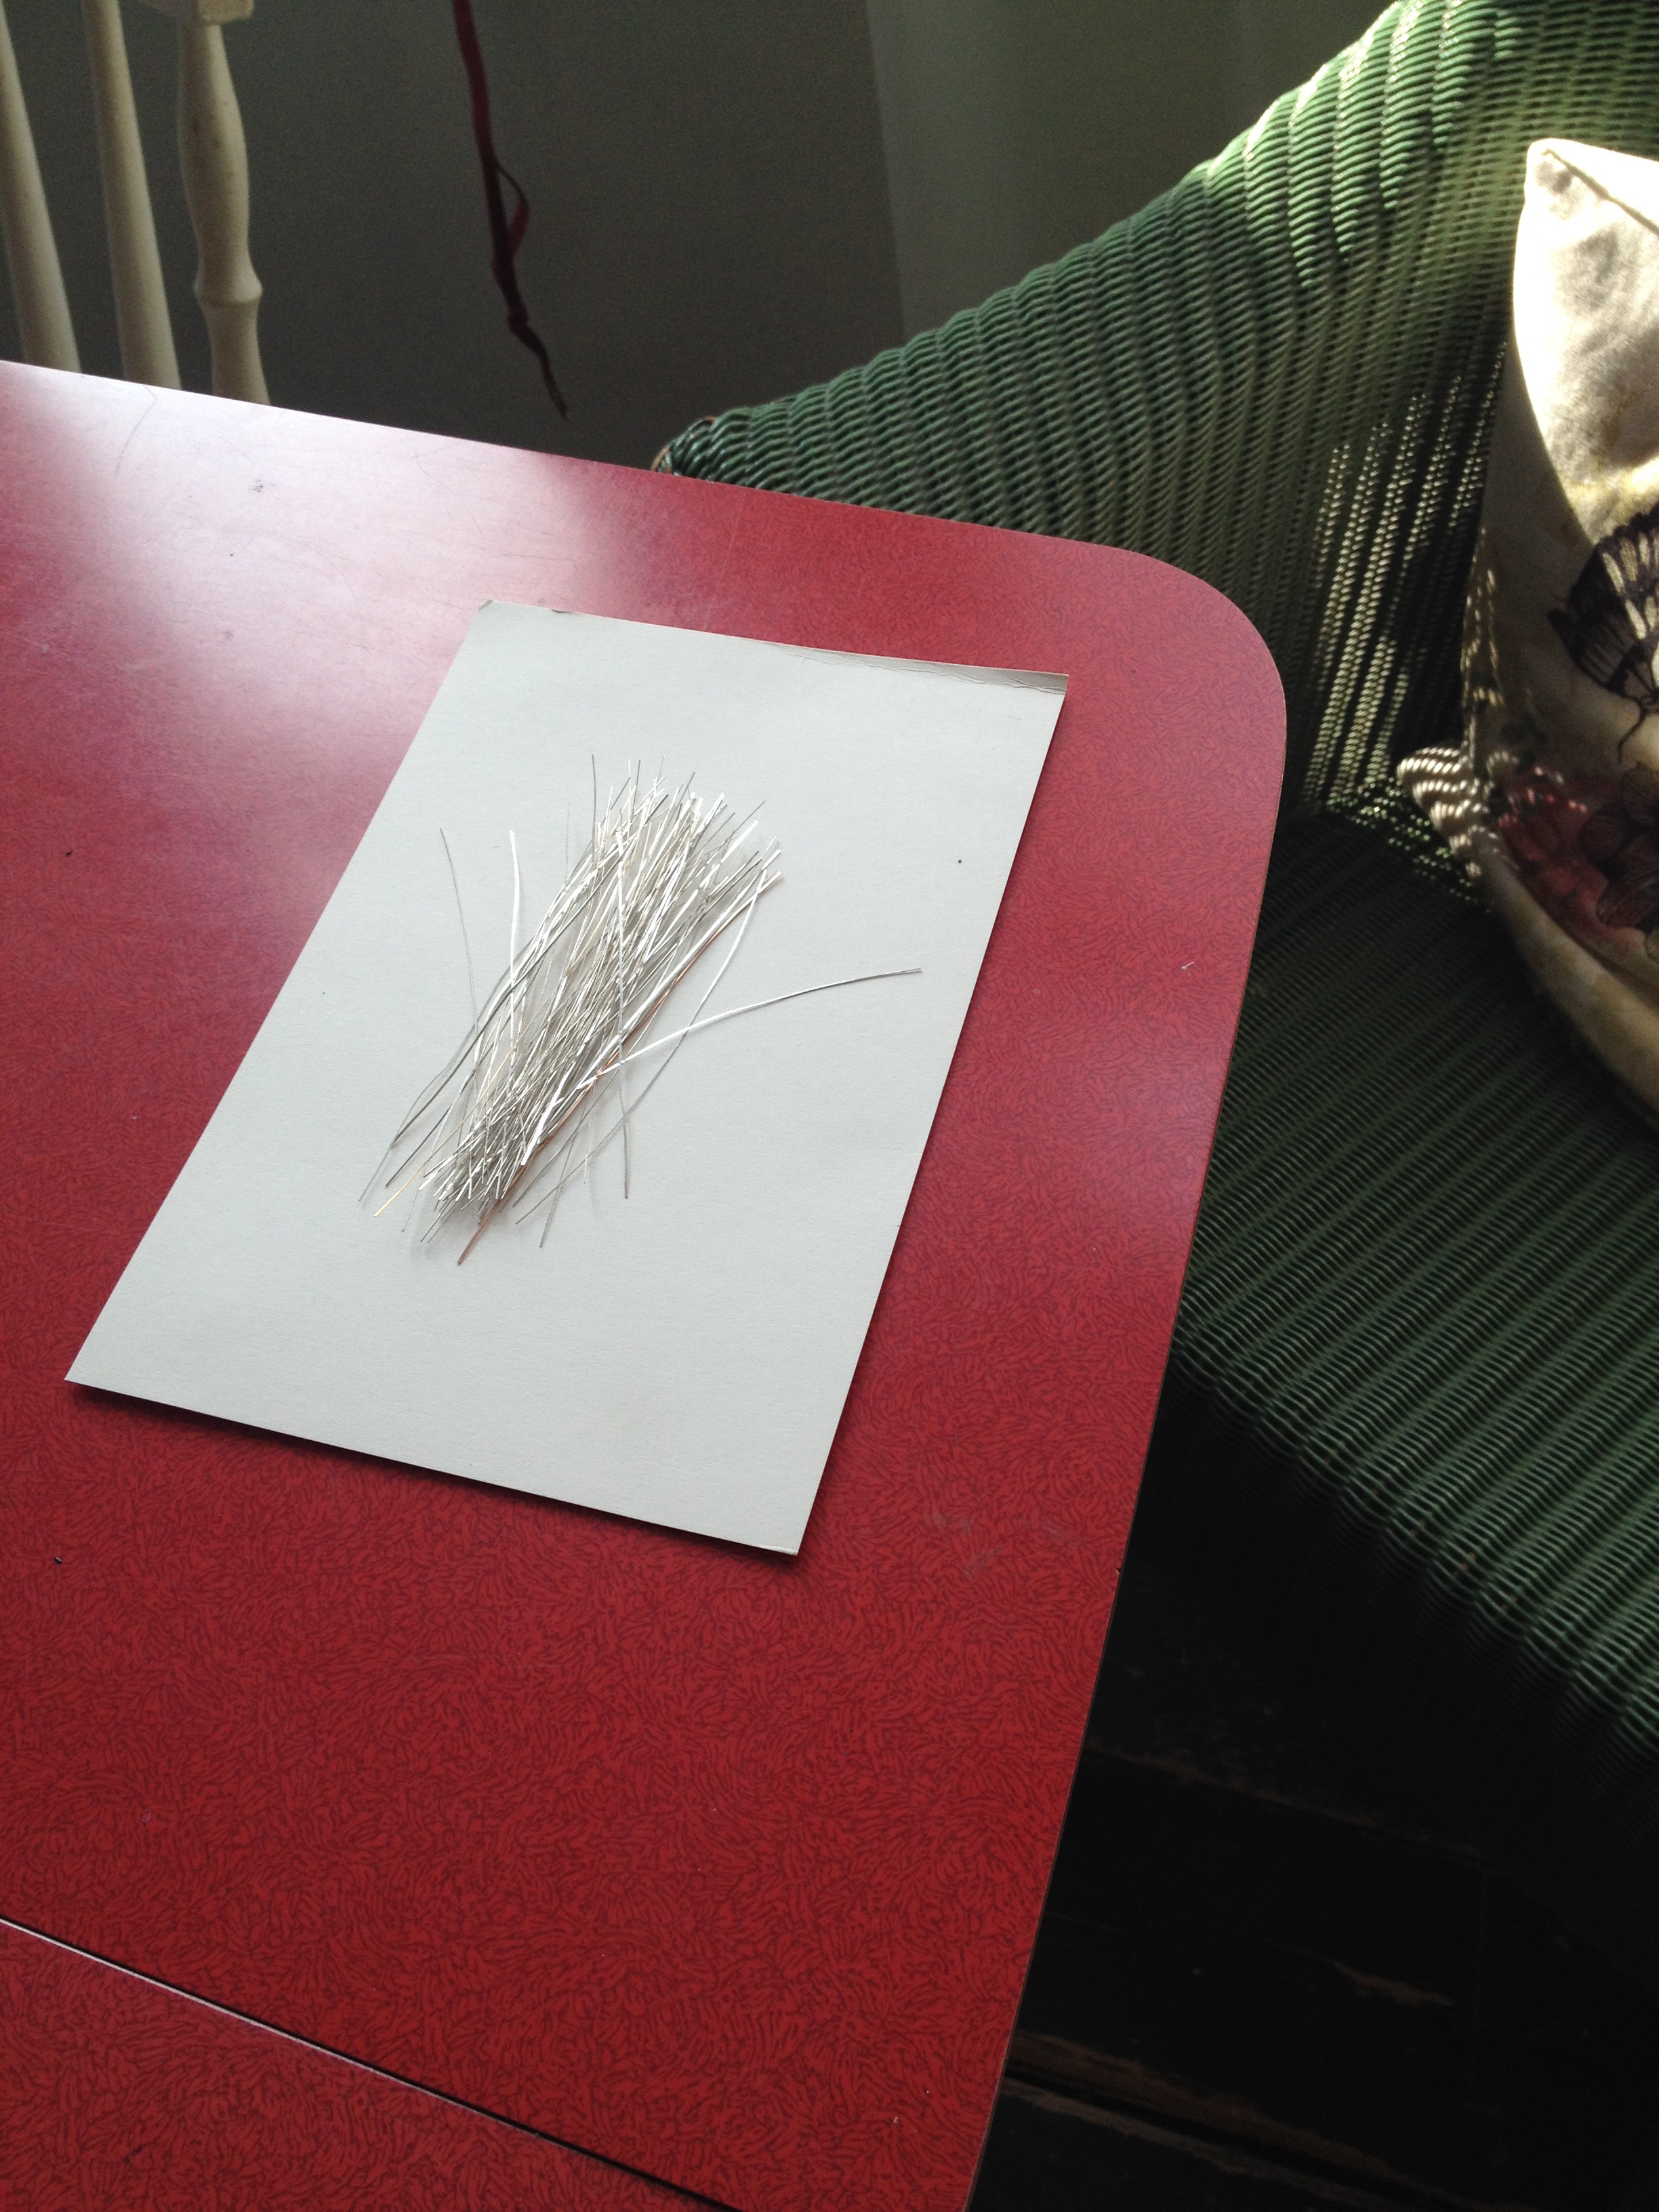
Firstly, I needed some very fine (not to mention extremely footery) silver (and gold!) wire for the warp and weft of the woven panel of my brooch. And in the true spirit of Blue Peter… Here’s some I made earlier ;))
Next, some tools to help make the task slightly less footery…

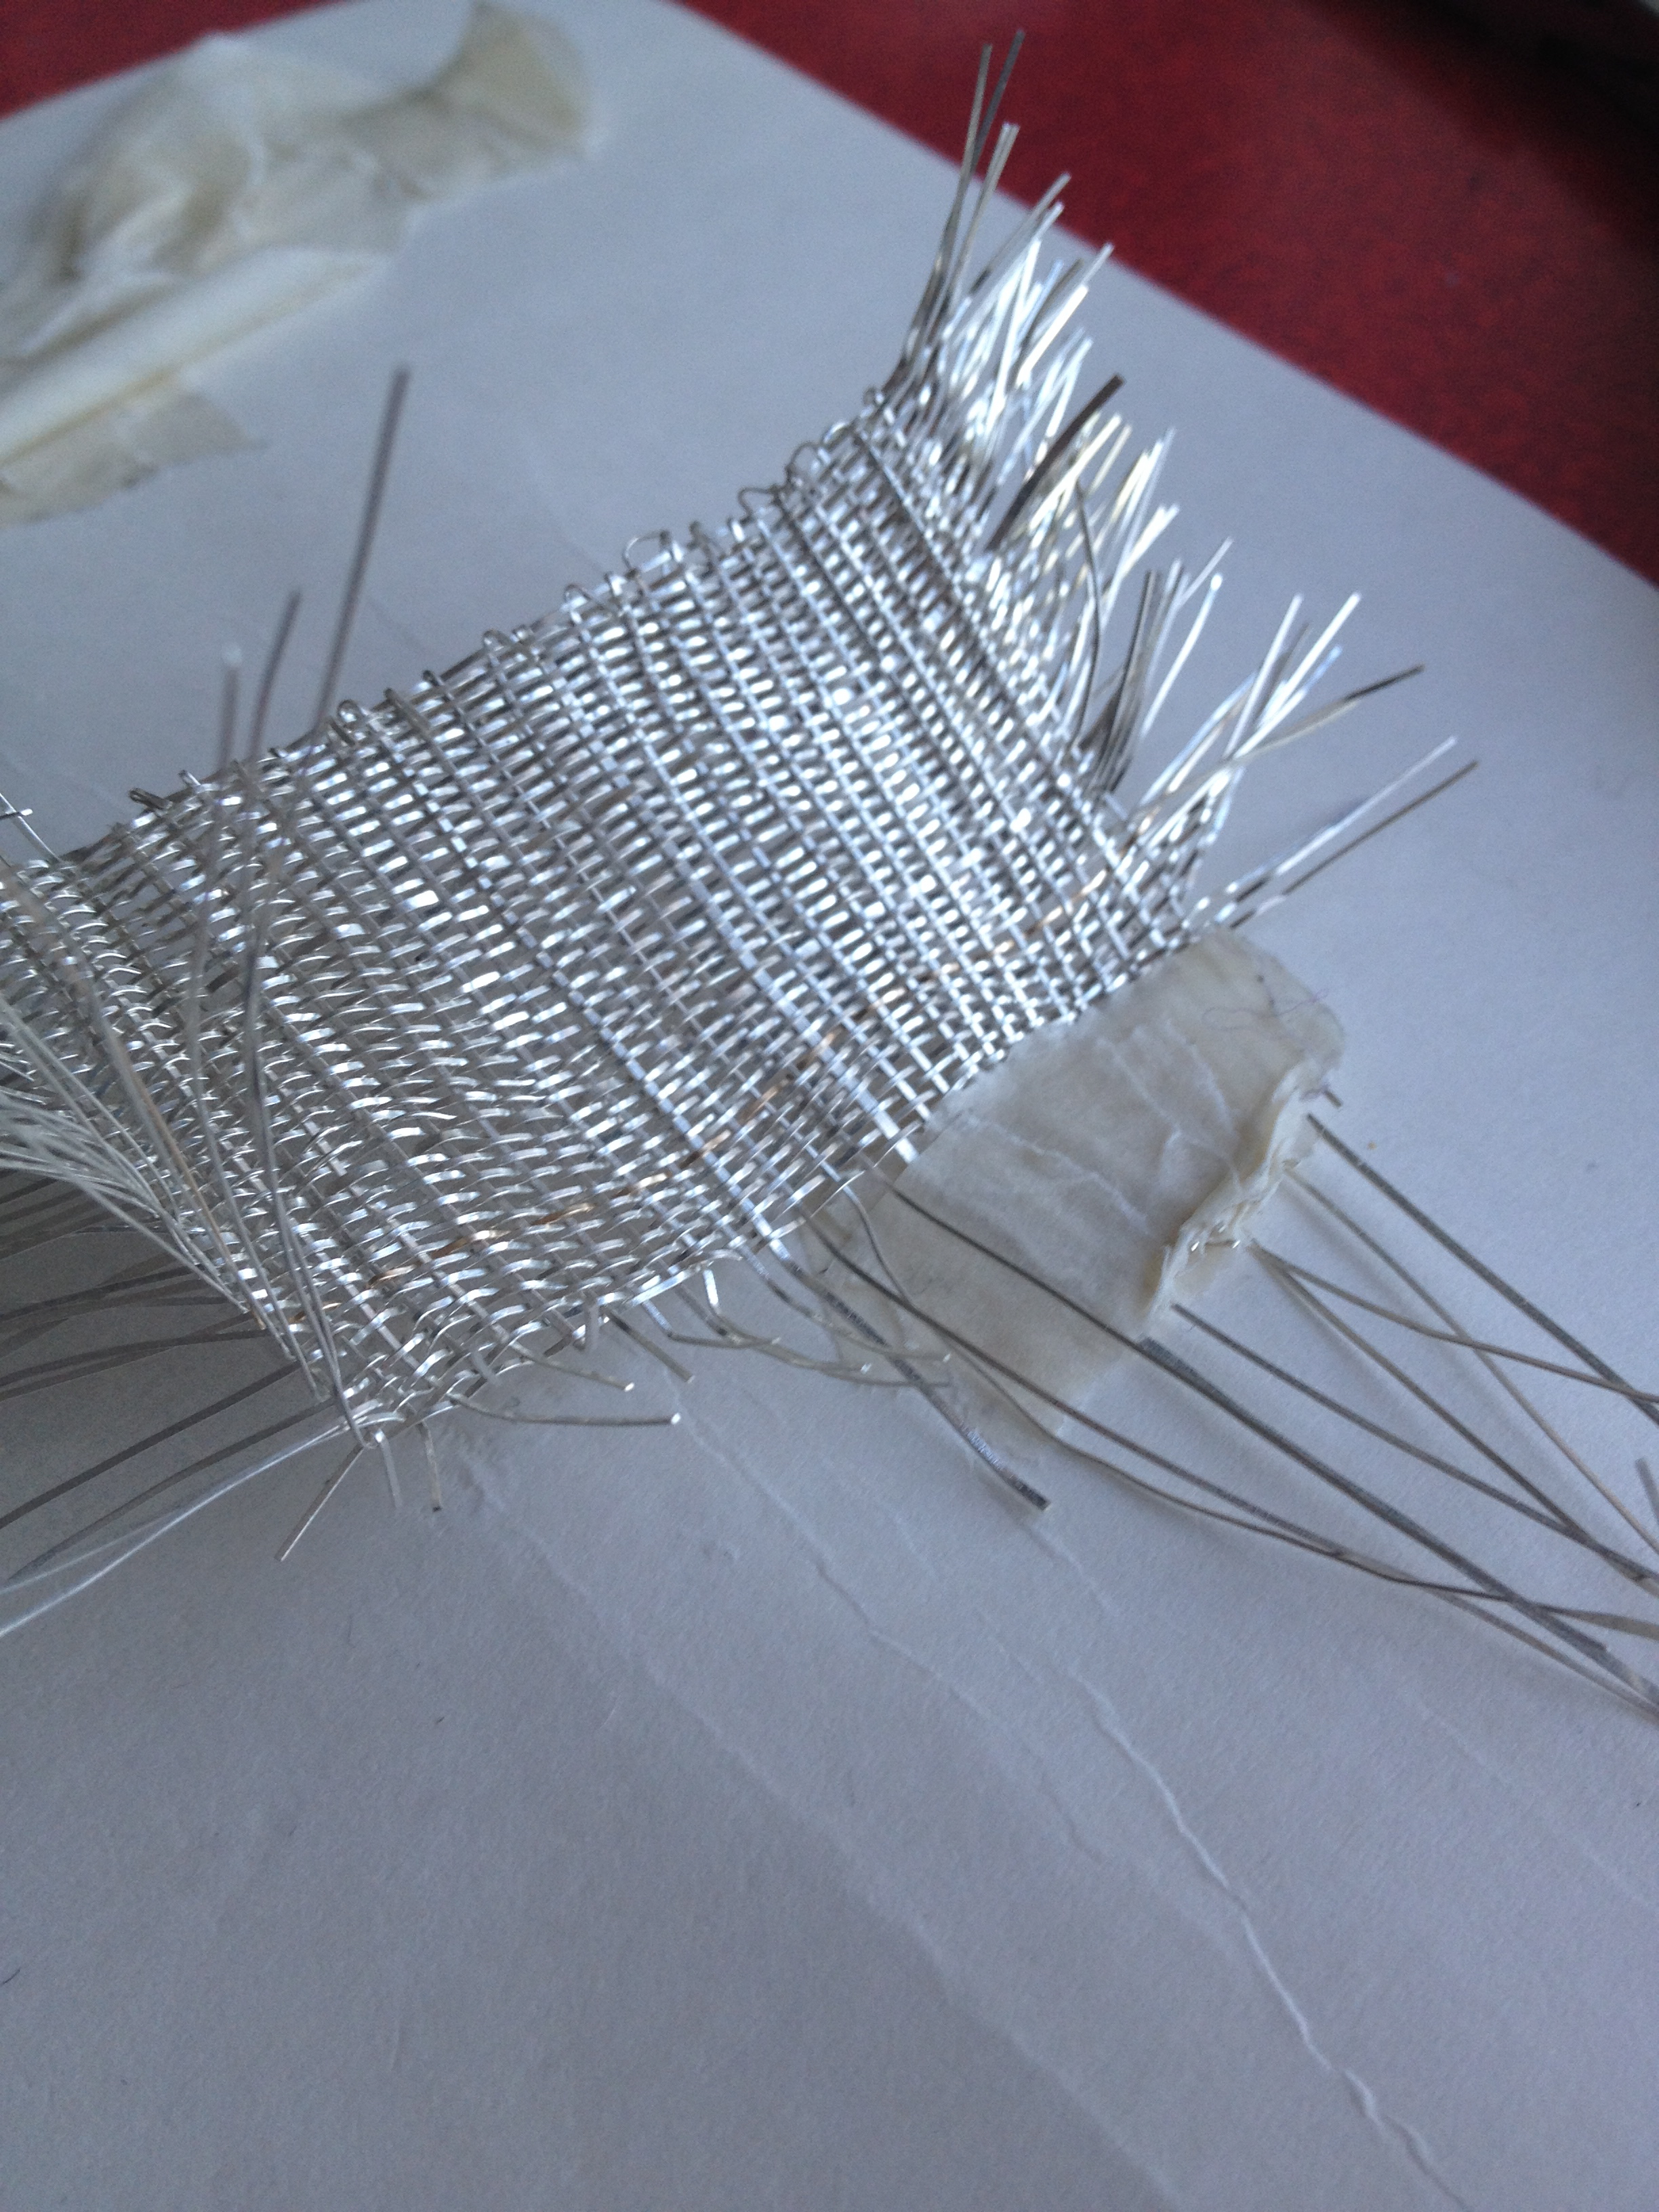
Day 1:
Making the warp, measuring the panel (inaccurately as it turns out!), beginning the weave, swiftly followed by adjusting the weave to fit…!

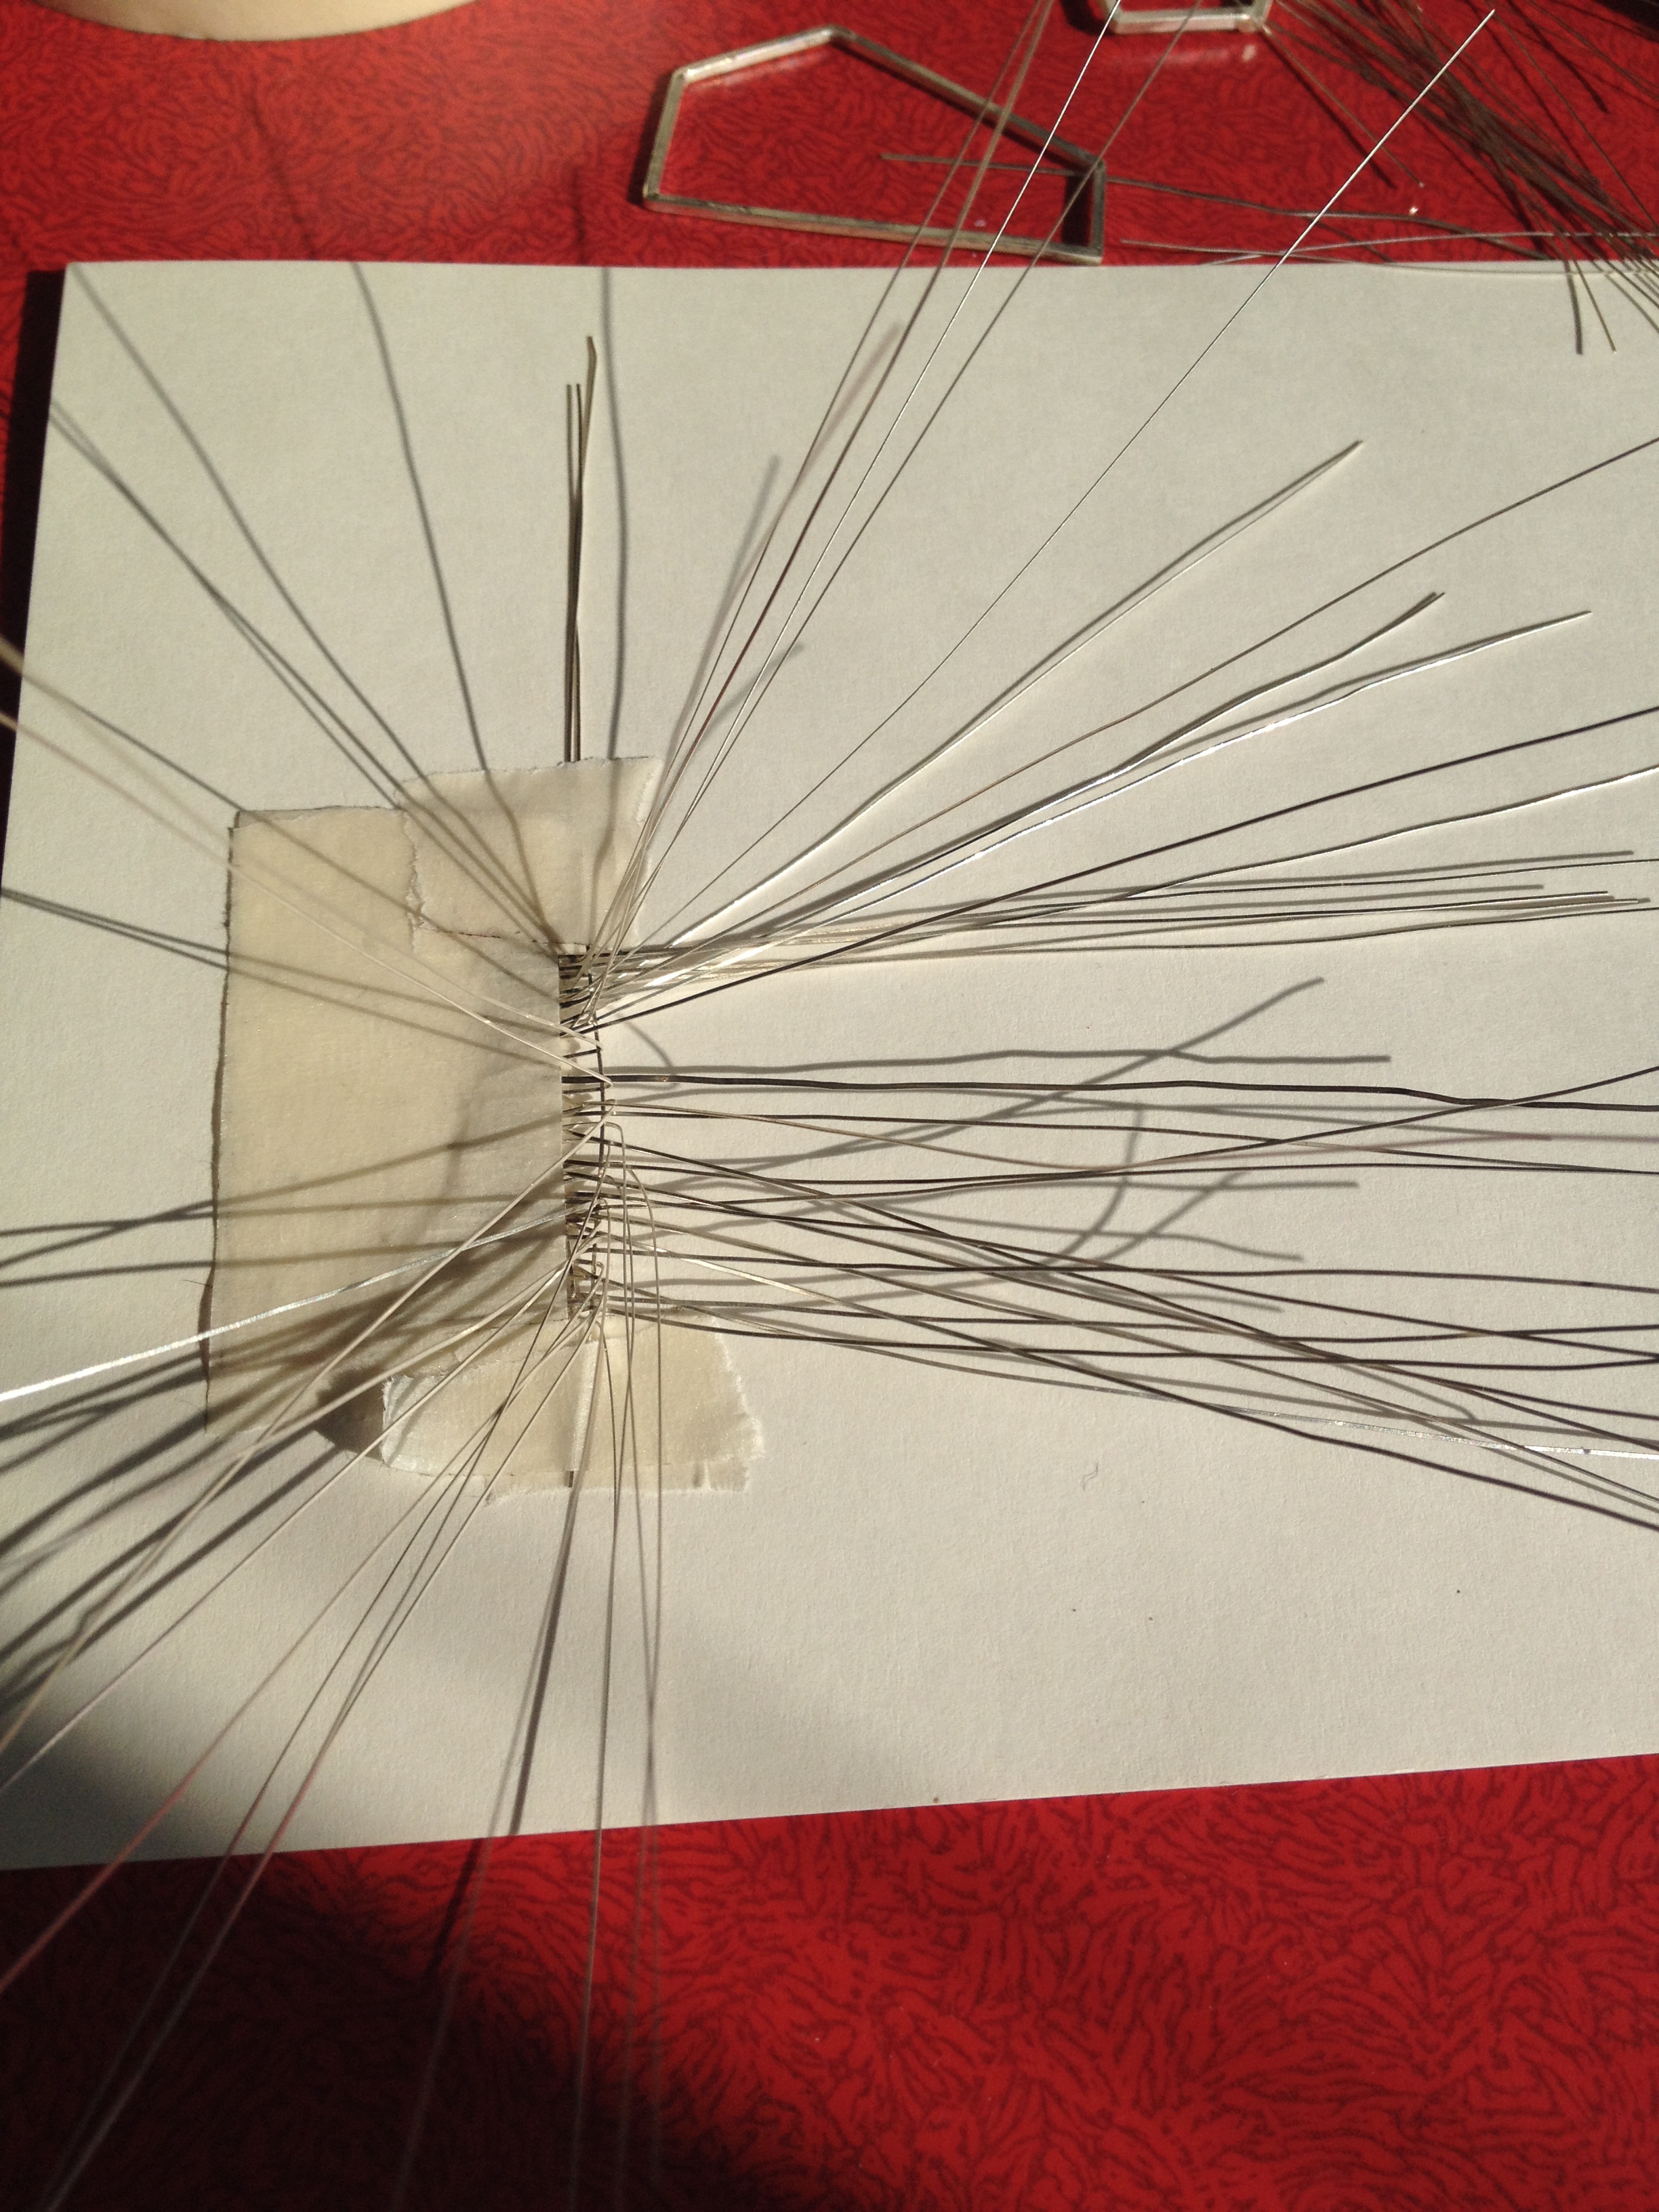
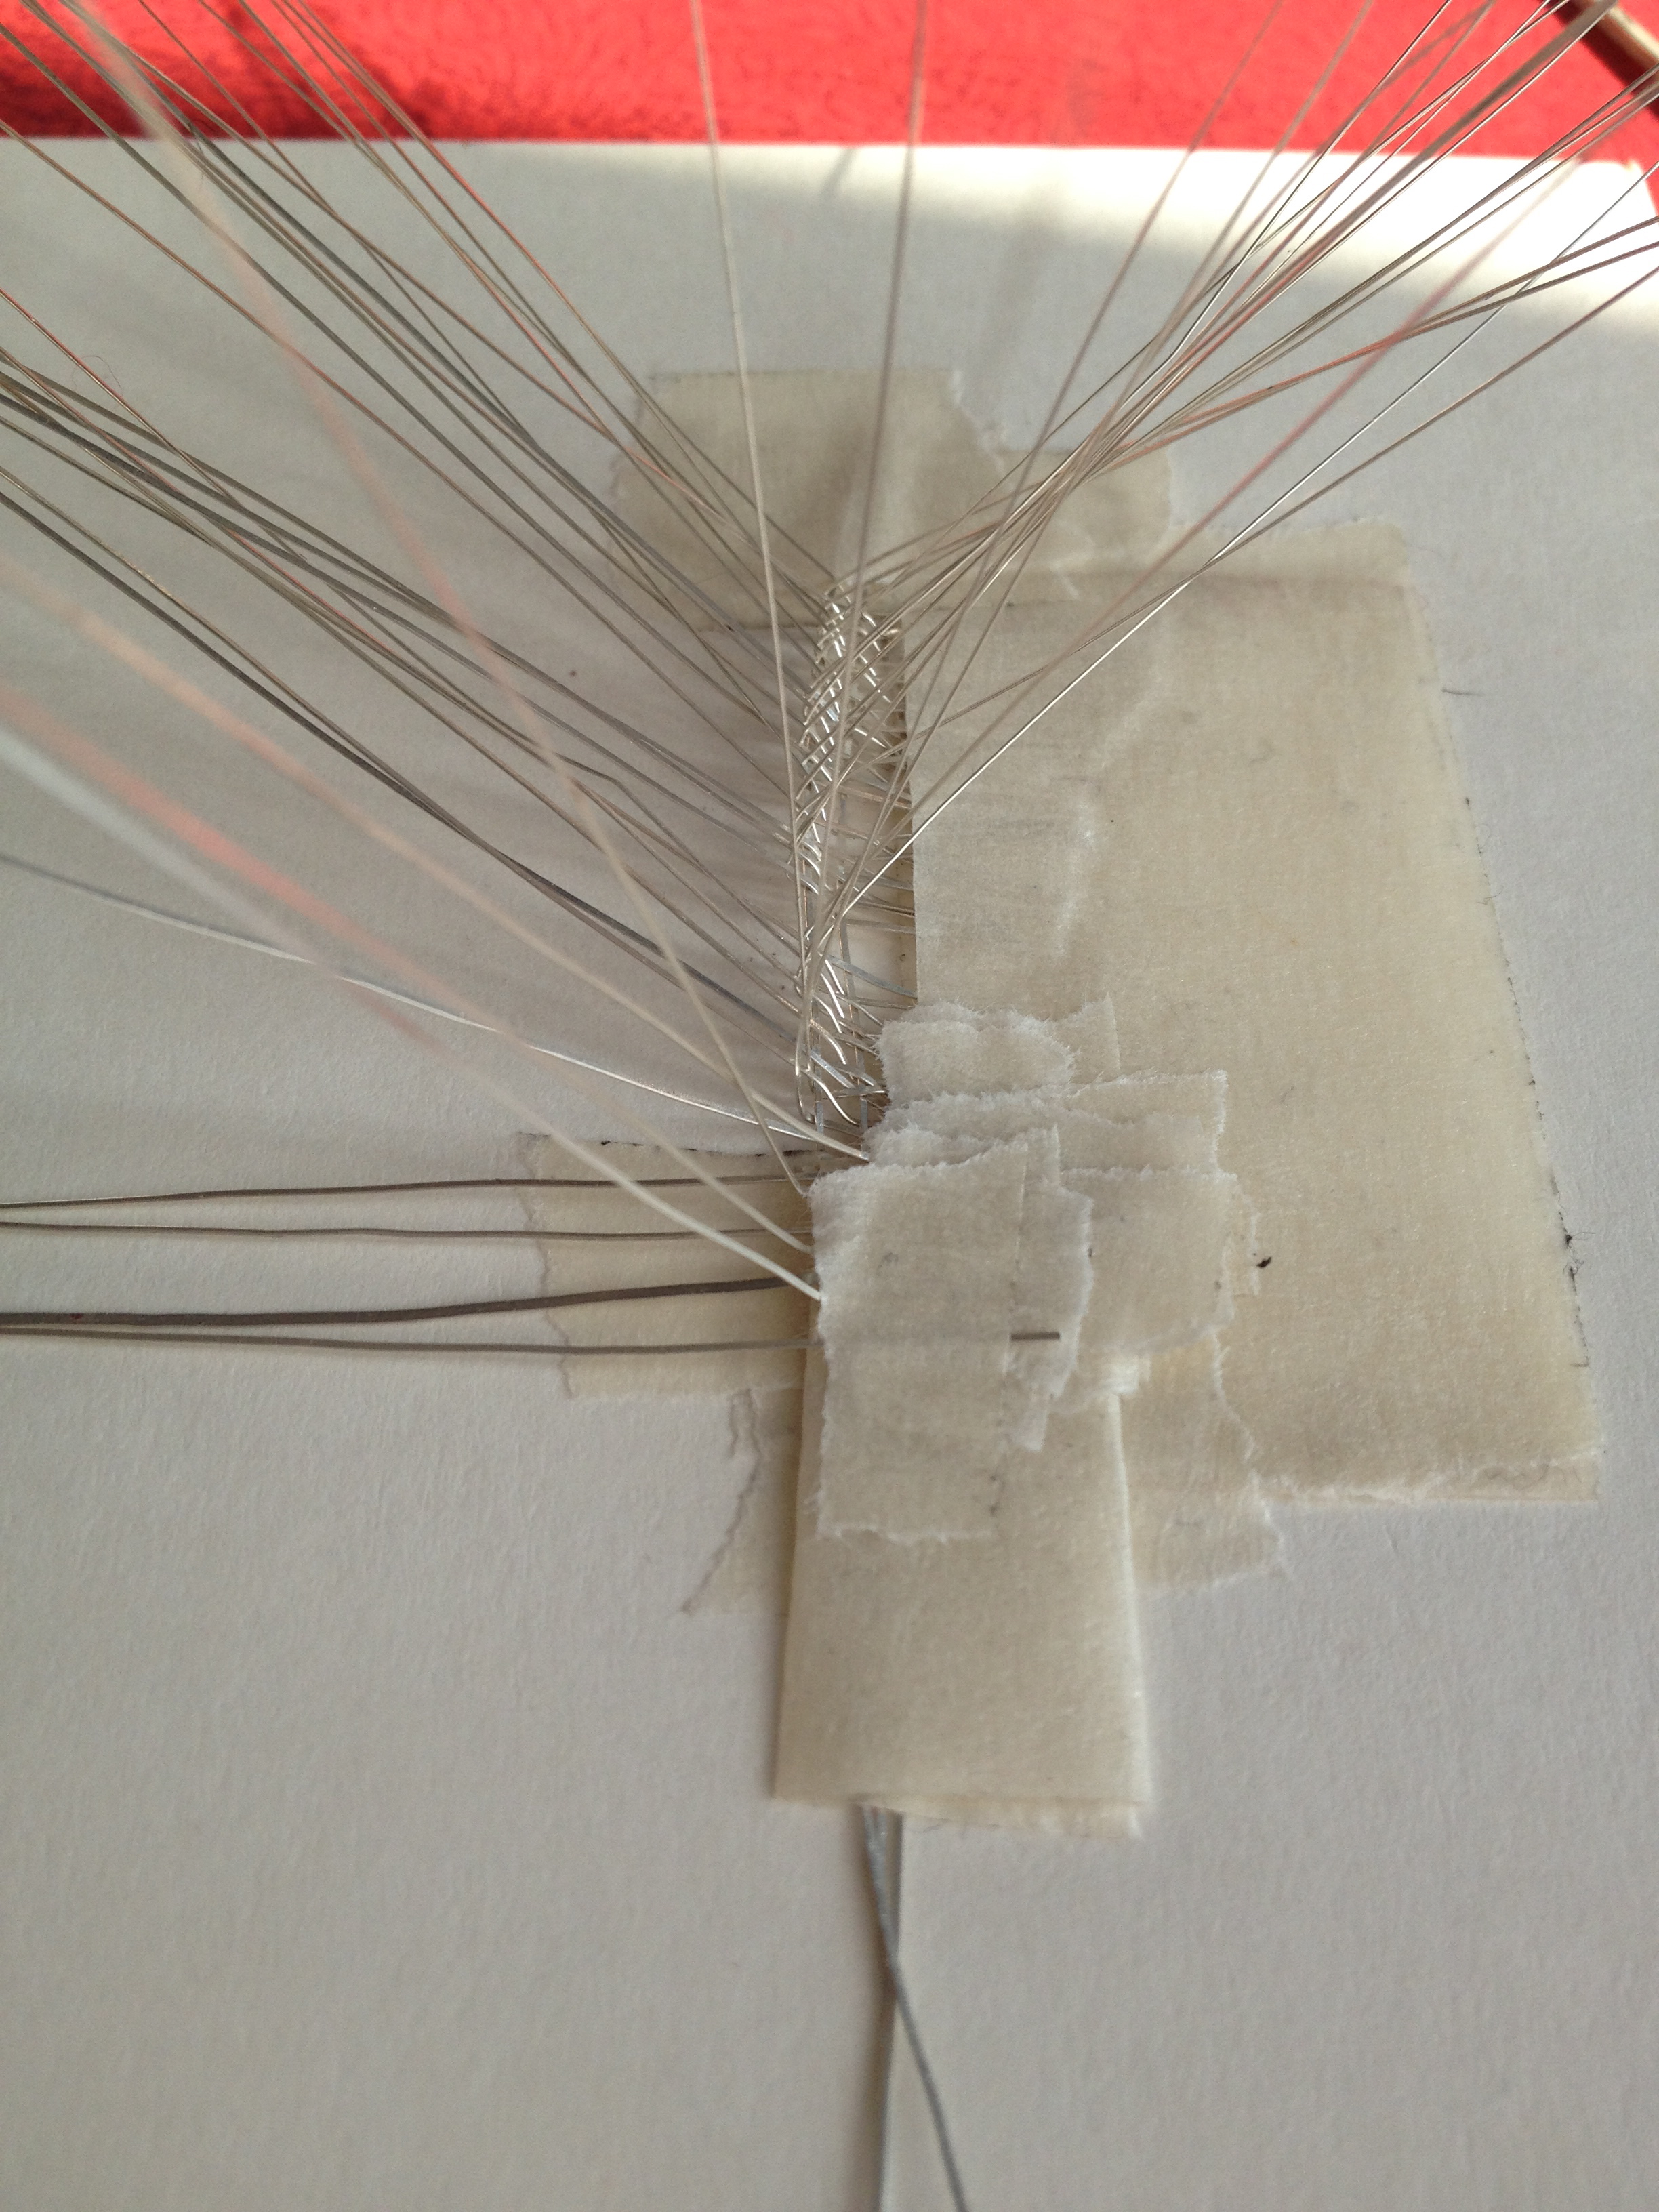
End of Day 1:
Woven panel now correct width and becoming easier to handle as the weave grows – time to call it a day I think (while I’m still marginally ahead) :))

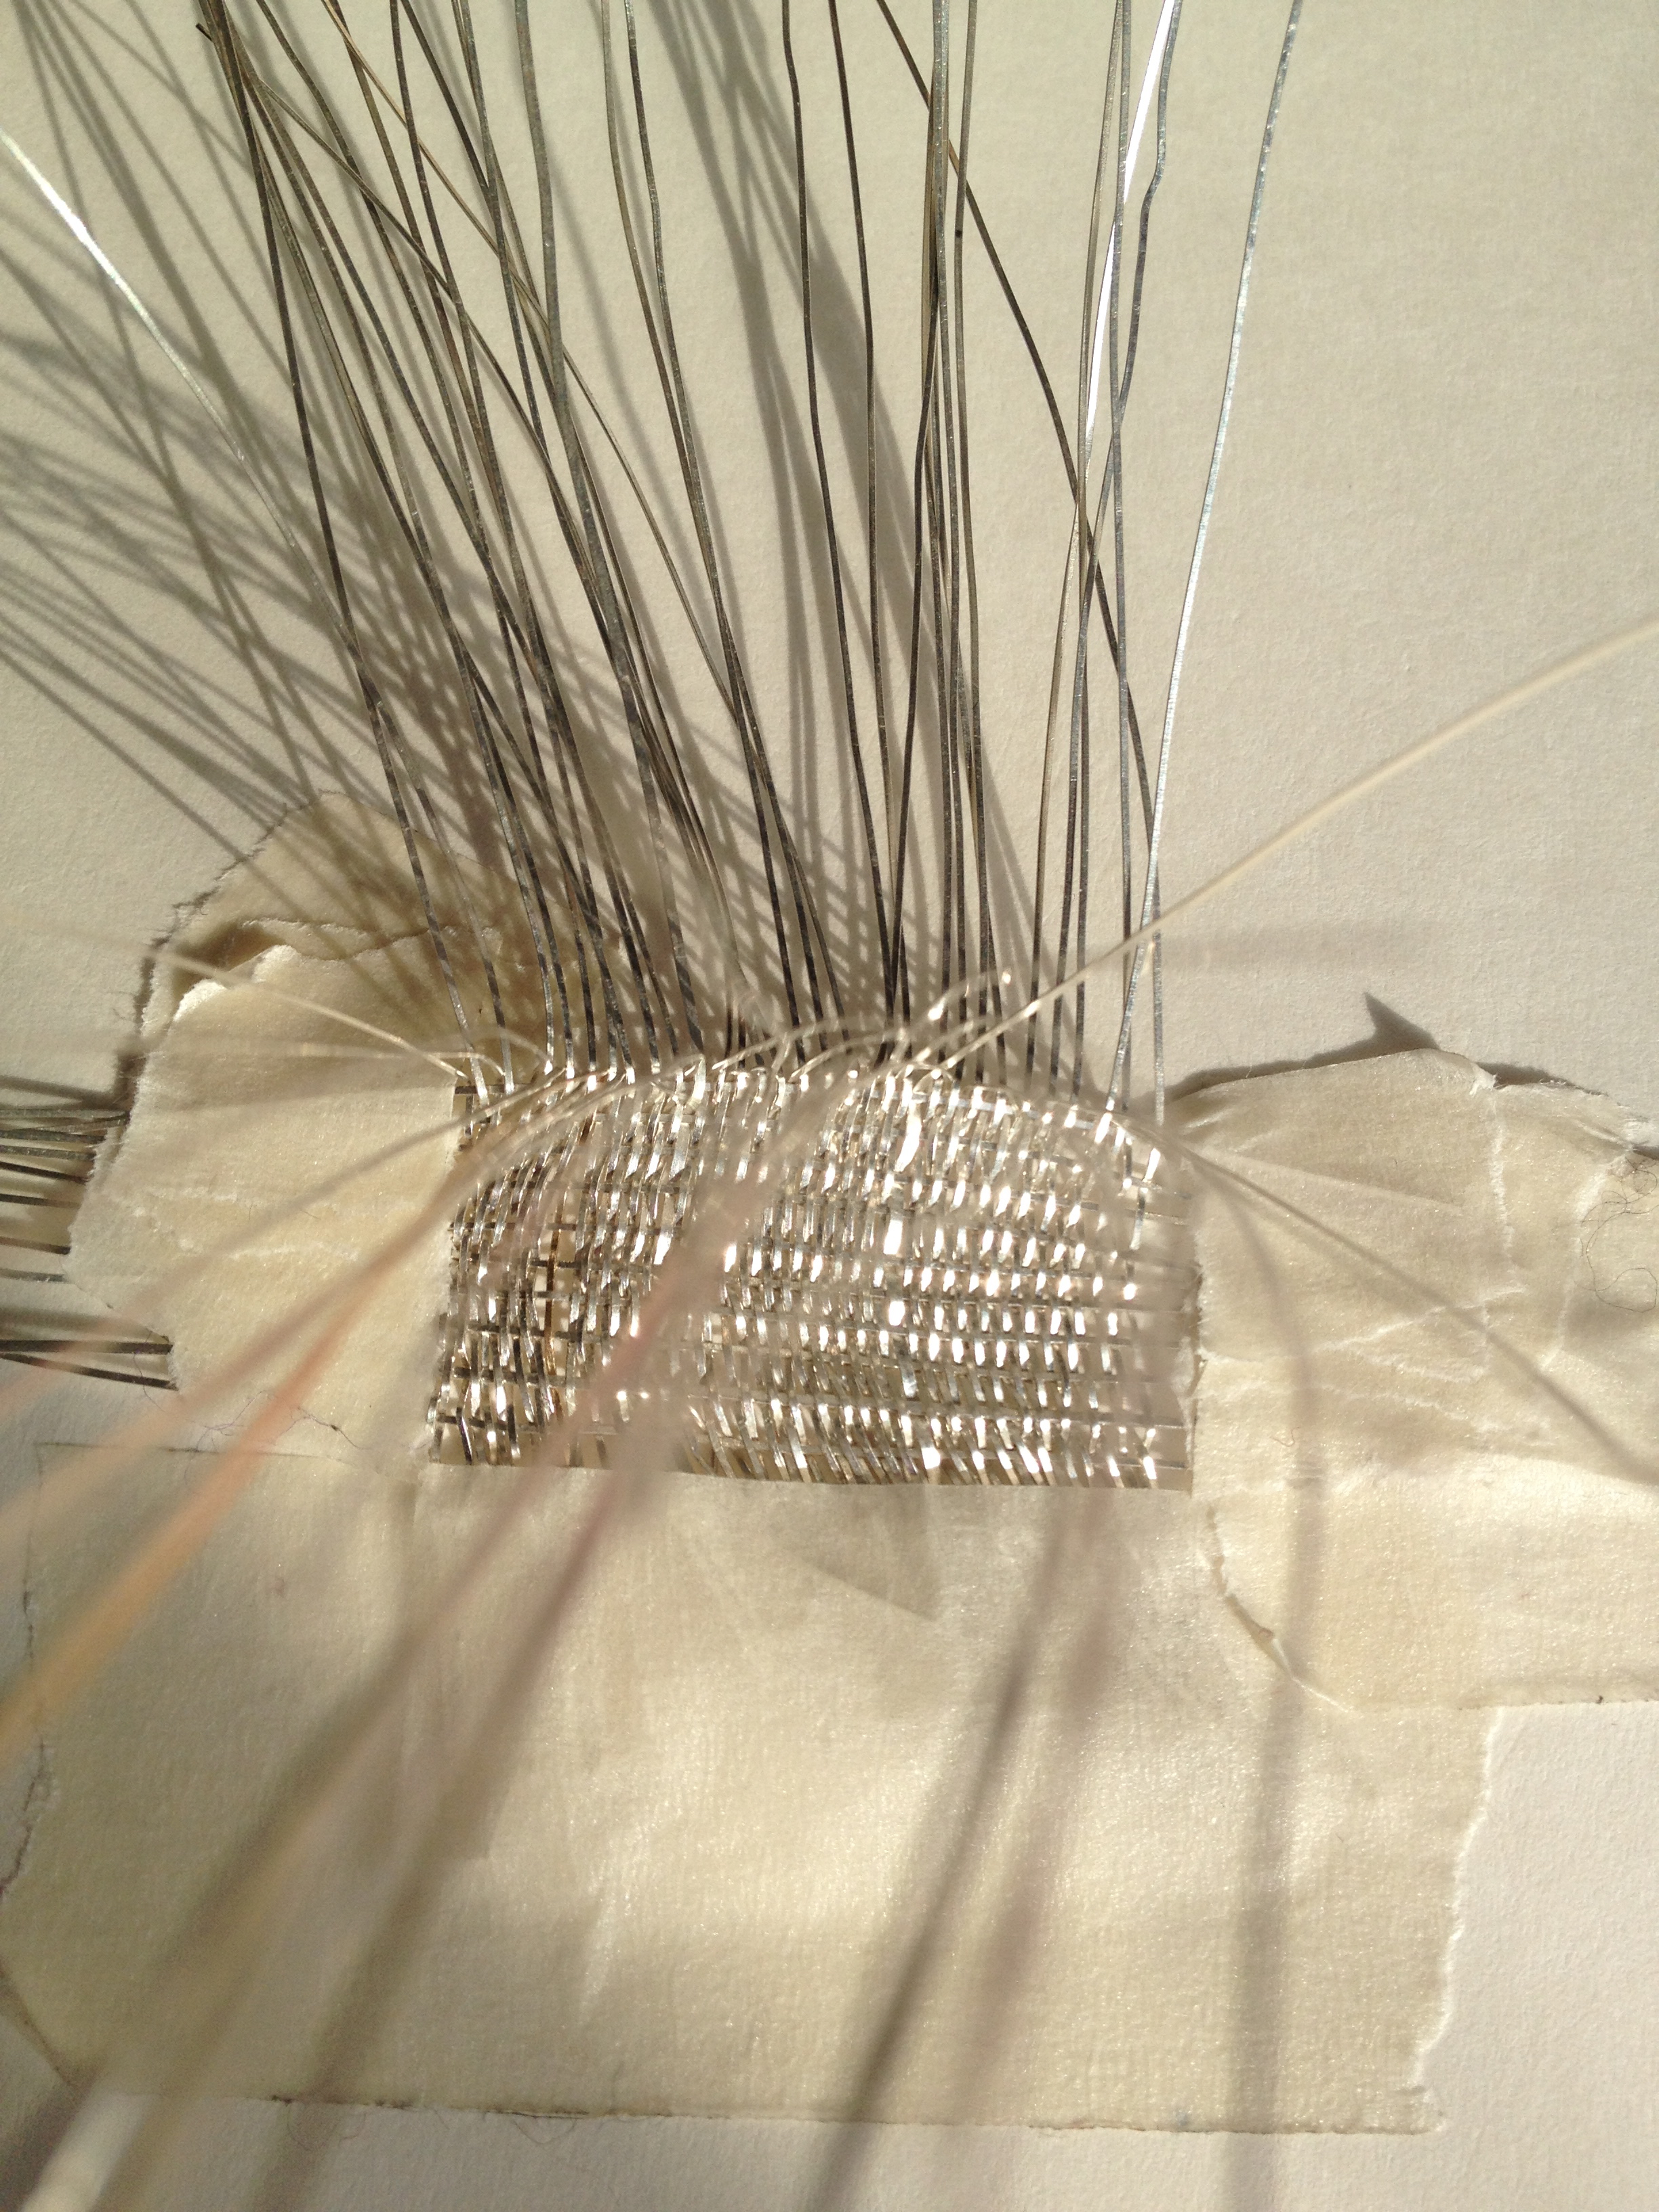
the silver version begins…


Graded Unit…!

So, today’s big story (the big story of the last few month’s in fact!) is the story of my Final Year Graded Unit – entitled ‘A Sense of Place’ – and the fact that it’s due in on 1st May! And the fact that I should in fact be getting on with it right now – instead of writing this blog entry ;)) but hey, I figure I have to start by writing myself a list so I may as well write it here (at least that way I get to experience the joy of using the strikethrough tool as I tick things off the list) small pleasures!
It is now day 4 of the Easter Holidays, day 4 of a lovely relaxed time off – 4 lovely long days spent enjoying the Spring sunshine down at the plot and on an anti-Trident Rally; 4 days spent setting up a new blog, relaxing and browsing in Waterstones – bliss! But all good things must come to an end – or, at least, they must make way for ‘different’ good things. And today’s ‘different’ good thing just so happens to be my Final Year Graded Unit.
So, first things first – write a list of all that I need to do between now and 1st May!!! Even the thought of it makes me sweat, just a little ;))
graded unit checklist
workshop
weave silver/gold version of fine metal ‘fabric’ to incorporate into finished piece – copper version shown abovemake silver findings for broochthis strikethrough is a bit of a cheat as I’d already made these ;))trap silver weave in double ‘house’ frame (as above)- cut out and pierce backplate
- solder posts to outer frame to make claws to eventually hold brooch together
- solder silver brooch findings to backplate
- cut out and pierce front of brooch – decide nearer time whether or not to use frontplate – I still like the idea of the woven panel on its own at this point in time
- make tube stone setting for back of brooch
sketchbook/technical notes
start writing up technical notes!! possibly on excel sheet/database?? with relevant headings e.g. Date, Task, Method, Materials, Problem encountered (if any!), Solution, NotesYay! First genuine strikethrough! Feels as good as I thought it would :-D)check Graded Unit criteria on MyCity and plan accordinglycheck points/percentage allocation on marking scheme- make sure I have suitable drawings of the final 5 designs
final boards
- choose relevant images for final boards – Research, Development and Final Piece
- make boards using photoshop
- bear in mind the ‘book’ element of the brief and the title ‘A sense of Place’
